Bobbini bobbin holders

When I was teaching for the Sew Broke Quilters in Mars, PA, one of my students had these nifty bobbin holders. They are made from squashy rubber and are a very handy way to keep a bobbin with the corresponding spool of thread. I think they are ingenious and am ordering some. Once again, I was introduced to an awesome new gadget during a workshop.

20160507_135013 20160507_135000

Here’s a YouTube video from the makers, Smartneedle Inc. These bobbin holders are available on Amazon and cost $9.99 for a pack of 12, (no shipping charge if you have Amazon Prime).

LED Sewing Machine Lights

An aspect I enjoy about teaching, is learning from my students and being introduced to new gadgets. A lady at my recent class at the Quilt Guild of Greater Houston had these awesome LED lights on her sewing machine. They come in a strip with an adhesive back and can be cut to the appropriate size for your machine. Nice patchwork pincushion tied onto the machine too!

20160420_133748

The amount of light generated from the strip of little bulbs is significant. More light is always good for ease of vision and accurate sewing. Here’s a shot of the machine with lights switched off and you can see the difference. The view of the backside of the machine shows how the lights are connected to the power source with cables. On my machine, I used the clip provided to pass the cable around the back and I stuck the switch part around the corner on the end of the machine.

20160420_133836 20160420_133737

You can order these lights as a kit from Amazon and if you get the expansion kit with an extra transformer and connectors, you can do two sewing machines for $45 (instead of one for $30). Mine have just arrived and I’m very pleased with them. I will share the second set with a friend. A reviewer on Amazon recommends temporarily taping the lights up to try them out and move them with ease to adjust to the most advantageous position. Once you are satisfied that they are in the best place, then you can peel the paper away from the back to expose the adhesive strip and stick them exactly where you want them.

20160429_140123

Here’s the kit including the extension with enough LED strip lights for two machines, connectors, and two transformers etc. Here’s a link to a YouTube video to help you with the installation if you decide to purchase them.

Iron Shoe

My last few blogs have been about the Sew Expo in Puyallup. My main splurge there was at the Bo-Nash booth, where I purchased an IronSlide Ironing Board Cover and an IronSlide Iron Shoe. Here, I’ll show you the iron shoe. See my blog from last week for the ironing board cover.

20160309_141001

The IronSlide Iron Shoe is made of fiberglass with a non-stick surface. Starch and fusibles may be wiped off easily. Apparently, nothing will burn and you can iron over things like glitter, puff-paint and sequins without damaging them. You can also dispense with pressing clothes. It fits most sizes of iron. Simply pull on the draw strings and tie for a nice snug fit.

20160309_141635 20160309_141554

I was concerned about losing the sharp point on my iron, but this doesn’t seem to present a problem when I want to iron seams open and has not been an issue. One thing I have noticed when ironing my quilting fabric, is that it tends to create static electricity. The fabric then clings a bit to the ironing board. As far as ironing efficiency goes, this in combination with the ironing board cover seem to have made a difference and everything is working nicely.

Ironing Board Cover

My last few blogs have been about the Sew Expo in Puyallup. My main splurge there was at the Bo-Nash booth, where I purchased an IronSlide Ironing Board Cover and an IronSlide Iron Shoe. Stephanie did a nice job promoting the products and I decided to give them a go.

20160225_104303

I have a “European” ironing board which is 18″ wide and 49″ long, and always have difficulty finding the appropriate size of ironing board cover. I purchased the Giant IronSlide cover which is 65″ x 29″. It is self adhesive and you simply peel off the paper backing and stick it down. I removed my old cover and extracted the padding from it to use again, and then added the silver self-adhesive IronSlide cover. I cut around the ironing board leaving a margin to tuck in at the sides and cut slits in it to miter around the edges. It was a little tricky and the adhesive is extremely sticky, but I managed to install it on my own. Having a second pair of hands would definitely have made the job easier. The ironing board looks pretty slick now and so far, I’m liking it.

20160309_125440 20160309_132746

20160309_133533 20160309_141115

The IronSlide cover is made from luninex which reflects 300% more heat than regular cotton covers, so this in theory cuts the ironing time in half and both sides are ironed at once. If it has creases in it after installation, these will iron out. I didn’t have any problem with that and mine is nice and smooth. The cover is very stable and doesn’t move around at all.

In my next blog, I will show you the IronSlide Iron Show.

The magic of Color Catchers

I made this large Bargello block quilt for my nephew and there was almost a catastrophe.

20160114_172738

On my way to quilt it on my friend’s long-arm quilting machine, my water bottle tipped and spilled slightly onto the quilt. When I got to my destination, I discovered to my horror that the red dye from the small red squares had bled. This should not have happened – all the fabrics were pre-washed before I pieced the quilt and the dyes should have been stable.

20151128_151414 20151128_151307

We dried the quilt top by ironing it and decided to go ahead and quilt it. After quilting and adding the binding, I washed the quilt. Color Catcher to the rescue!

20160114_173238-1 20160114_172126

The Color Catcher is a white sheet that goes into the washing machine with the laundry load. It traps the loose dyes that are released during the washing cycle. As you can see, it worked its magic when I washed the quilt. The red that had bled onto the surrounding fabrics was released and gathered up by the sheet, which changed color from white to dark pink. Color catchers come in boxes of 24 and are available at grocery stores.

Portable design wall

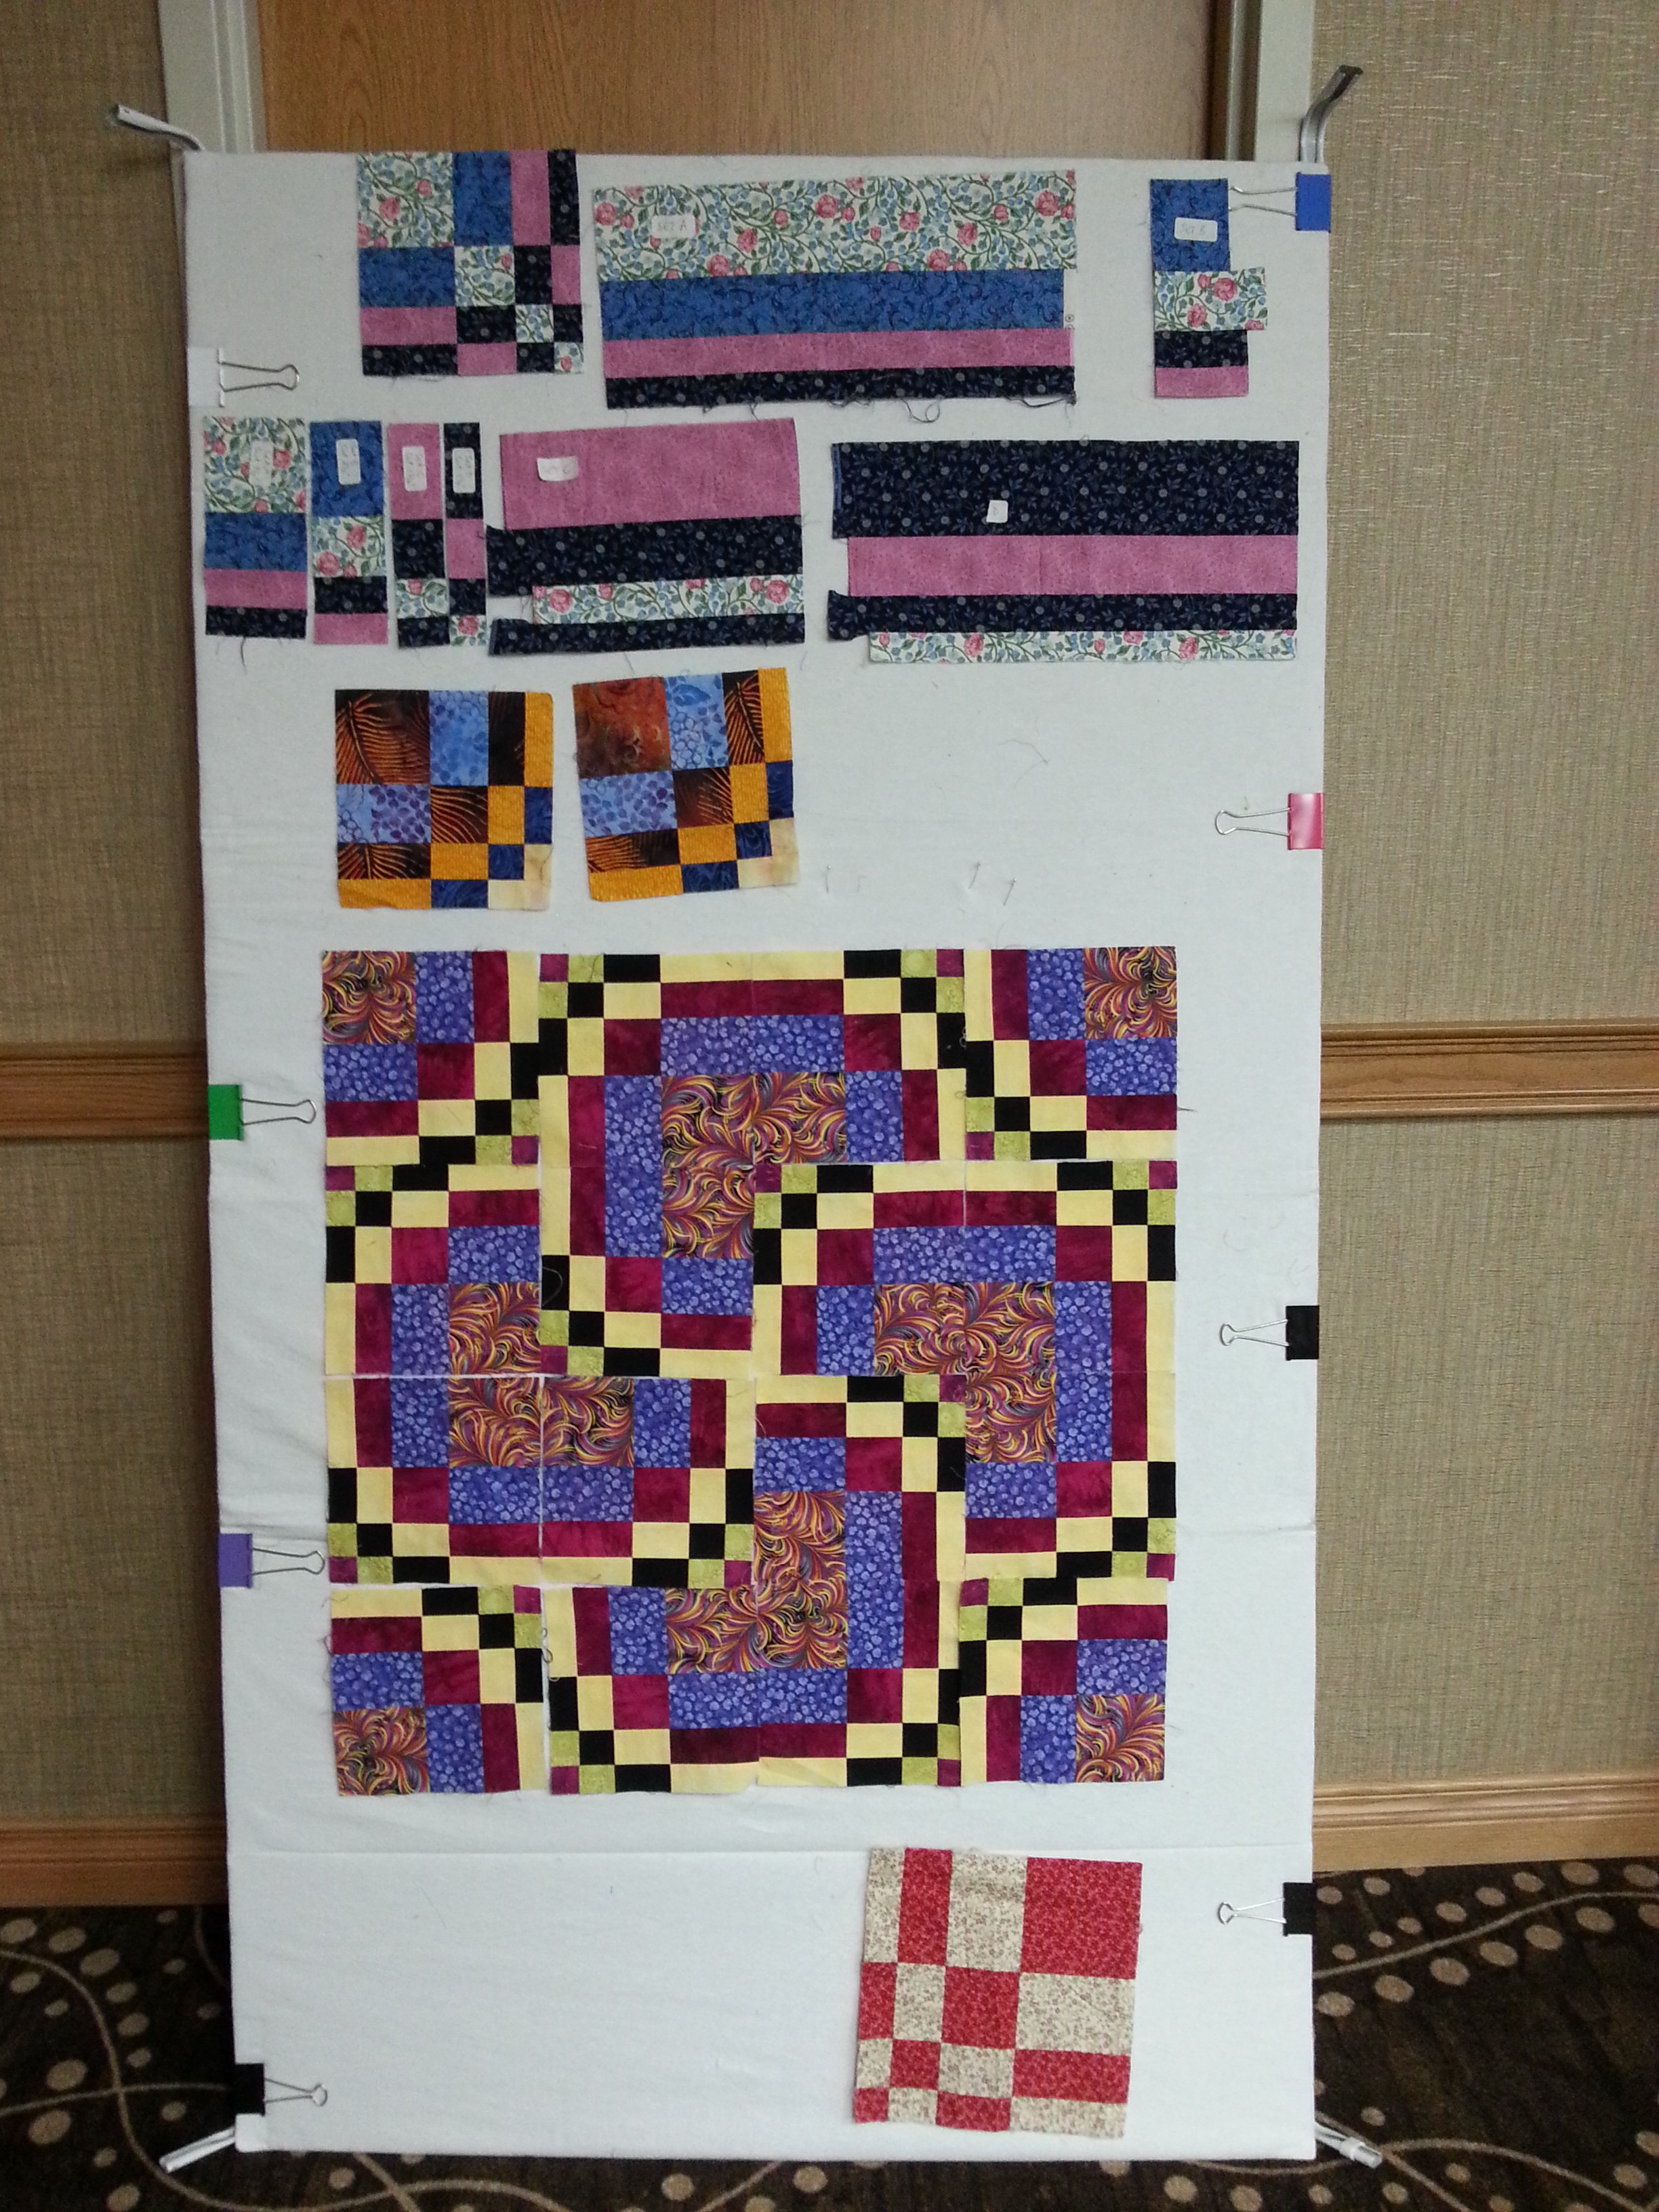
When I was teaching in Spokane, WA, one of my students brought an ingenious portable design wall to class. She said that quilt teacher Pat Speth had given her the instructions. I contacted Pat and she kindly agreed to allow me to share these with you. See Pat’s blog for more pictures.

20150926_135138 20150926_153848

Pat developed this design wall back in 1995 and has been sharing it in her workshops ever since. It’s lightweight, inexpensive, and very portable. Here are the supplies you will need:

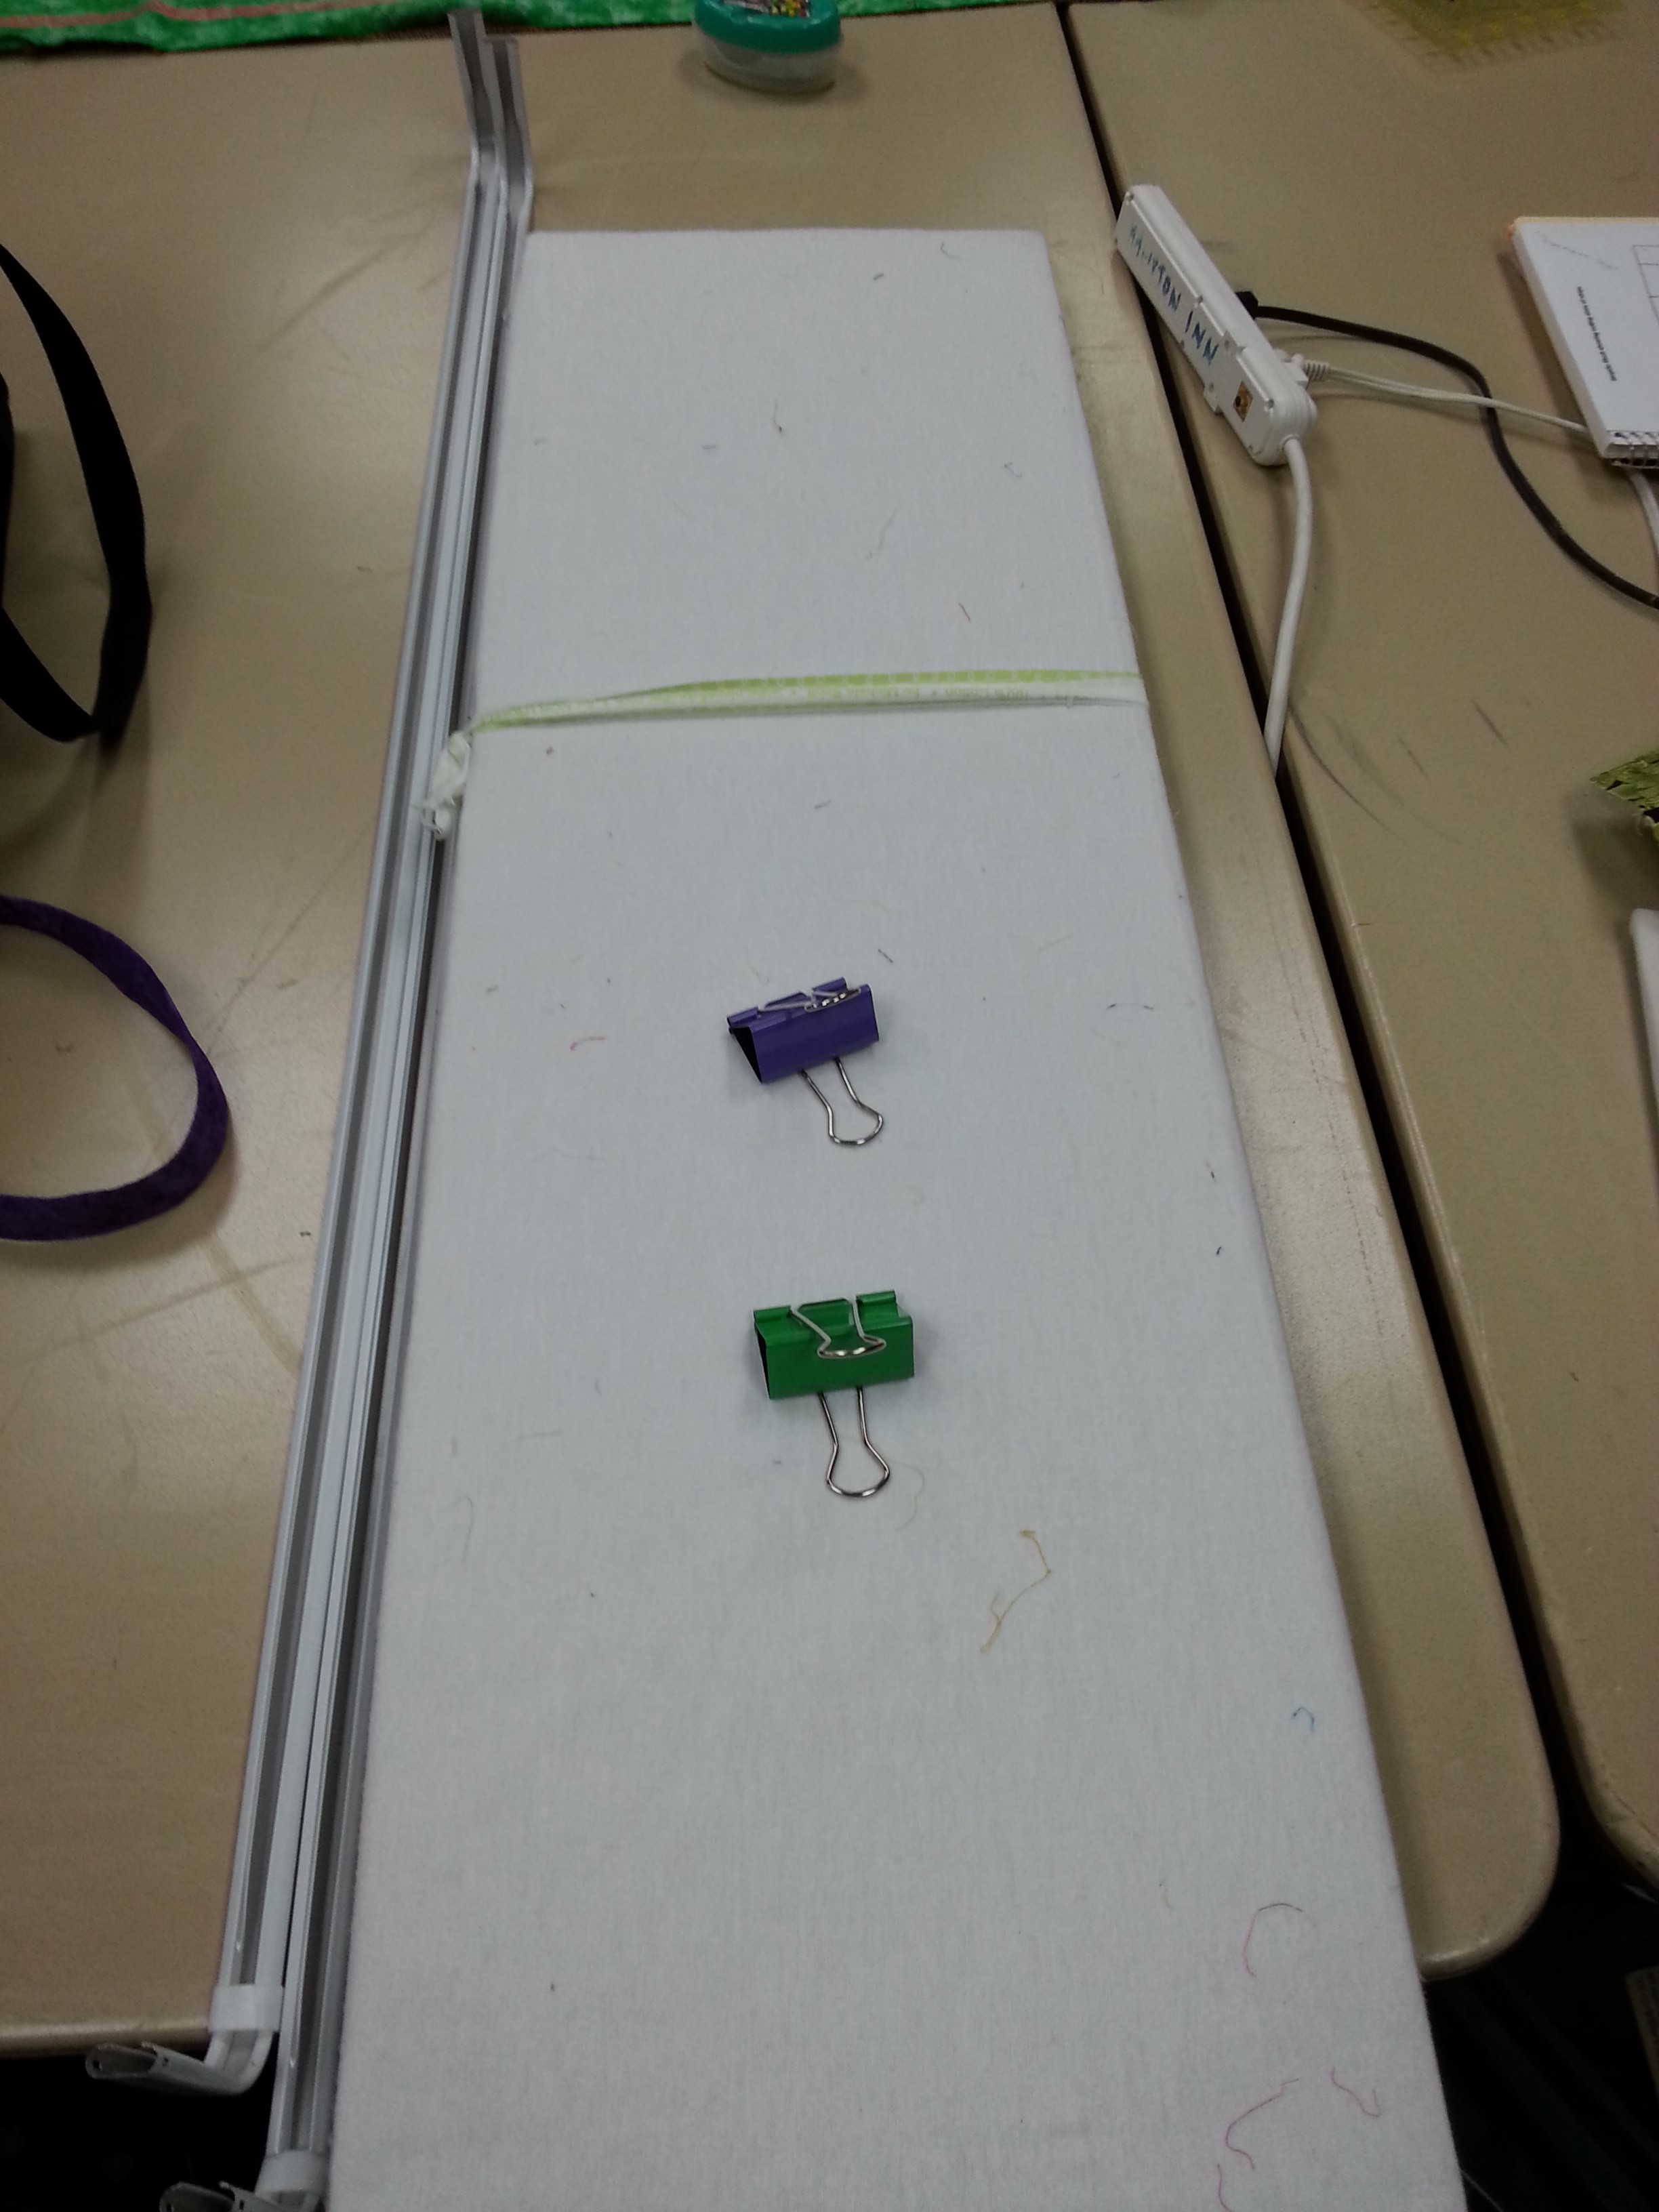
Dressmaker’s cardboard cutting board (the kind that folds up for storage), when folded measures 14″ x 40″
Two curtain rods that extend to at least 72″ (the white metal ones that curve on each end)
Piece of flannel 44″ x 80″ or a flannel-backed vinyl tablecloth
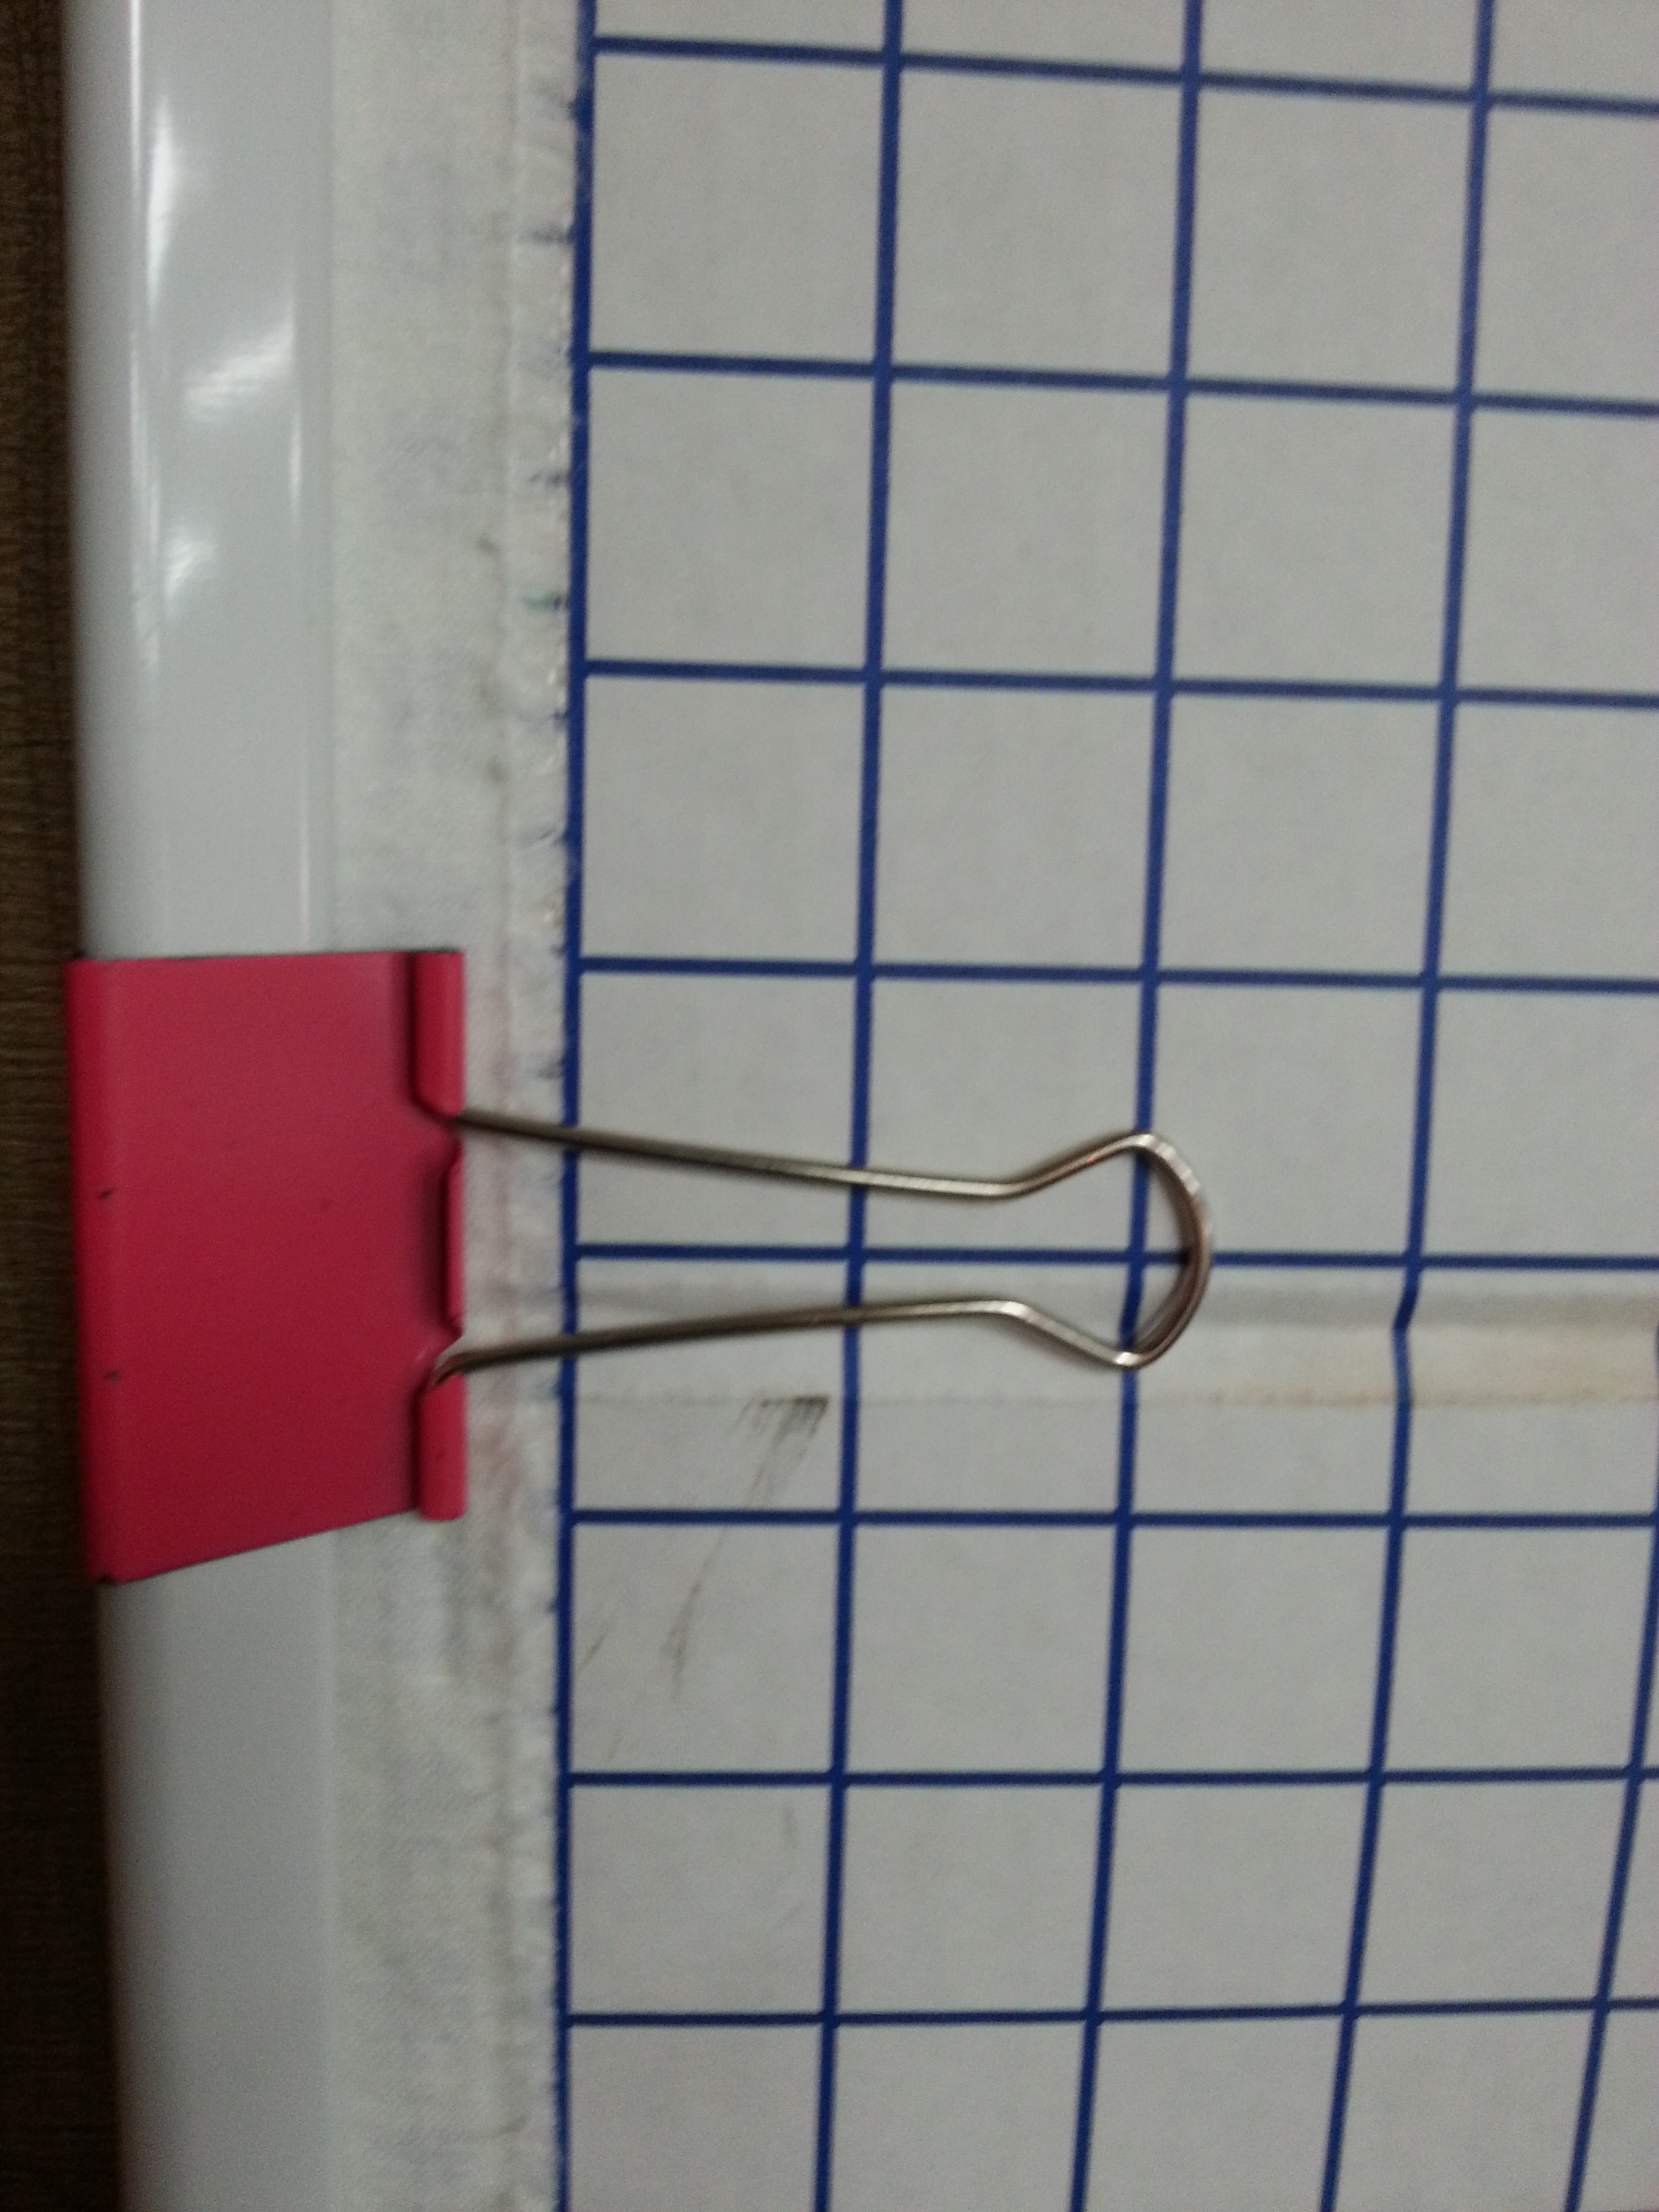
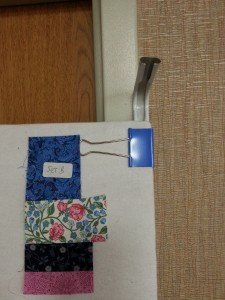
10–12 large binder clips 2″ size (from the office supply store)
Double sided carpet tape

Cover the backside of the design wall with the flannel – it will fold up with the grid side on the outside so the flannel will stay cleaner longer. With the backside facing up, apply the double-stick carpet tape along one long edge at a time. If your flannel is wider than the design wall, apply the tape to the grid-side and attach a couple of inches of flannel to the front (or whatever you need to make it fit). Press the flannel onto the tape, allowing it to extend past the cutting board at the top and bottom by a couple of inches.Tape both sides, then turn the board over. Apply tape to the top, press the flannel into place, and repeat on the bottom edge.

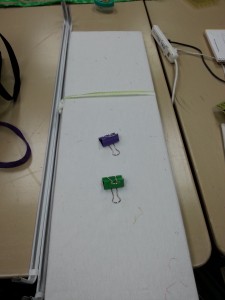
When all the edges are taped down you are ready to attach the curtain rods.  Extend curtain rods to 6′ and lay them under the long sides, one side at a time.Attach binder clips to hold the cutting board to the curtain rod.

20150926_135059 20150926_135159

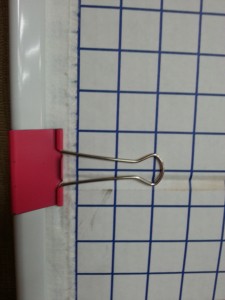
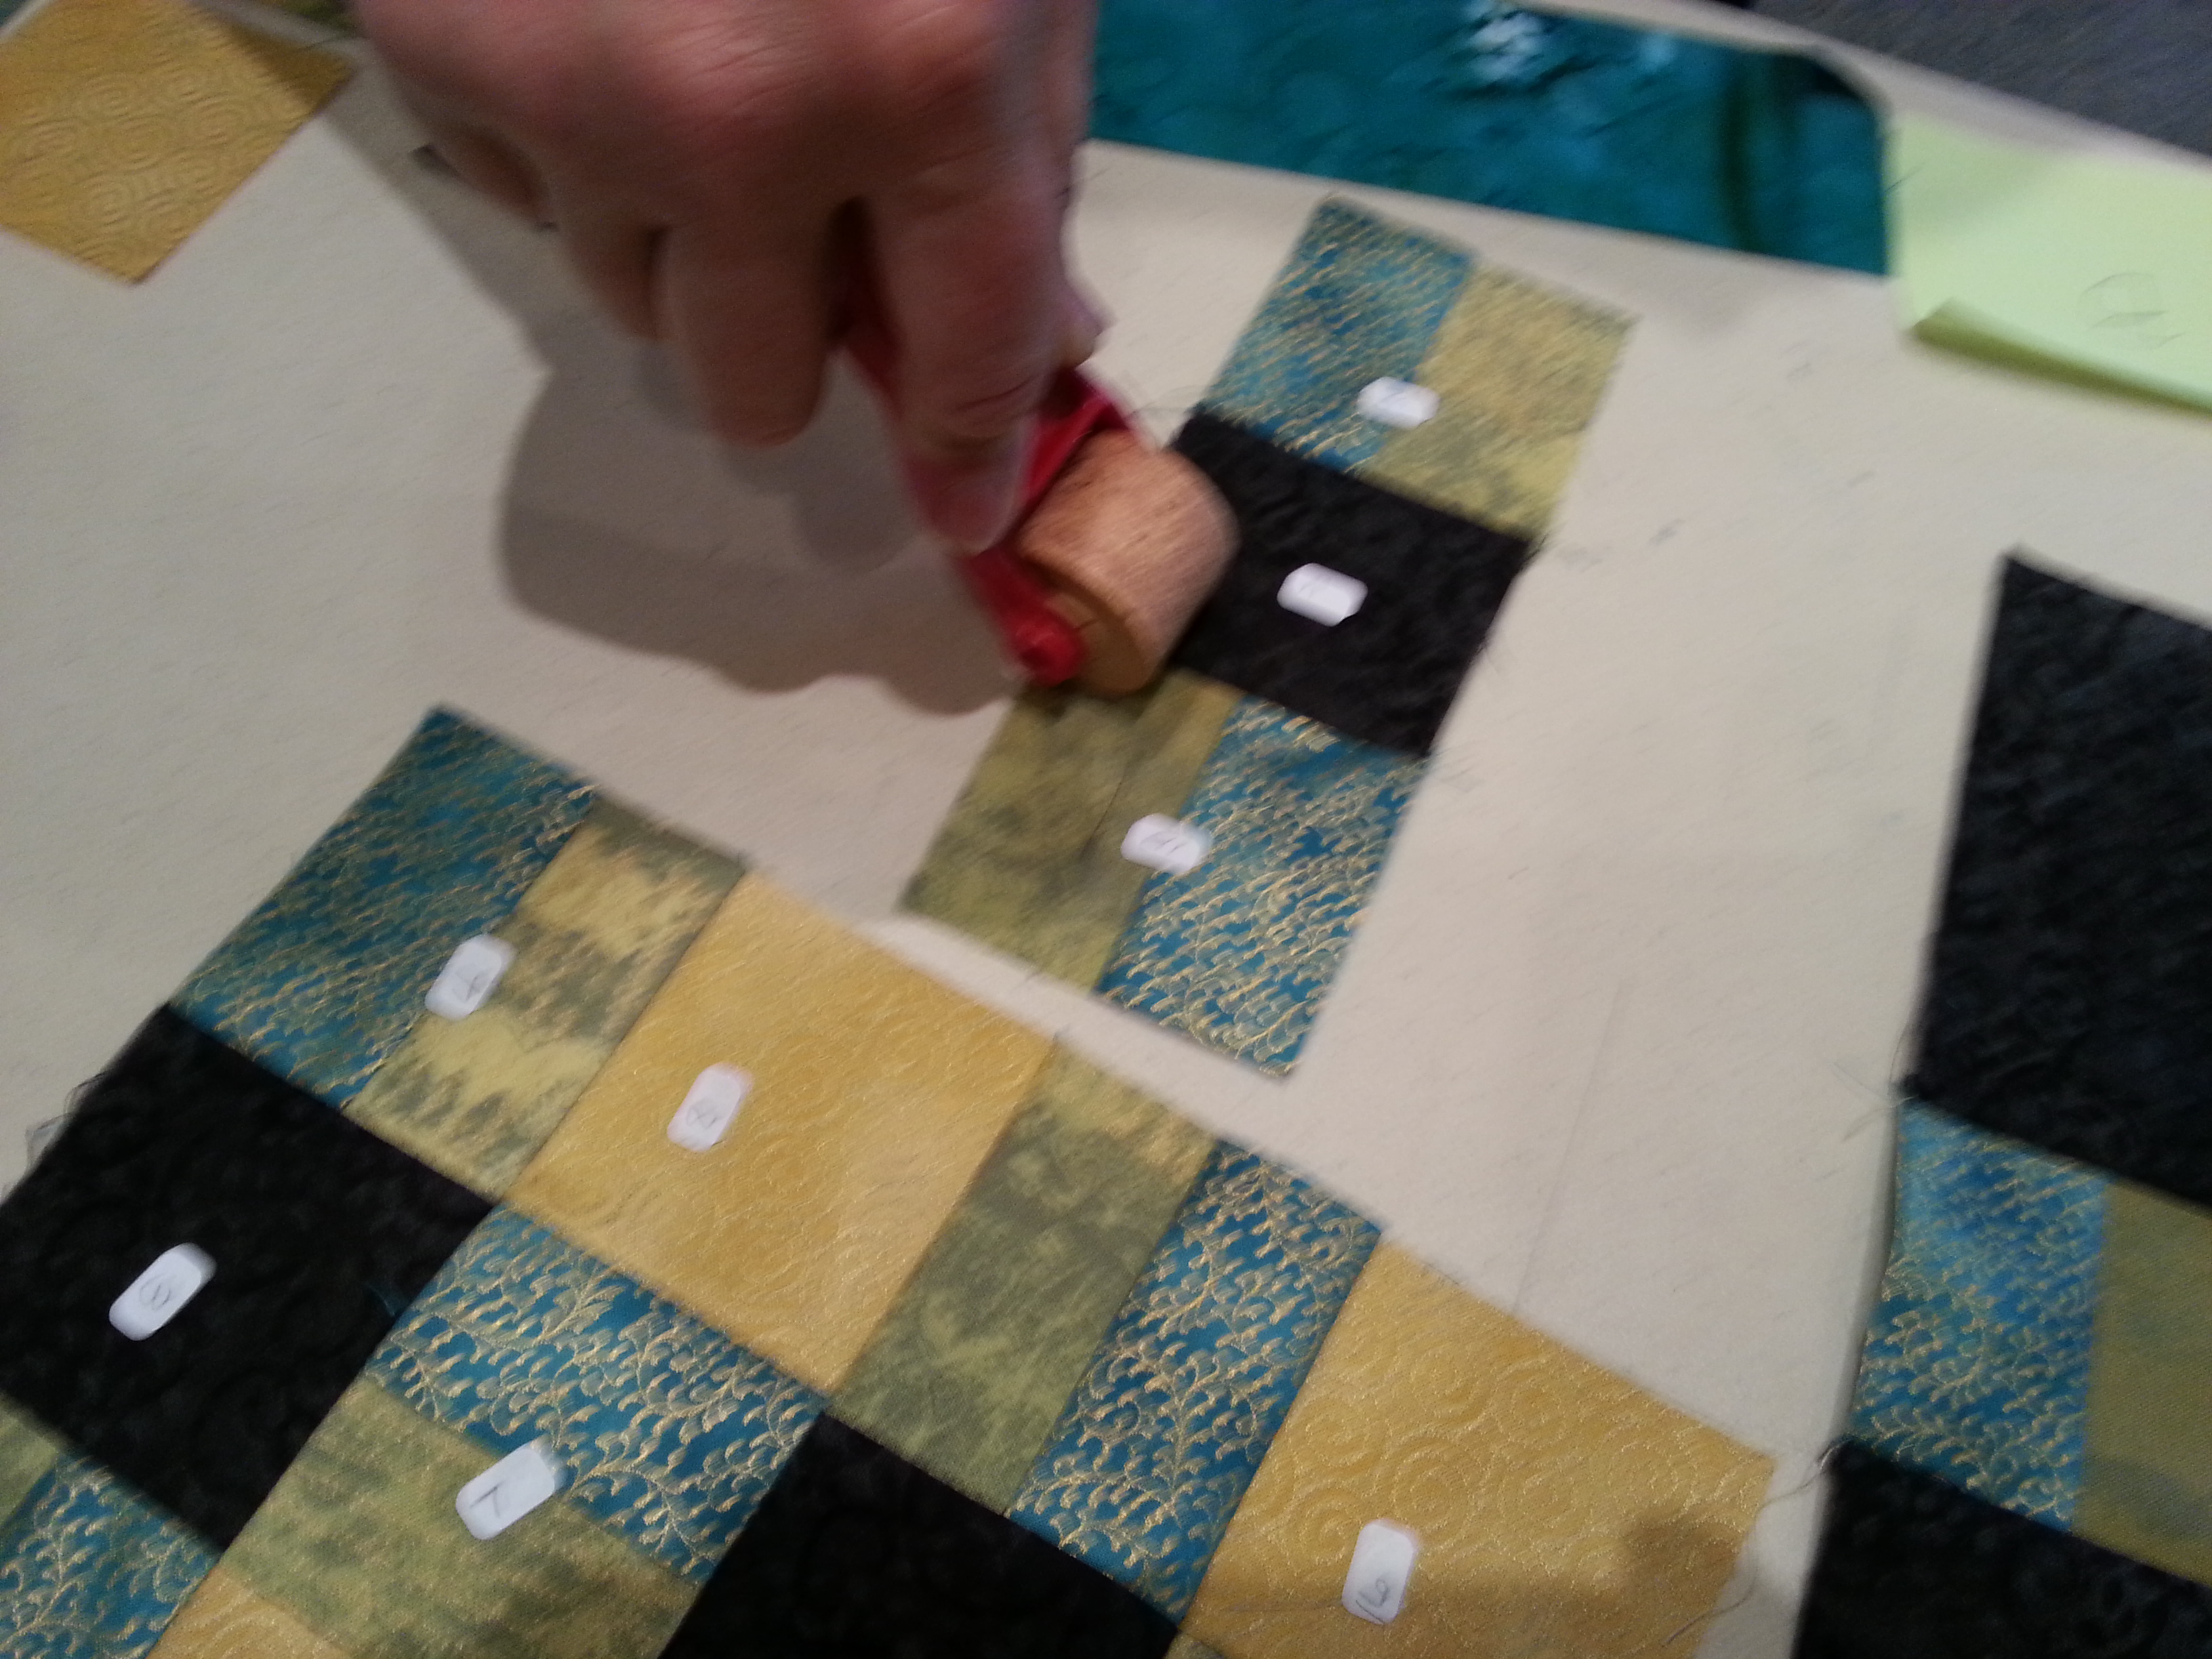
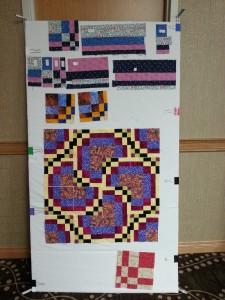
Use five or six binder clips along each side. Finish attaching the clips to one side, then do the other. If you are short of wall space for a permanent design wall, you can create the wall space by leaning these up against almost anything, blocking windows or doors. For larger quilts, simply set two or three of these design walls next to each other.

Ladybug sewing caddy

I’m always learning from my students and enjoy the new gadgets they bring to class. I love this ladybug pin cushion and bobbin holder which includes a pouch at the head for scissors or seam rippers. It is attached to the sewing machine by a suction cup.

20150926_134458

These ladybugs are made by Smartneedle. I looked at the reviews on Amazon and they are mixed. Everyone loves the ladybug and many gave the product rave reviews, but some people have had problems with the suction cup not adhering properly. One lady bought two and one worked but the other didn’t. She was able to get the suction cup part replaced. It is possible that some of the suction cups may be defective or perhaps they just don’t work well on certain types of surfaces. Apparently the black spots are the easiest areas in which to put pins and the red rubber is a little tougher.

The Quarter Inch Seam Allowance

One aspect of teaching that I enjoy is learning about new quilting tools from my students. When I taught recently at Quilters on the Rock, Whidbey Island, a lady had a plastic gadget to gauge precise seam allowances. An accurate 1/4″ seam allowance is very important especially when pieced sections of blocks are joined to non-pieced sections. If the seam allowances are off by even a tiny fraction, the error is compounded with multiple seams and can cause serious piecing problems.

20150120_105308

This little gem is made by Bonnie Hunter and included as a freebie if you purchase one of her books. However, if you go to her website, you can order these in quantities of six ($24 for a six pack). The seam guide is easy to use and it works! Simply place the machine needle through the appropriate hole with the plastic aligned squarely on your machine bed. Then position tape along the edge and remove the gadget. Butt the raw edges of your fabric against the edge of the tape as you sew and you will have a perfect seam allowance.

20150120_110505 20150120_110602

Foot Pedal Get-A-Grip

I recently discovered a useful new gadget when I was teaching at Quilt Revolution in Gig Harbor. It’s a very simple idea – a wooden tile with plush ultra-suede like fabric on either side. Put this under the foot pedal of your sewing machine to stop the pedal from scooting away from you. I wish I’d had this for the last 13 years in my studio with a wood floor. I now have carpet, but will still use this.

20140704_102125 20140704_101939

Martelli’s manufacture this product and it retails for $14.99 in the stores.

Quilting tools

One of the aspects of teaching that I love is that I learn from my students. Among other things, they introduce me to new quilting gadgets. Here are two little beauties I discovered when I taught a workshop for Quilters Anonymous in May. The first is a Seam-Fix tool.

20130511_132330 20130511_132406

It is a combination of a seam ripper and thread eraser. The white plastic tip shaped like a honey utensil picks up those pesky threads that are caught in your fabric when you’ve been unsewing. Simply roll it back and forth applying some pressure over the seam line and the little threads stick to it and come away easily.

20130511_132243 20130511_132232

The second tool can be obtained from a hardware store. It is a small wallpaper roller used when applying wall paper to help get the edges to stick down. Here it is being used as a pressing tool and is convenient when you are sewing small pieced sections and you don’t want keep leaping up and down to the iron.

20130511_145429 20130511_145324

When this blog posts, I will be in transit on my 26 hour journey to to Africa, flying from Seattle to Amsterdam and then on to Johannesburg. The blogs for the next month, which I’ve written before my departure, will keep coming while I’m away, then I’ll write all about the trip when I come back. I’m excited to be teaching at the 17th National South African Quilt Festival in Bloemfontein, taking in some wildlife and other sights, and then returning to Johannesburg for some more teaching just before I come home at the end of July.