Quilt Market Spring 2013 – Sample Spree

20130516_170119 20130516_205638

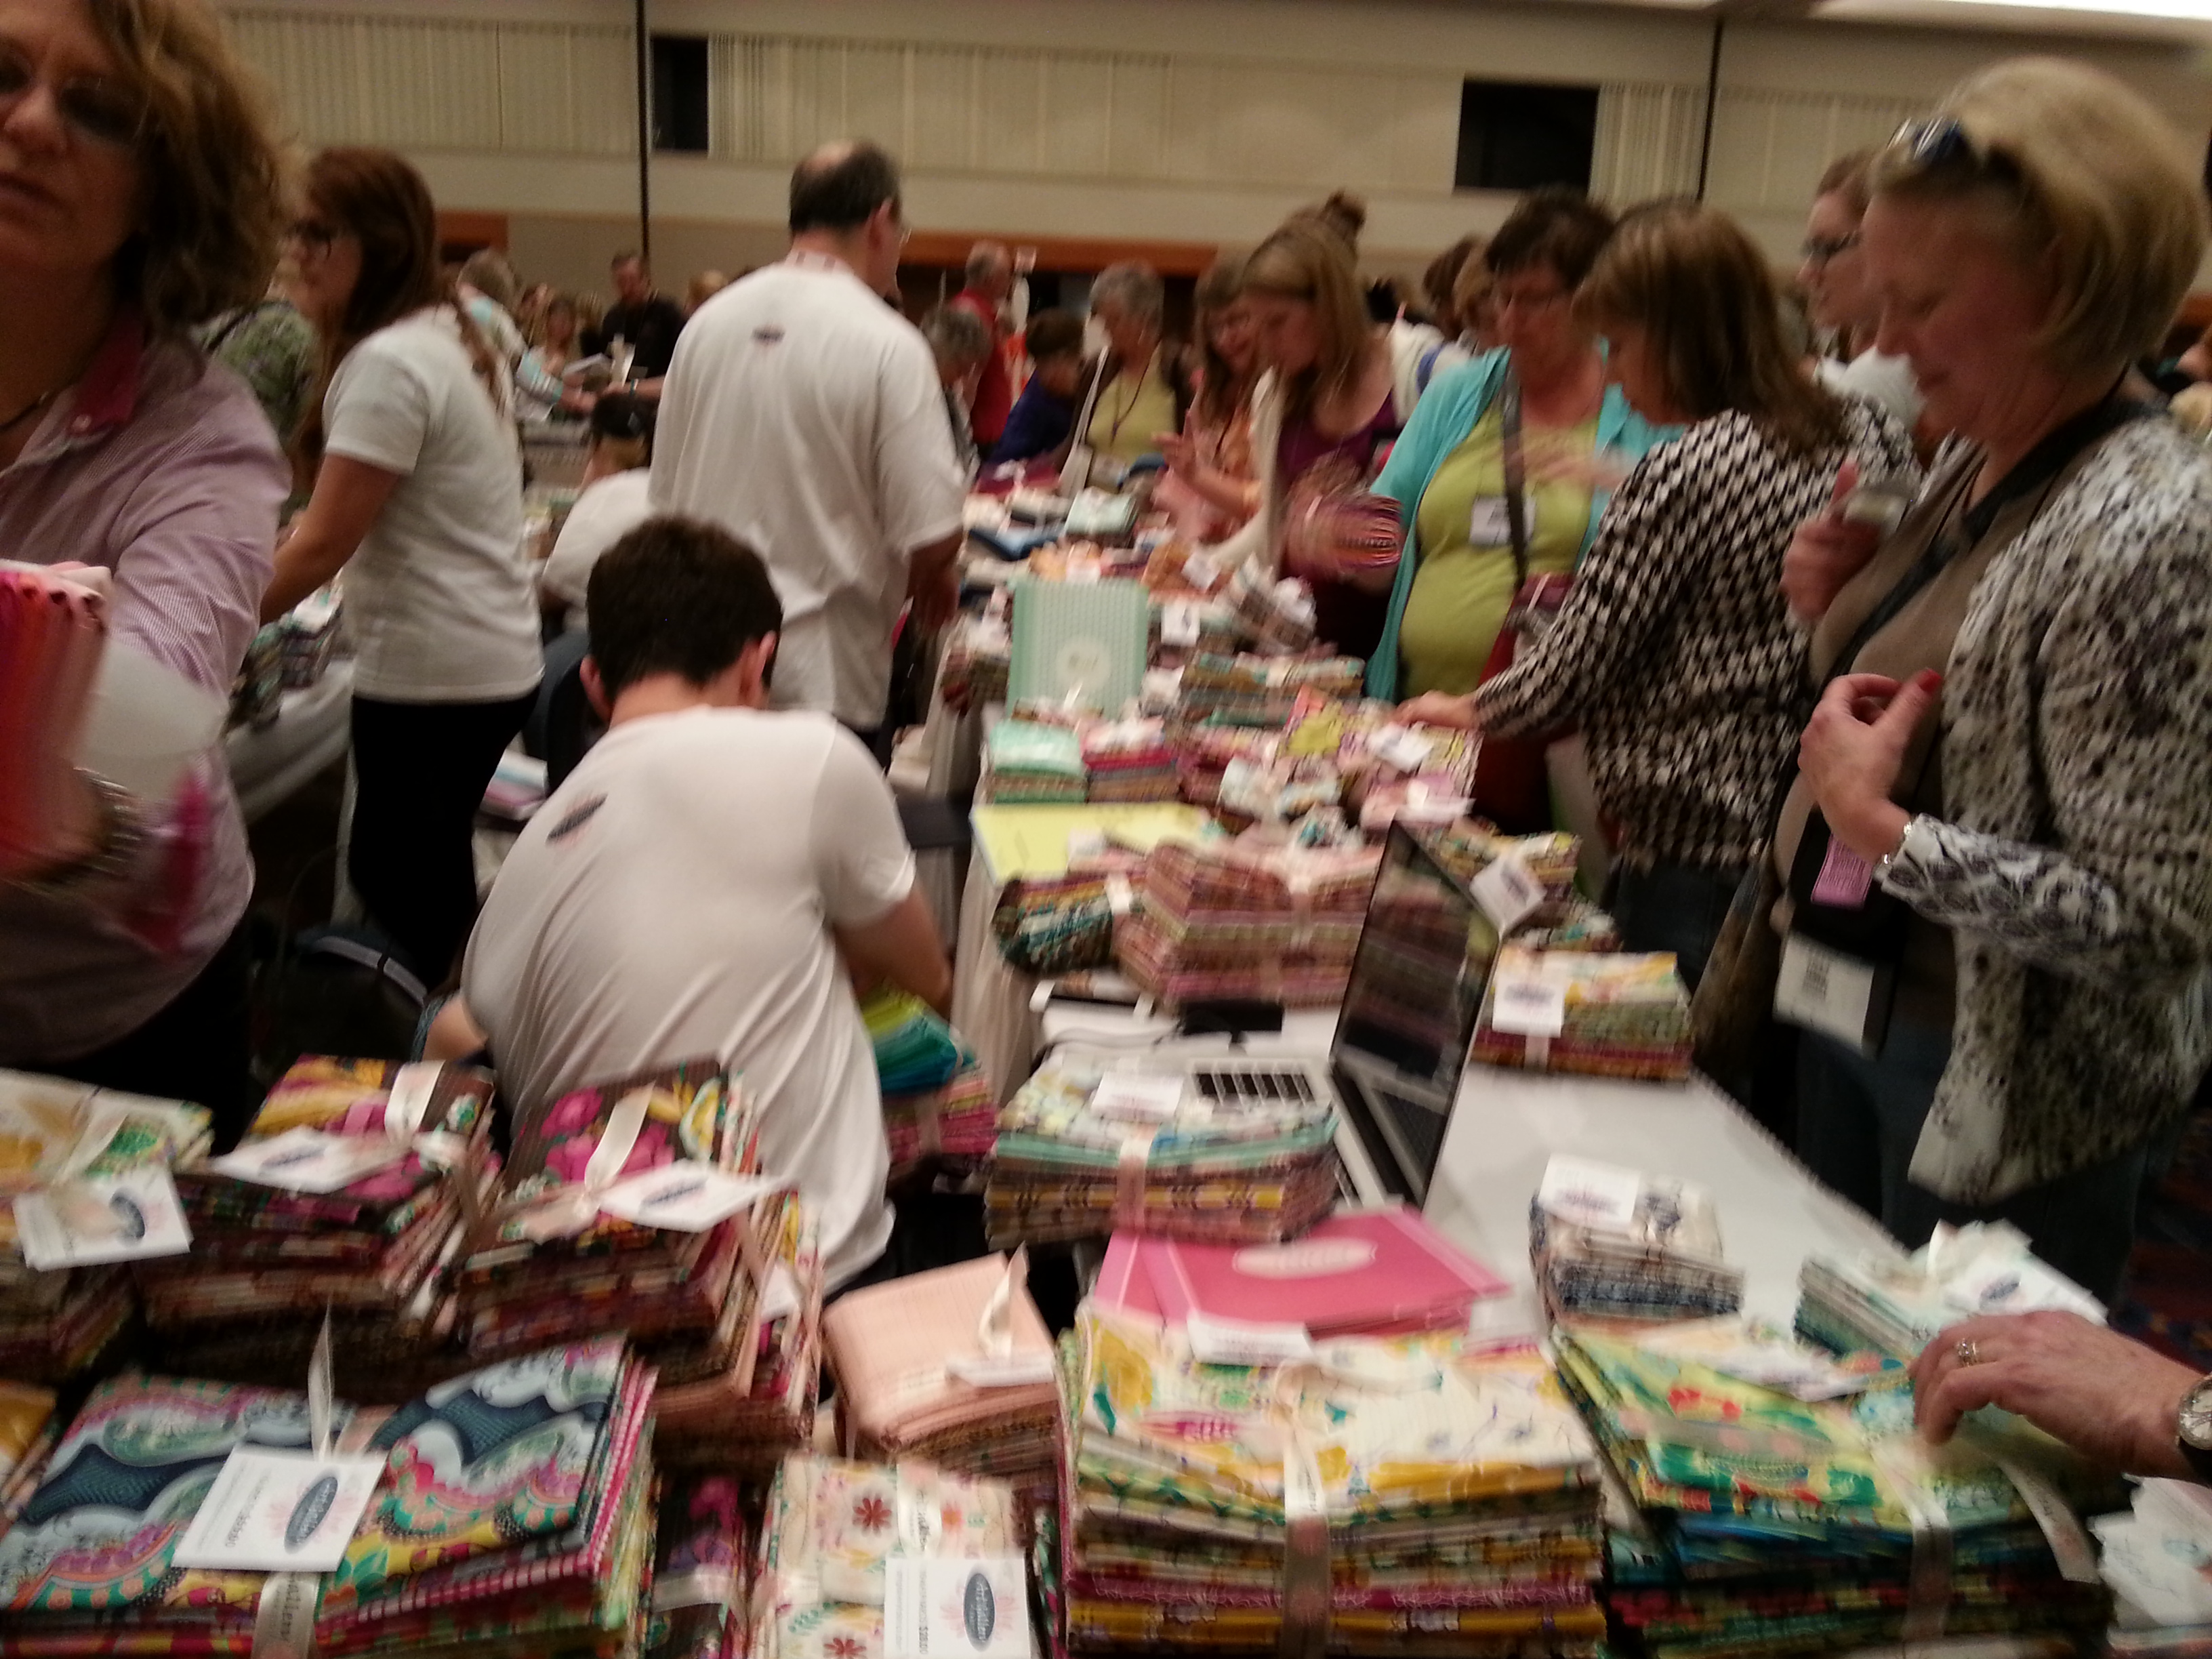
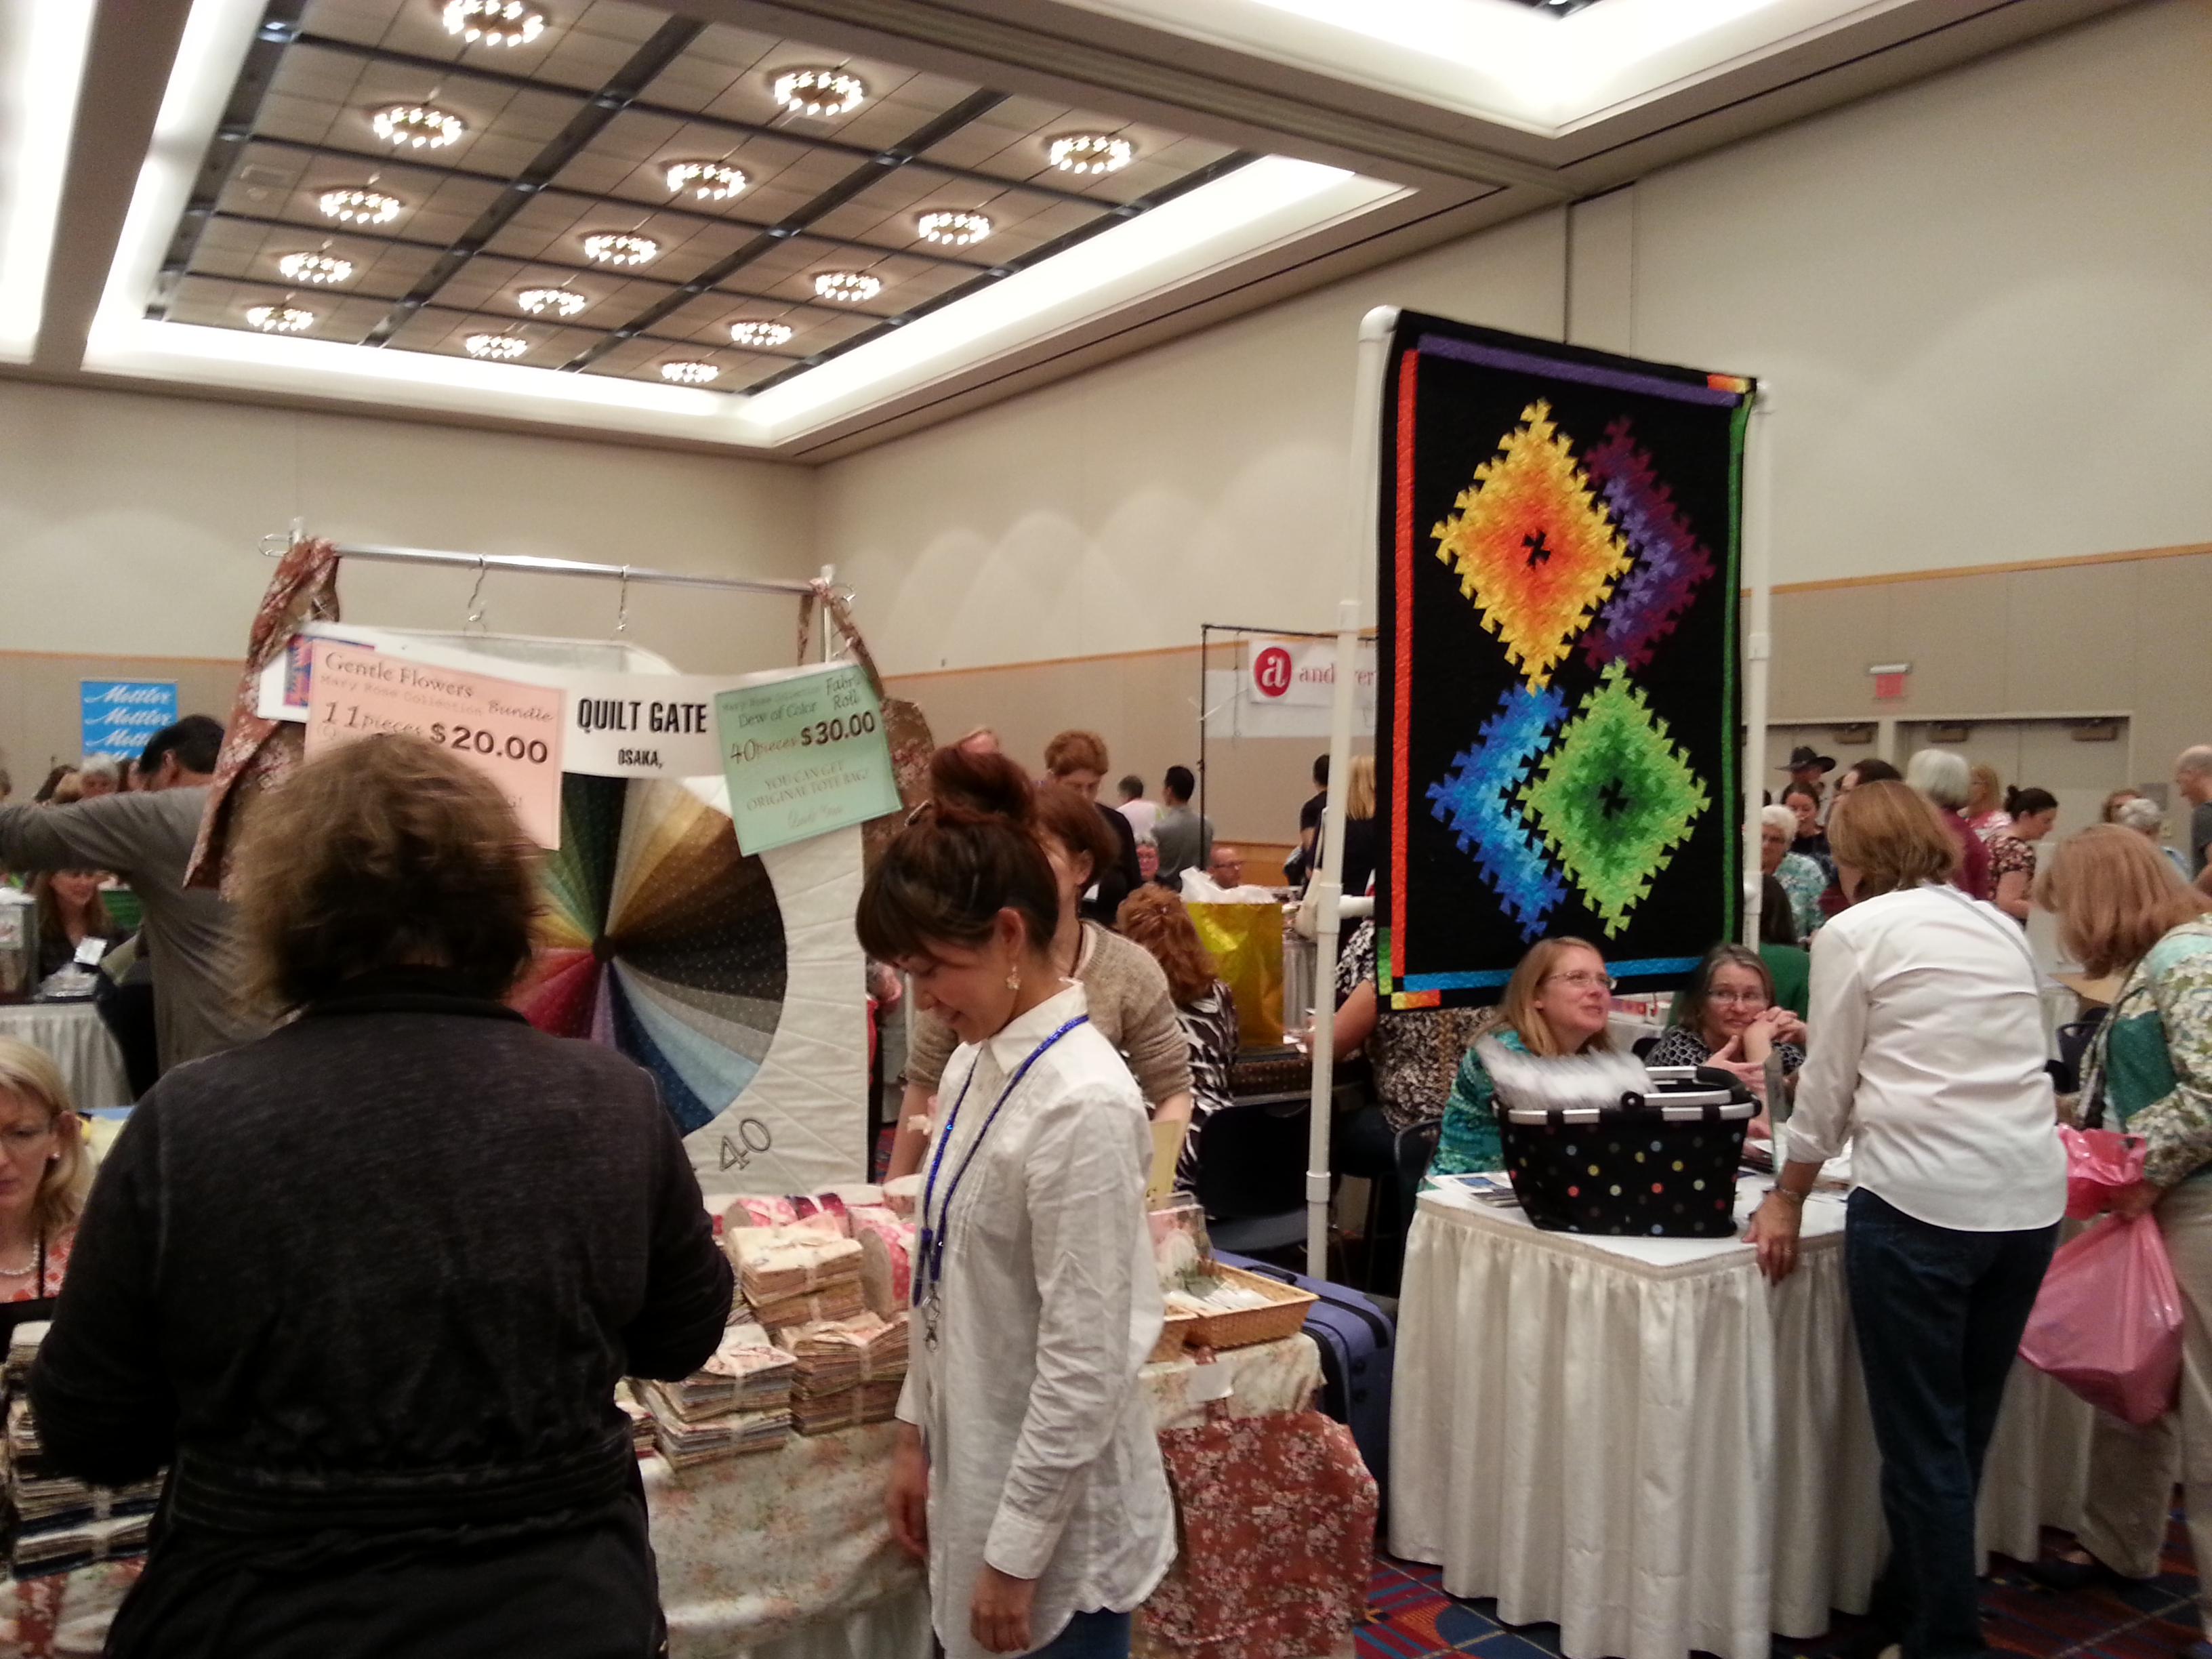
I’ve just returned from three days in Portland where I attended International Quilt Market. It’s four years since I’ve been to this trade show which is held every spring and fall, so I was excited to re-establish contacts in the quilting business and check out all the wonderful new products. As a preview to the exhibition halls opening there was an evening Sample Spree. 120 of the trade show vendors had tables and were selling their wares at wholesale prices. This is an extremely popular event and always oversubscribed. The queue to get in was insane and people began lining up two hours before the doors opened! It is an opportunity for Market attendees, (quilt shop owners and employees, long-arm quilters, teachers etc), to buy fabric (mostly bundles of fat-quarters), tools, books etc., very cheaply for their personal use.

20130516_211431 20130516_202140

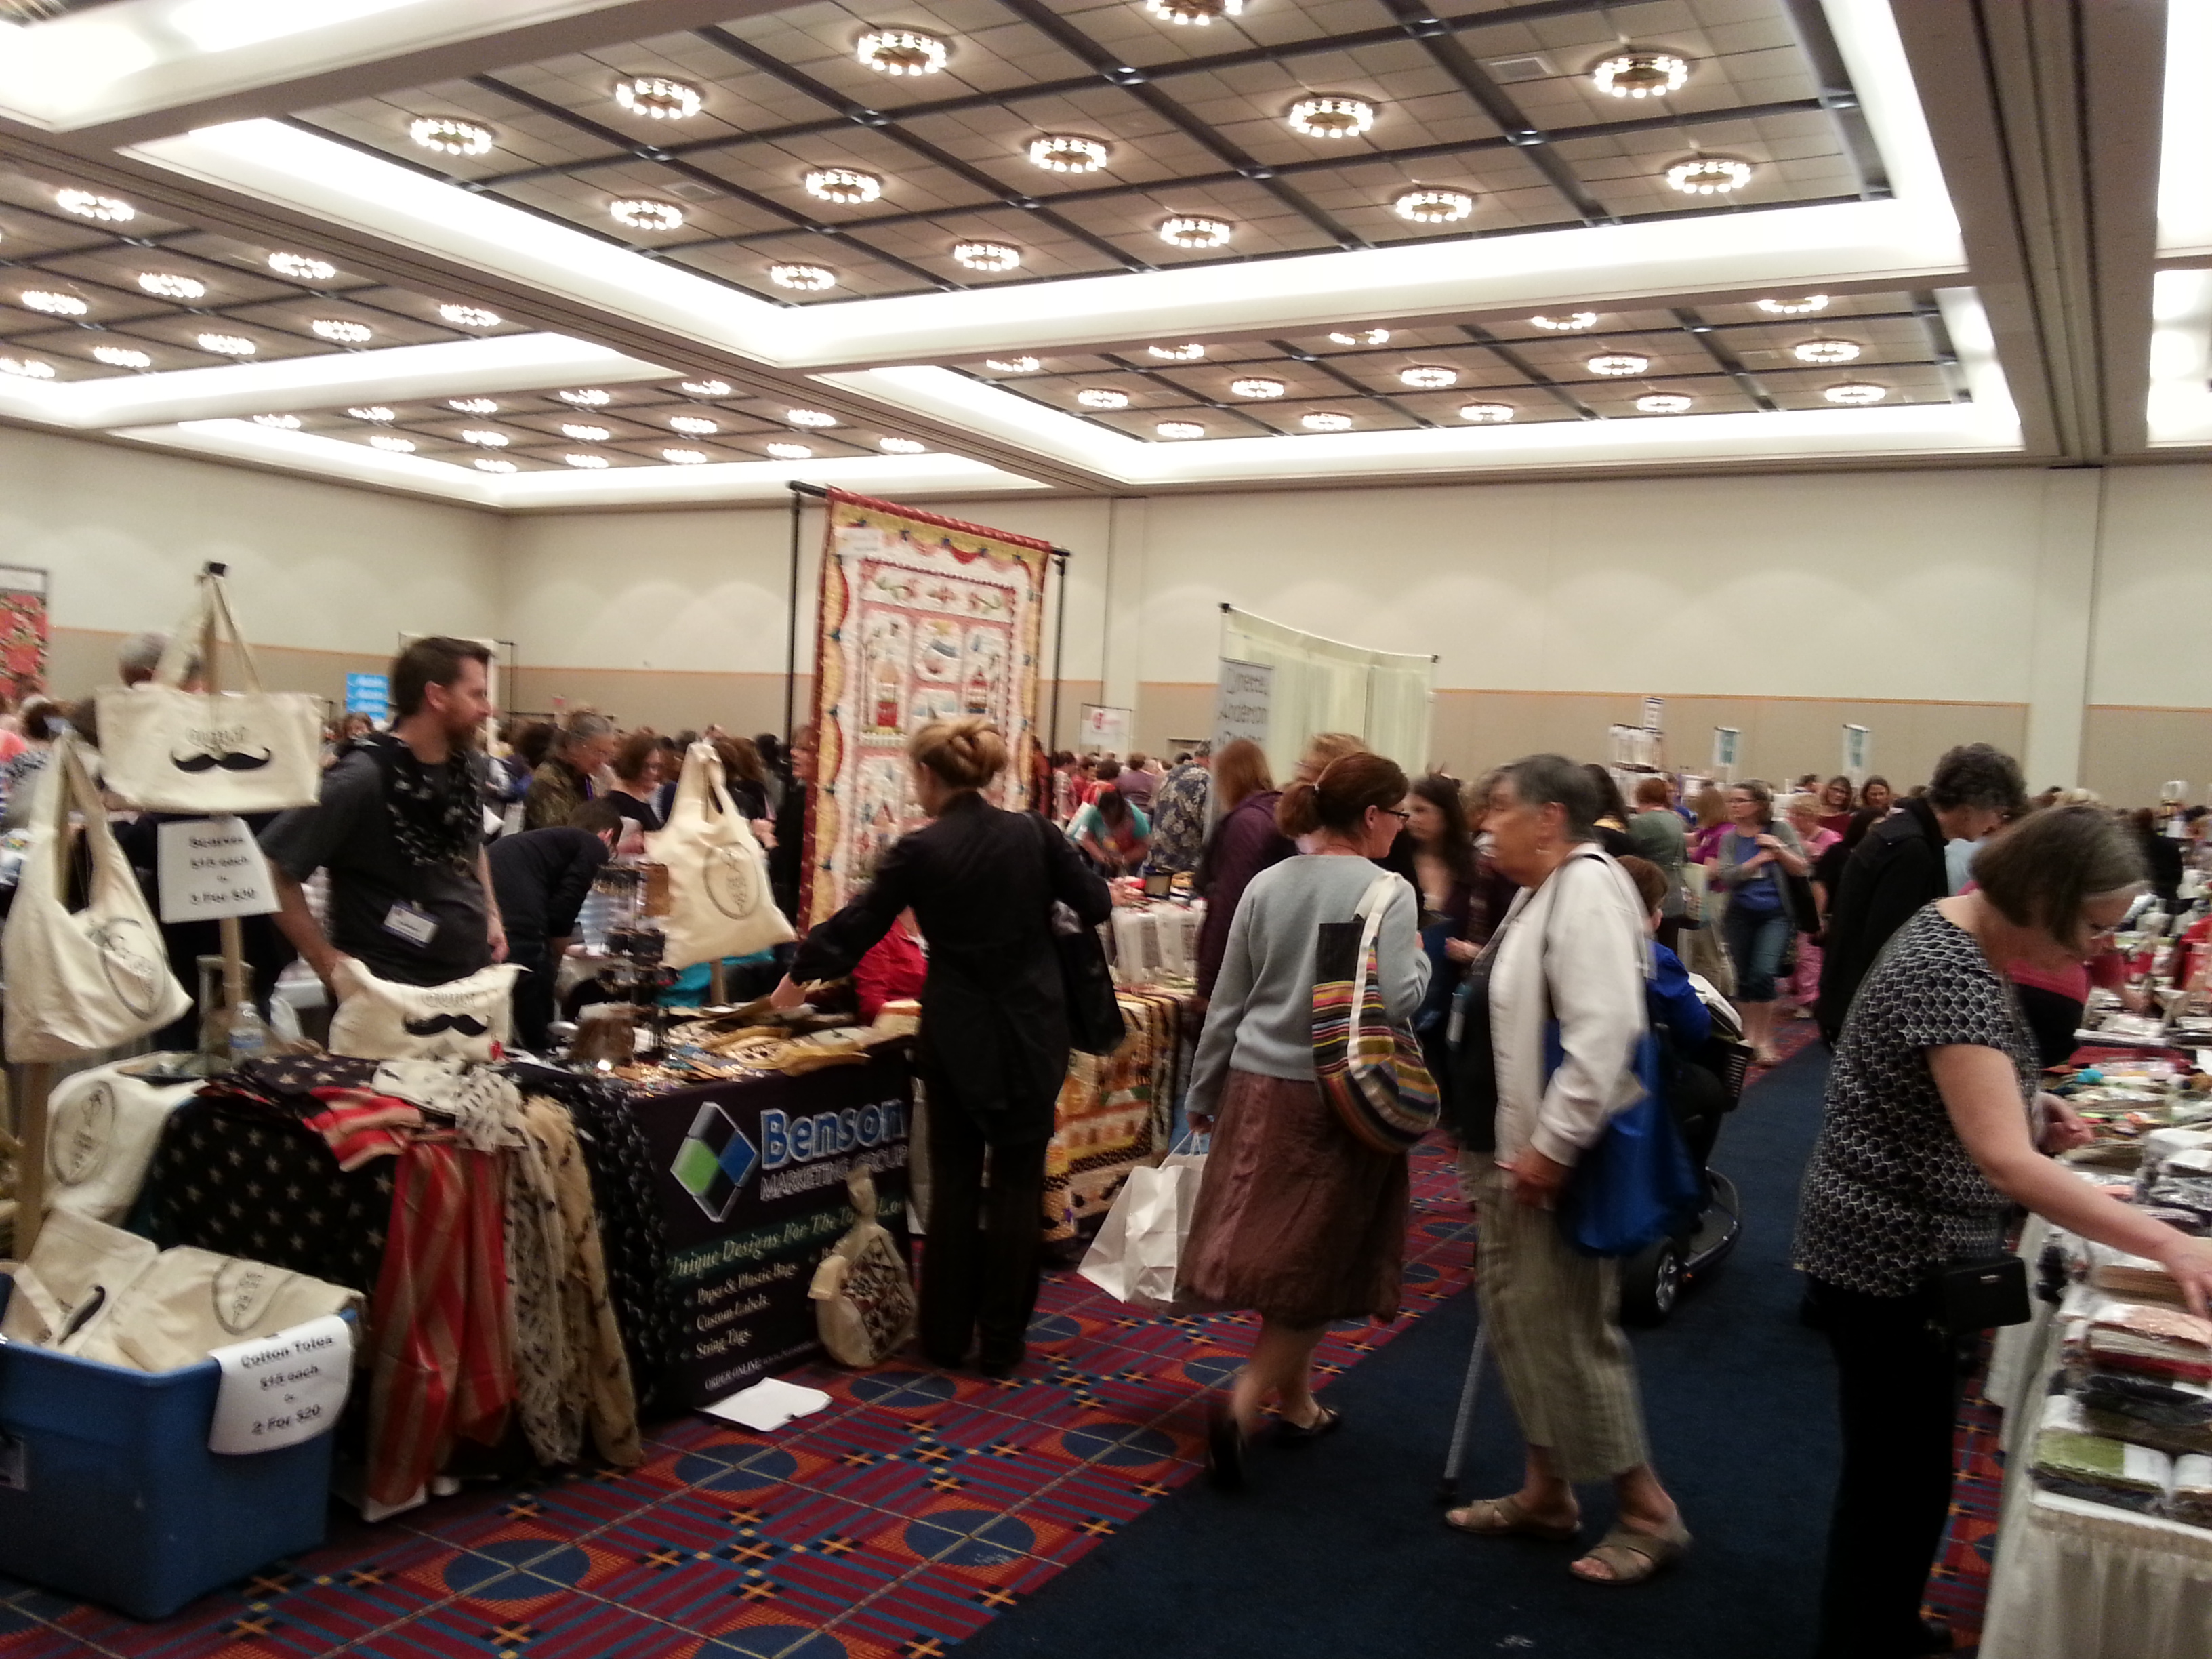
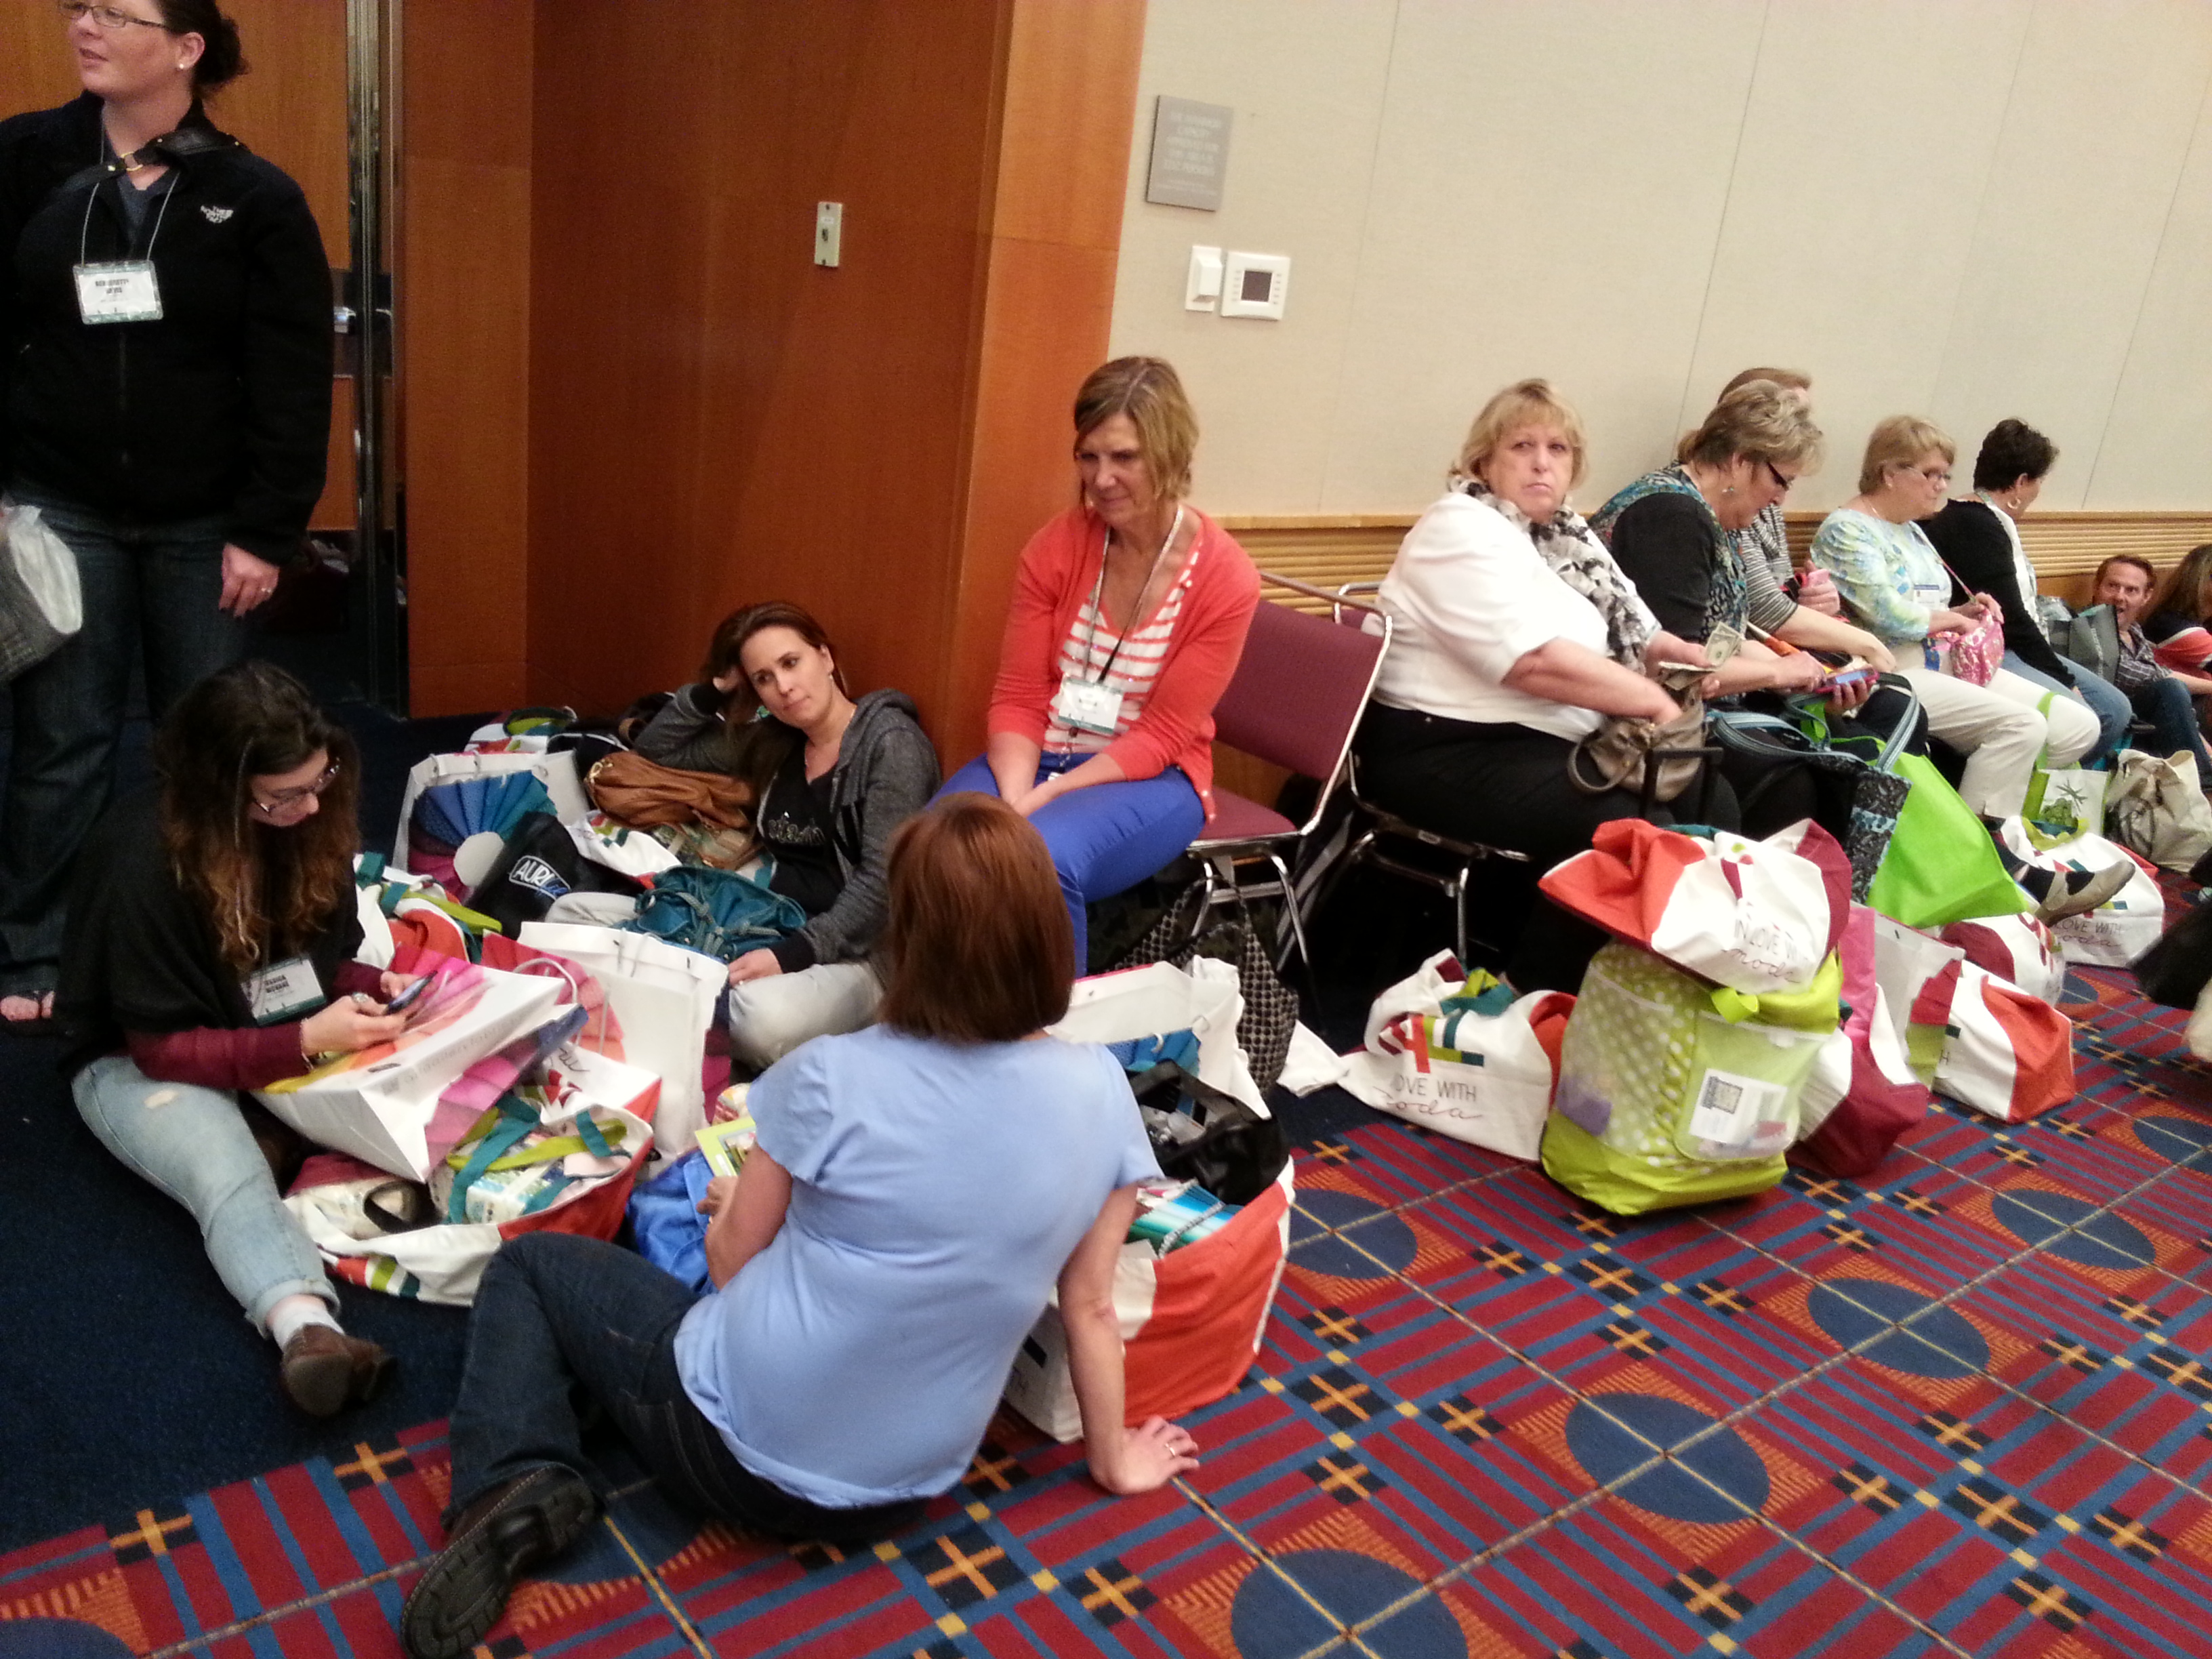
It’s very crowded and you are only allowed to take in bags (no wheely suitcases). People race around loading up their bags and the vendors are usually swamped for the first half hour. I waited until the doors had been open for about 20 minutes before joining the stampede. After a while, some exhausted attendees parked themselves on the floor and rested while guarding their loot!

20130516_204621 20130516_205321

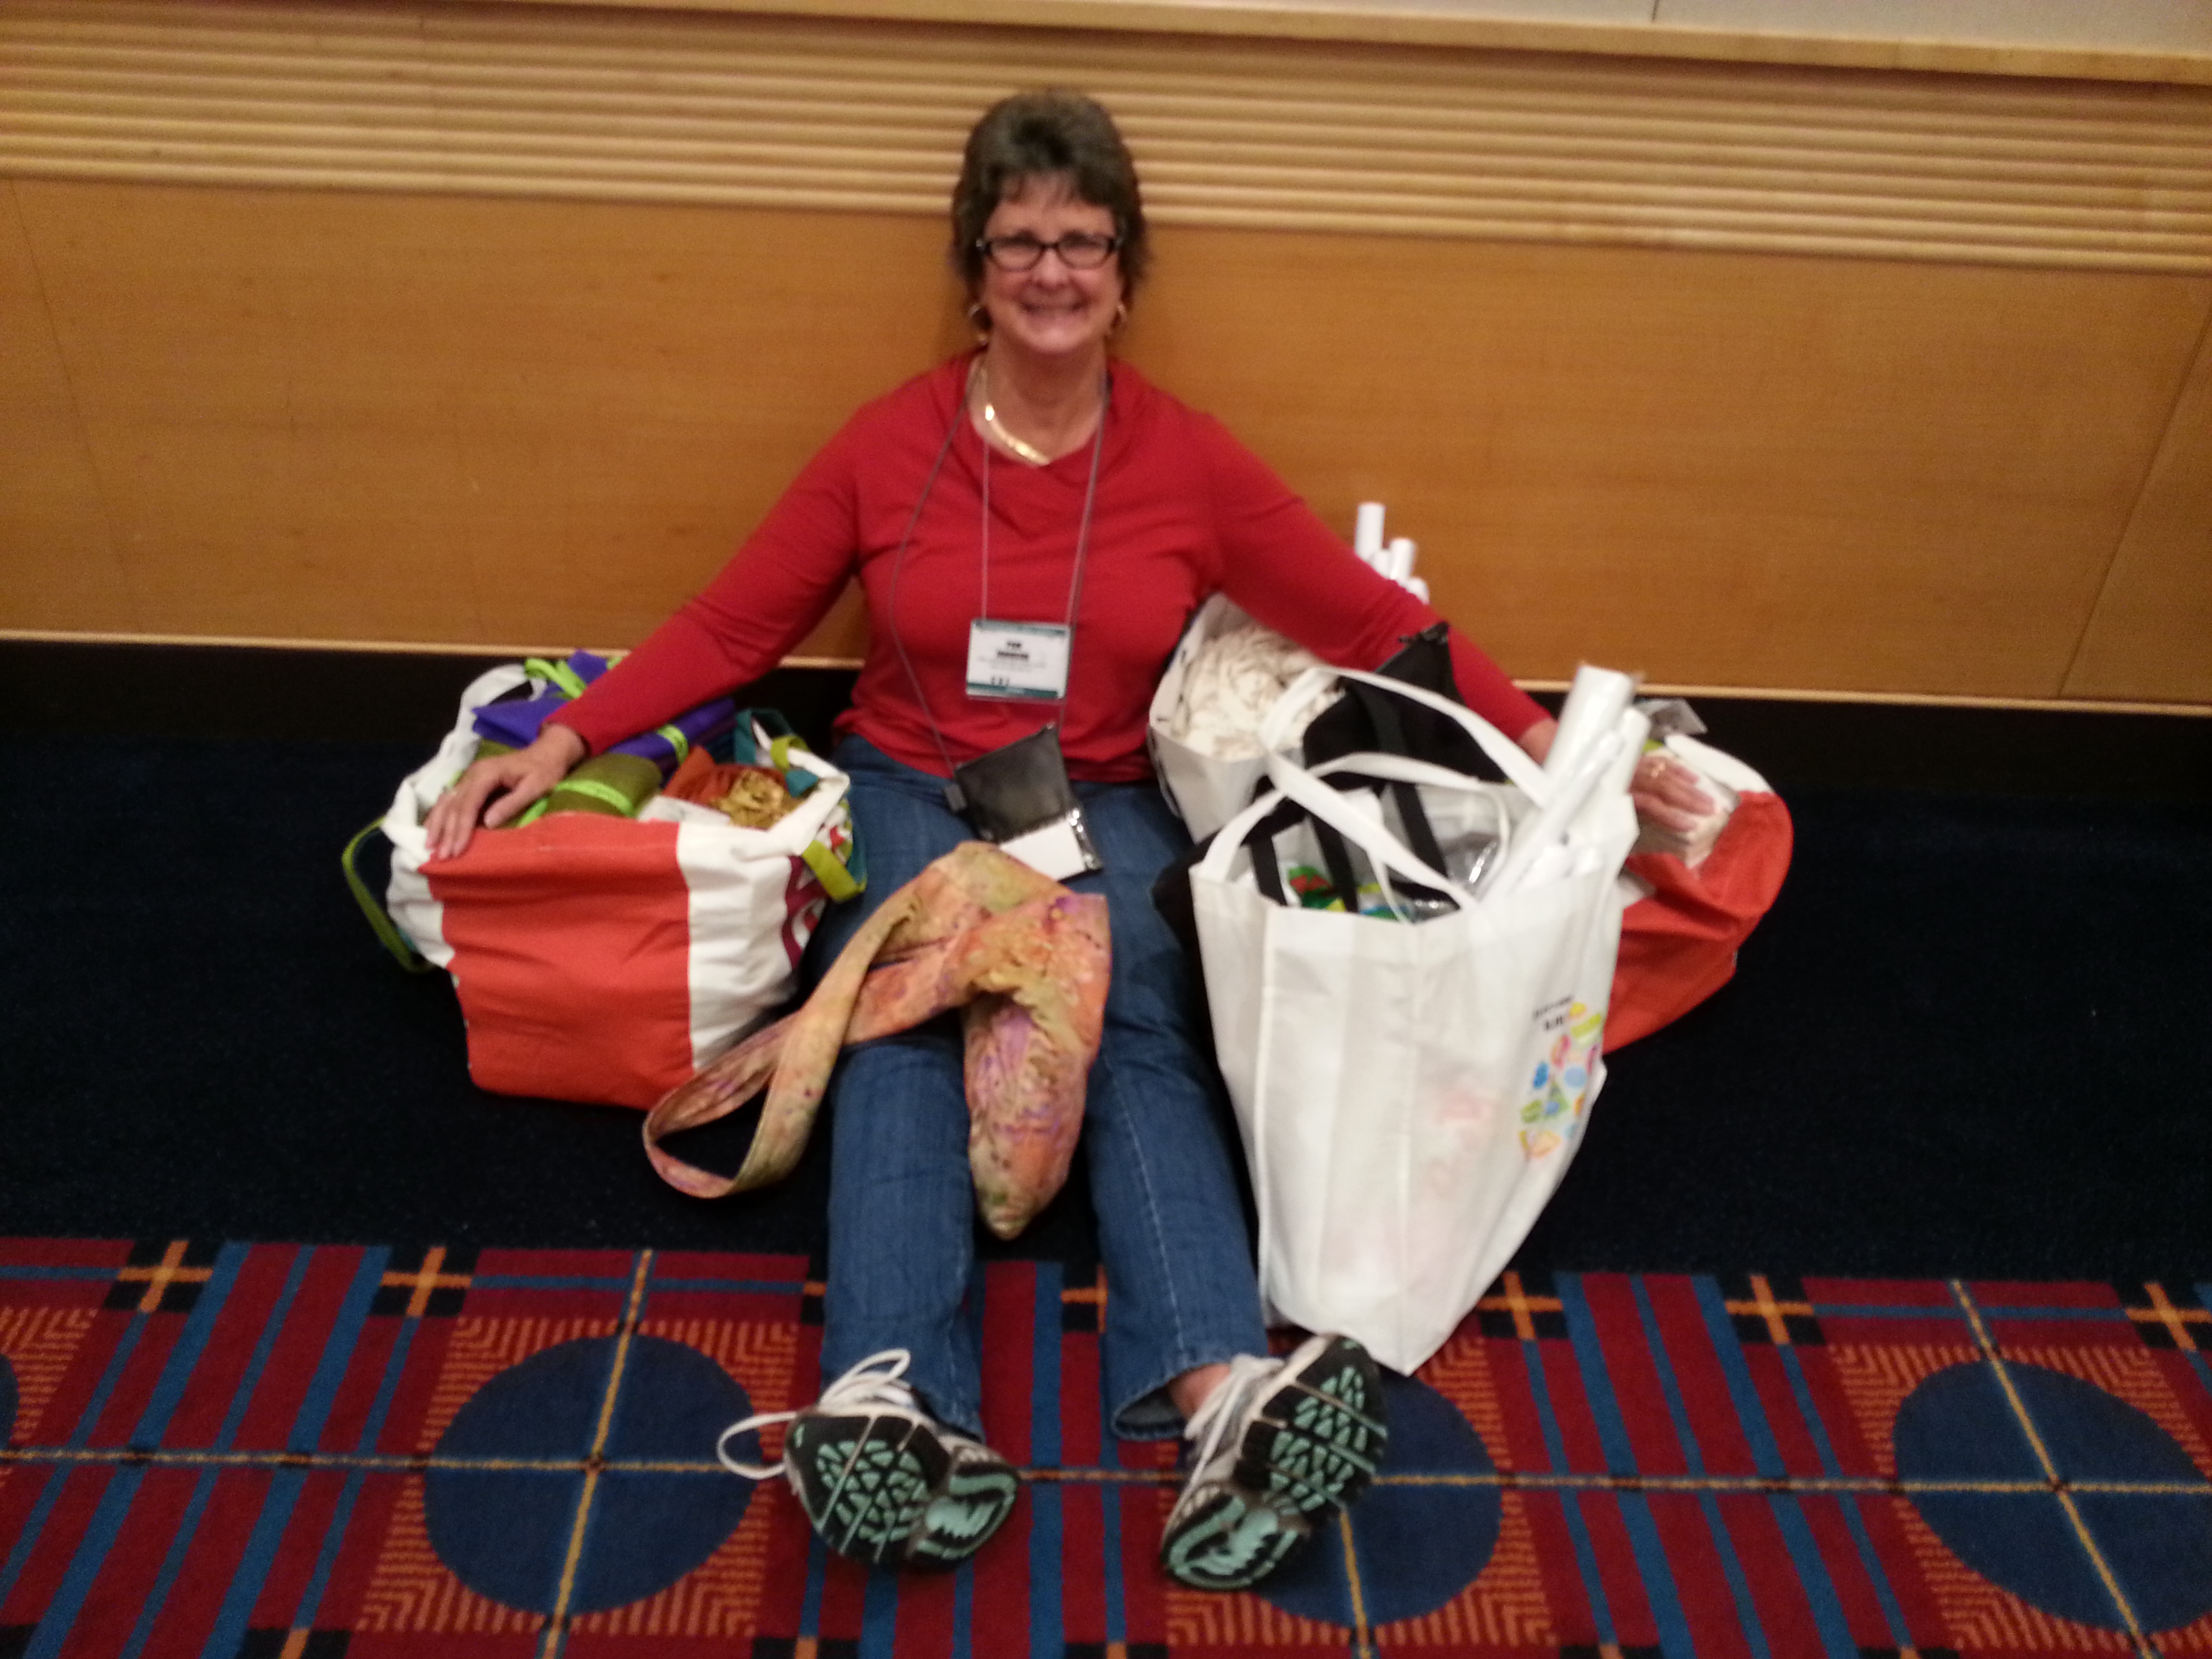
I chatted with this lady, Pam Johnson, from California, who assured “It’s not all mine, some of it is my friend’s!” Okay, I’ll admit it, I succumbed too and bought two large bundles of fat-quarters from Henry Glass & Co. $25 for 17 fat-quarters was too good a bargain to resist!

Quilting Pins

When I’m piecing my quilts I like to pin at intersections to help keep everything precise. I always place my pins perpendicular to the seam line. If I use narrow pins and sew slowly, my machine will run over them without any problems. I’m always cautious about telling my students that they can sew over pins. Some machines are very finicky especially if the pins are fat, or positioned at an odd angle rather than at right angles to the seam line. If in doubt, take them out just before your machine reaches them. There are a variety of choices out there. Here are some of the options.

20130507_152012 20130507_152532

The pins on the far left are my favorite. These are Clover Extra Fine. They have yellow or turquoise glass heads and a nice slender shank. The ones next to them are Fine and work well too. The Fine ones seem to be more readily available in the quilt stores than the Extra Fine. If you want one of the longer varieties, the flat headed flower pins, (far right), are good. The shank is reasonably narrow and the head is easy to grab onto. The second from the right and other similar pins, which are often called “quilting pins”, are too fat in my opinion and not appropriate for use when machine piecing. They do have their uses. When I’m auditioning fabrics on my work wall, I use them to pin the fabrics, (which are often folded several times), onto the board. Some people swear by forked pins, but these are pricey. One of my students told me that the forks bend easily. They are problematic if the forks aren’t exactly parallel and can cause puckers.

20130507_153312

Of course, when you have pins, you need pin cushions. I have several including a Shaker one with bobbin holder, tapestry, little basket, blue-bird with green wings, a rather angular chicken, and a round felted chicken.

Favorite Quilting Rulers Part II

In my last posting, I told you about my favorite all-purpose quilting rulers. Today, I’ll share the rulers I use when making 1/2-square and 1/4-square triangle units. When constructing these units, I make them a little larger than required and then trim them to the exact size so that they are really accurate.

Rulers3

The Omnigrid 6″ square ruler works well and is widely available at quilt stores but the Tucker Trimmers I and II are much easier to use. When I taught at the Minnesota Quilters’ Guild conference in 2010, I discovered these rulers. Jeff and Deb Tucker had a booth at the show and as soon as I saw Jeff give the demo, I was sold. At their website, Studio 180 Design, you can see video demos and order these rulers if your local quilt store doesn’t carry them.

Rulers4

The Tucker Trimmer I ruler (on the right) is used for trimming to whole inch and half inch sizes. I have positioned it to trim my 1/2-square triangle unit to 3″ (whole black dot is on top right). If I turned it 180 degrees the half black dot would be at the top right and I could easily trim the unit to 2-1/2″. Trimmer Tucker II is for 1/4″ and 3/4″ sizes and works in the same way (with a 1/4 dot and a 3/4 dot to indicate the appropriate position). Like the Omnigrid 6″ square, these rulers have a diagonal line running from top right to bottom left, but they also have diagonal lines going the other way. When trimming a 1/4-square triangle units (as on the left) it is really easy to line up the center of the unit where these diagonal lines on the ruler intersect. Yes, it’s two rulers instead of one, but the ease with which you can read the measurements and use them accurately makes it well worth the investment.

Favorite Quilting Rulers Part I

I am a huge fan of Omnigrid rulers. I like the clarity and ease with which I can read the measurements. If I could only have one ruler for all my quilting, I would choose the 6″ x 24″ and this is the one I advise new quilters to purchase. My second favorite is the 15″ square which I find extremely useful for squaring up my Kaleidoscope and Op-Art Kaleidoscope blocks.Rulers1

Another I like is the 6″ x 12″ ruler. This is especially good for cutting strip sets into segments which I do frequently when making my Bargello block quilts. When you are making these repeated counter-cuts, it is easier to use this smaller ruler rather than the long 6″ x 24″. You can line up the horizontal lines on the ruler with the seam lines on the strip-sets which helps to keep everything square and even.

20130225_171829

On my quilting travels, I have come across a variety of rulers, some of which I have great difficulty using. Part of this is simply due to habit, but for me it is hard work using rulers that have variable divisions in the measurements marked on the ruler. I also have an aversion to rulers that have 1/2″ added on e.g. the 6-1/2″ x 24″. With my 6″ x 24″ I can either long side for measuring my cuts. For the 6-1/2″ version I get confused by the extra 1/2″ and I find it easy to make a mistake if the ruler is turned round the wrong way. I also have this problem with the 9-1/2″ and 12-1/2″ squares. However these work well for cutting blocks for applique when you want 9″ or 12″ finished size.

In my next blog, Part II, I’ll discuss the rulers I use when making 1/2-square triangles and 1/4-square triangles.