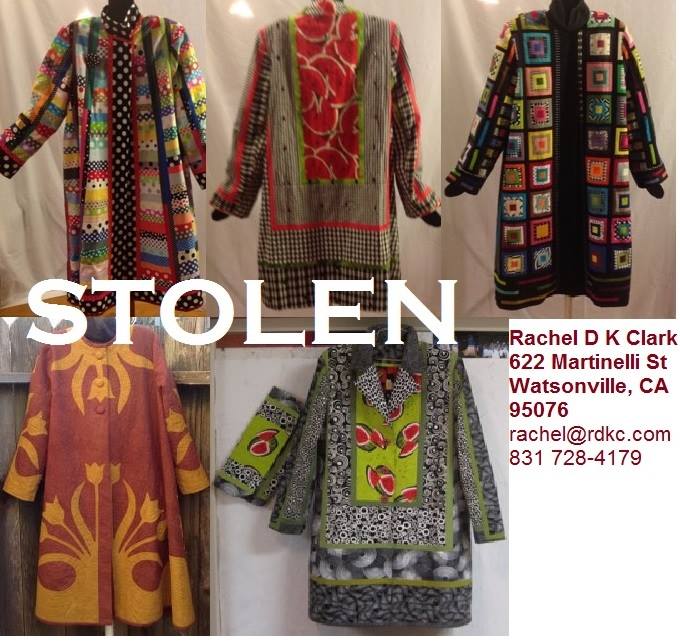
Rachel Clark is an amazing artist and internationally known in the quilting world for her vibrant patchwork garments. These were stolen out of her suitcase.This is awful. Theft is a risk all traveling quilt teachers take every time they go out to share their passion and no matter how good the insurance coverage, these original pieces are irreplaceable. Please spread the word to increase the small chance that these will be recovered.
Monthly Archives: August 2016
Designing Kaleidoscope Puzzle Quilts
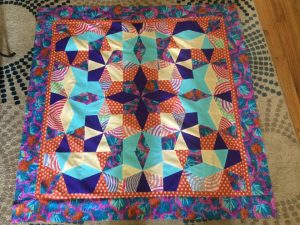
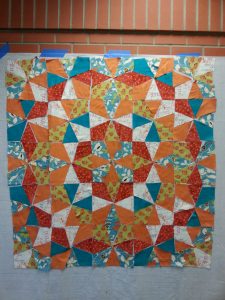
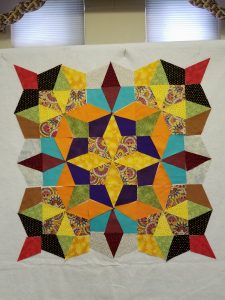
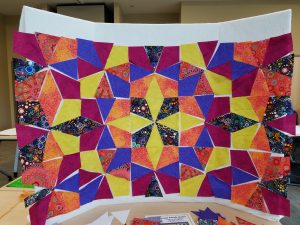
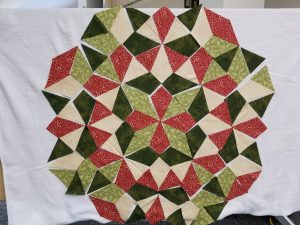
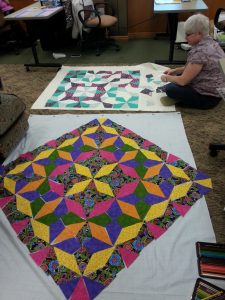
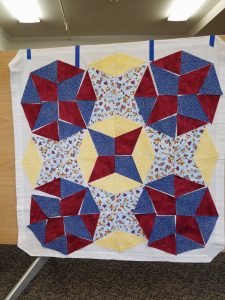
During the last few months I have taught my template-free Kaleidoscope Puzzle Quilts workshop at Walla Walla Valley Quilt Guild, Crystal Quilters of Enumclaw, North Pittsburgh Quilters’ Guild, and Kitsap Quilters’ Guild. I love seeing the patterns emerge as my students play with their kite and wedge-shaped pieces to create their own unique designs. It’s even better when I receive pictures of their completed quilt tops. To purchase a downloadable or hard copy of the pattern, please visit my on-line store. Here are some examples from the workshops. The blocks are composed of kite and wedge-shaped pieces. These two are 25 block quilts.
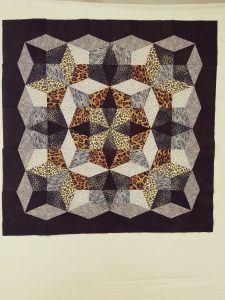
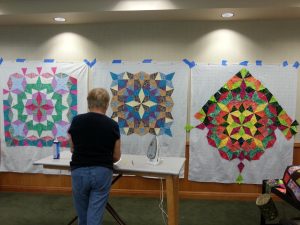
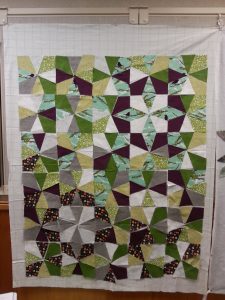
There are many options for laying out the pieces and the possibilities go on and on. The predominantly grey-tone one is also a 25 block quilt, but the side blocks appear as partial blocks completed with the black background. The colored one is a similar design but looks so different from the grey-scale. You can see the partial blocks around the perimeter with the background still to be determined on this work in progress.
Several people chose to use the wedges to create large diamonds helping to generate a strong design in the center.
The on-point versions look very different from the squarely set ones.
Star patterns emerge when an even number of blocks are used (4 x 4 for 16 blocks) as in the left-hand side picture. The one on the right is a scrambled, asymmetrical design. You can do what ever you like! This is a versatile pattern and great fun.
Check out my video demonstration of the template-free cutting technique for the kites and wedges on my video page.
Quilting Rulers
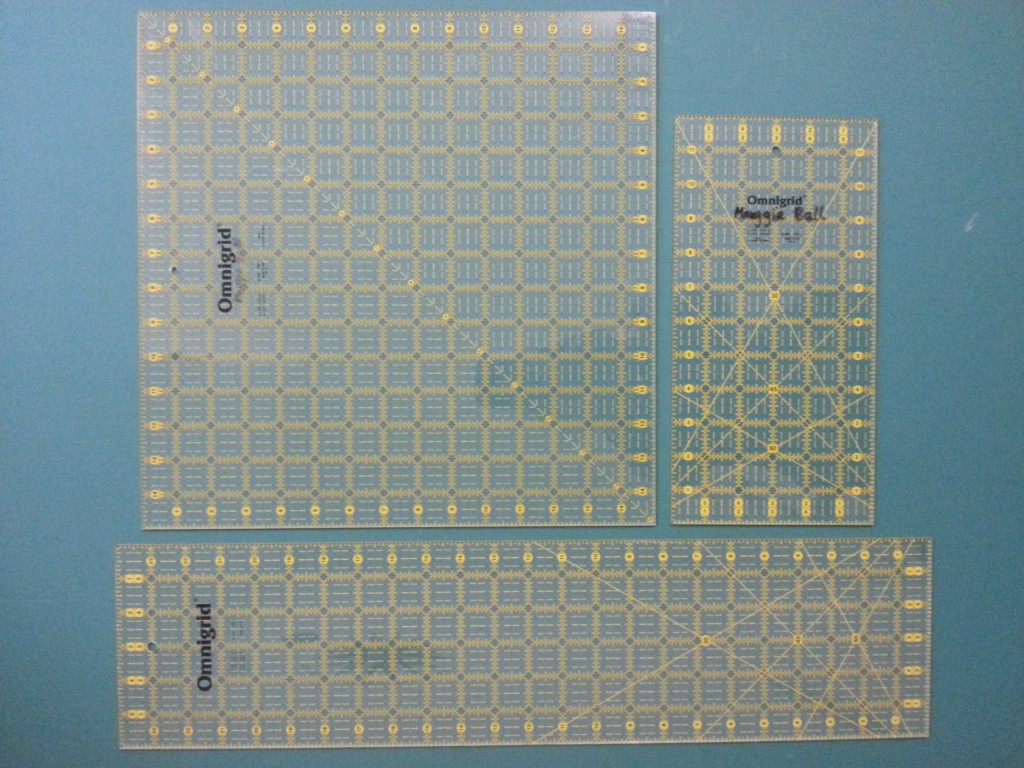
I feel the need to re-run my thoughts on rulers because I am appalled by what many quilting shops are offering. In May, I visited Shipshewana, IN, an Amish quilting Mecca. The only rulers at both the Yoder Department Store and Lilly’s, the two impressively large quilting stores in town, were Creative Grids rulers with an extra 1/2″ added which I hate. Despite the huge array of sizes displayed, there were no rulers without the extra 1/2″. I wanted to get a ruler for my friend who is a beginning quilter and could not bring myself to buy her the 6-1/2″ x 24″ which is so confusing. I do not understand the logic of producing rulers like this except for 9-1/2″ and 12-1/2″ squares which can be used for easily cutting finished-sized 9″ and 12″ blocks for applique. I am a huge fan of Omnigrid rulers without the extra 1/2″ and always recommend these to my students.
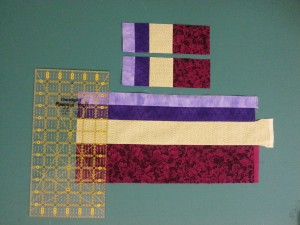
The Omnigrid rulers are clear and easy to read. If I could only have one ruler for all my quilting, I would choose the 6″ x 24″ and this is the one I advise new quilters to purchase. With my 6″ x 24″ I can use either long side for measuring my cuts. For the Creative Grids 6-1/2″ version I get confused by the extra 1/2″ and I find it easy to make a mistake if the ruler is turned round the wrong way. My second favorite is the 15″ square which I find extremely useful for cutting large squares and squaring up my Kaleidoscope and Op-Art Kaleidoscope blocks. Another I like is the 6″ x 12″ ruler. This is especially good for cutting strip sets into segments which I do frequently when making my Bargello block quilts. When you are making these repeated counter-cuts, it is easier to use this smaller ruler rather than the long 6″ x 24″. You can line up the horizontal lines on the ruler with the seam lines on the strip-sets which helps to keep everything square and even.
I realize that part of this is simply due to habit and what I’m used to, but for me it is hard work using rulers that have the extra 1/2″ or that have variable divisions in the measurements marked on the ruler. I have seen some appalling specimens on my teaching travels and my students get frustrated when their rulers are so difficult to use.
Bargello block baby quilt
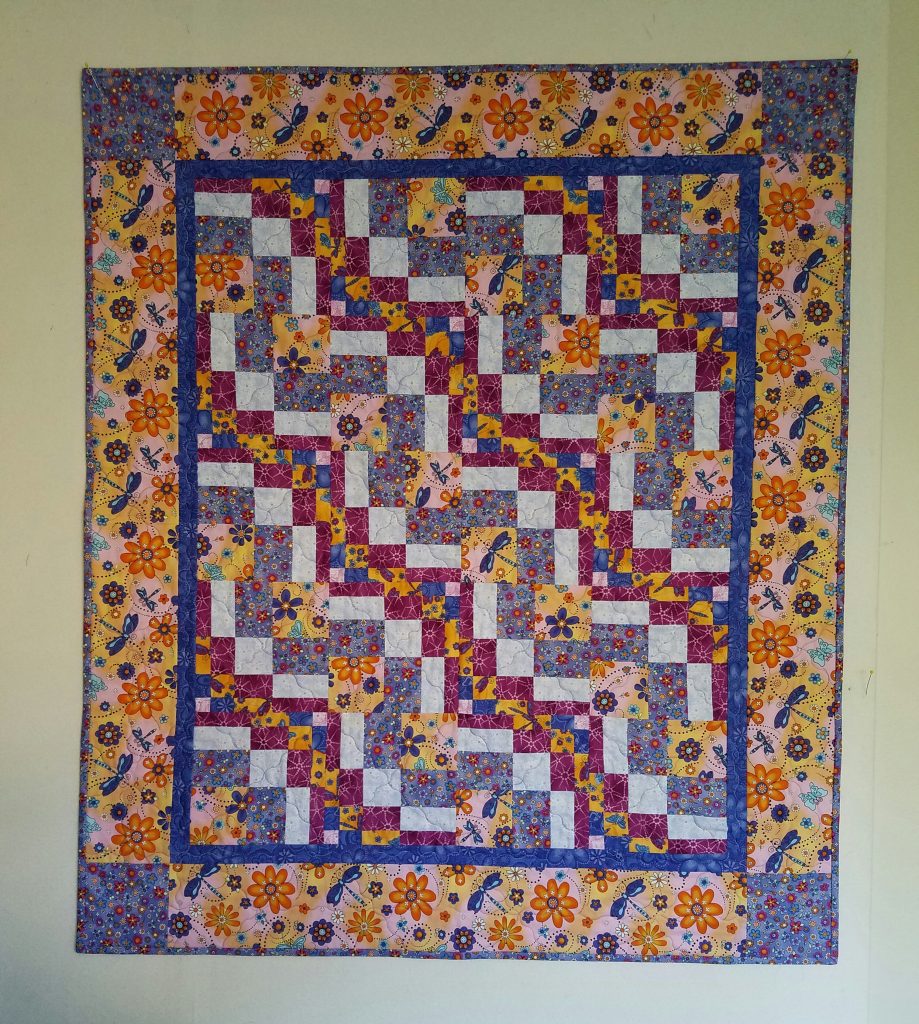
I made this quilt for my new great-niece from my Bargello blocks as featured in my book, Bargello Quilts with a Twist. This month, I am going to England so will be able to deliver it to baby Bea in person.
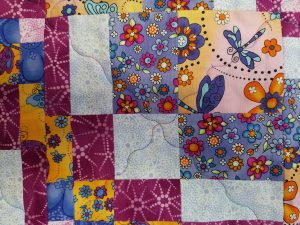
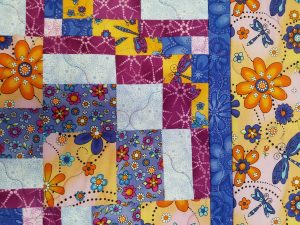
I used 20 Bargello blocks arranged in the style of a Log Cabin Straight Furrows pattern. The fabric was designed by me when I was a consultant for David Textiles several years ago, and we produced three lines that would appeal to young quilters. The detailed shots below show how I machine quilted the quilt on my home domestic sewing machine (Viking Designer I).
The serpentine stitch is very easy using the walking-foot and also really forgiving. It is much easier than stitching in the ditch or stitching an accurate straight line from corner to corner of the block. The pattern created by the blocks is strong and the fabrics are busy, so there is no need for an elaborate quilting pattern which would not show up. You can see how the stitch is much more visible on the light colored fabric which reads as a solid. On the floral fabrics, the stitch disappears.
