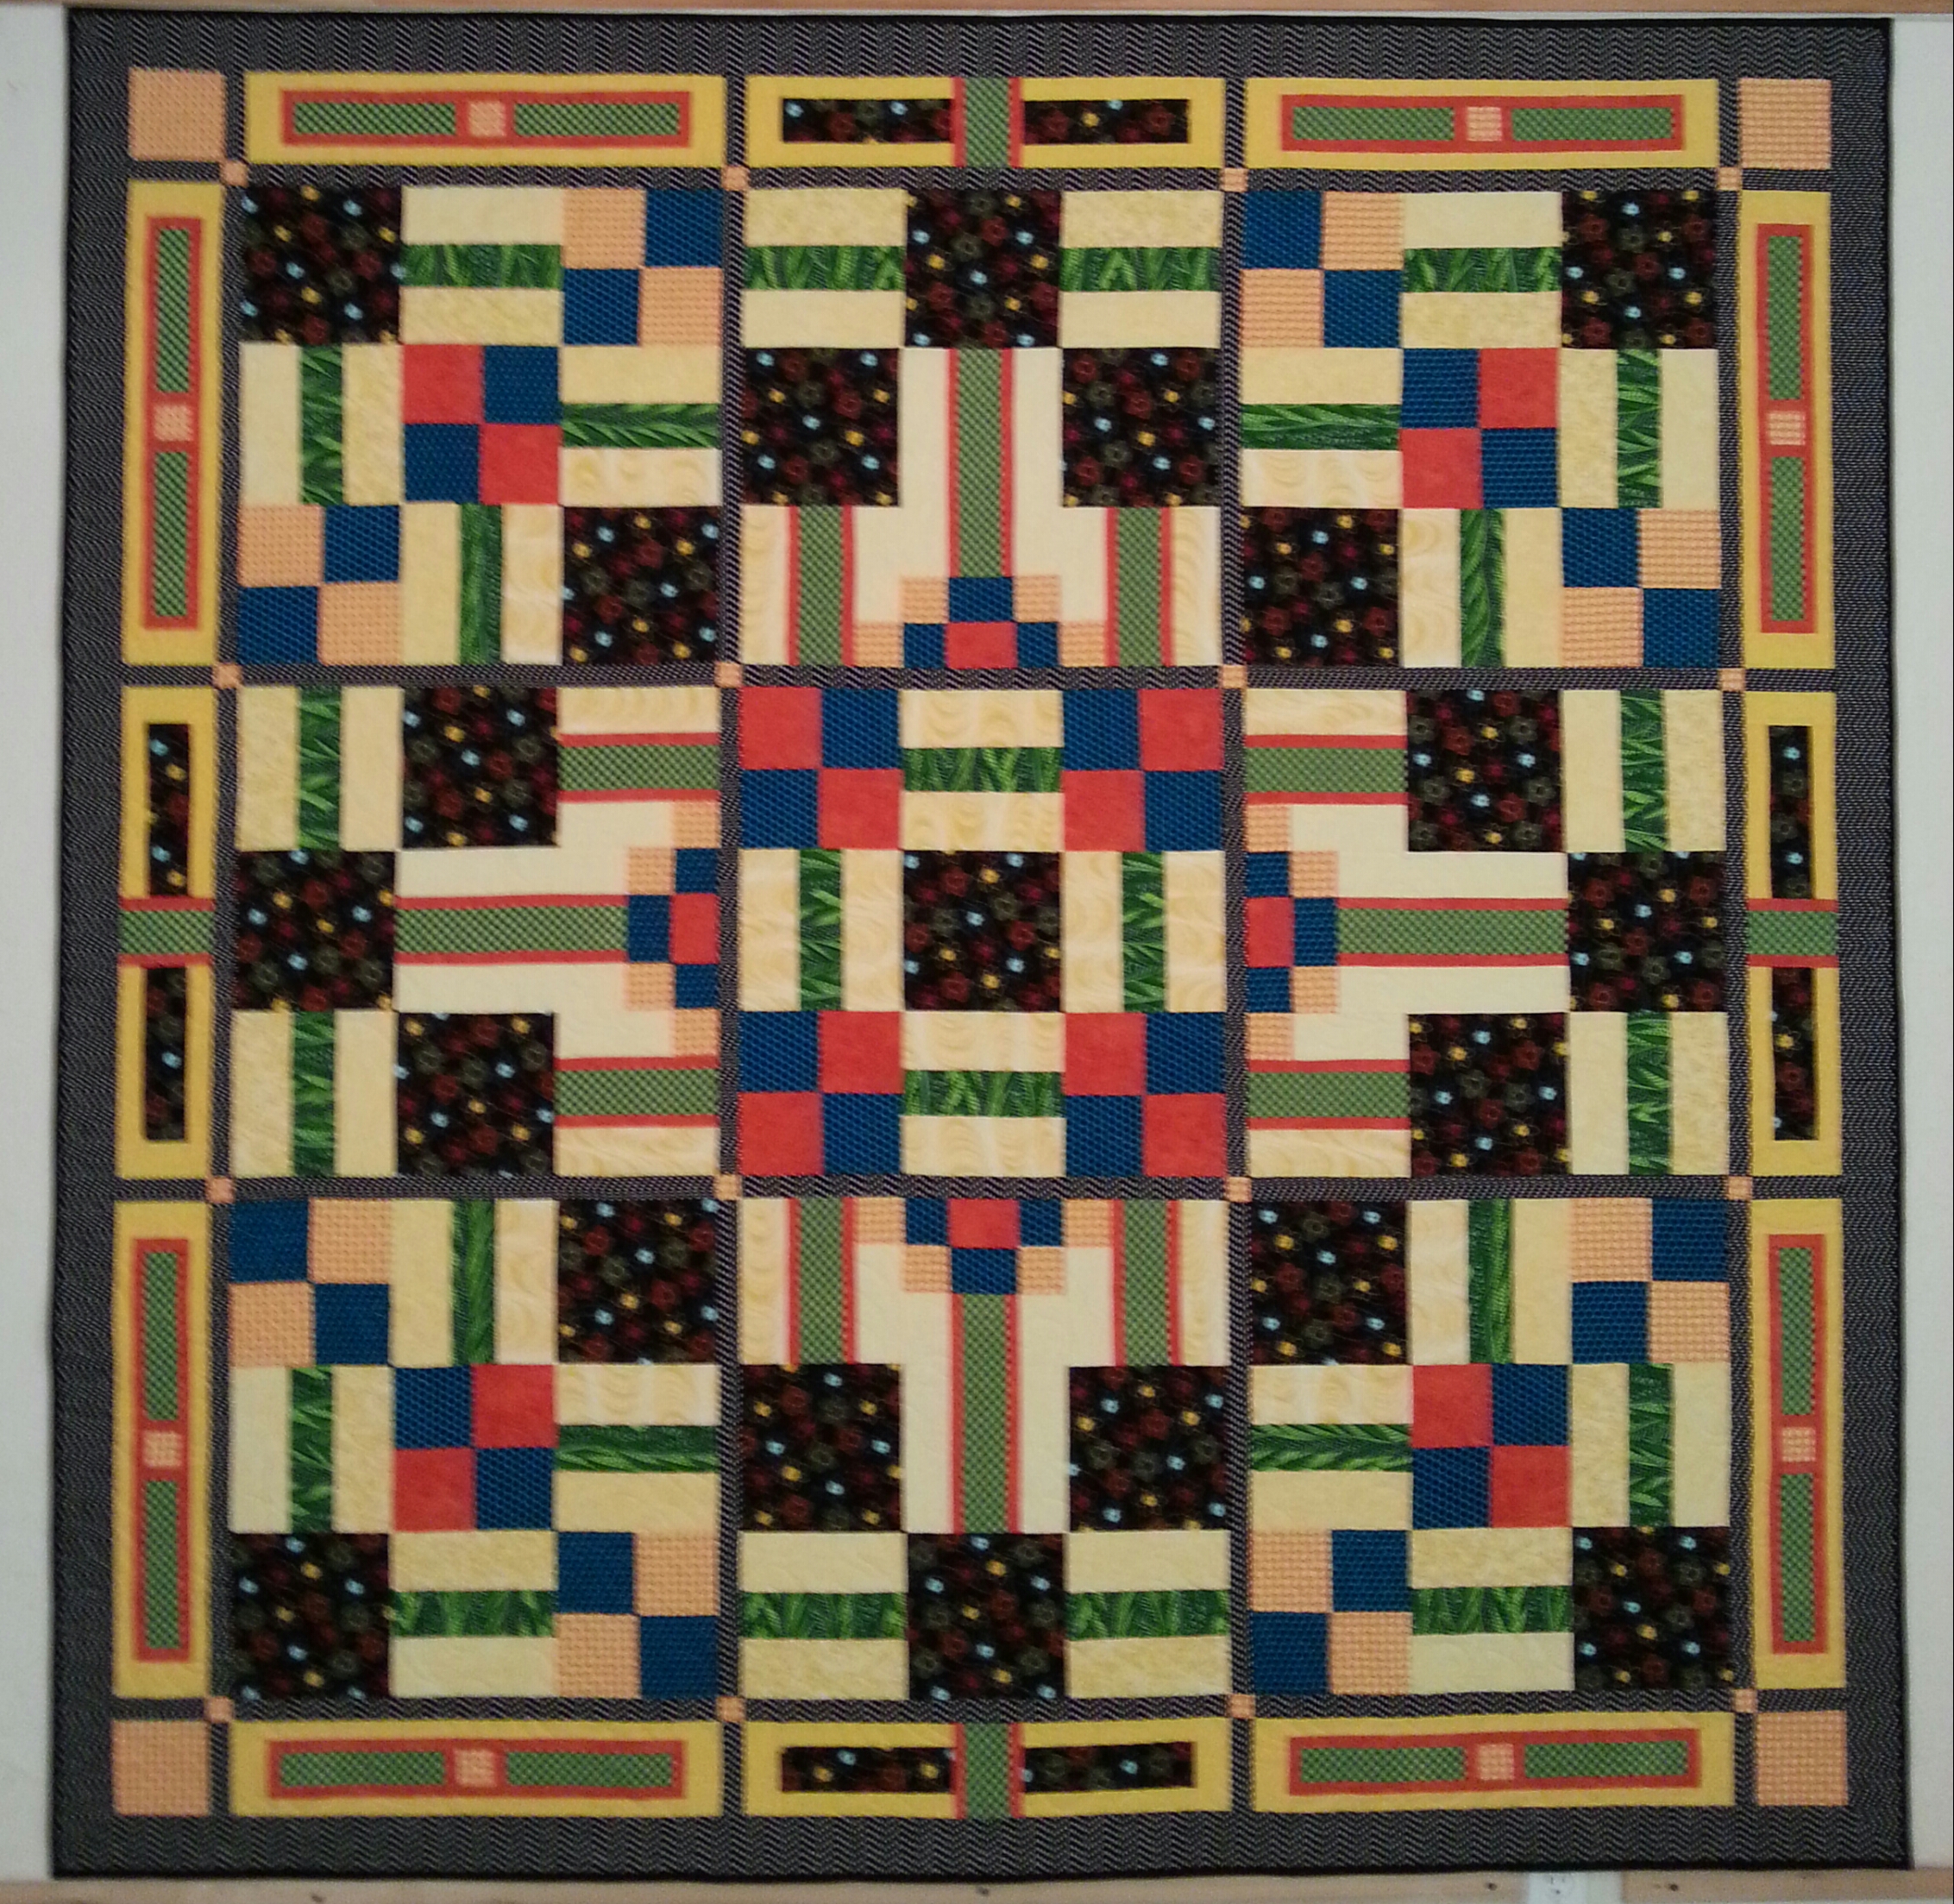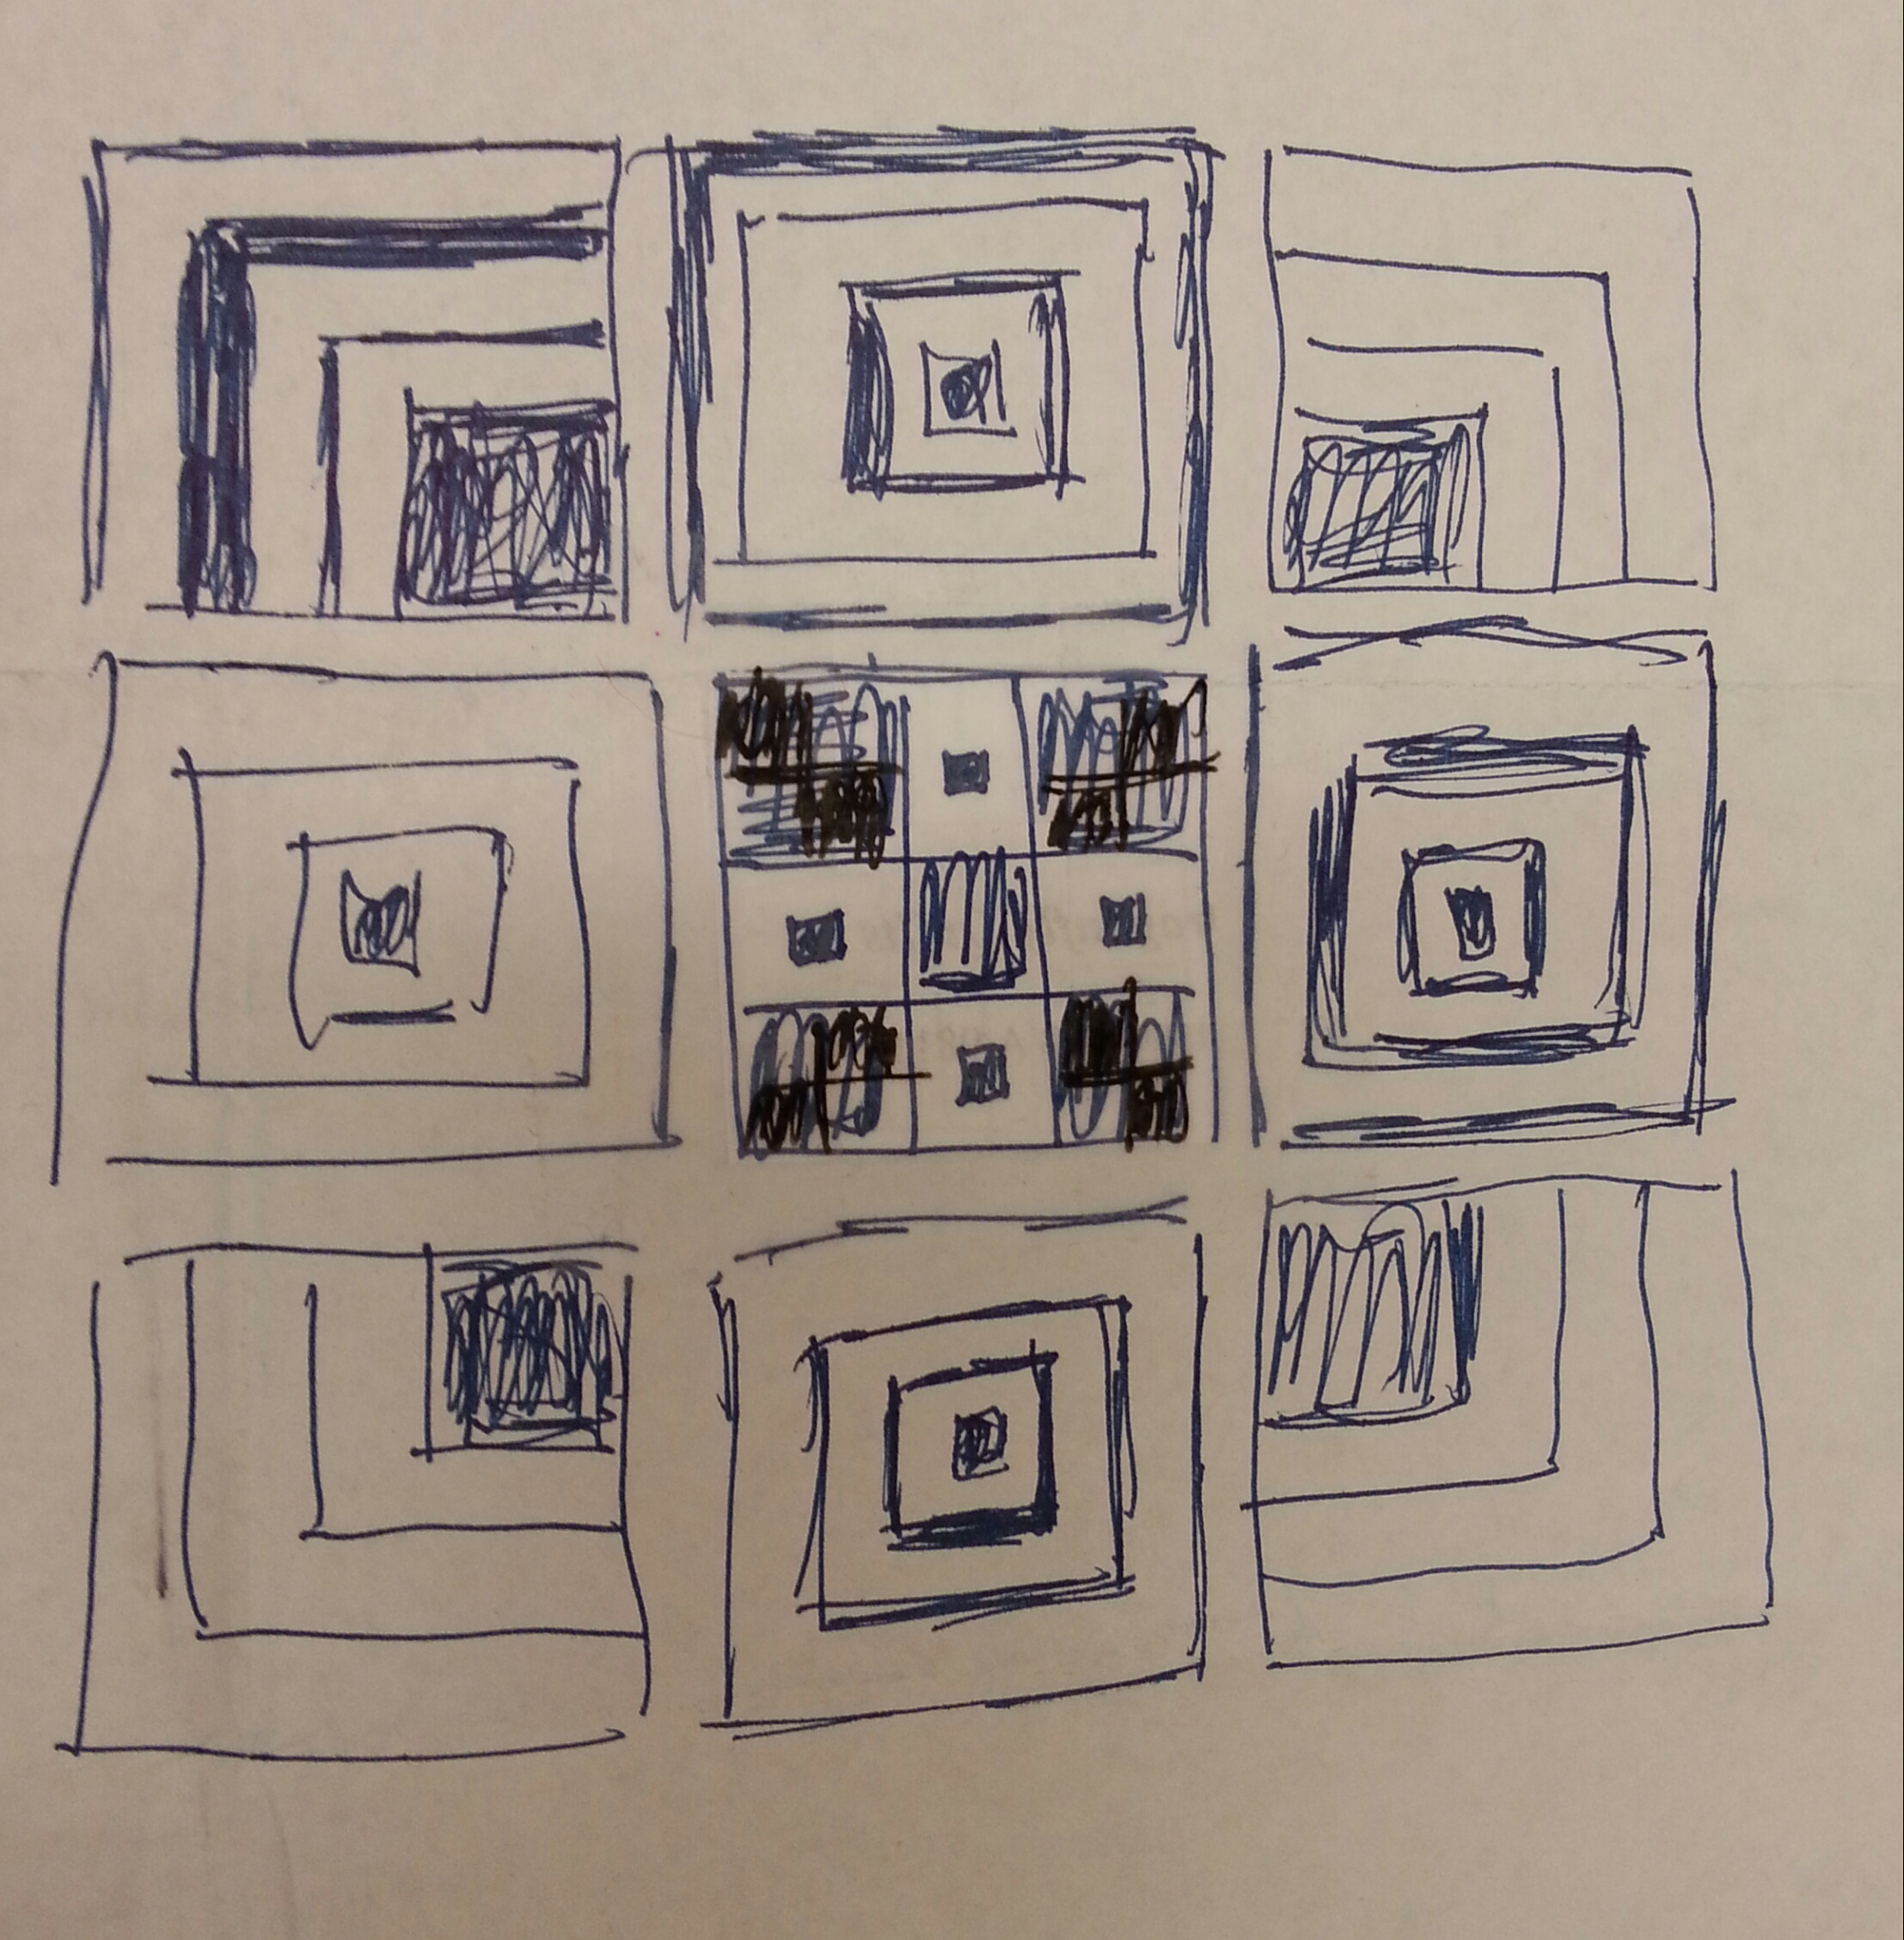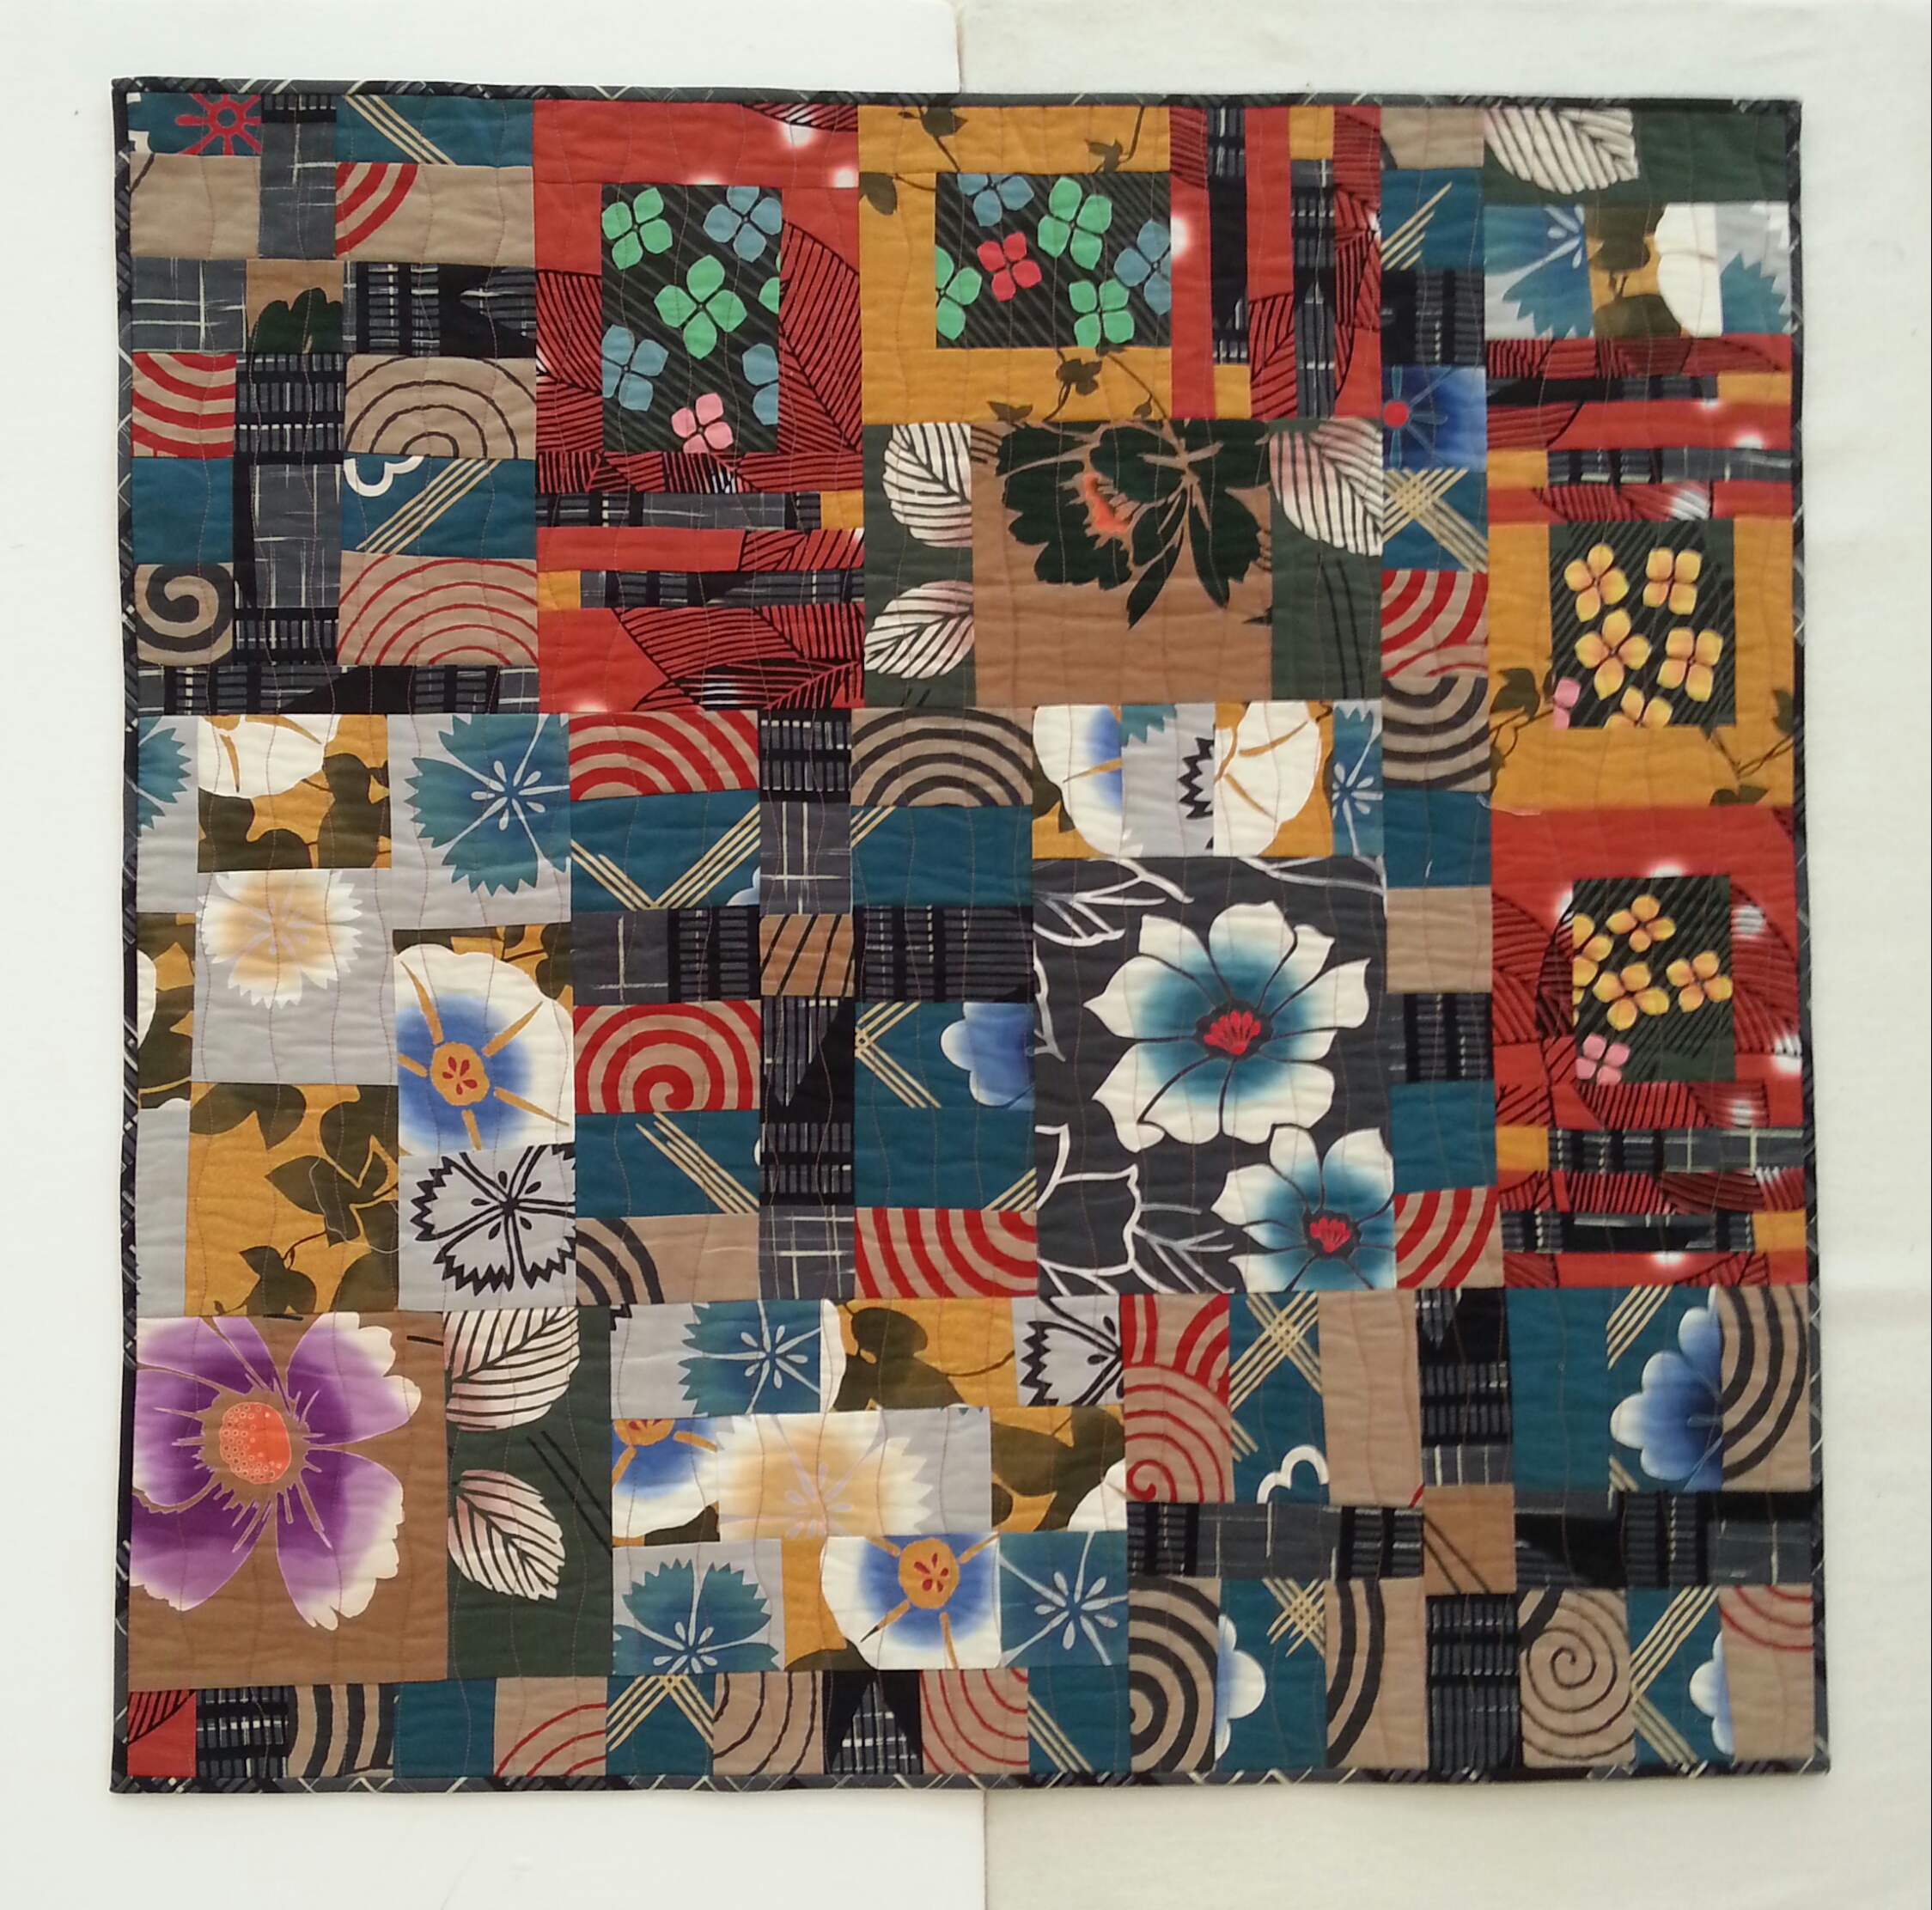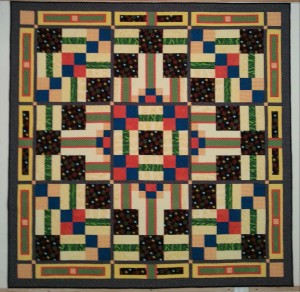
Who knows the origin of a design idea? Maybe this quilt, Urban Garden (aka R3tro), was brewing in my brain for some time, inspired by a combination of different thoughts – a pattern in some paving stones or a window or on a church vestment, the idea of making large scale blocks, the desire to make something that looks contemporary but that utilizes printed fabrics I already own and like rather than the “modern” tendency to solid colors. I was kicked into action by wanting to enter a quilt show with a deadline for submissions of 20th April. After a winter of revising my website, I was definitely in quilting deficit and have thoroughly enjoyed immersing myself in this project.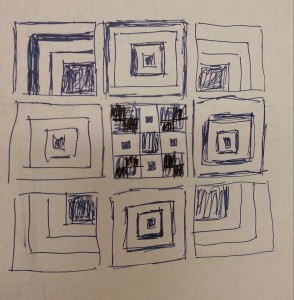 Here’s the very rough sketch I scrawled out as I ate my breakfast before heading out to sing joyfully on Easter morning – as you can see there was quite an evolution to the final version. In this case, I made it up as I went along. Often I design using computer software (more on this another time).
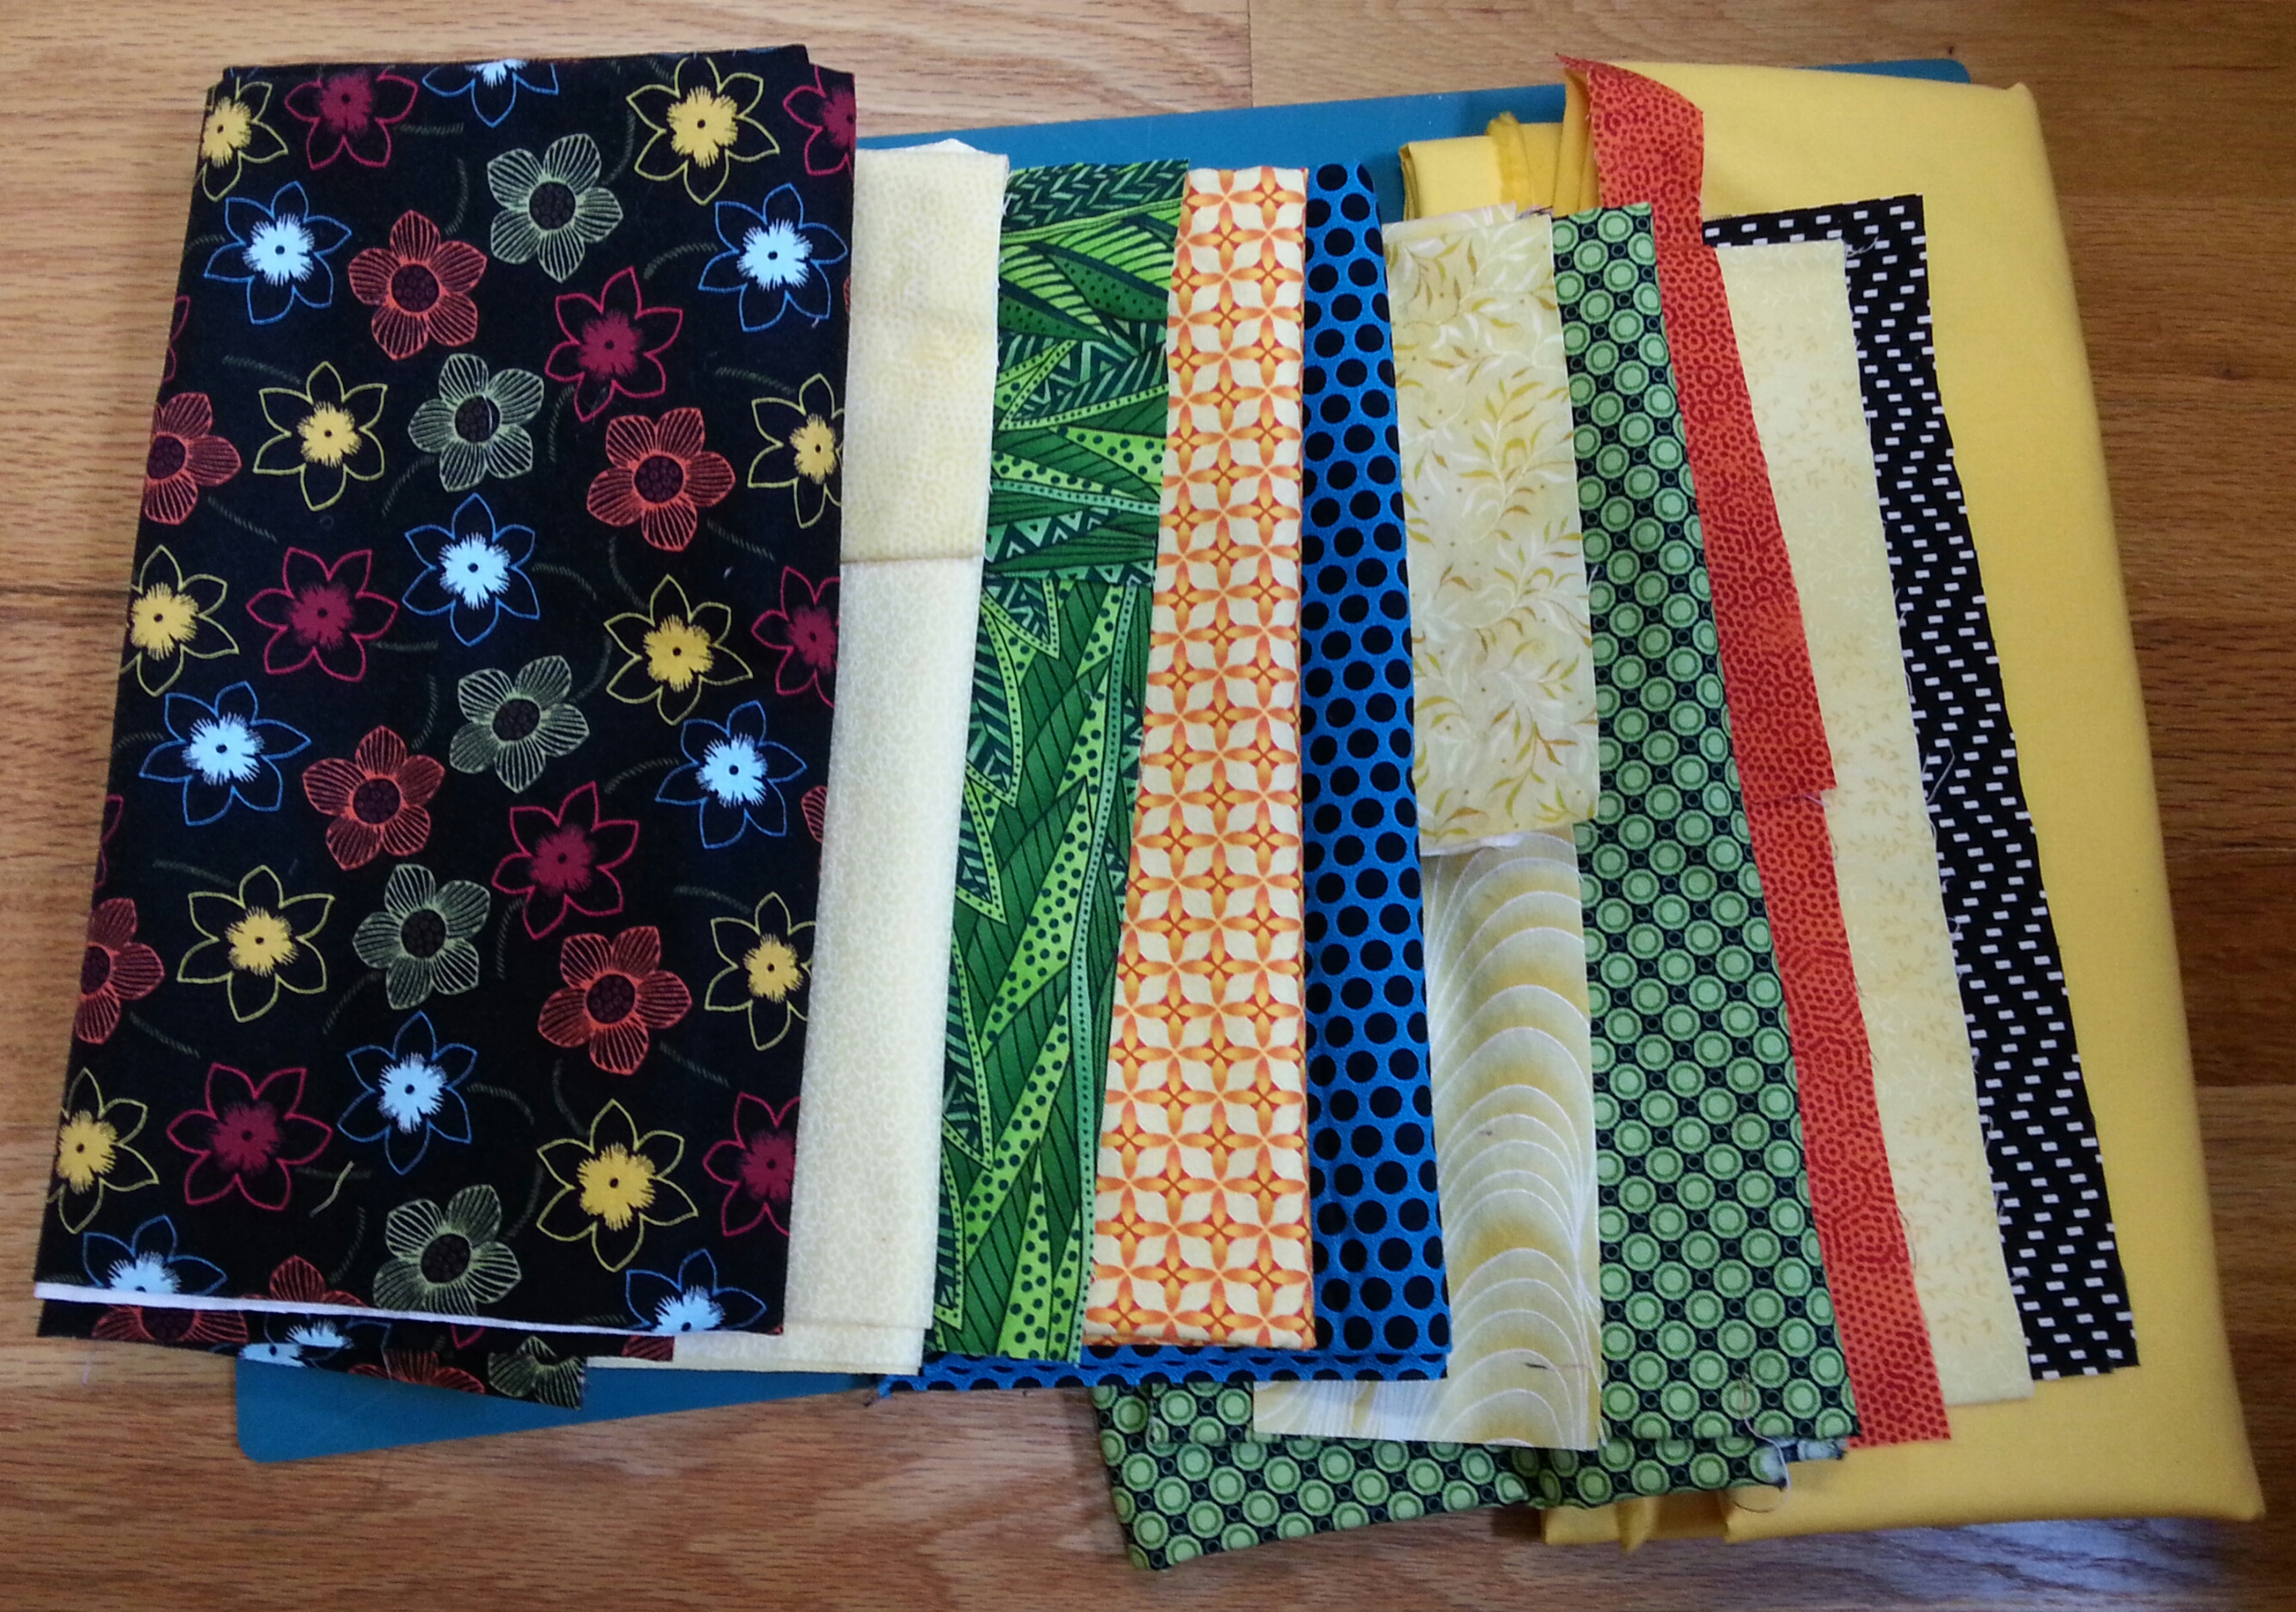
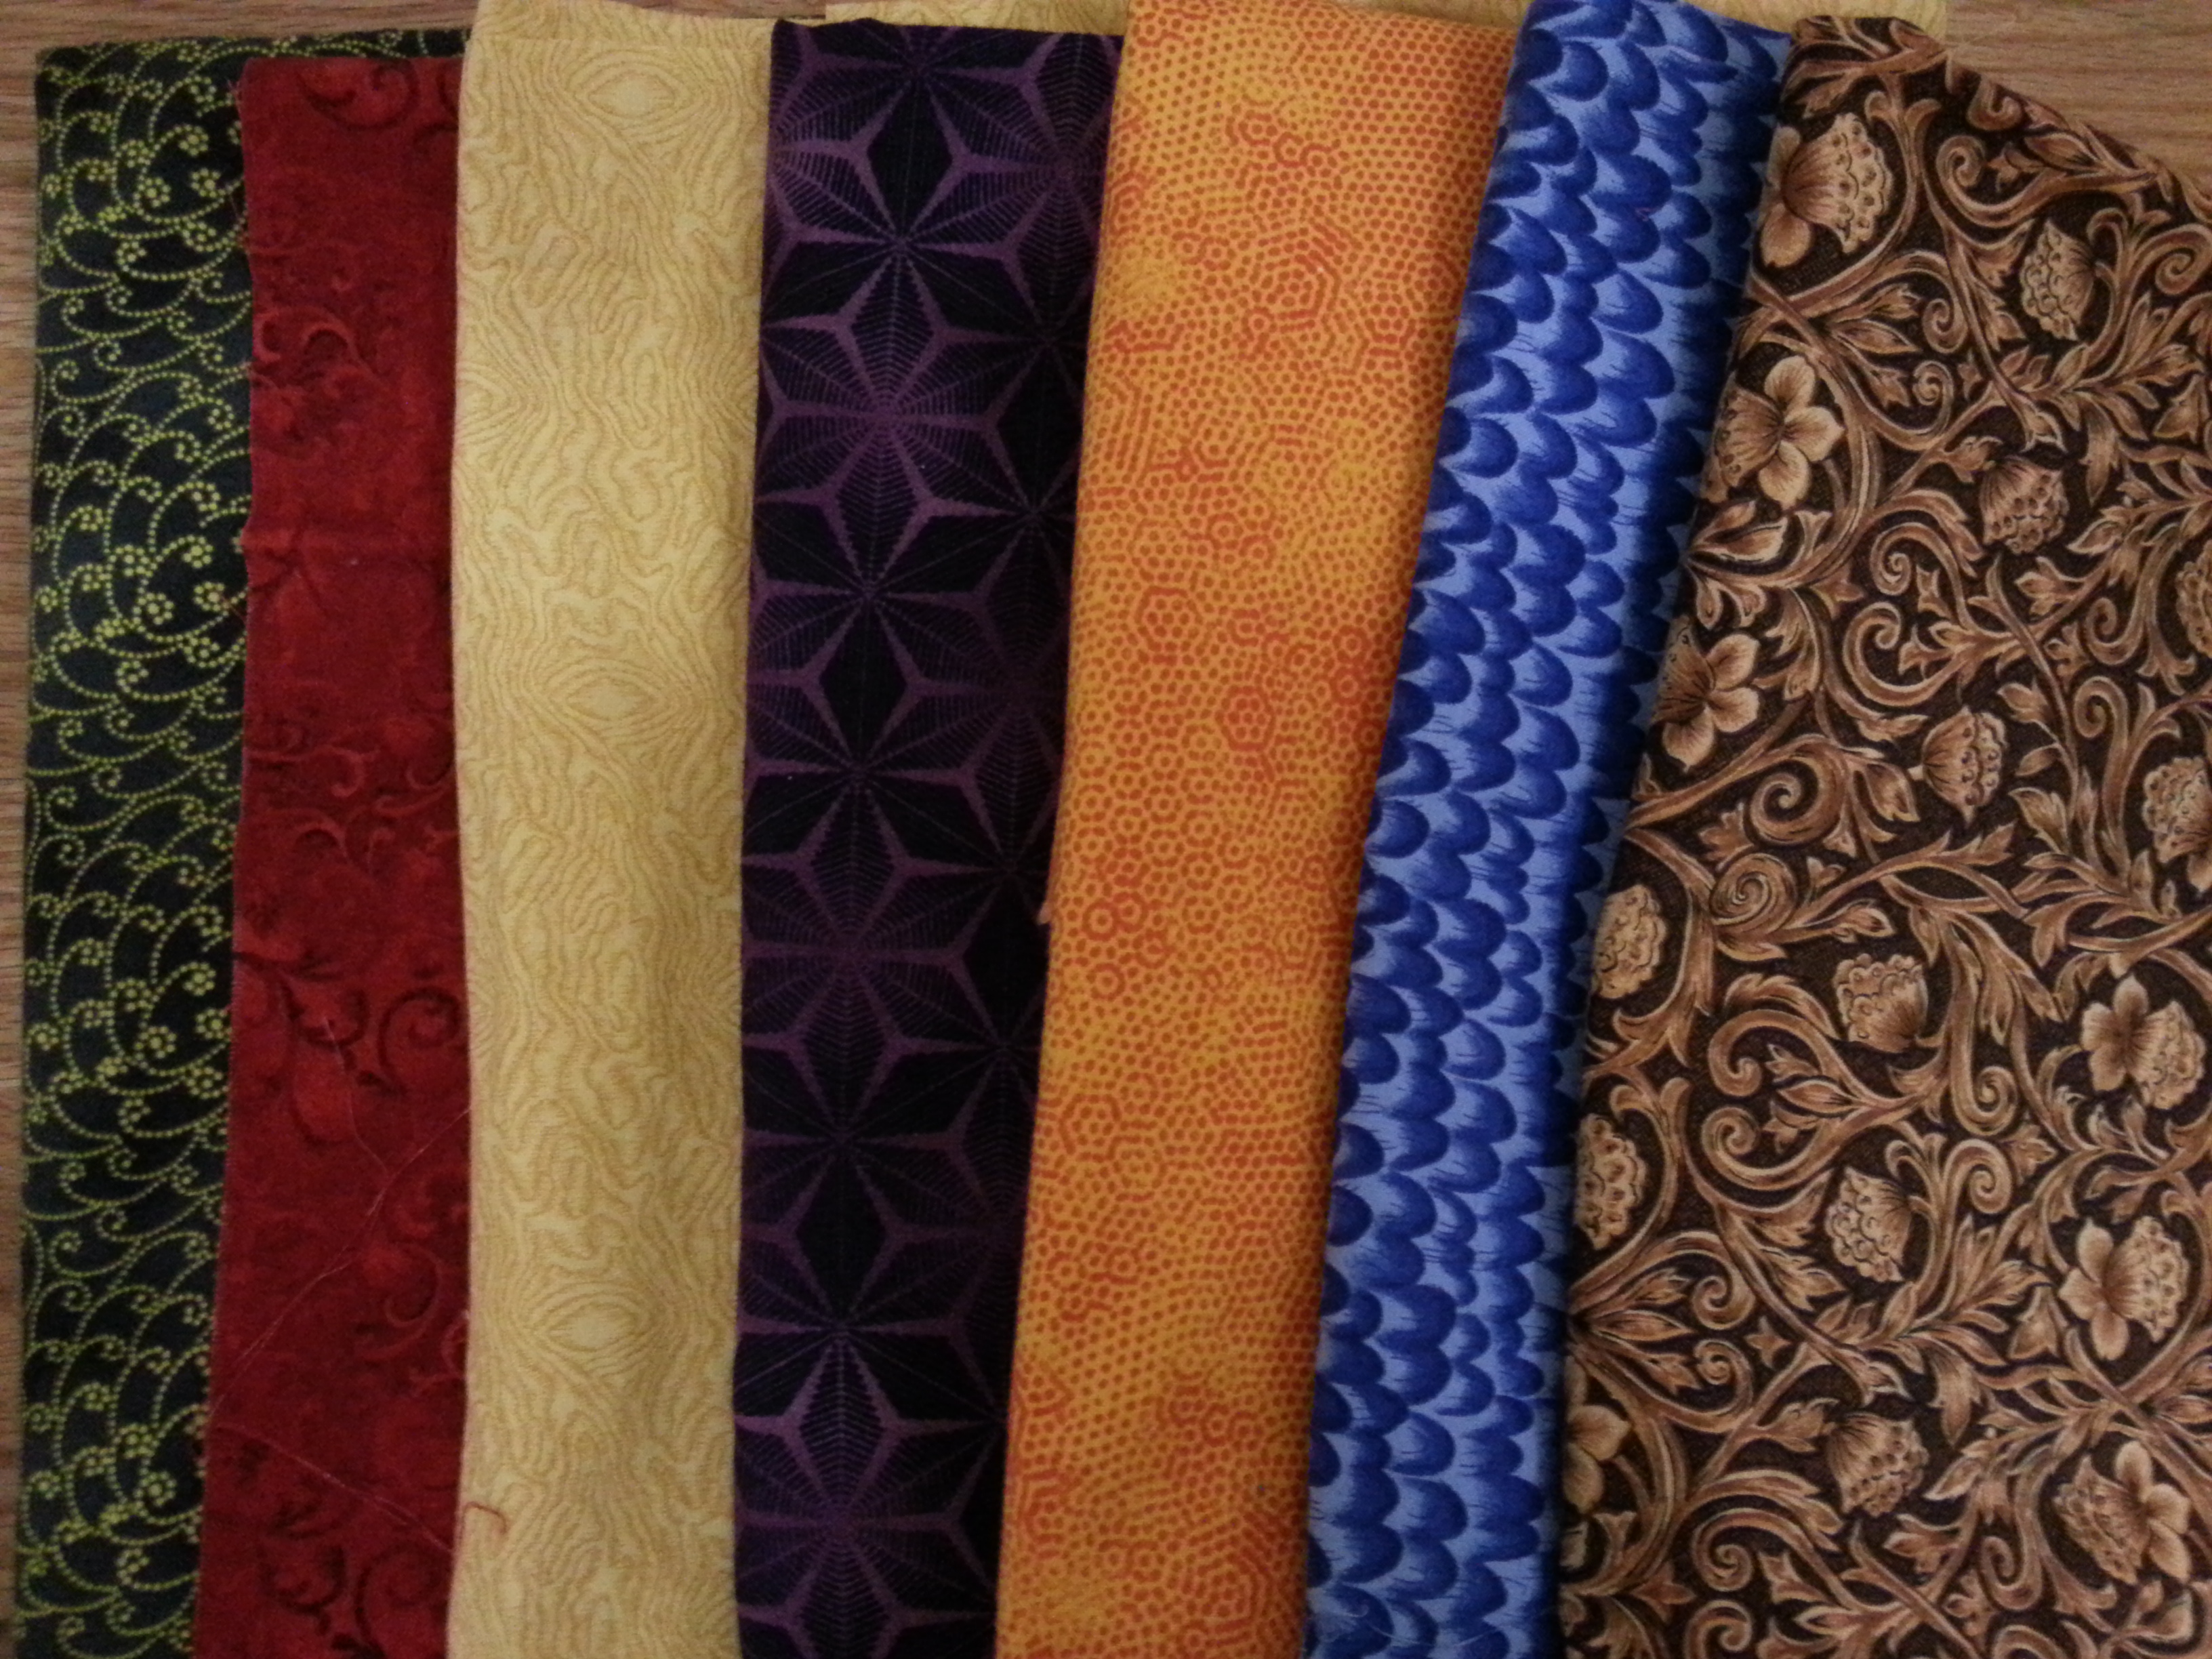
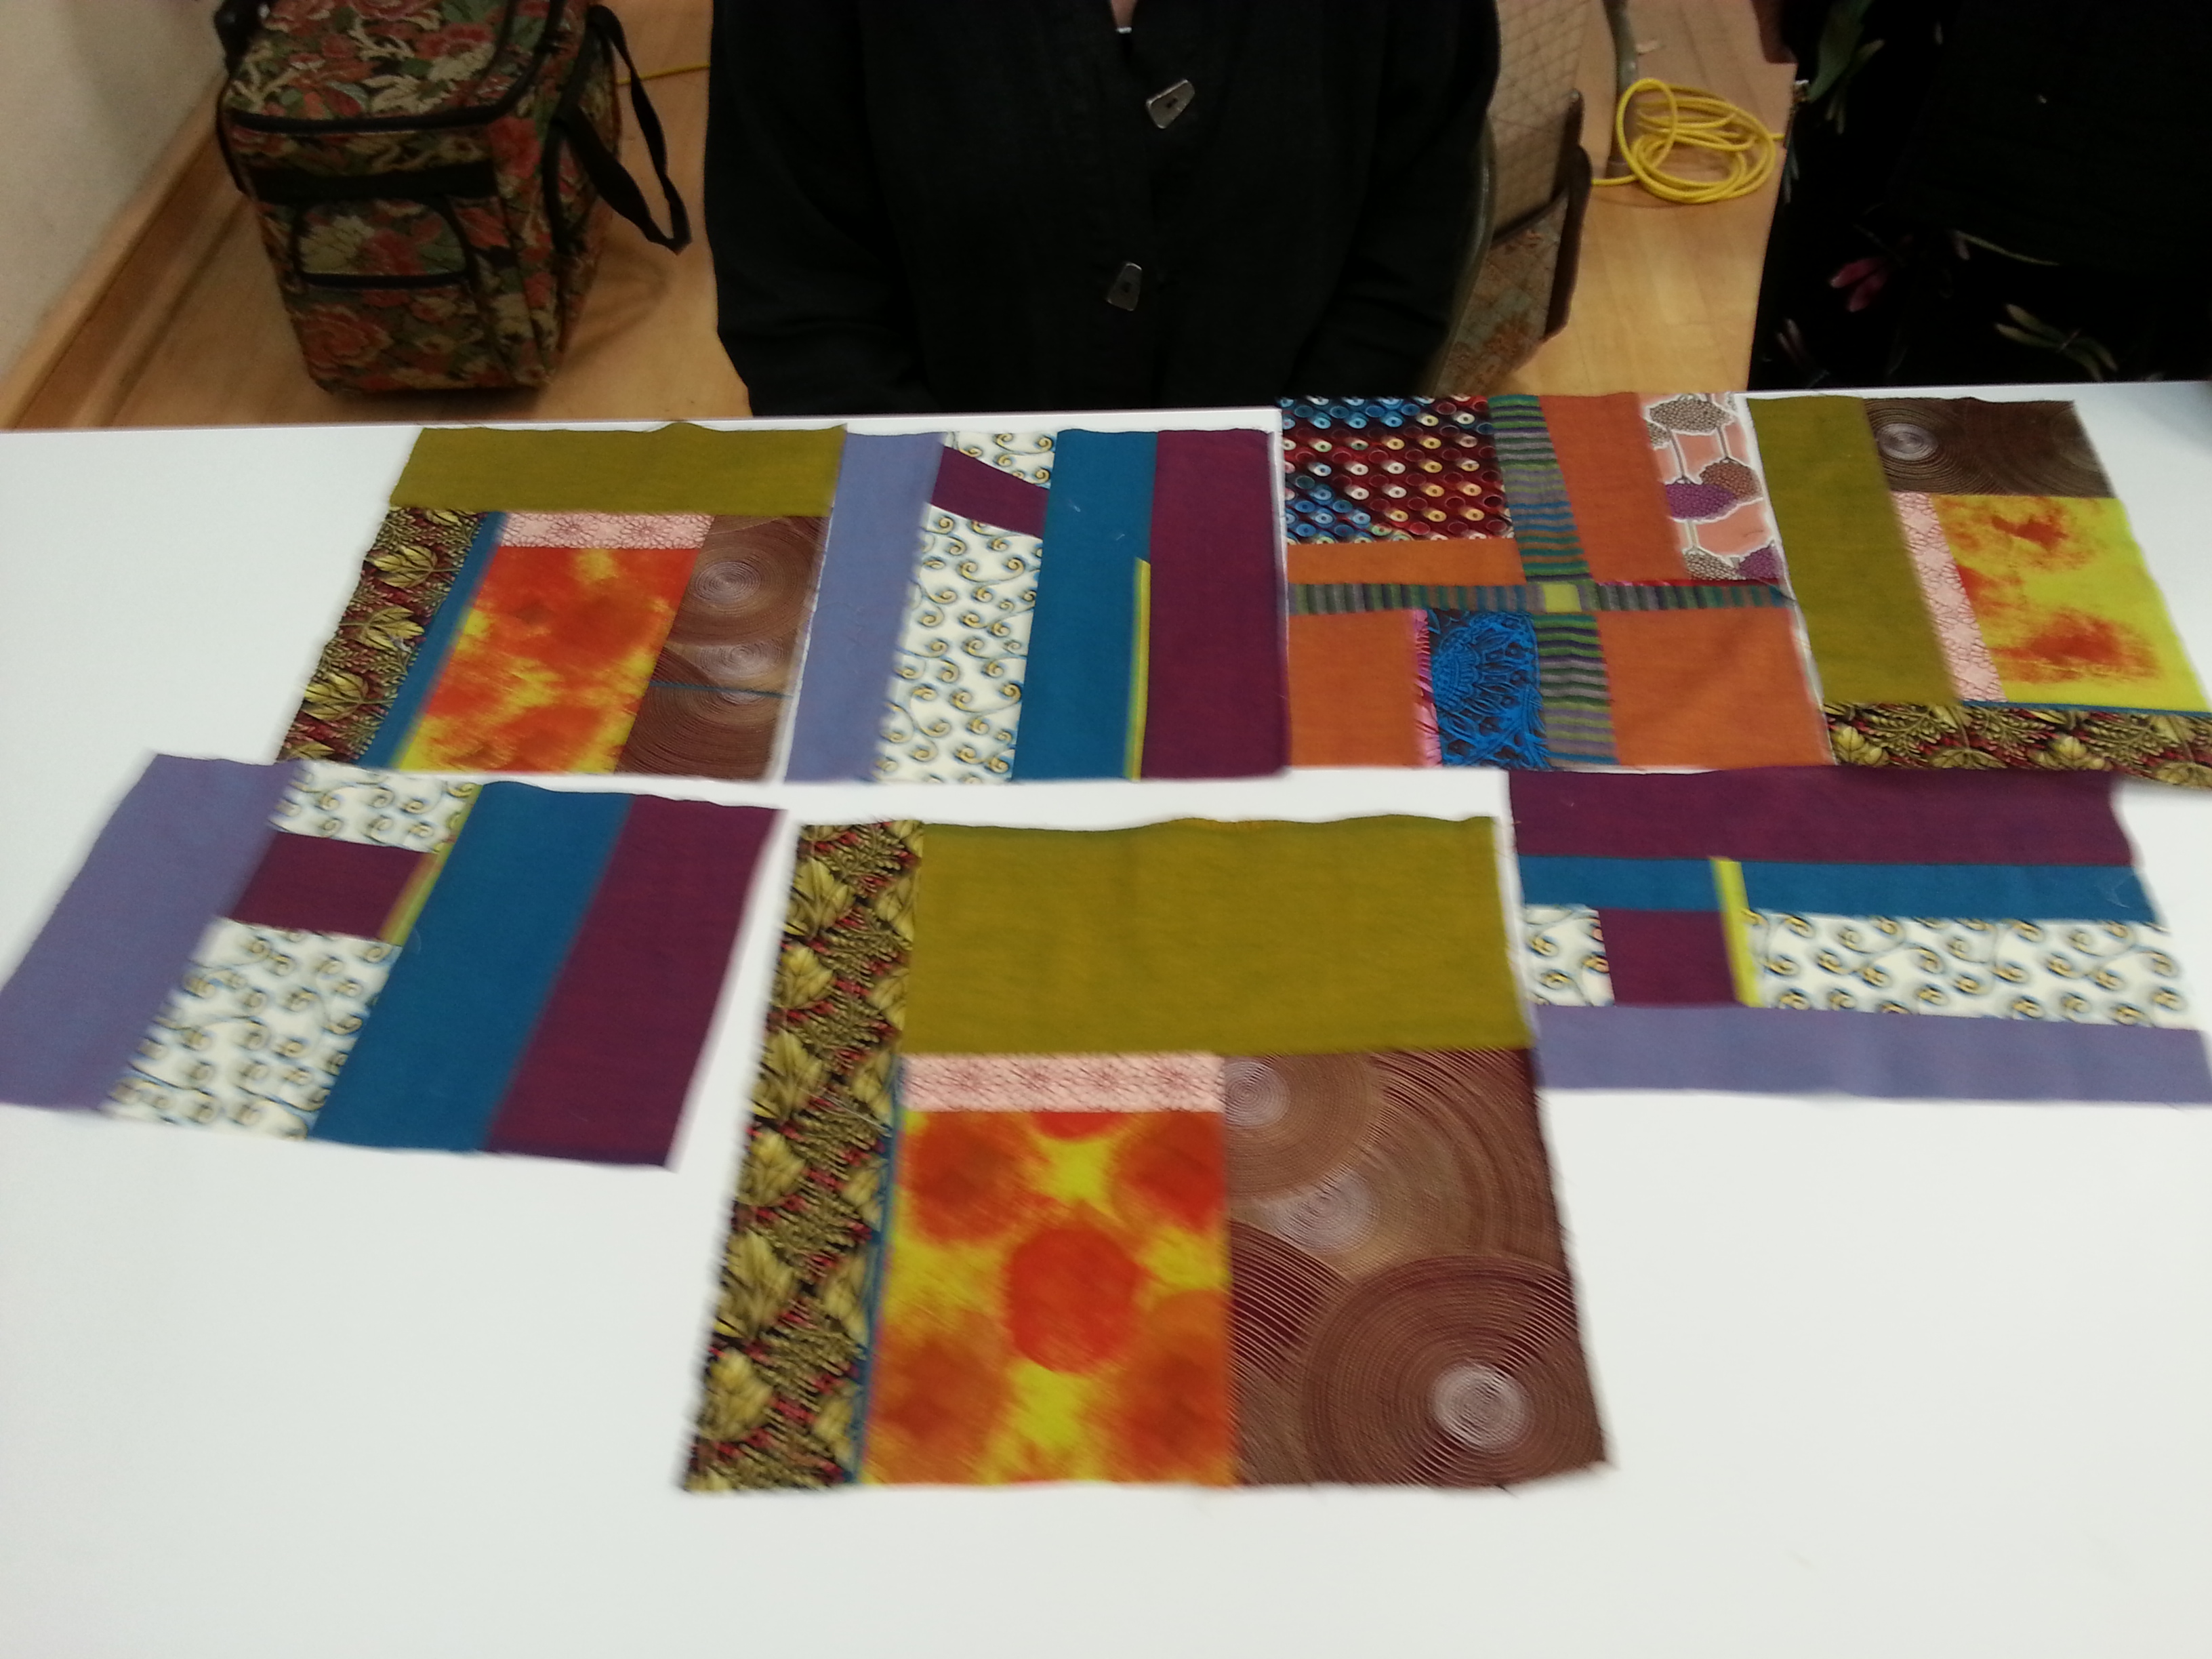
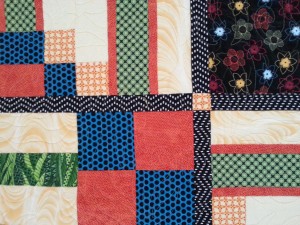
 Here are the fabrics that I used in the quilt. I liked the black floral and pulled the colors from it. I had purchased a solid light buttery yellow, but decided it looked too washed out, so I went to my stash and found some yellow prints. There wasn’t enough of any of them, so I used four different ones which actually make the quilt more interesting. When it came to the borders, I wanted a stronger yellow so I bought the solid on the far left.
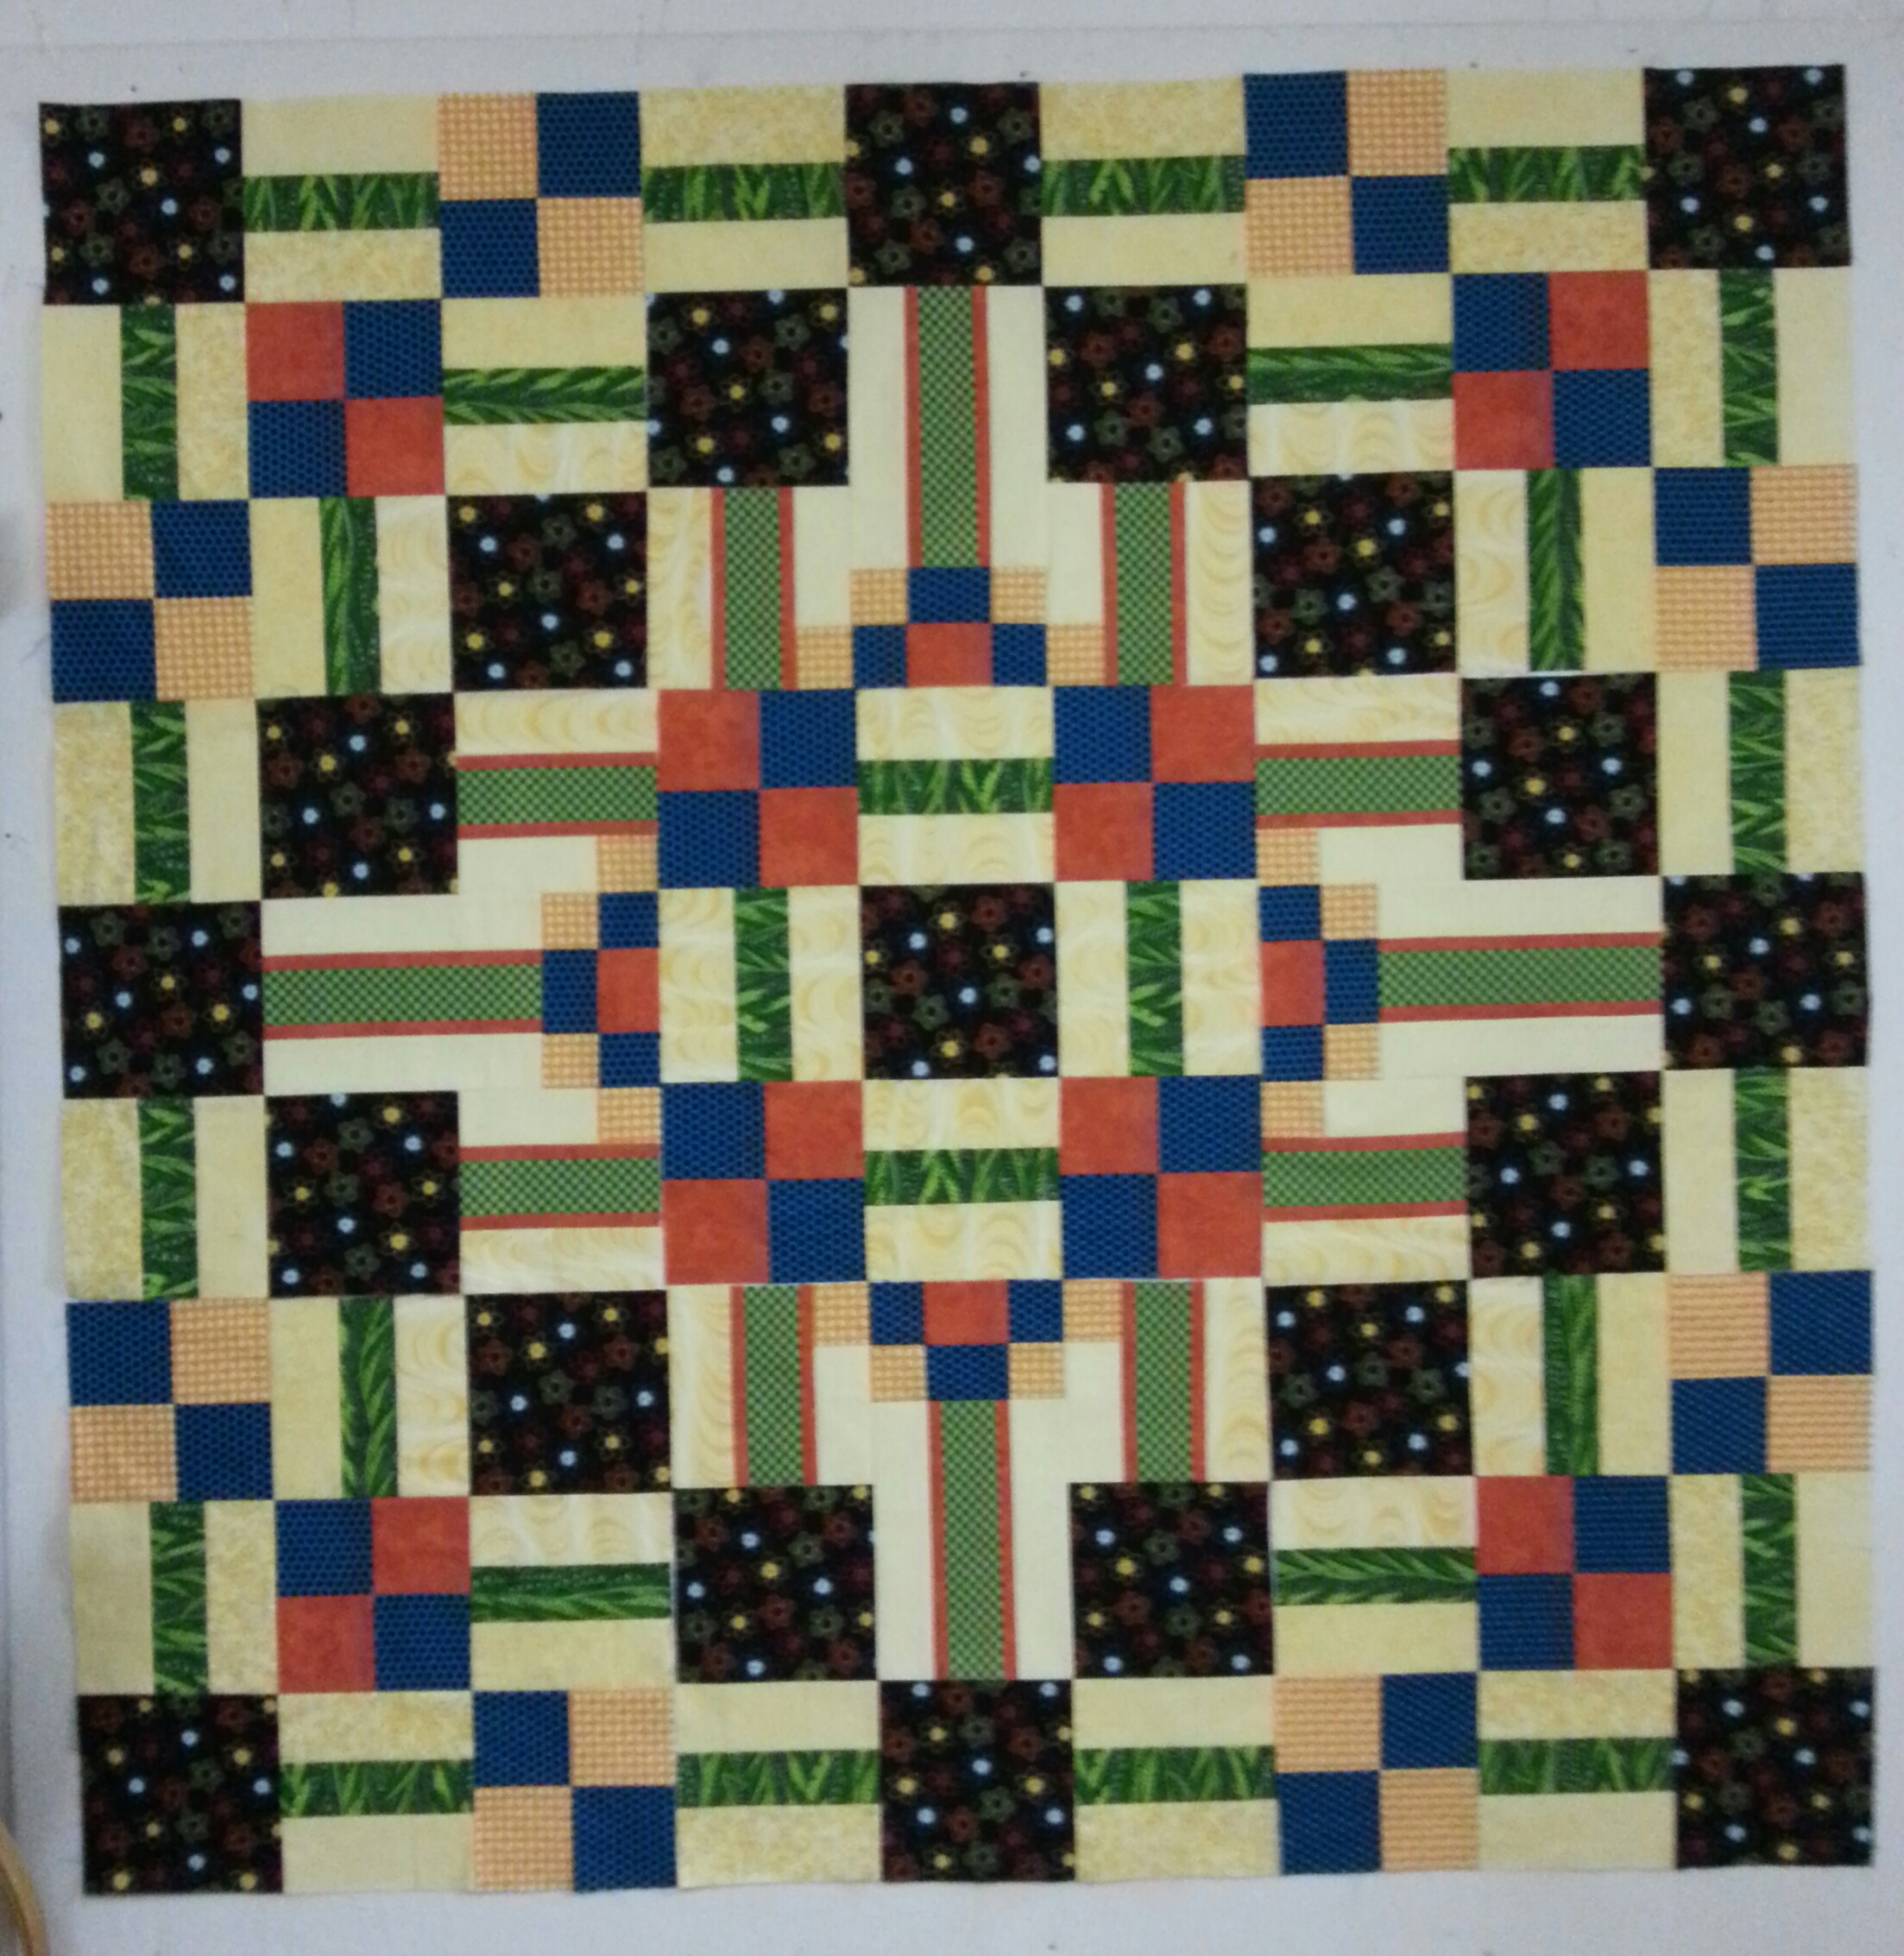
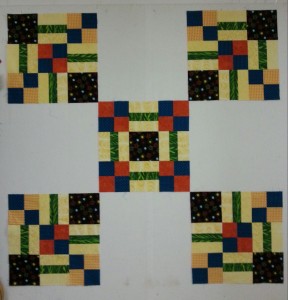 I made the center and the corner blocks first. The blocks are 21”. They went together pretty quickly. I’m quite particular about details and after I started piecing the four-patches, I noticed that the blue fabric with black dots has a direction aspect – the dots appear in vertical lines in one orientation and in horizontal lines when rotated. To maintain the overall symmetry I made sure the lines went the way I wanted. I also manipulated the direction of the leafy green fabric by cutting some pieces across the width of the fabric and others down the length.
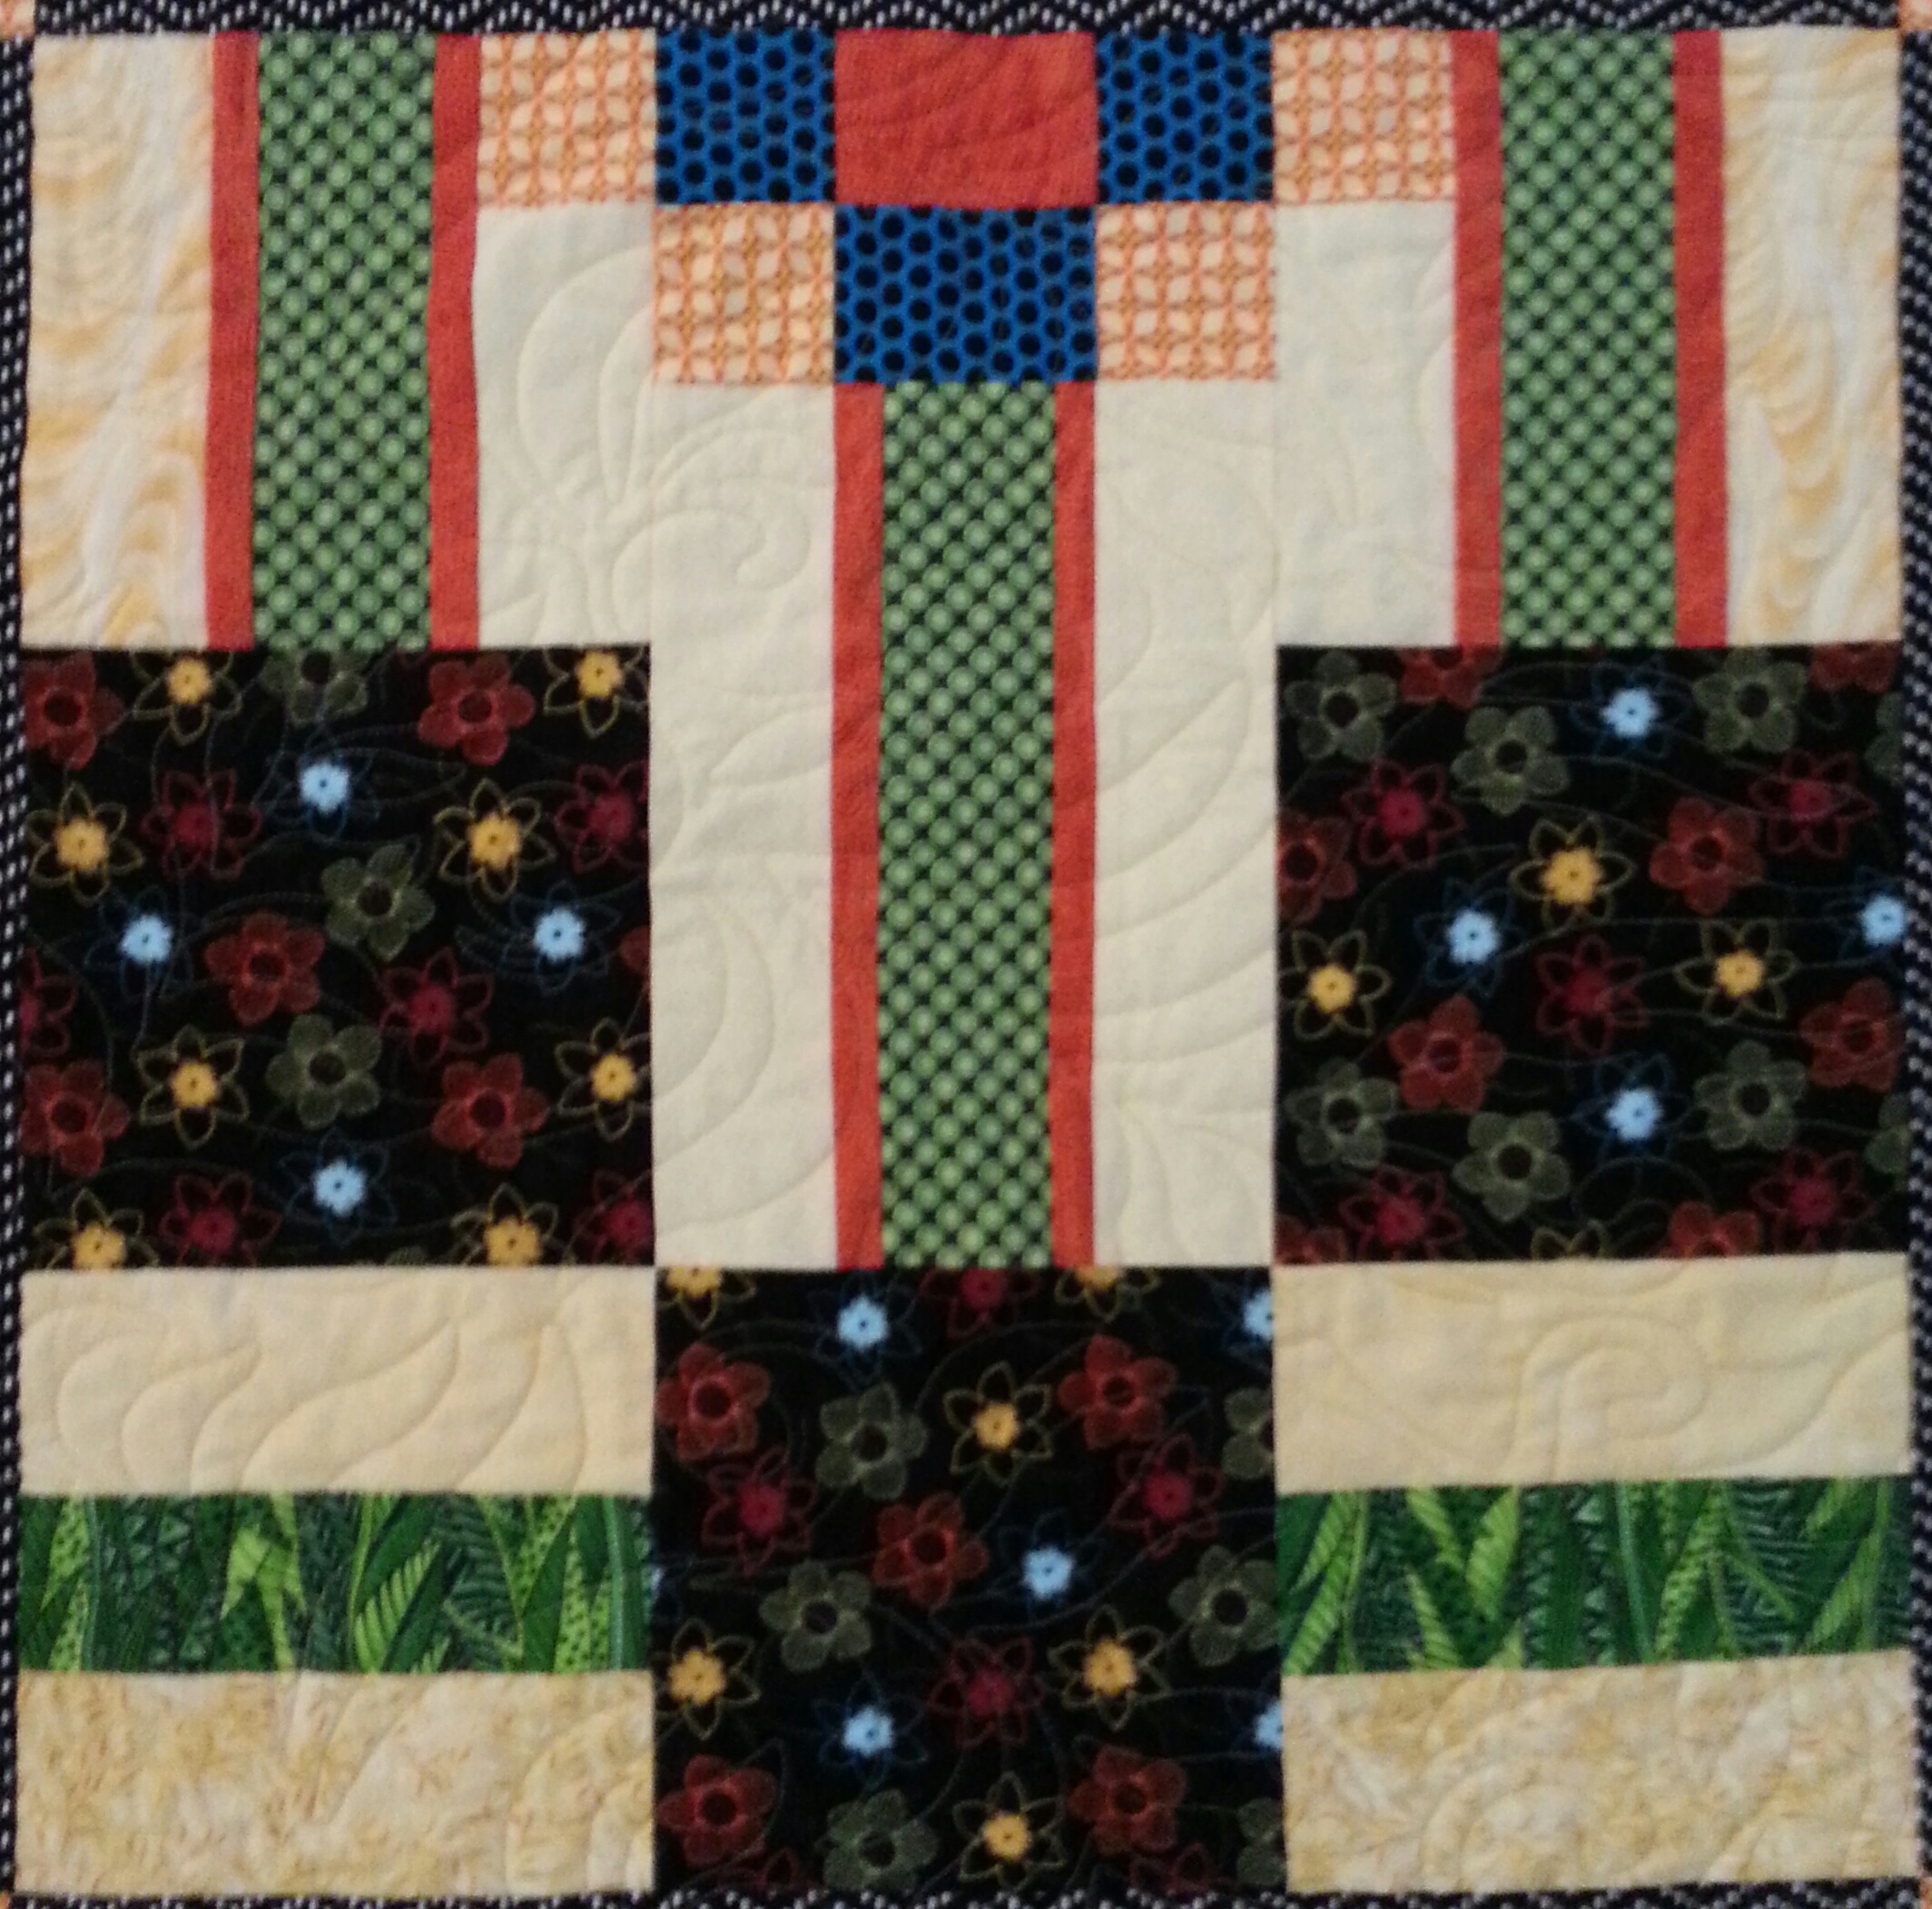
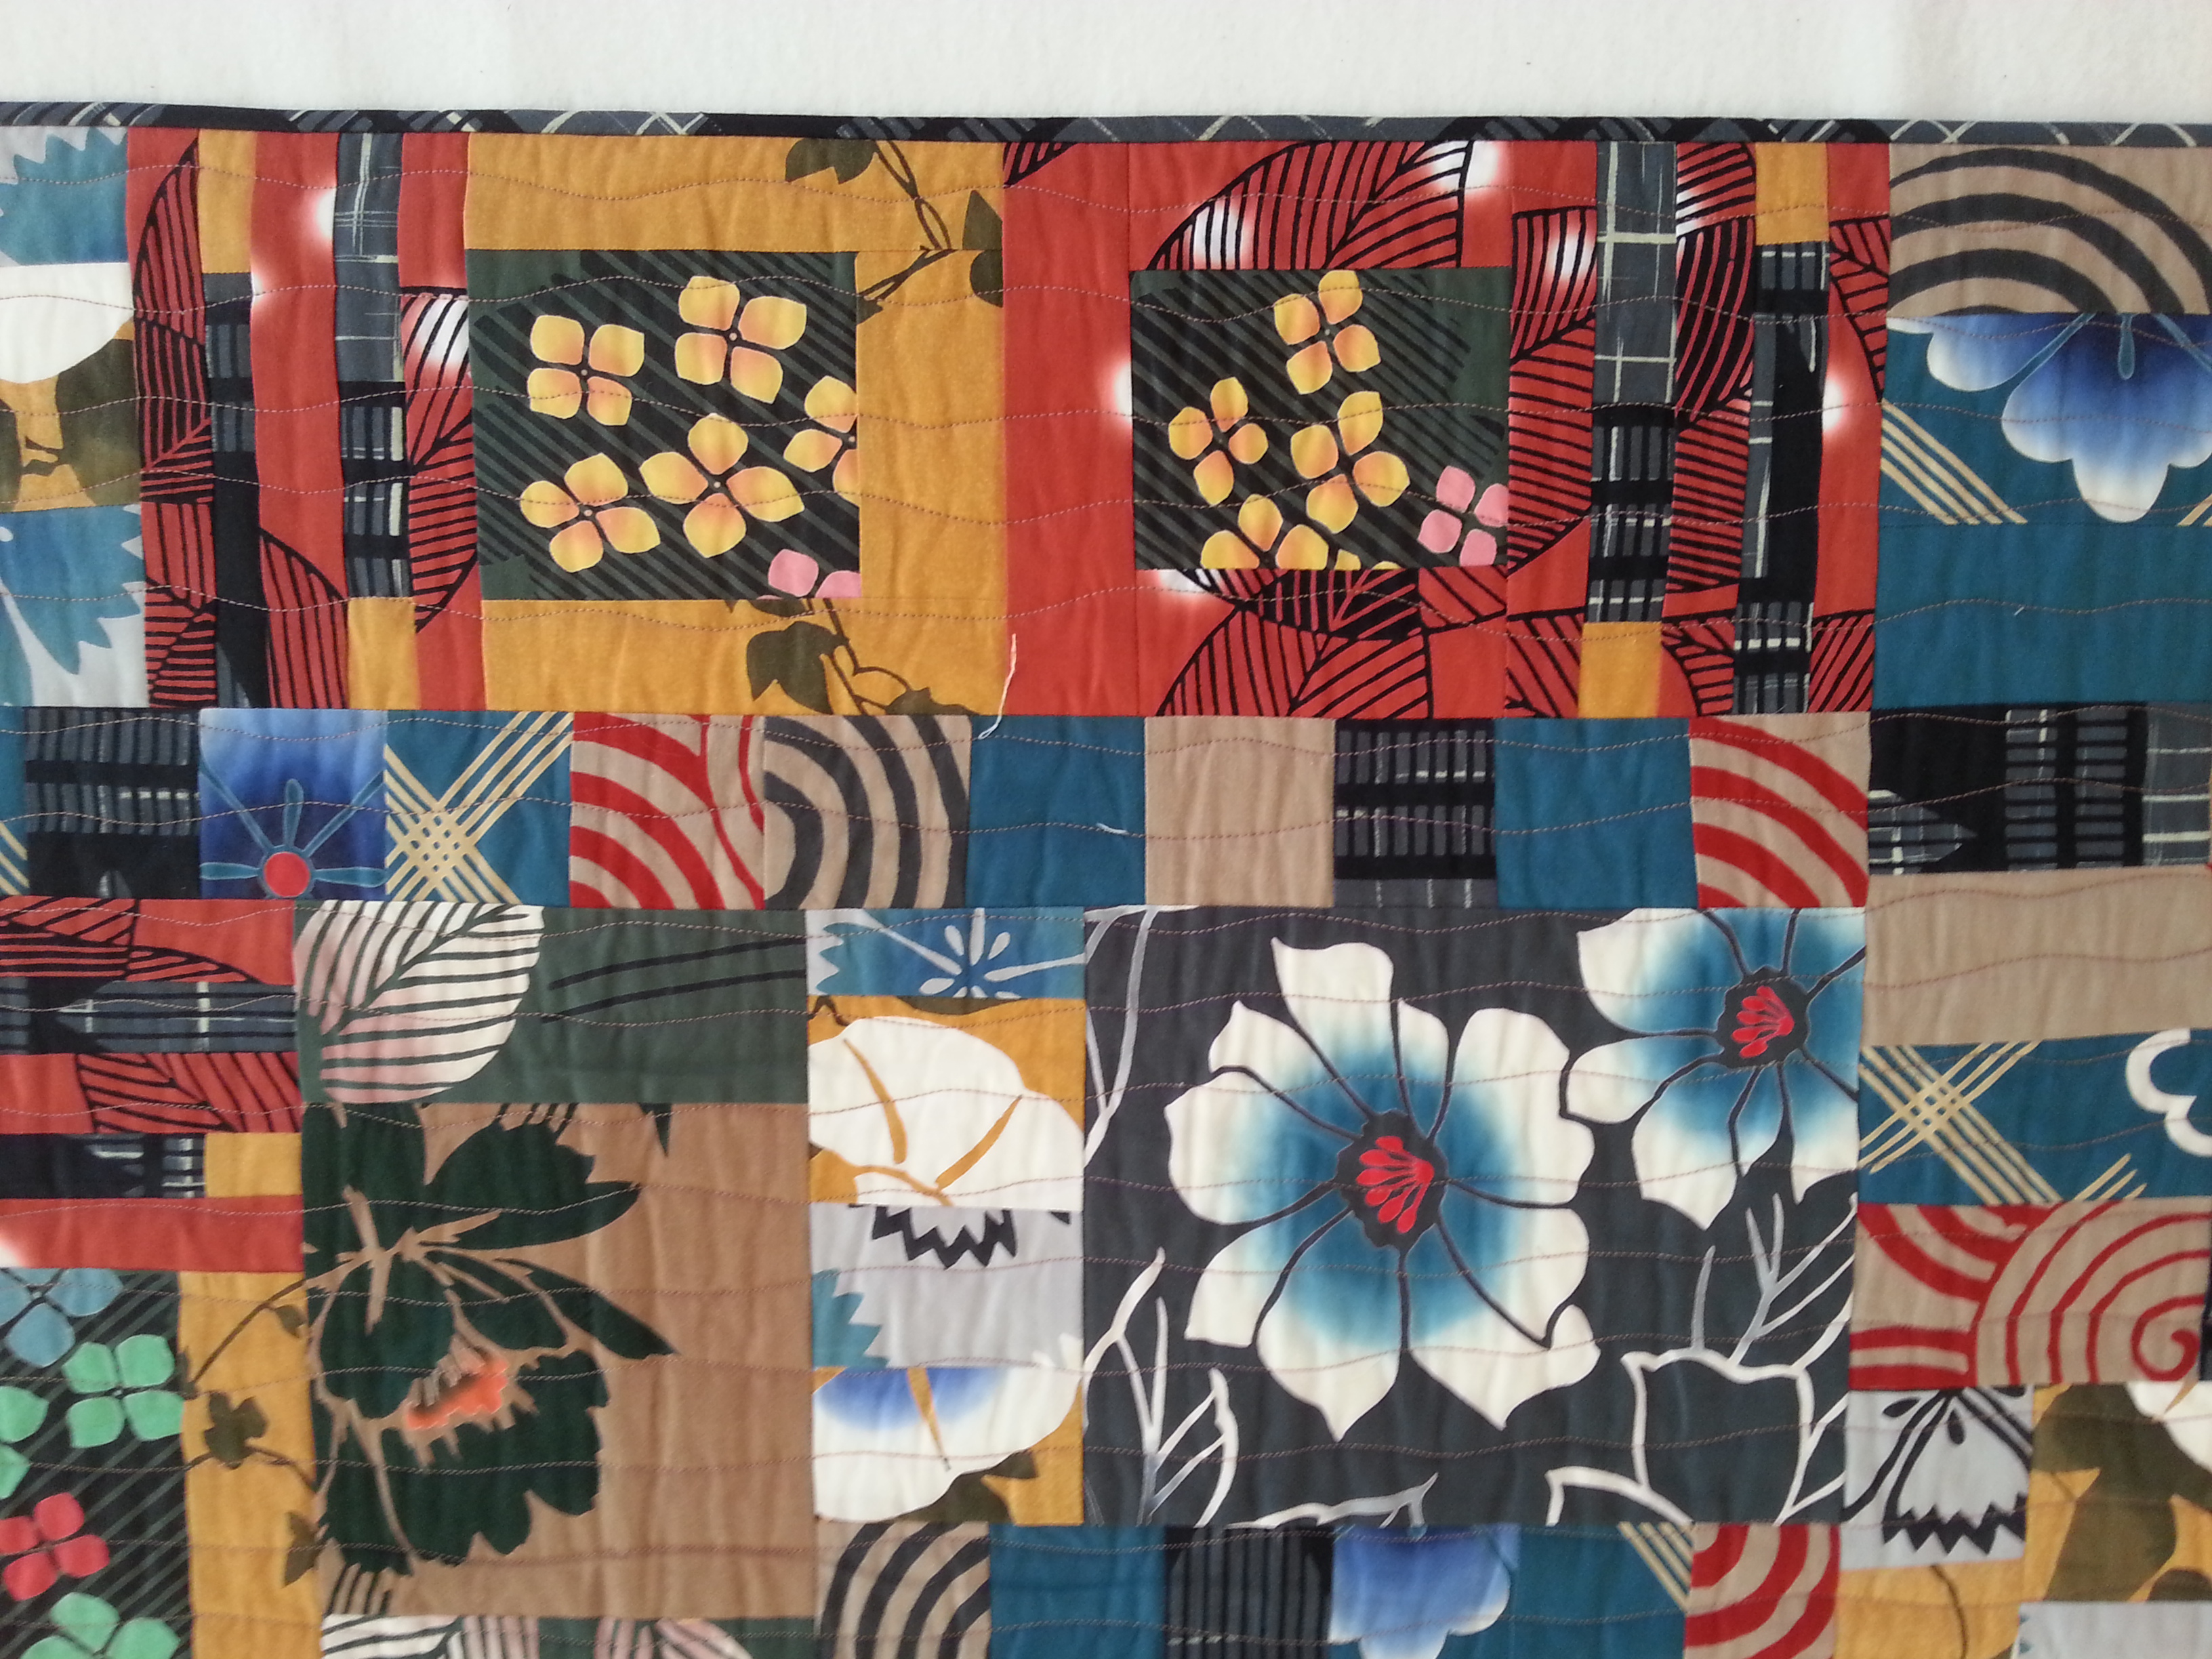
 It took me a couple of days to work out the pattern for the four side blocks. I wanted to complete the Trip Around the World-style pattern created by the large floral squares and to continue the lines of leafy fabric on the outer edges to establish links with the corner blocks. Then the leafy fabric was all gone so I introduced the green dots sandwiched by the orange. I put these sections perpendicular to the leafy green parts and the middle one is longer, helping to lead the eye out from the middle and to break up the nine-patch format of the other blocks. The smaller pieced section of orange and blue adjacent to the center block extends the central pattern in the quilt and helps to make the overall design more cohesive.
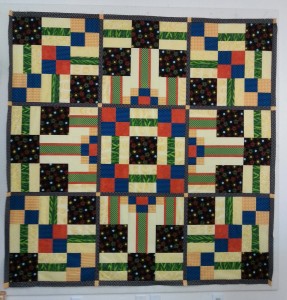
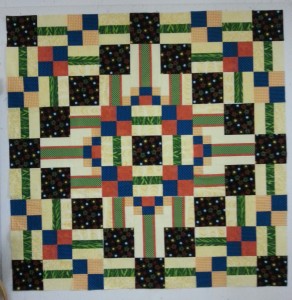
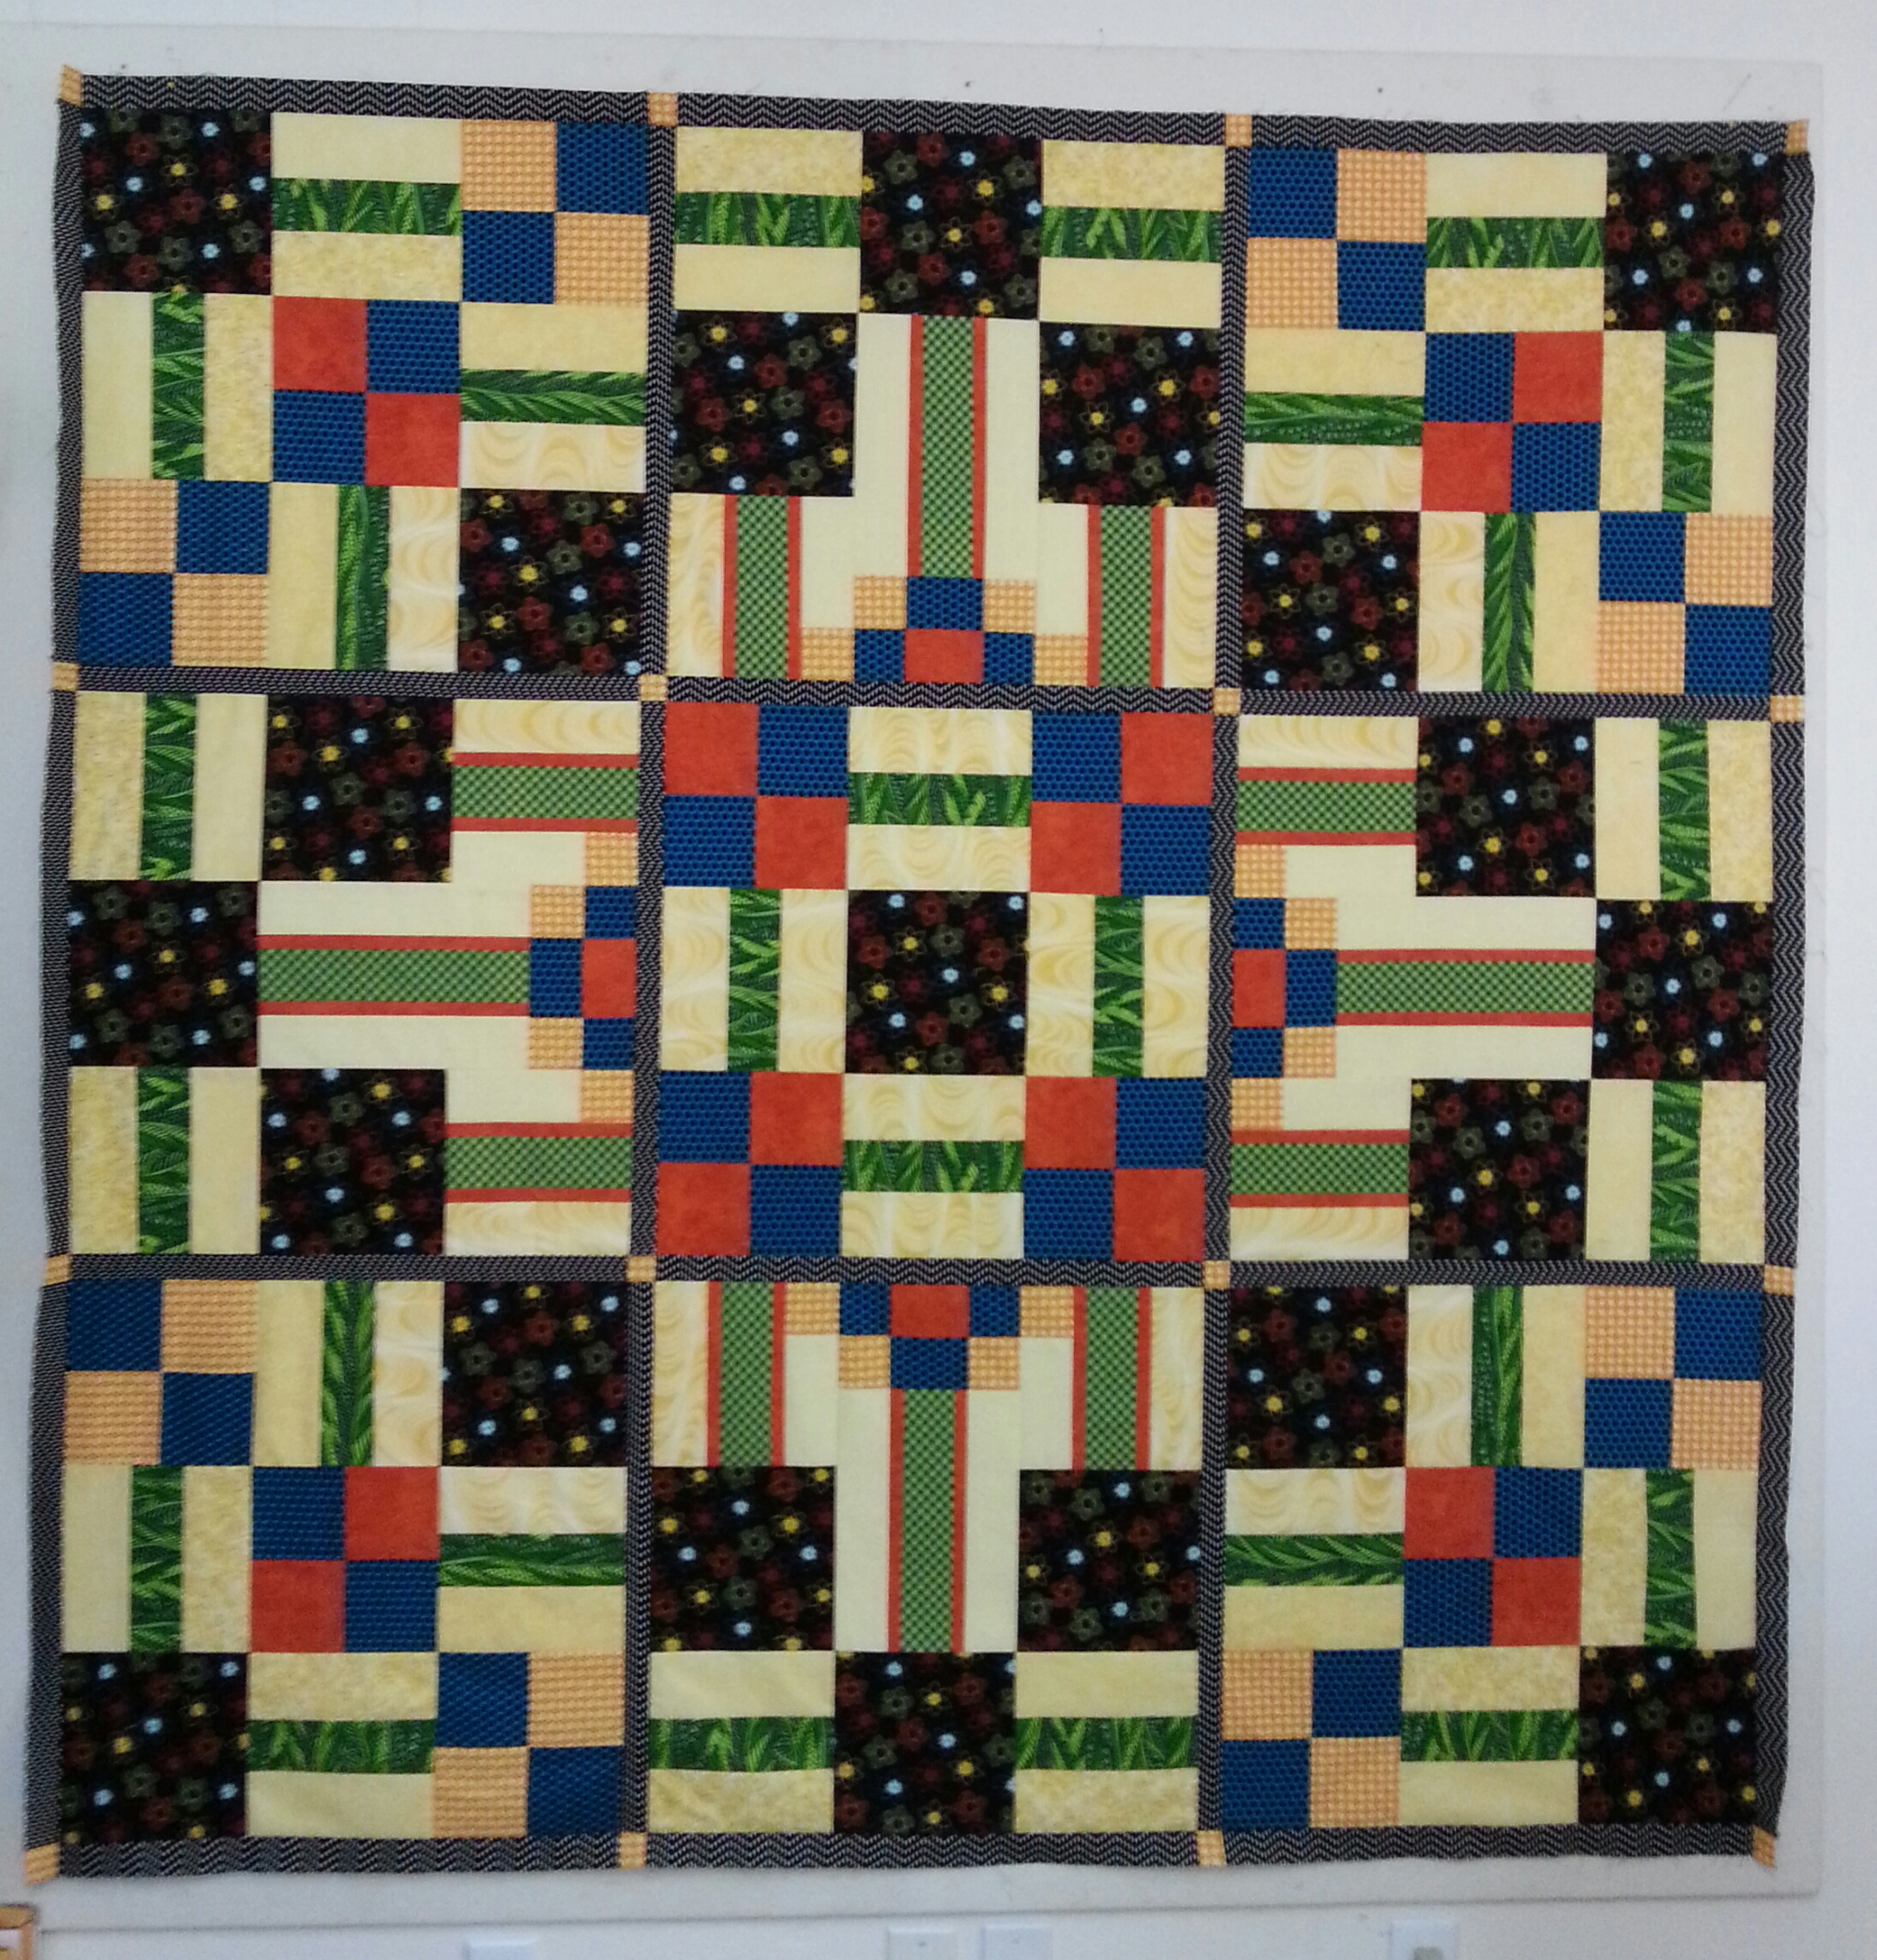
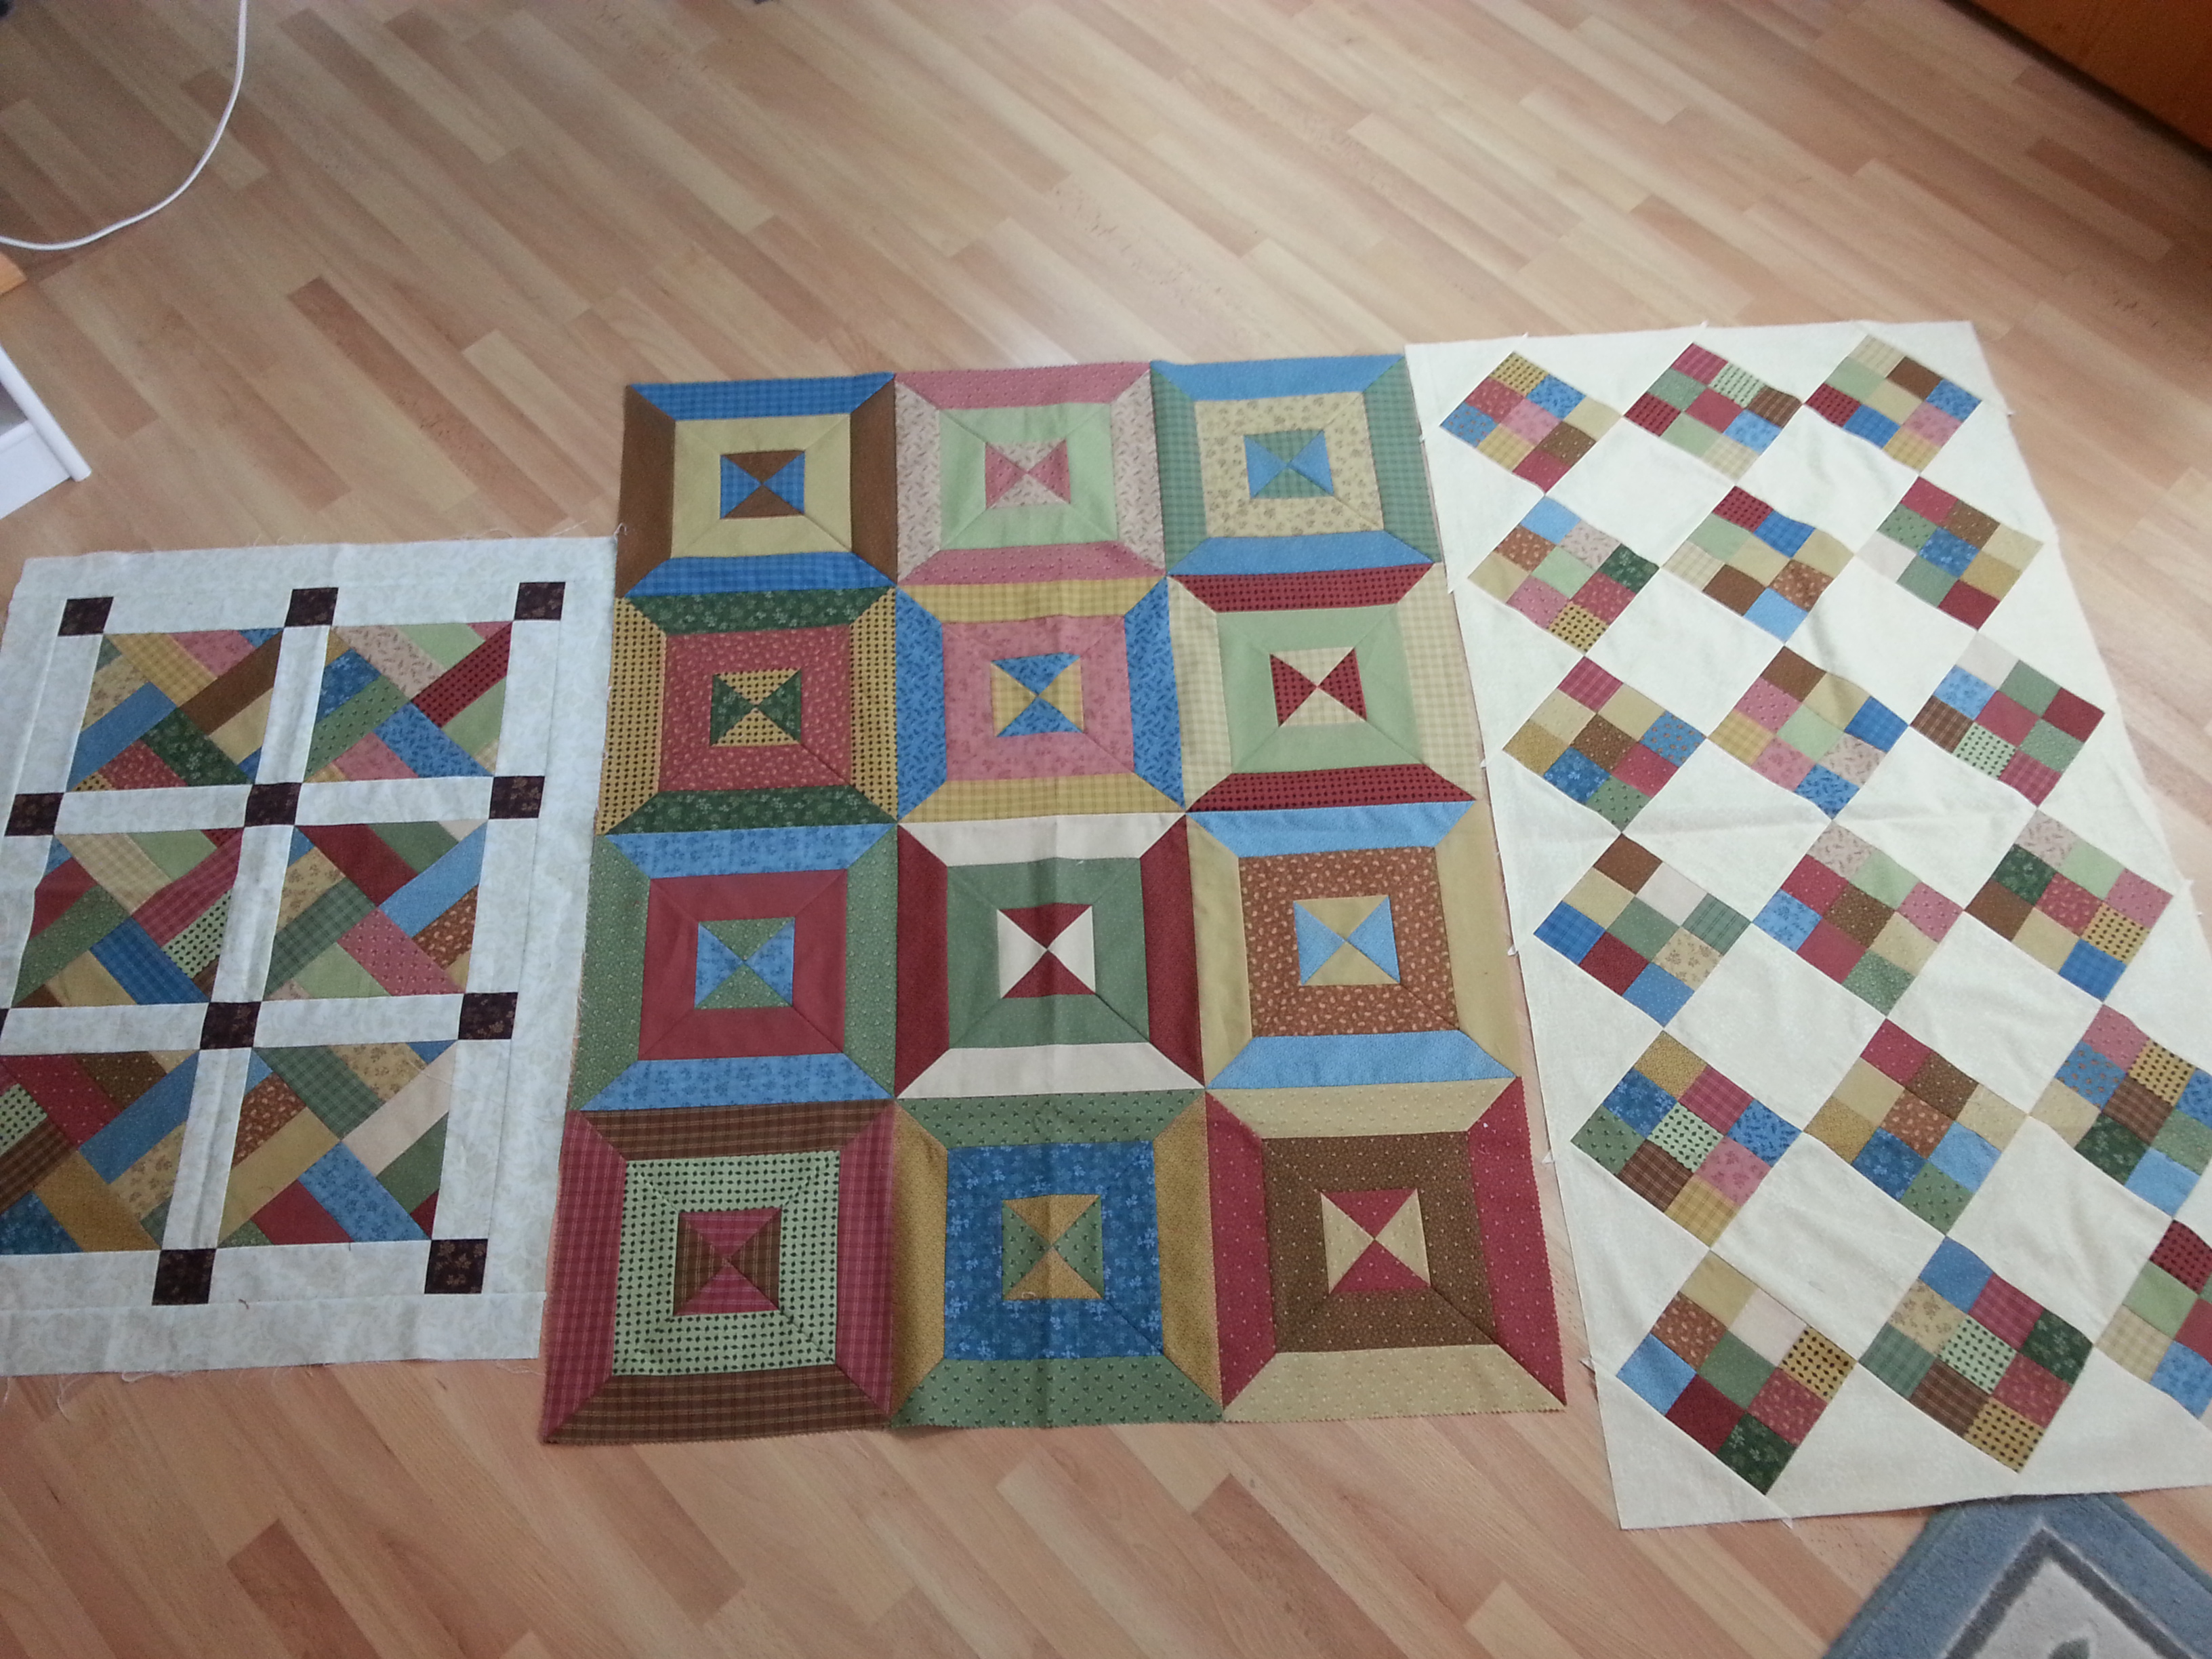
Now that the nine blocks were completed I decided they needed a narrow sashing to separate them slightly. The pictures show the blocks before and after. I thought a black and white stripe would work well, but I only had a small piece in my stash. I found the black fabric with white dashes and I like the way it turned out. Once again, I manipulated the direction of the fabric, so that in some places the dashes look like parallel lines and in others they appear as zigzags.
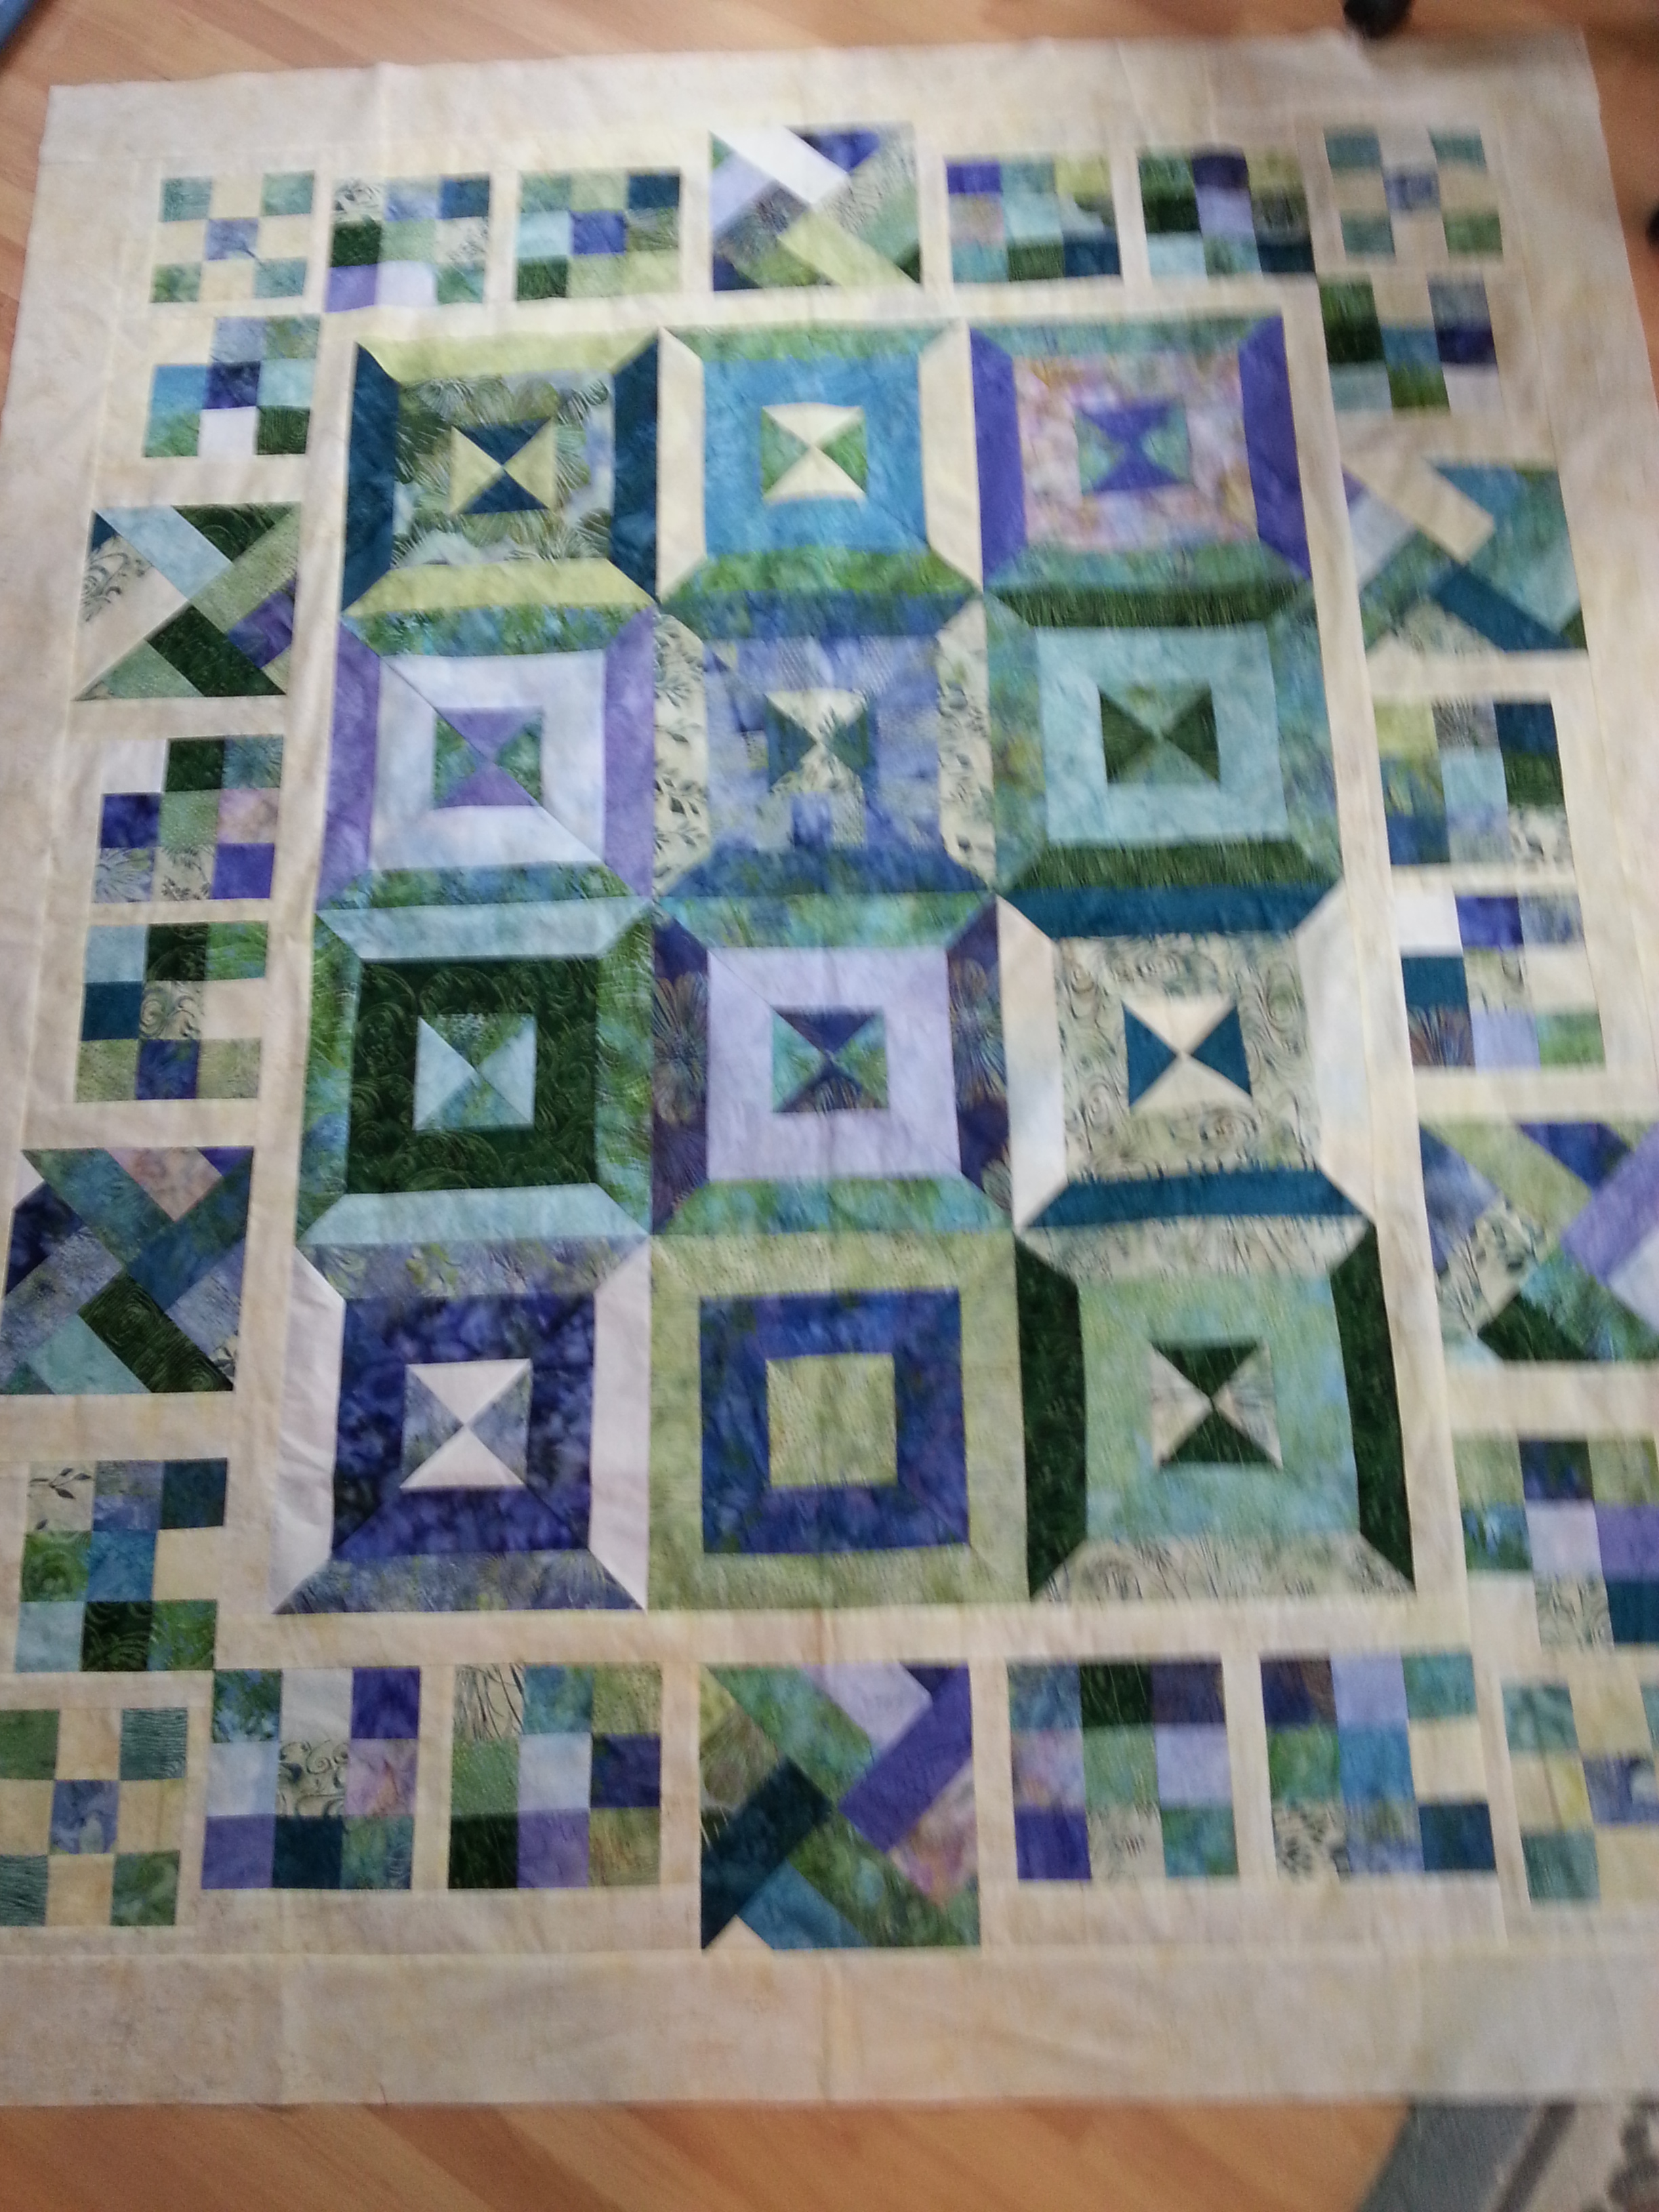
The borders were tricky and I ruminated for a couple of days – I aimed to extend the pattern out from the center without repeating too many of the parallel lines. By the time I had worked out what to do, I had a deadline of a day to have the quilt ready for my good friend Wanda Rains to do the long-arm quilting. I always tell my students not to rush borders. The borders can make or break the quilt and it is worthwhile putting in the time to do them accurately. However, I didn’t anticipate the piecing taking me as long as nine and a half hours, and at 10.30 p.m. I was mitering the corners on the final black border. Whew, it was done!
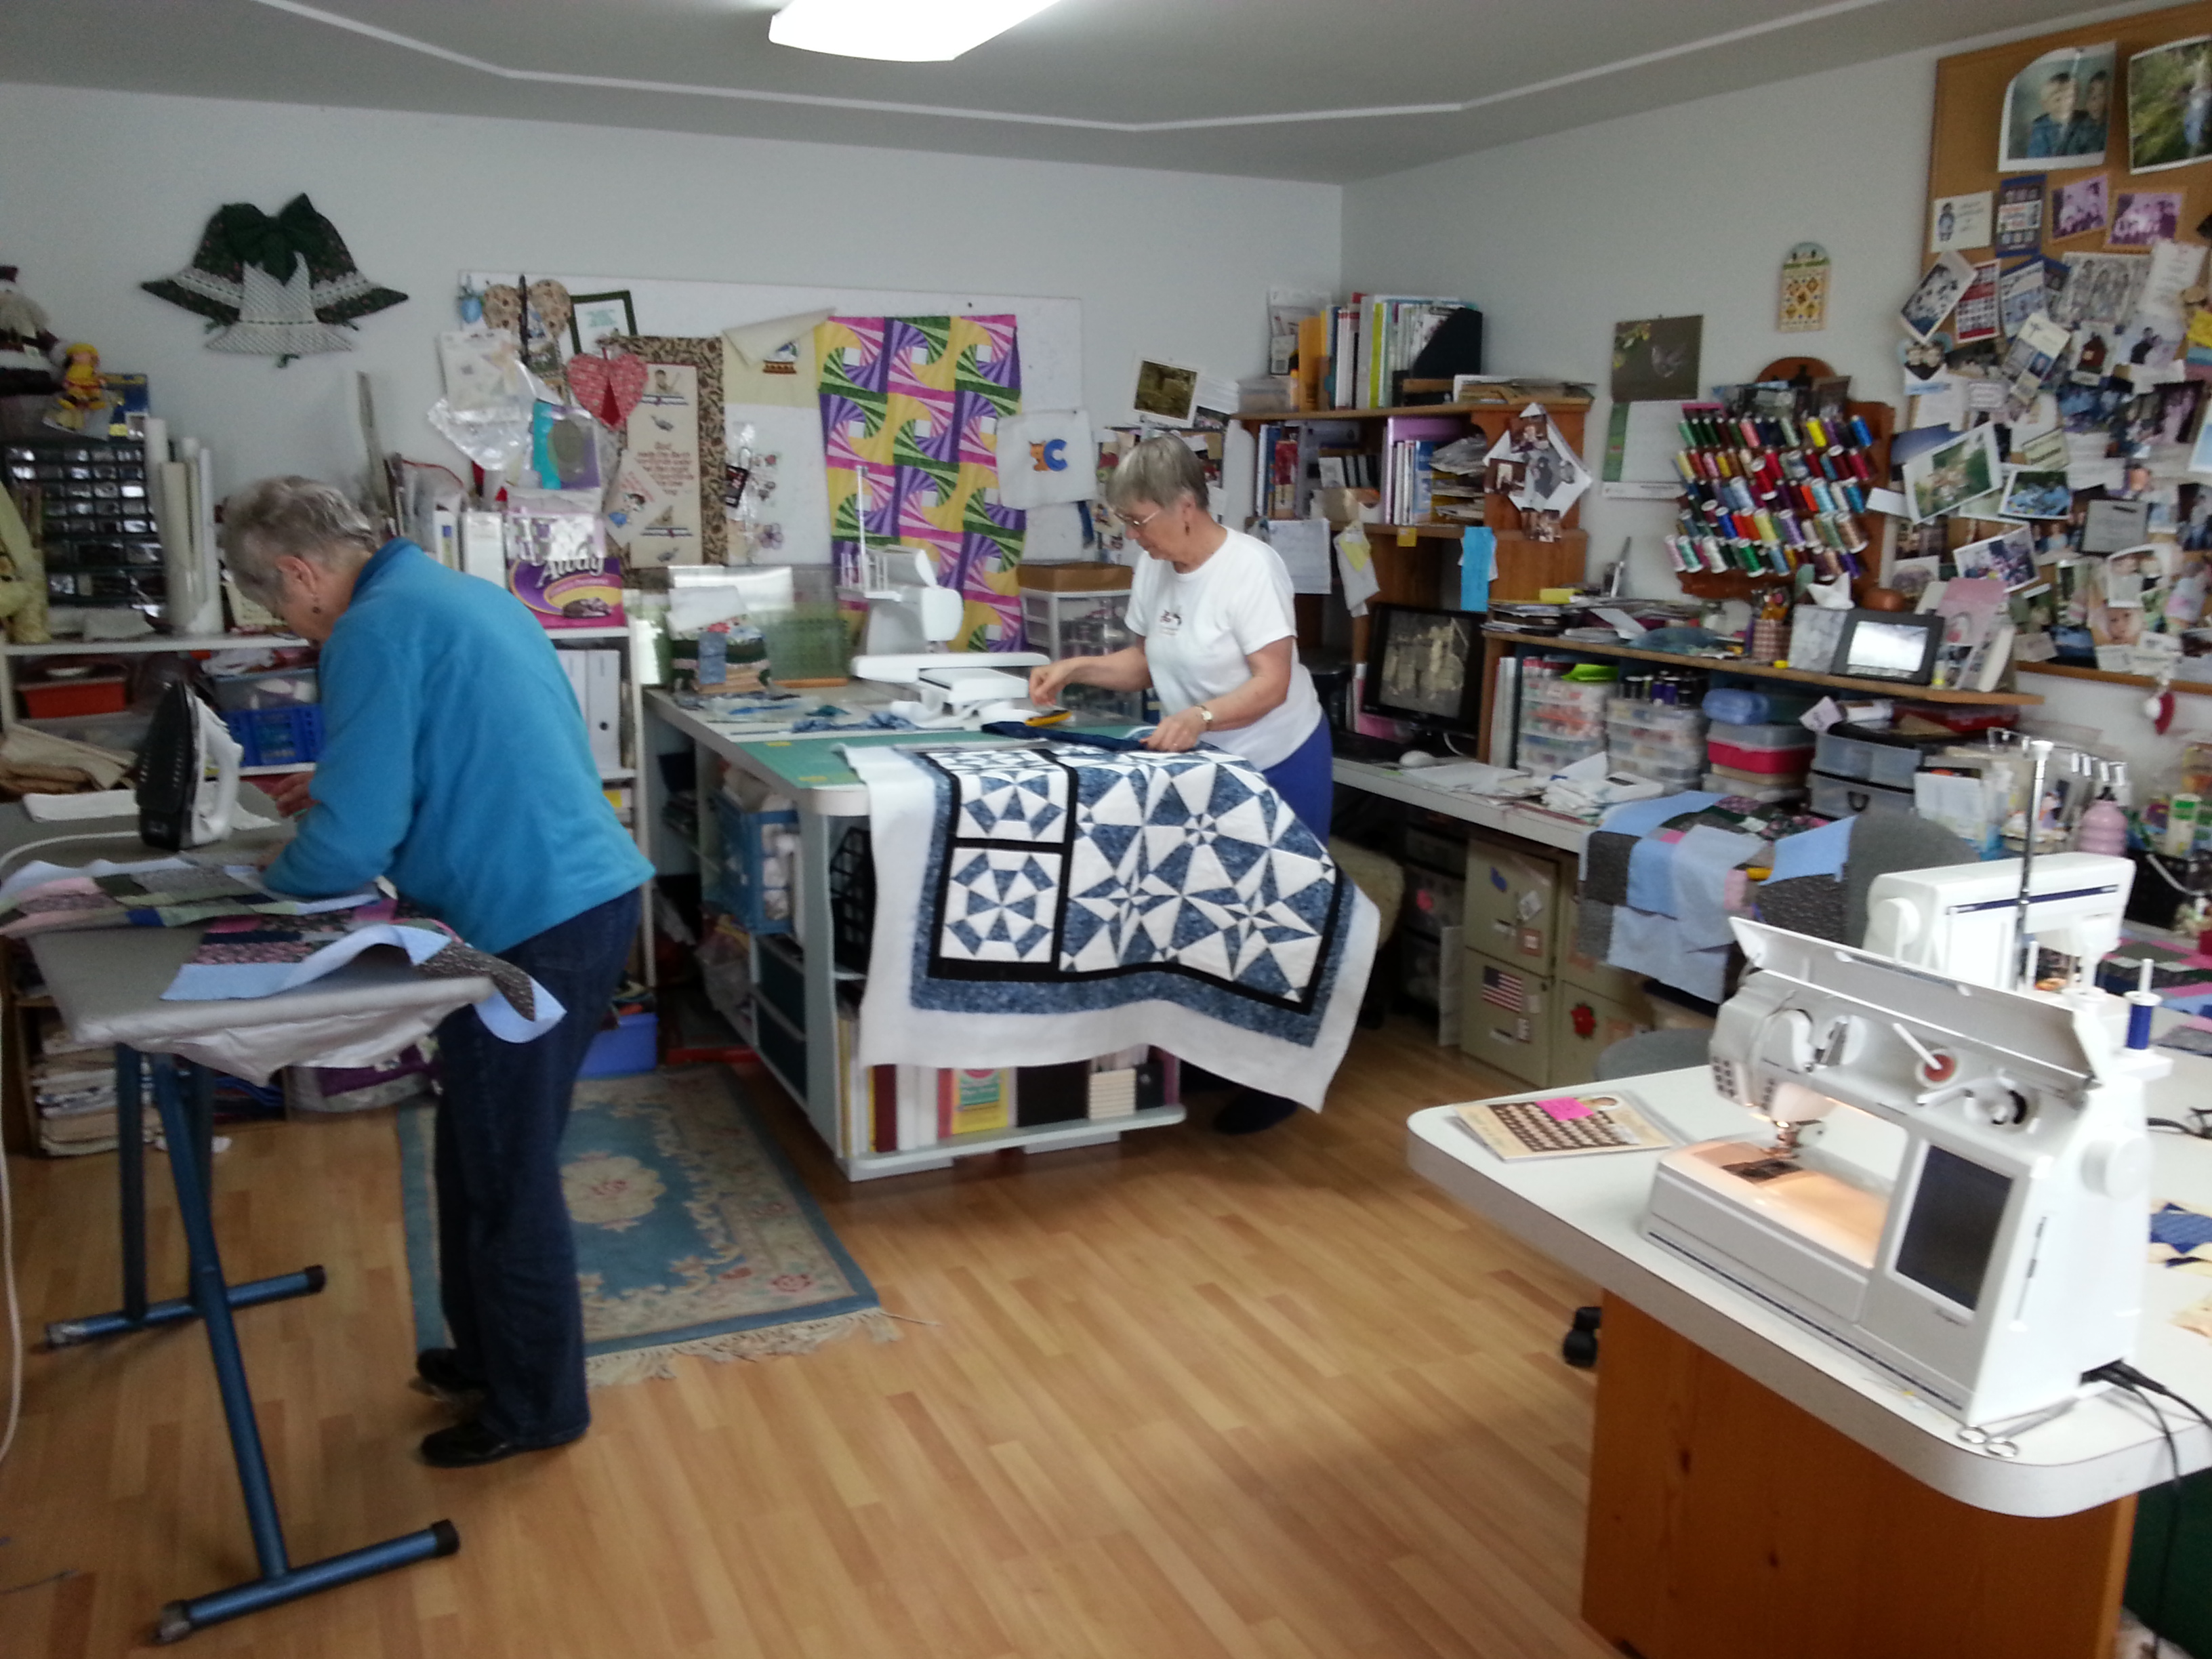
The next day, I was teaching a class all day at Quilted Strait in Port Gamble. I dropped the quilt off with Wanda in Kingston in the morning and returned after class in the late afternoon to collect it. Wanda had quilted a lovely overall leafy design which softens all those pieced straight lines and was just what the quilt needed. I scrambled over the weekend to attach the binding and finish the quilt for photography on Monday. I don’t usually churn out a big quilt in two weeks, but this one just gushed forth!

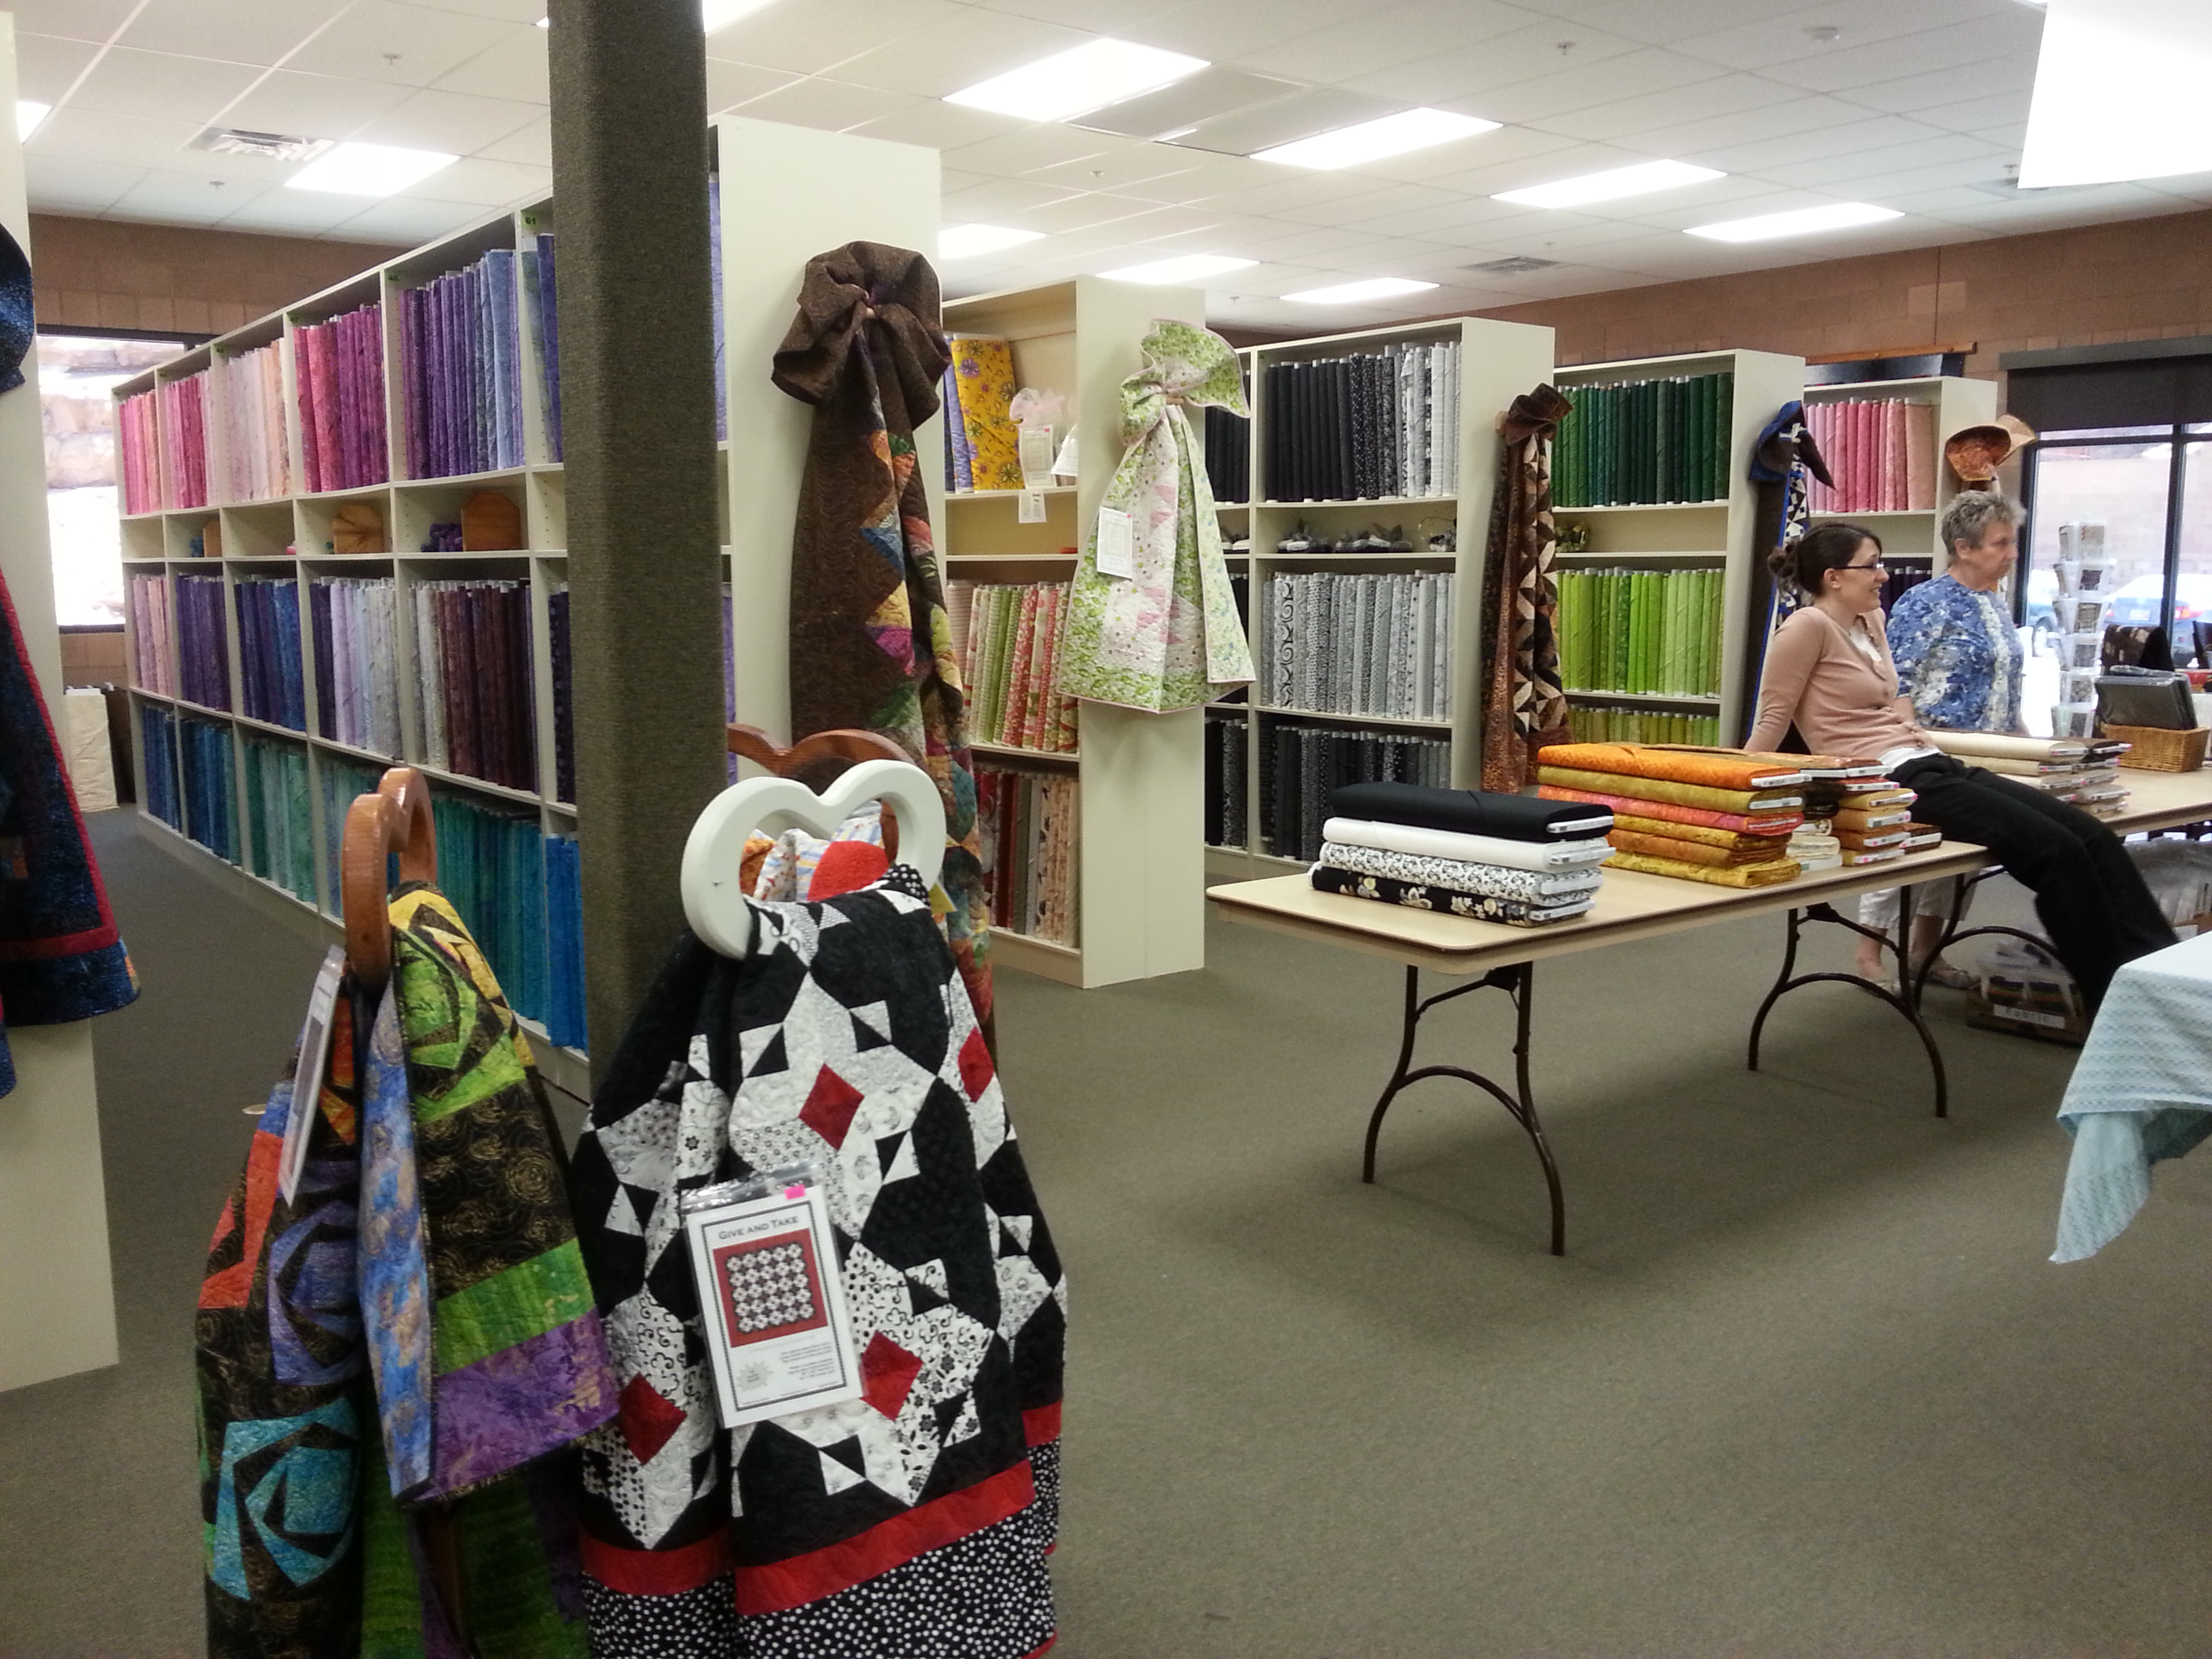
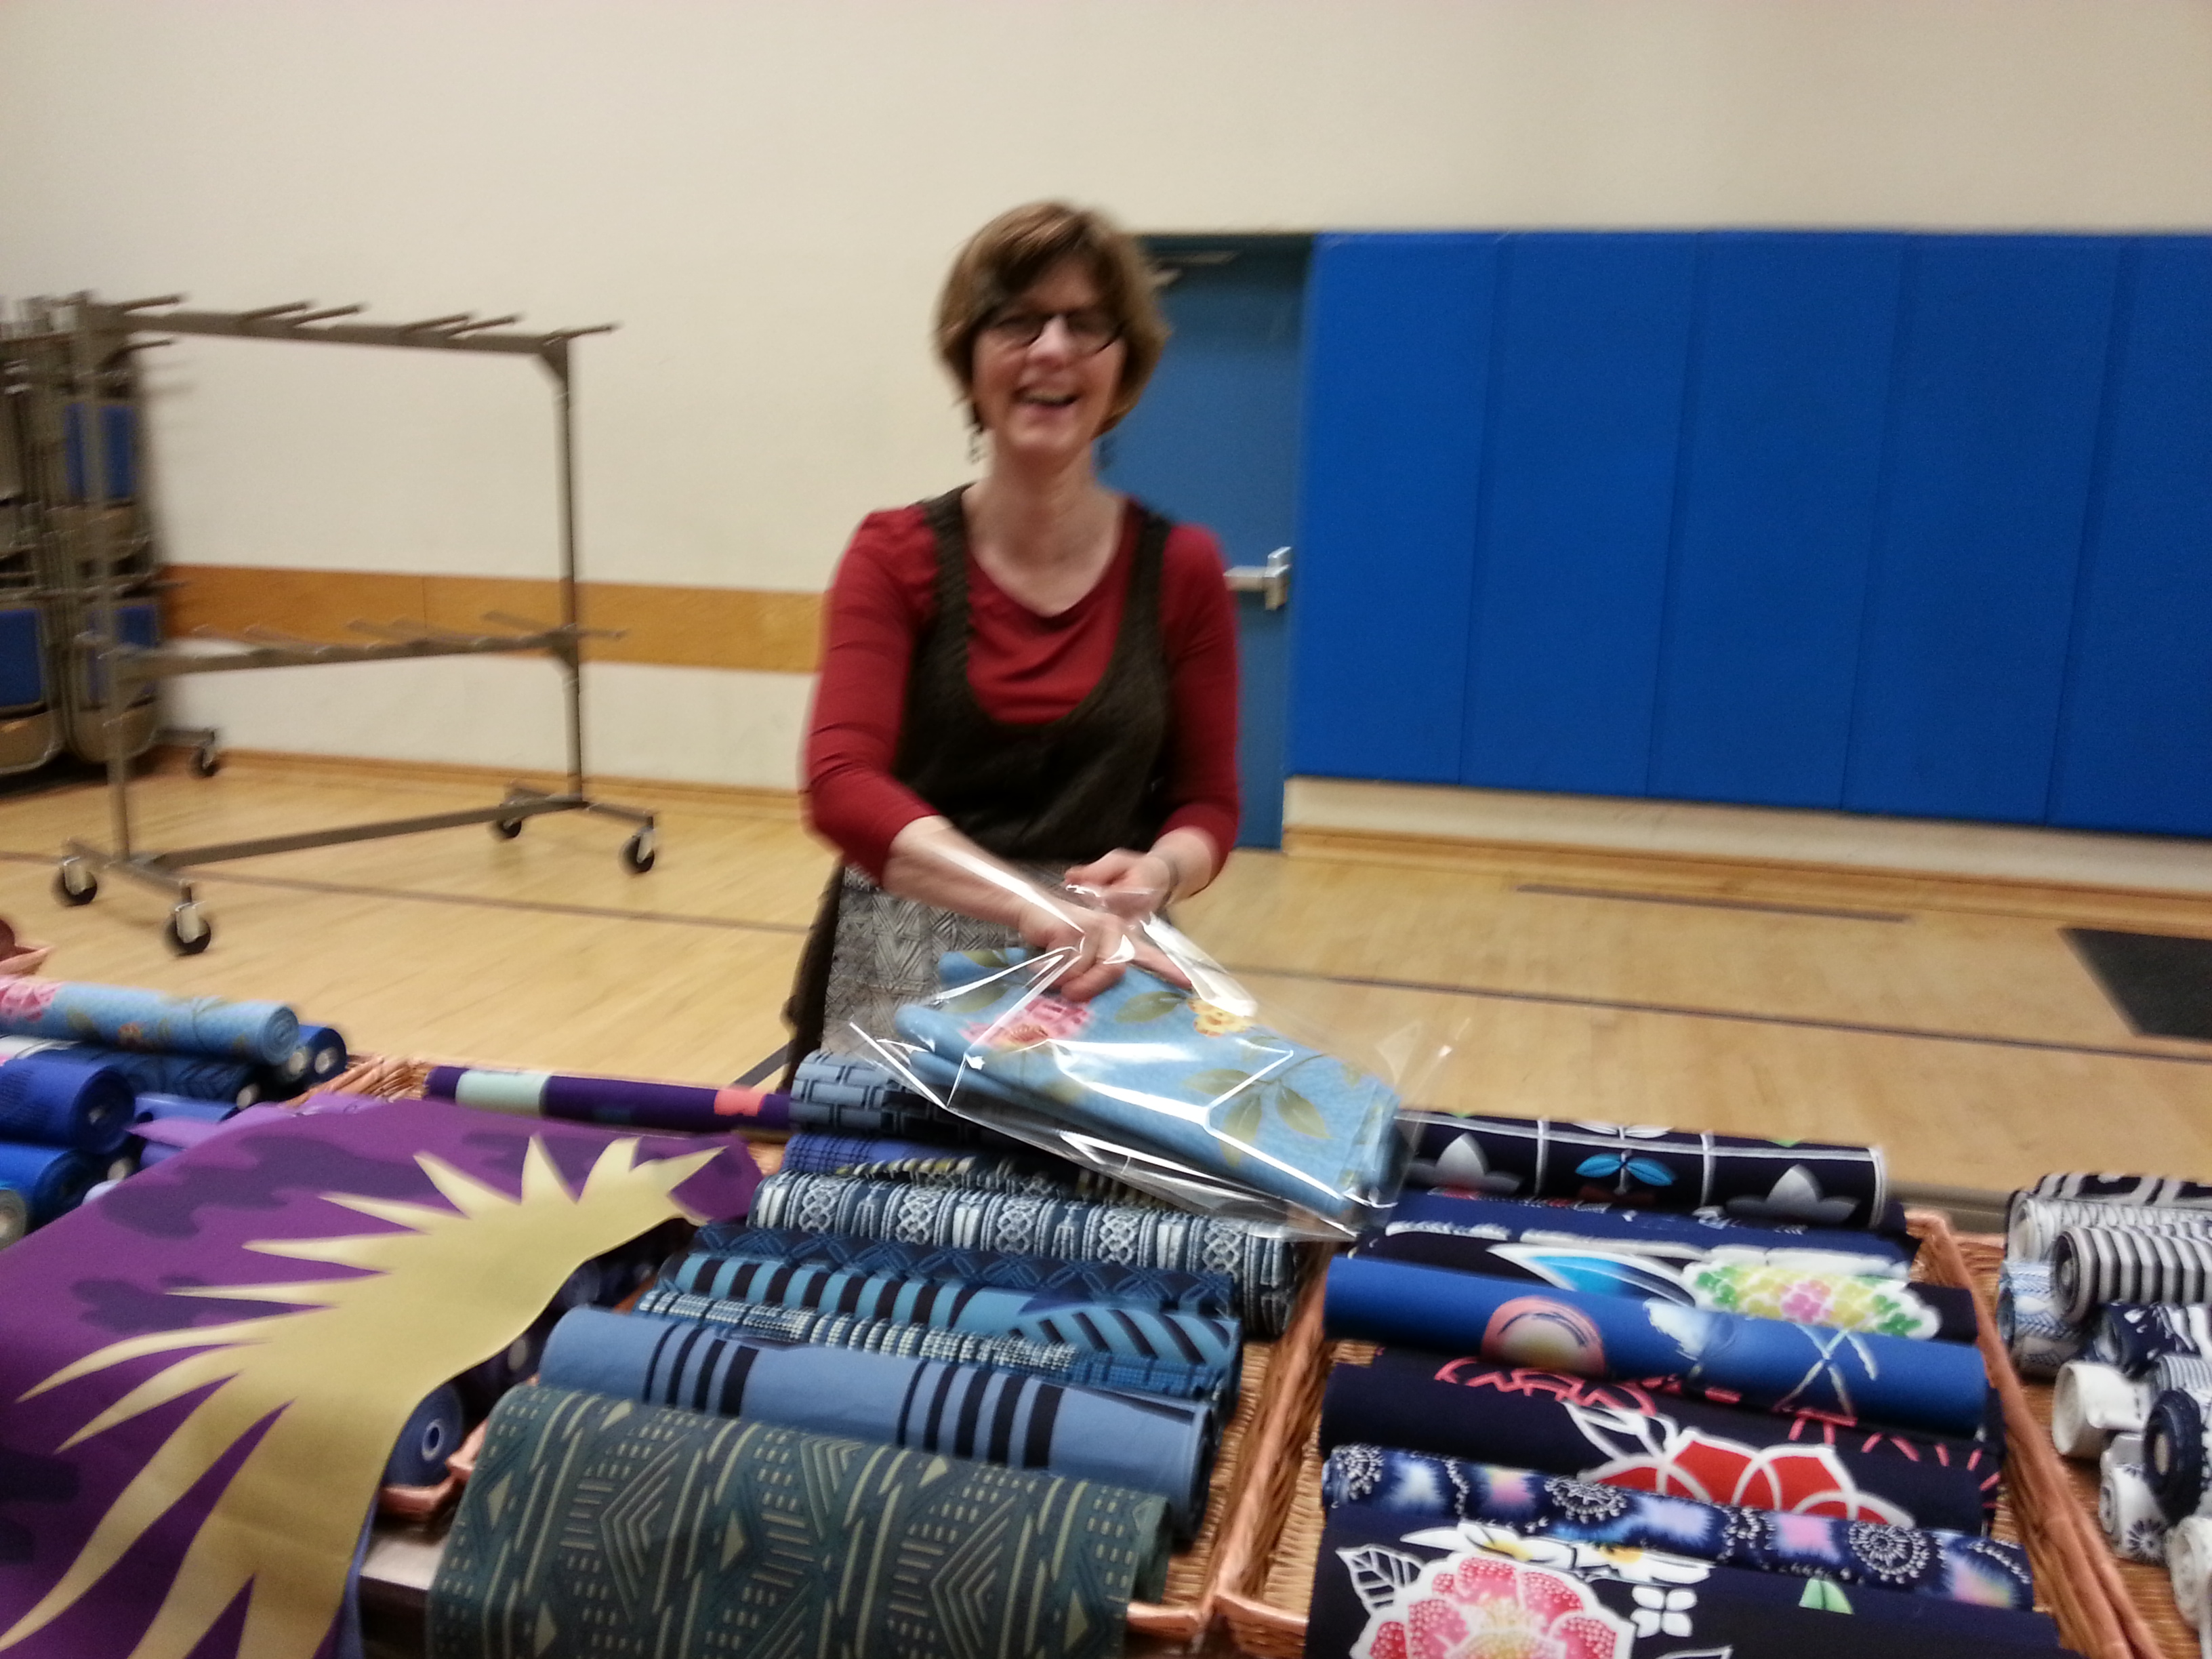
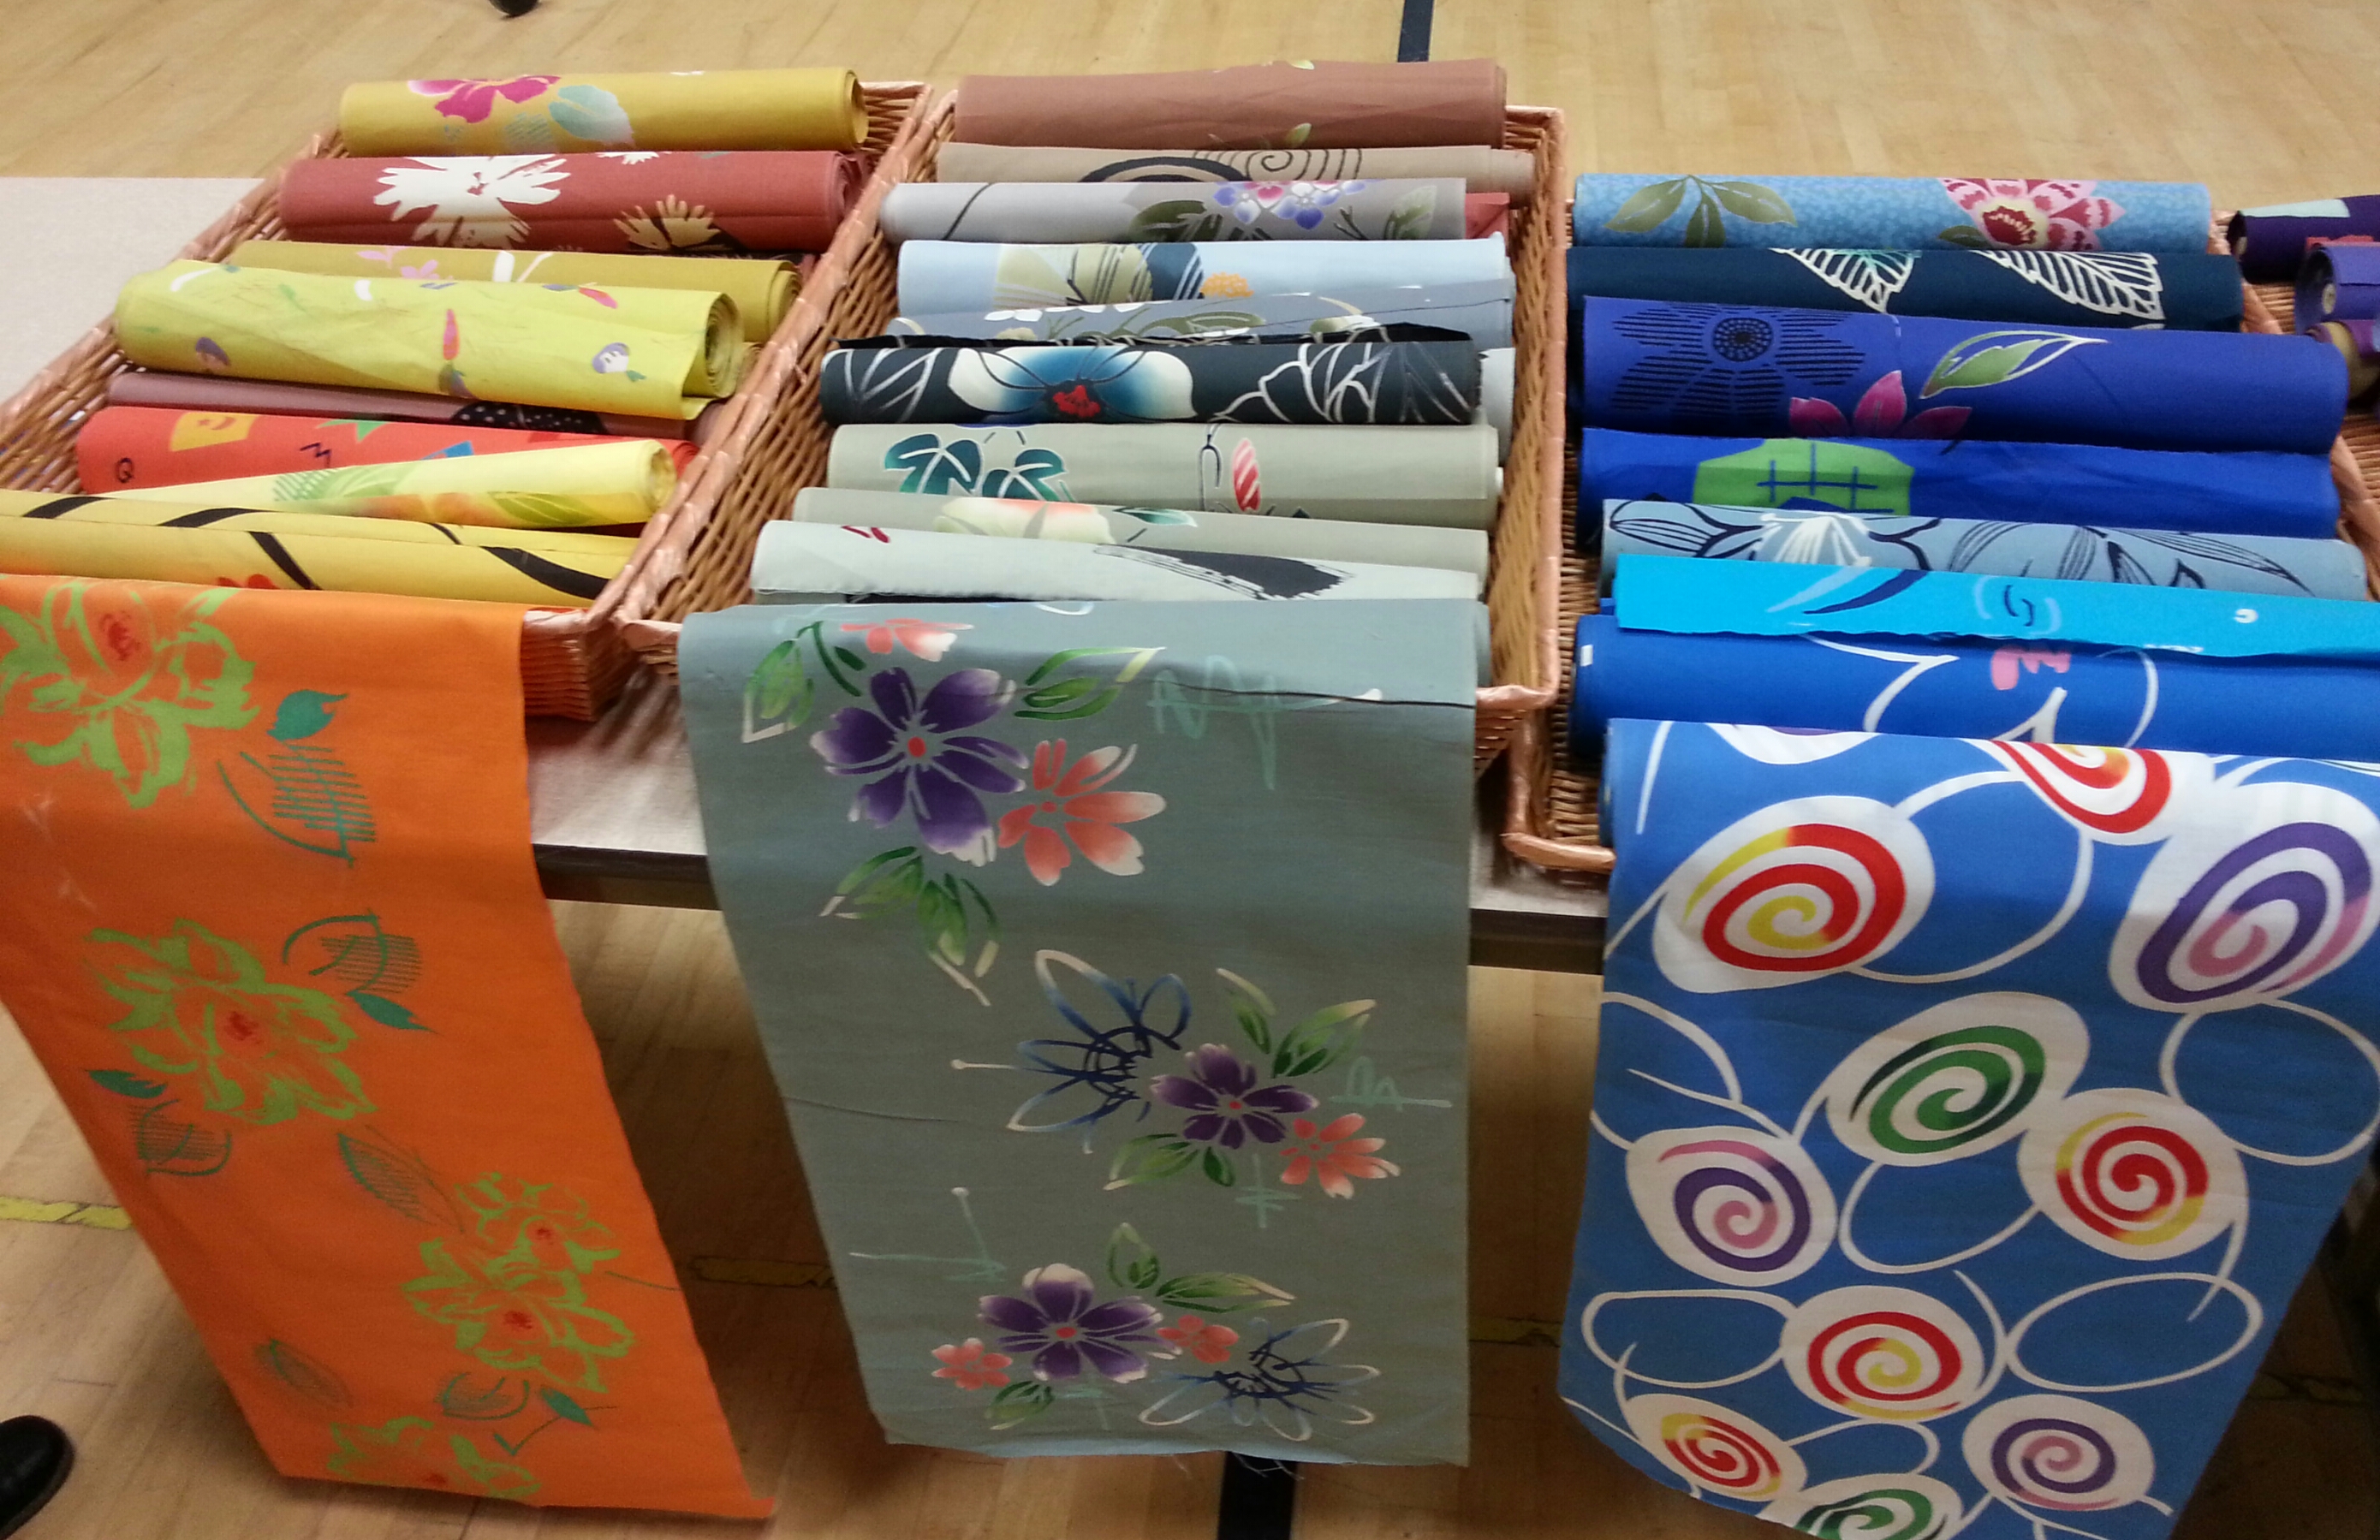
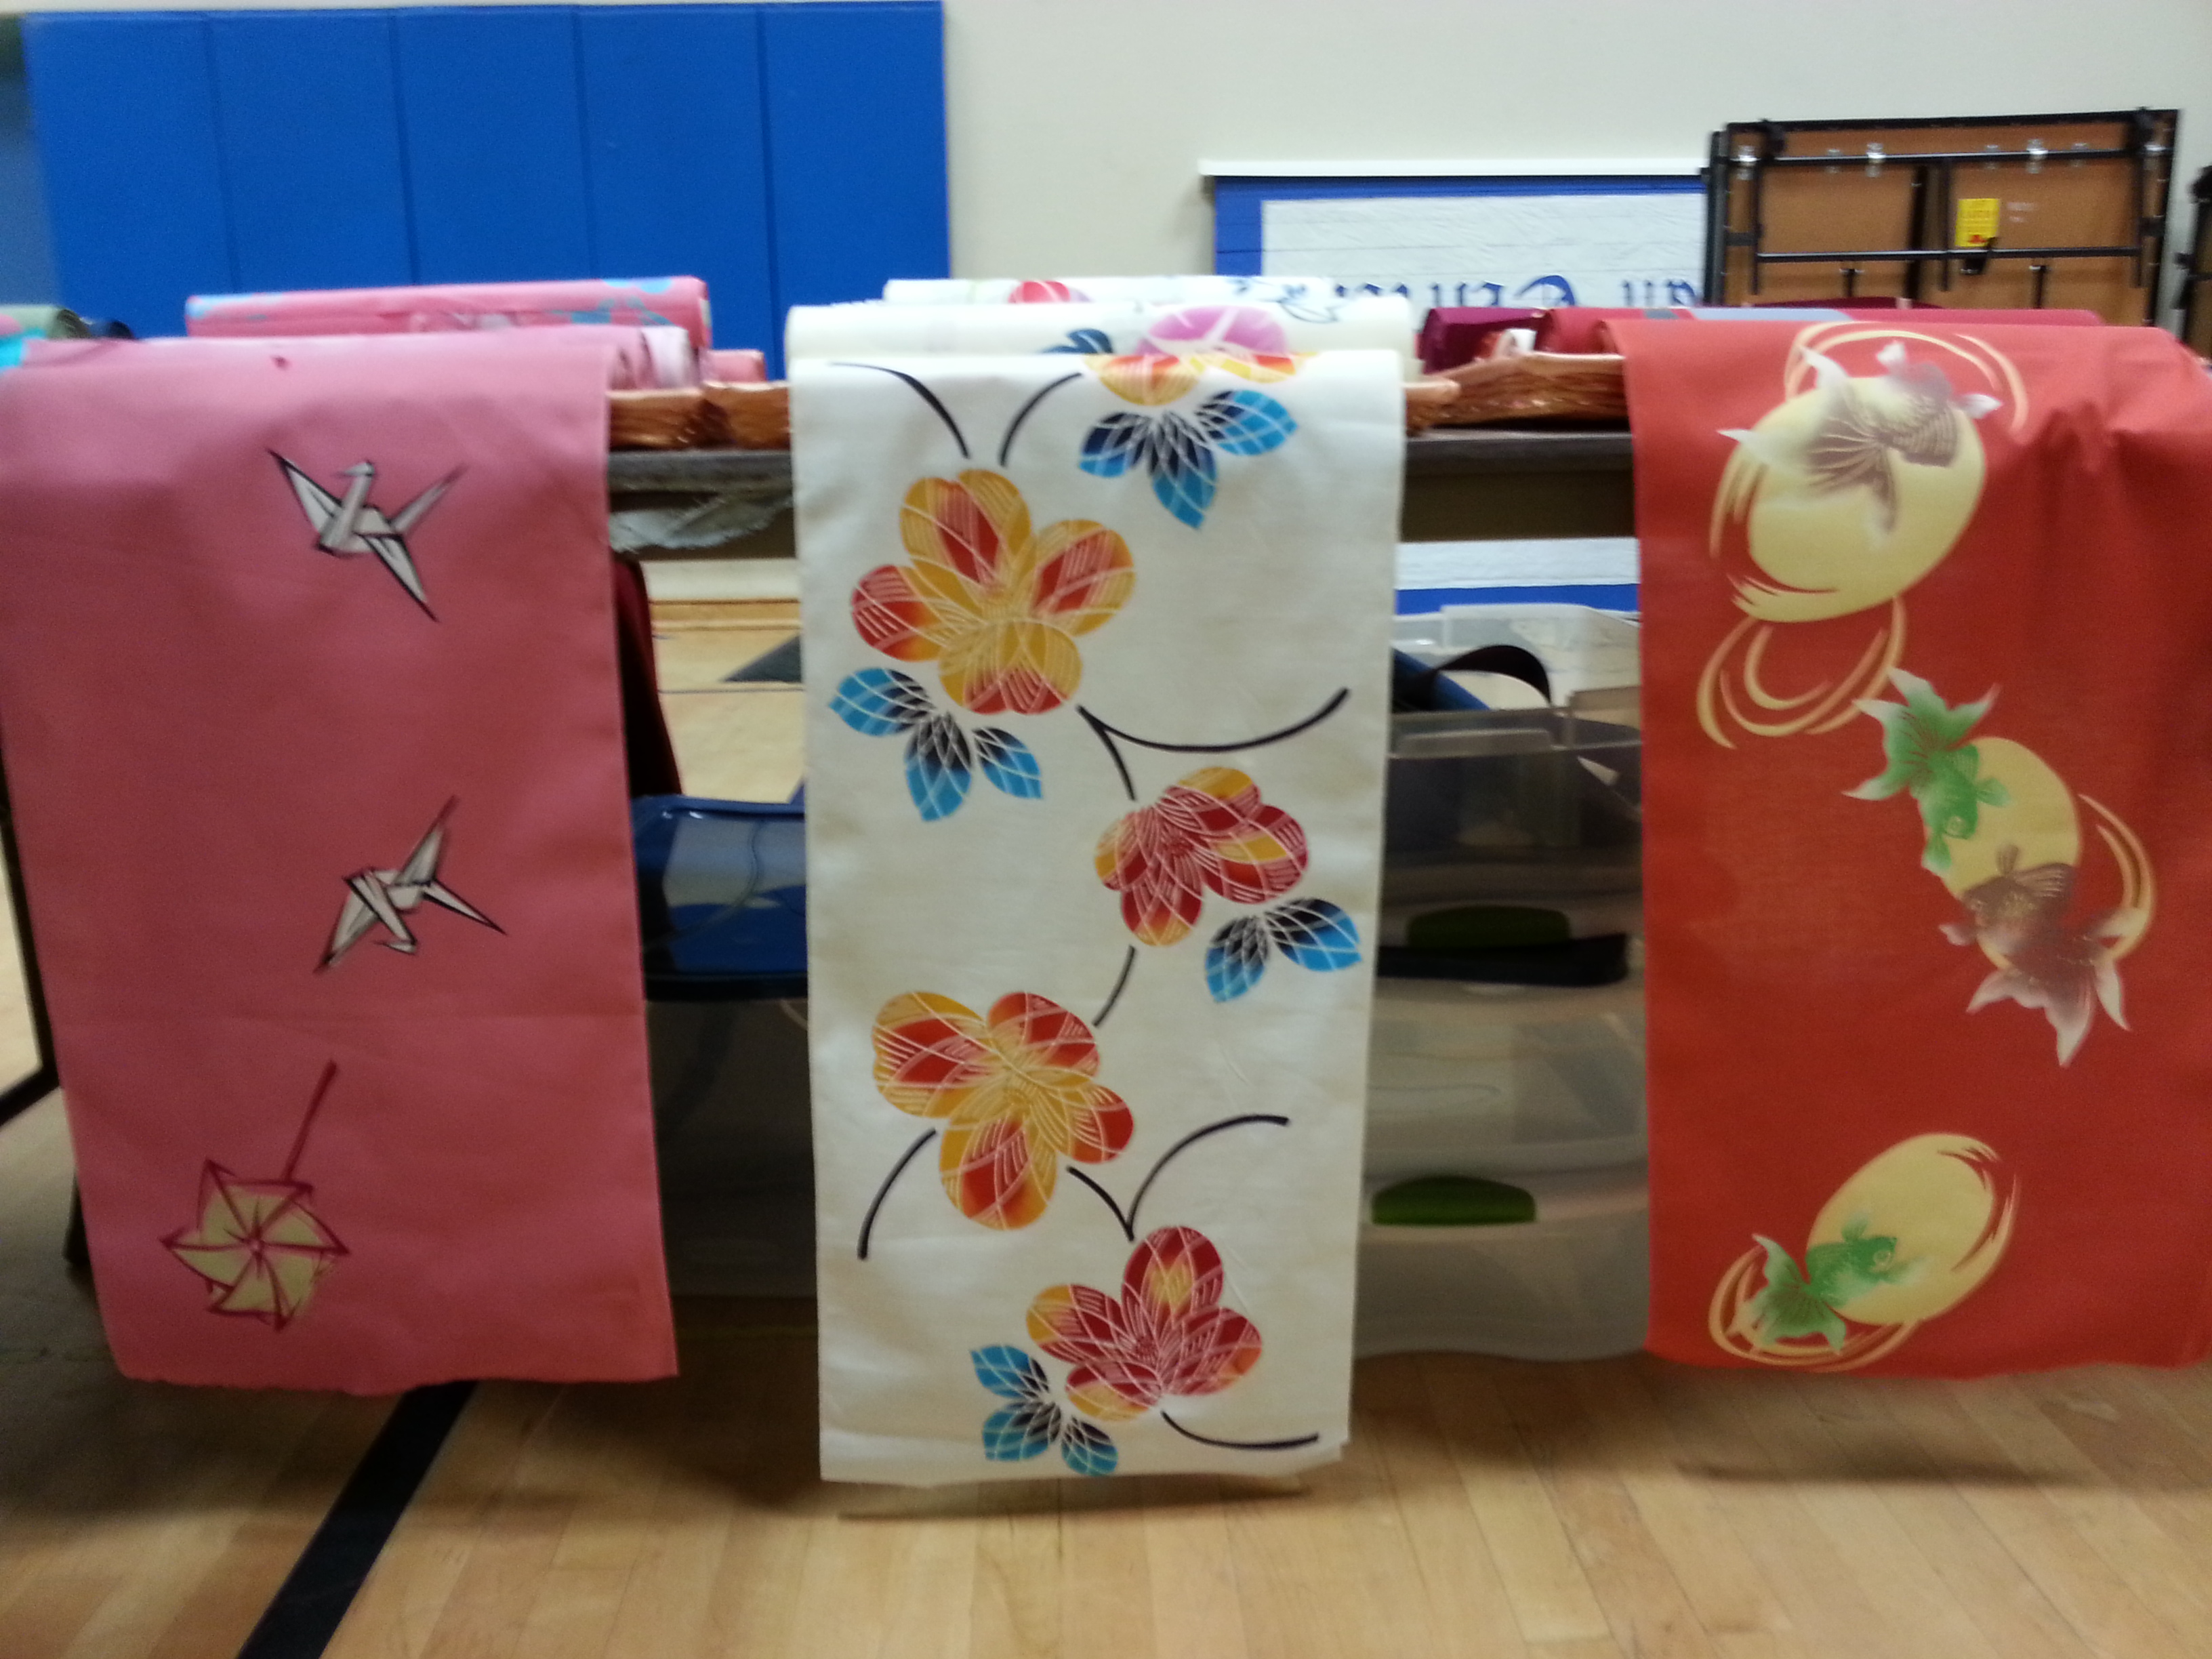
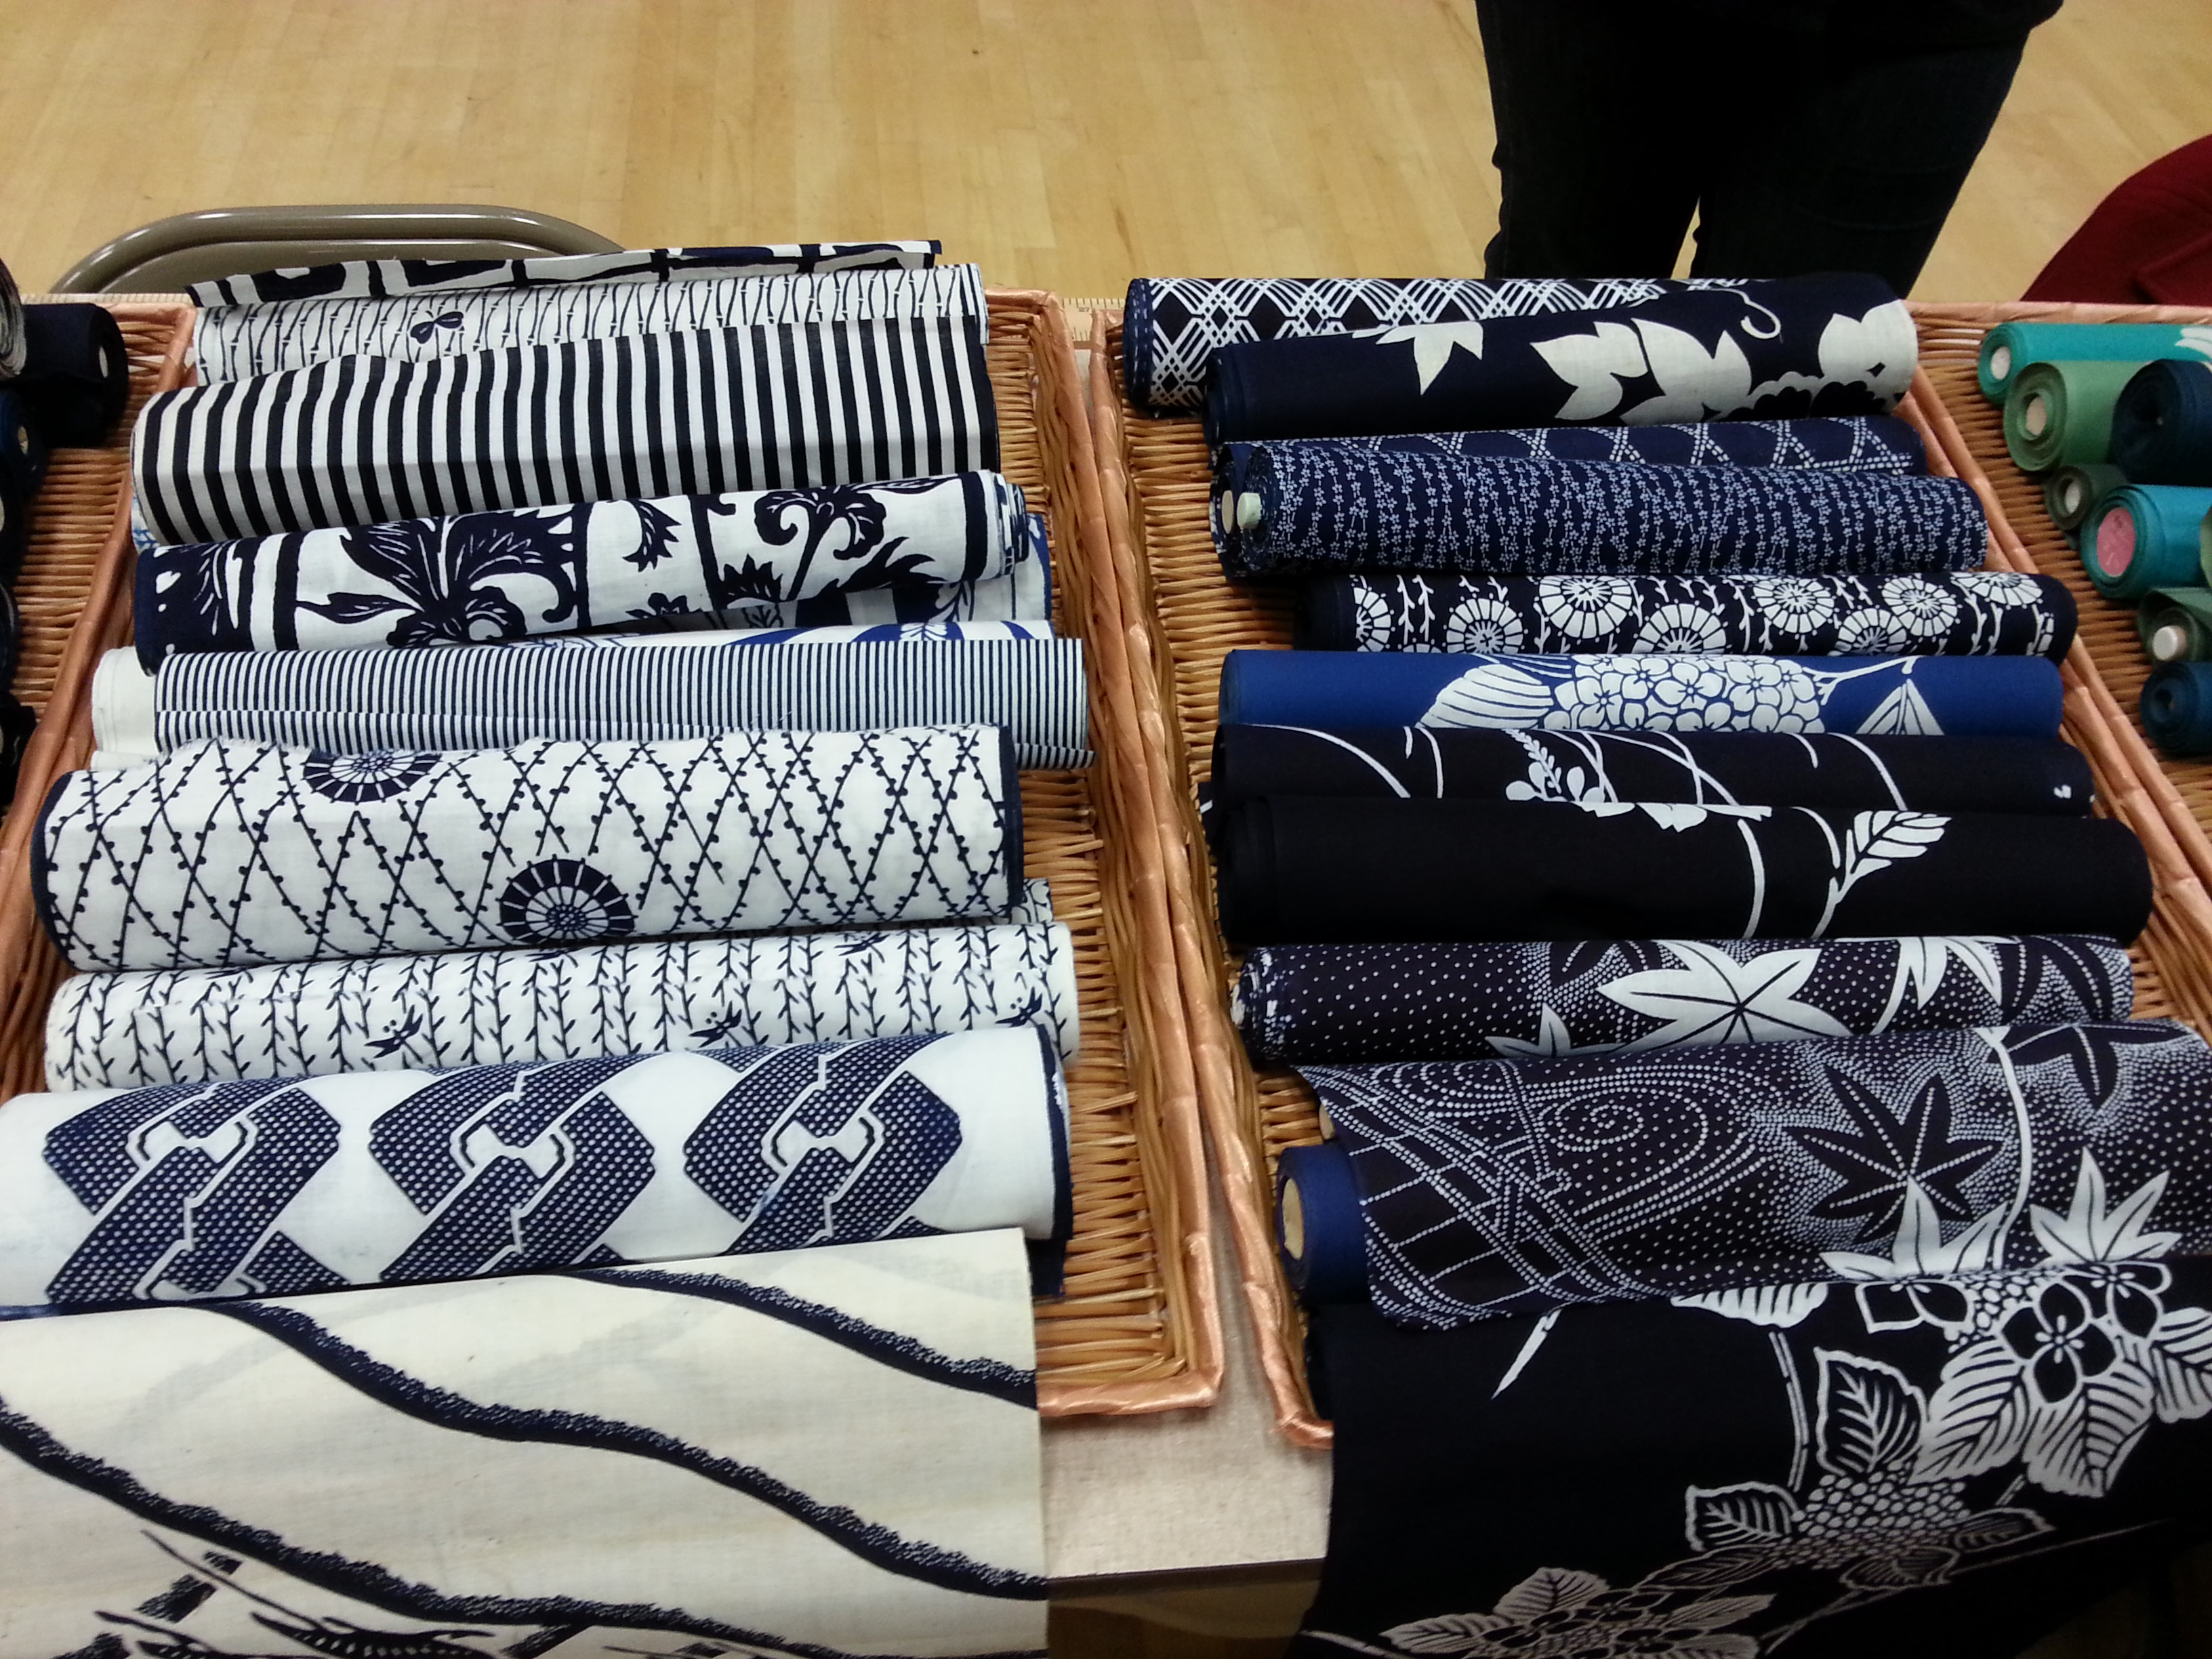
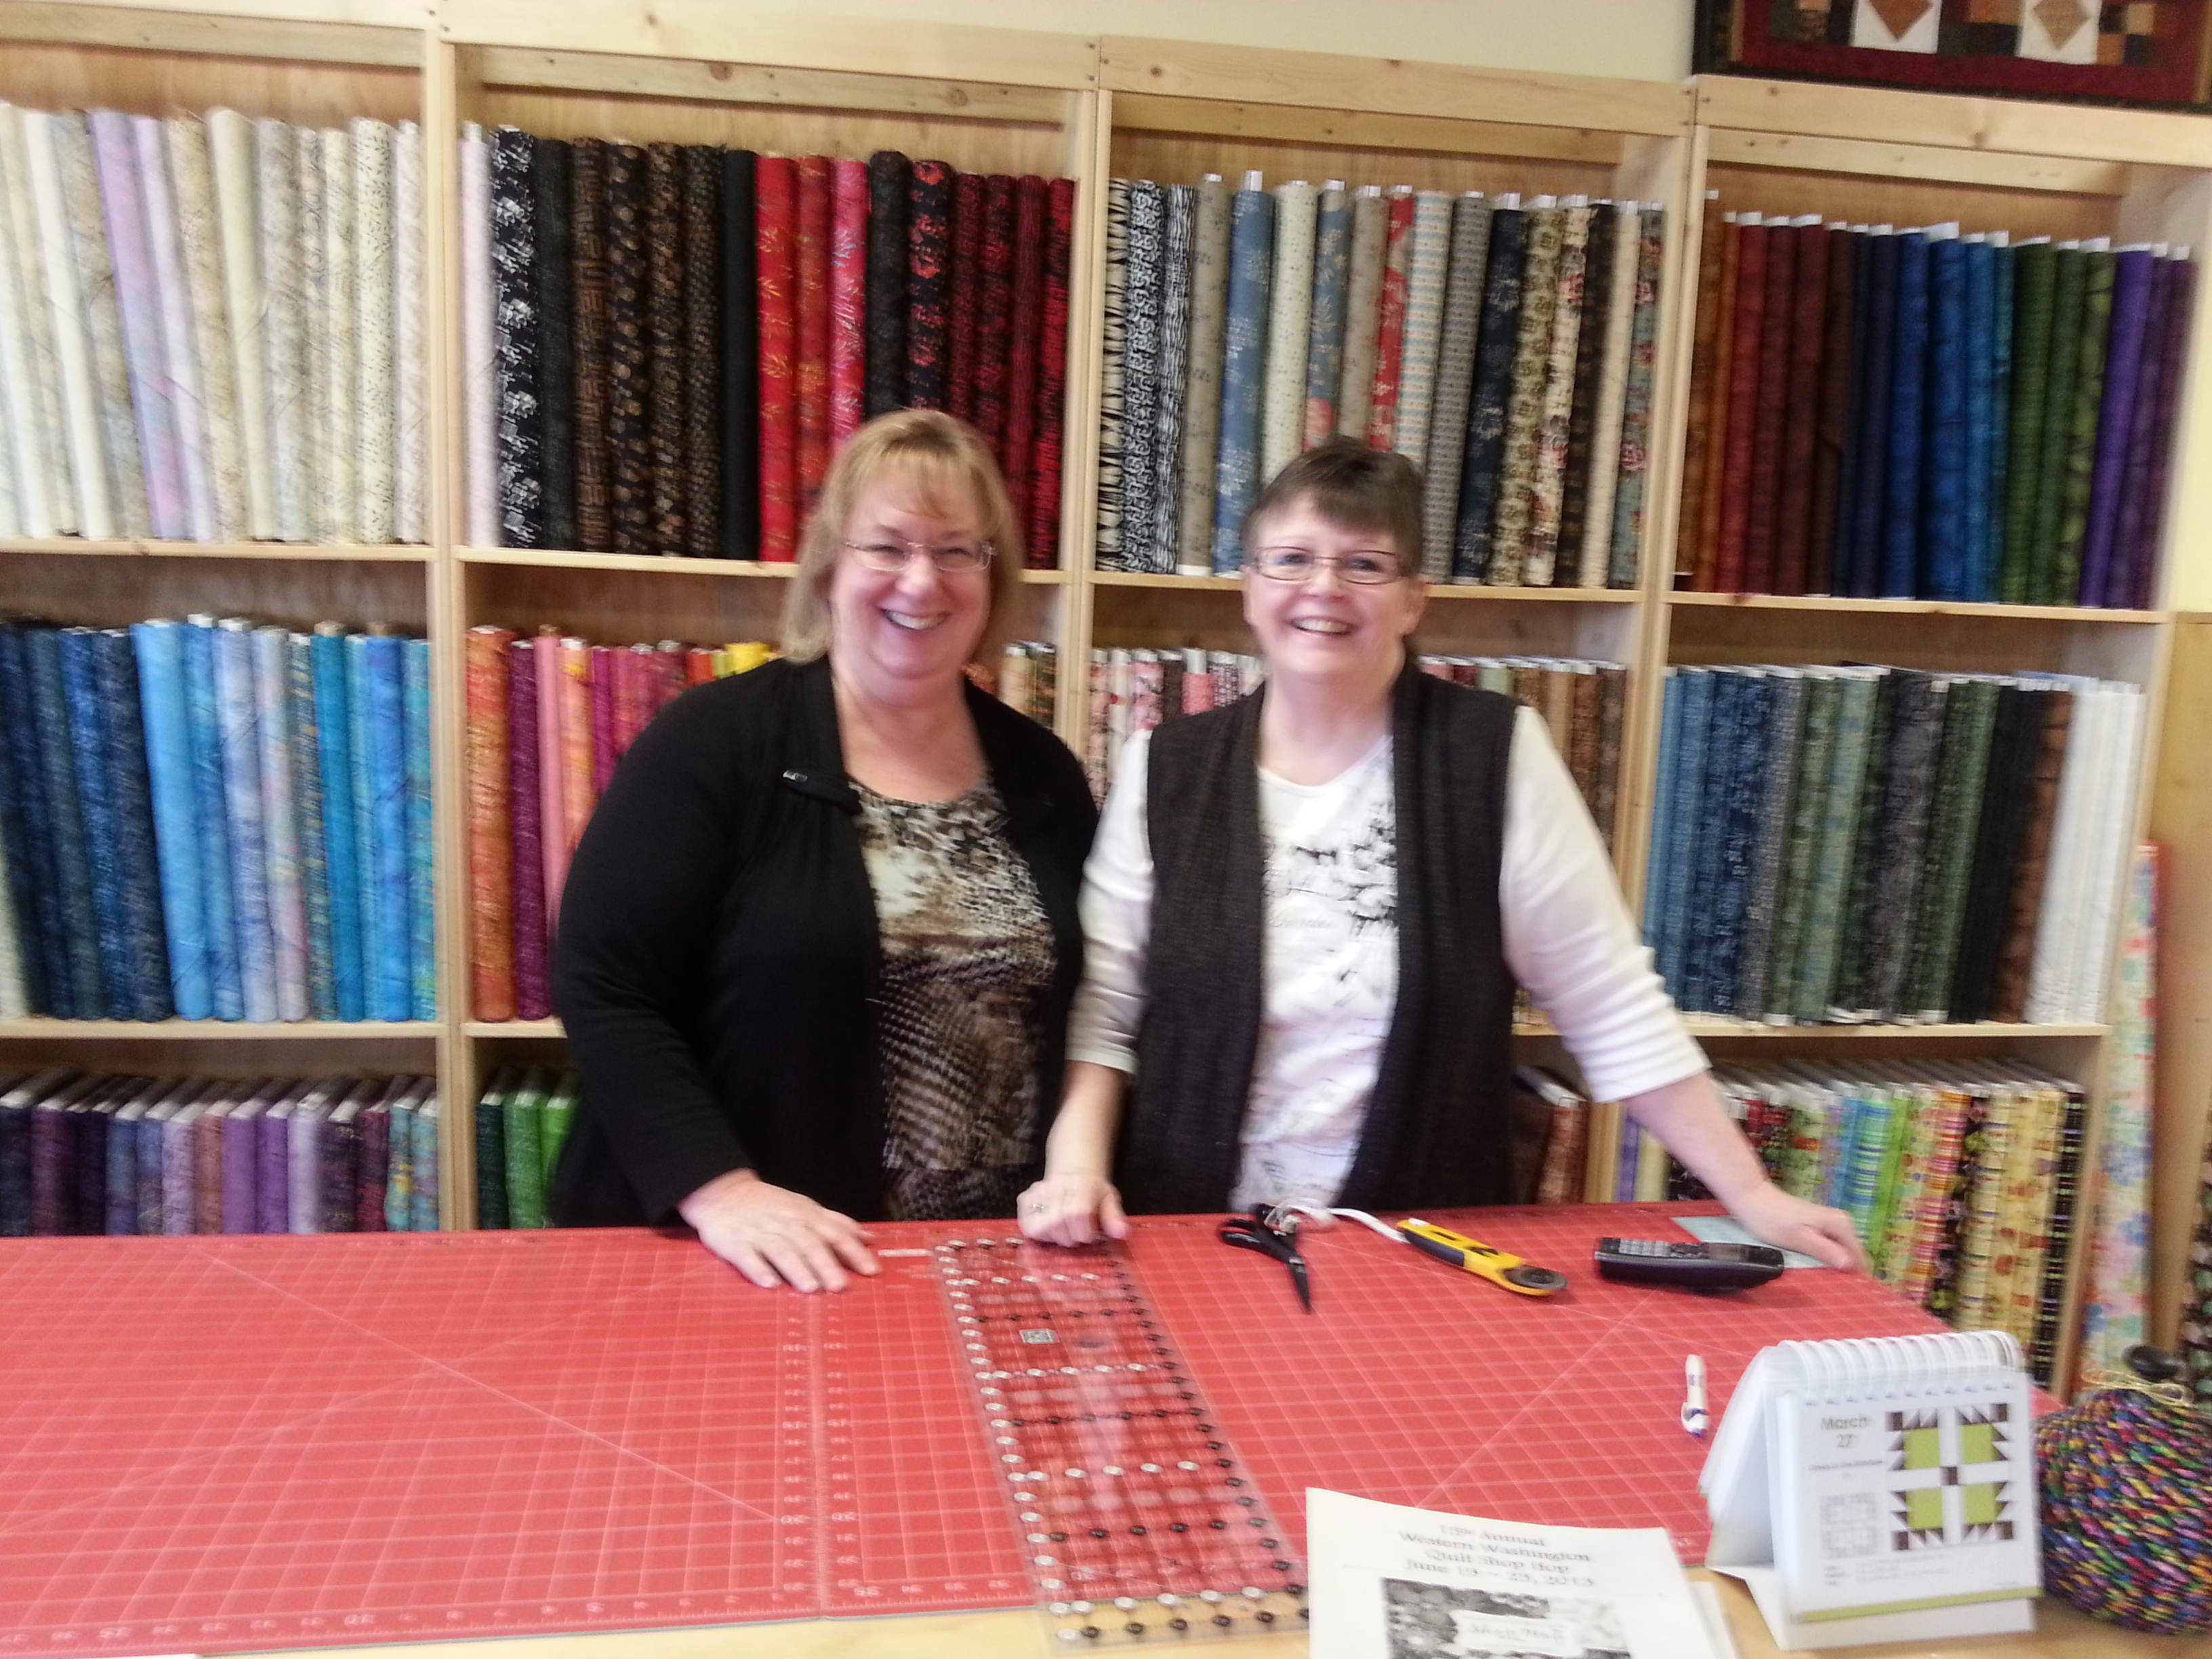
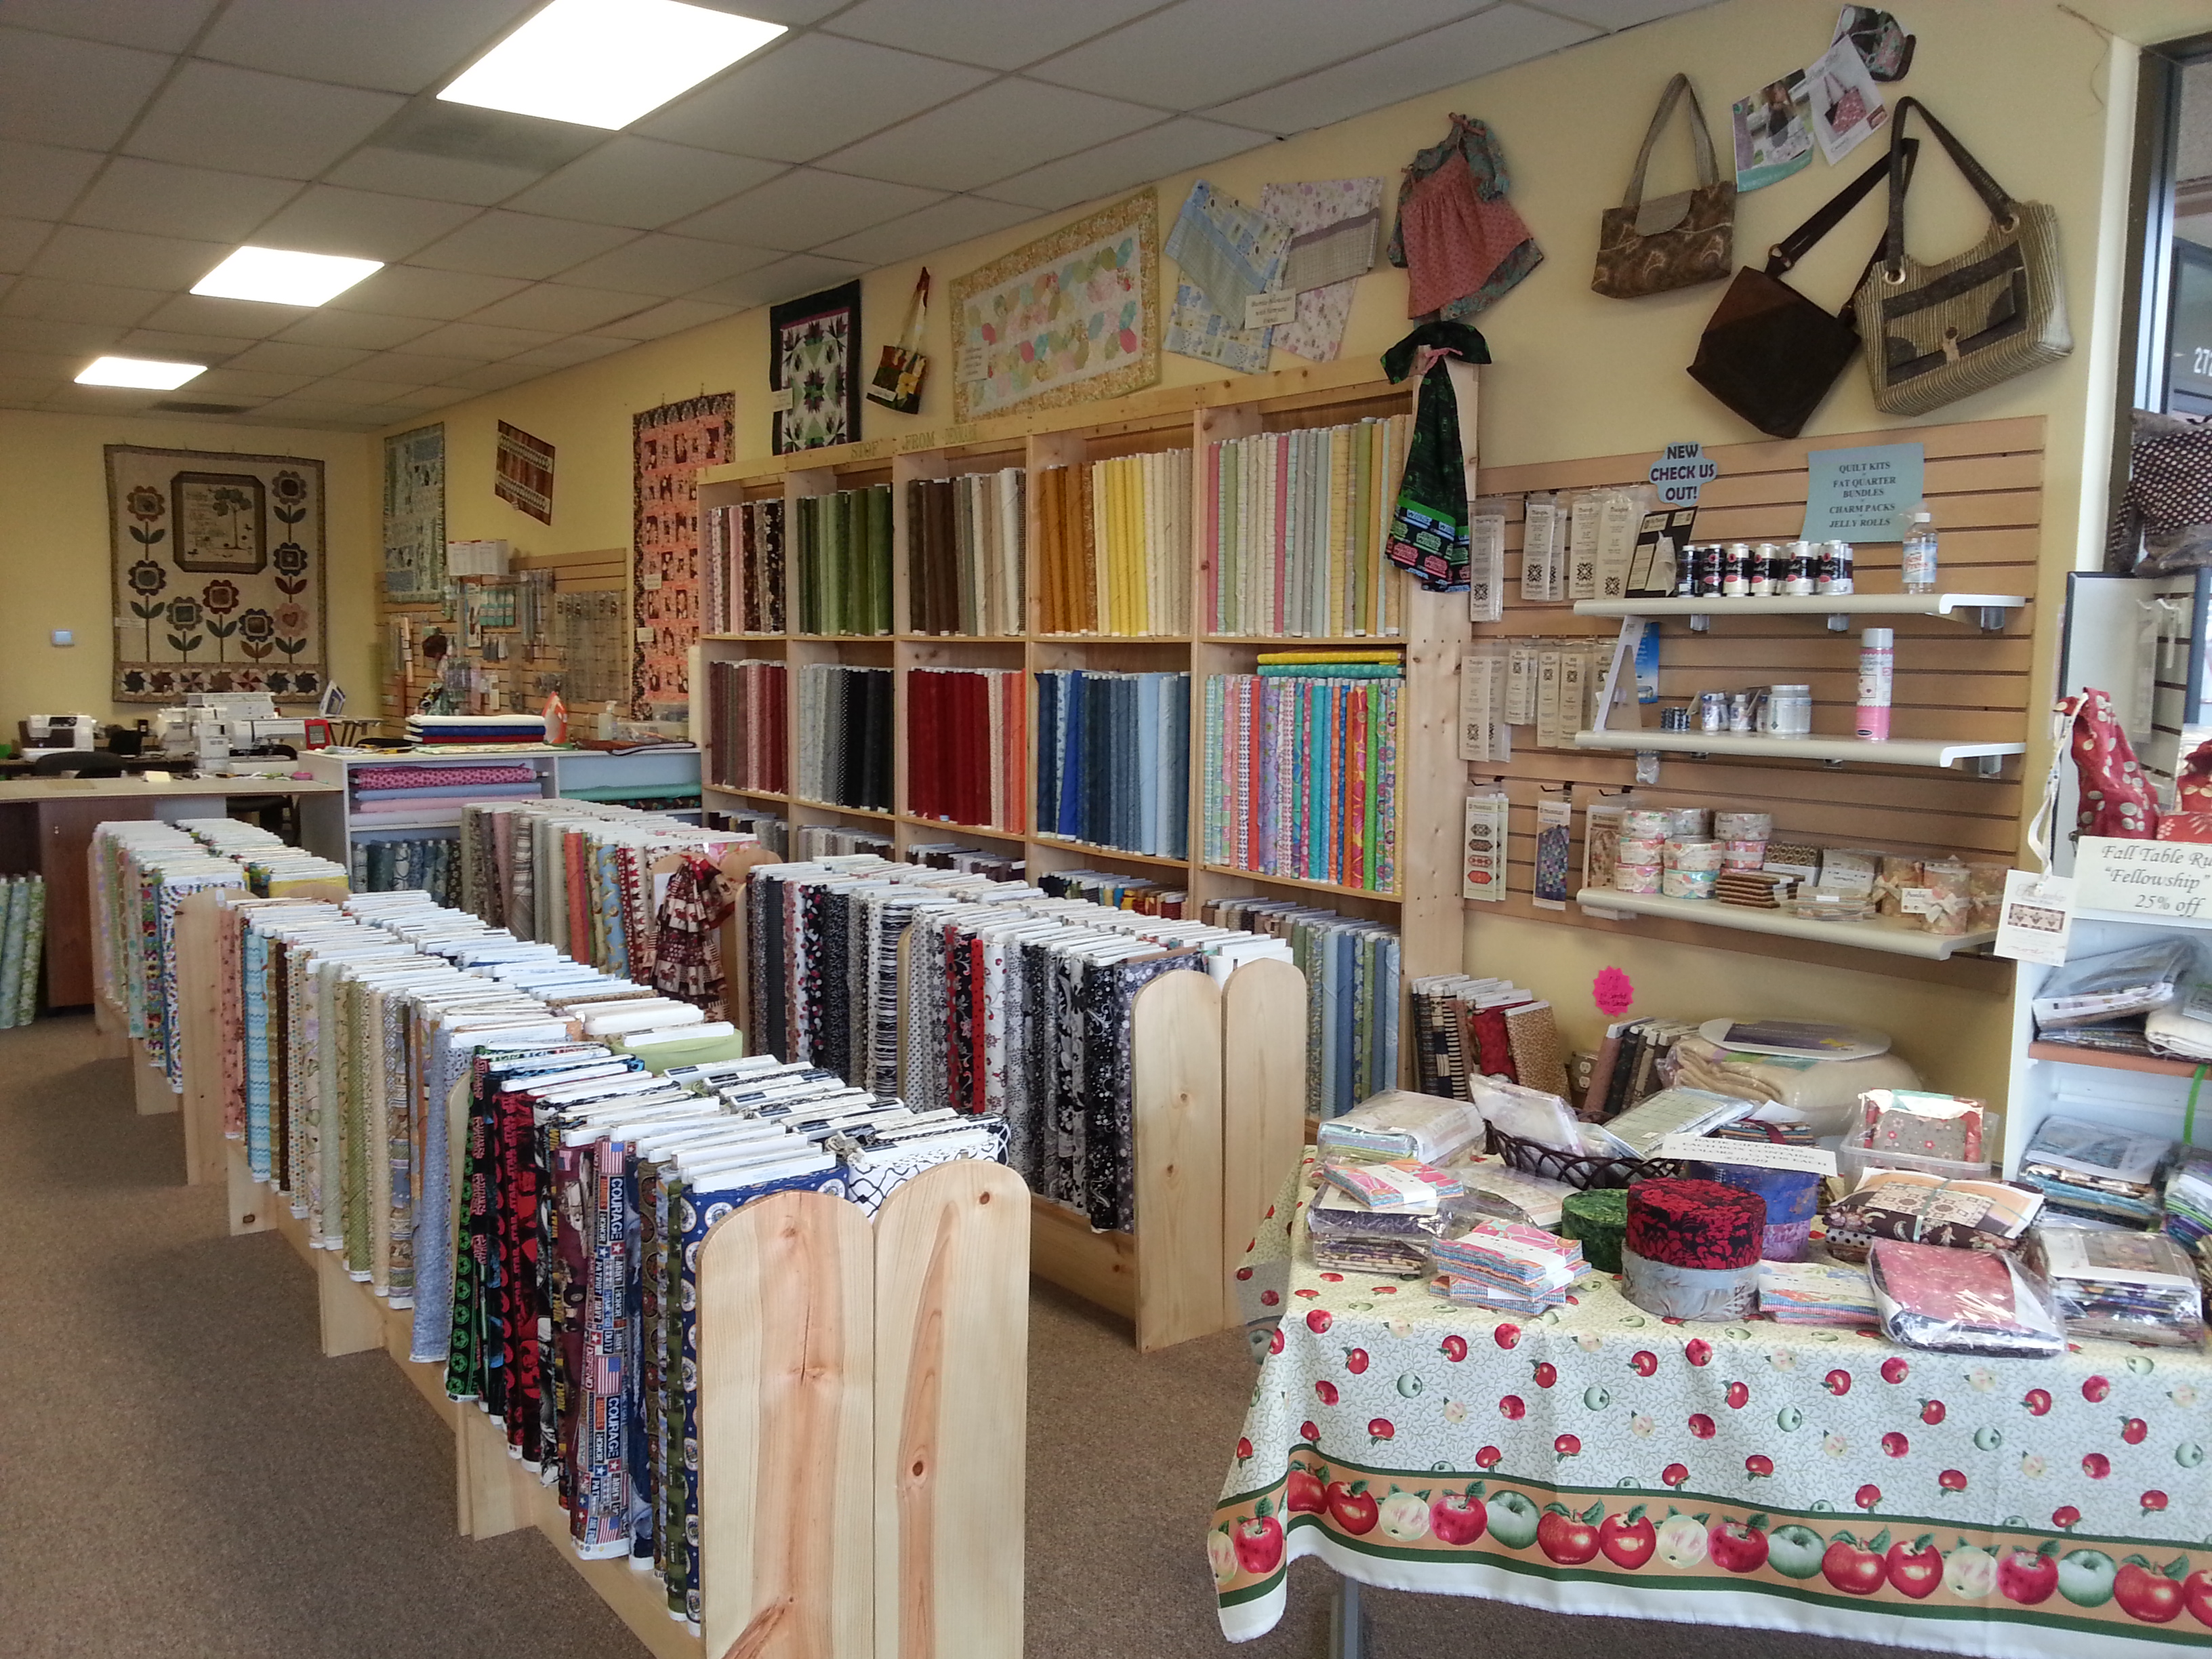
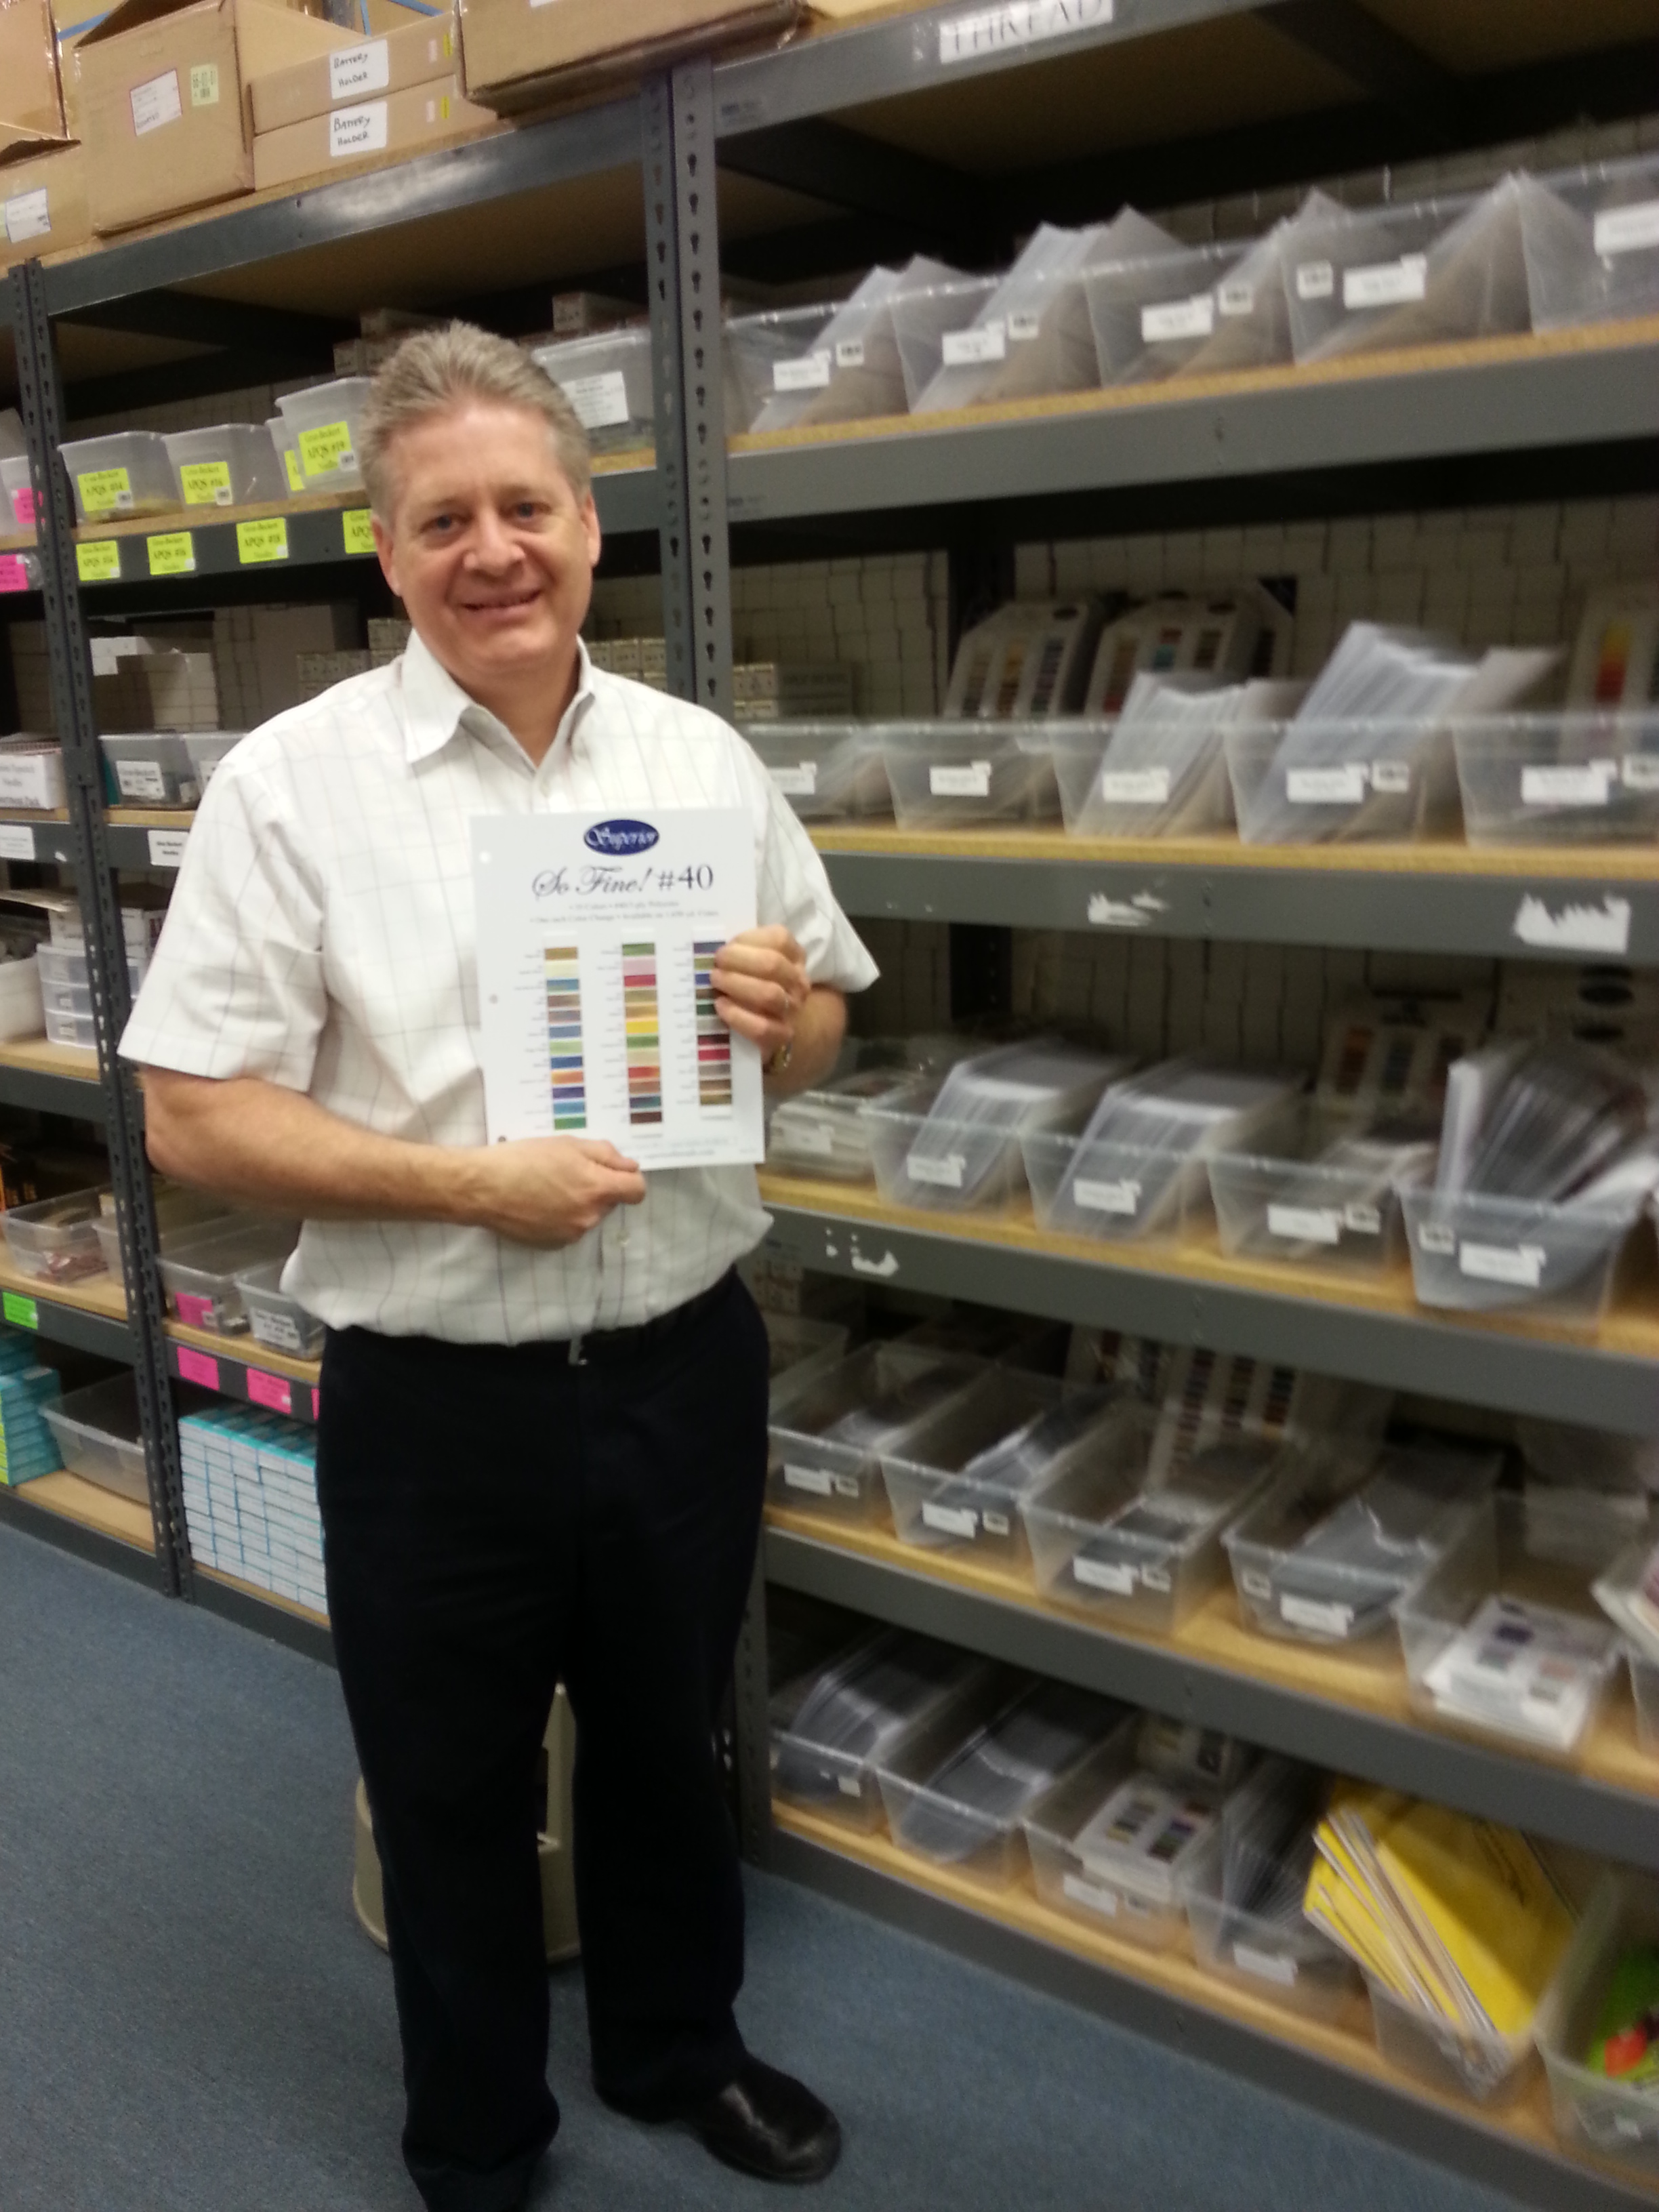 The store with a large selection of fabrics and, of course, plenty of thread is upstairs. Downstairs, there are shelves and shelves of thread, manufactured in Japan and distributed from here.
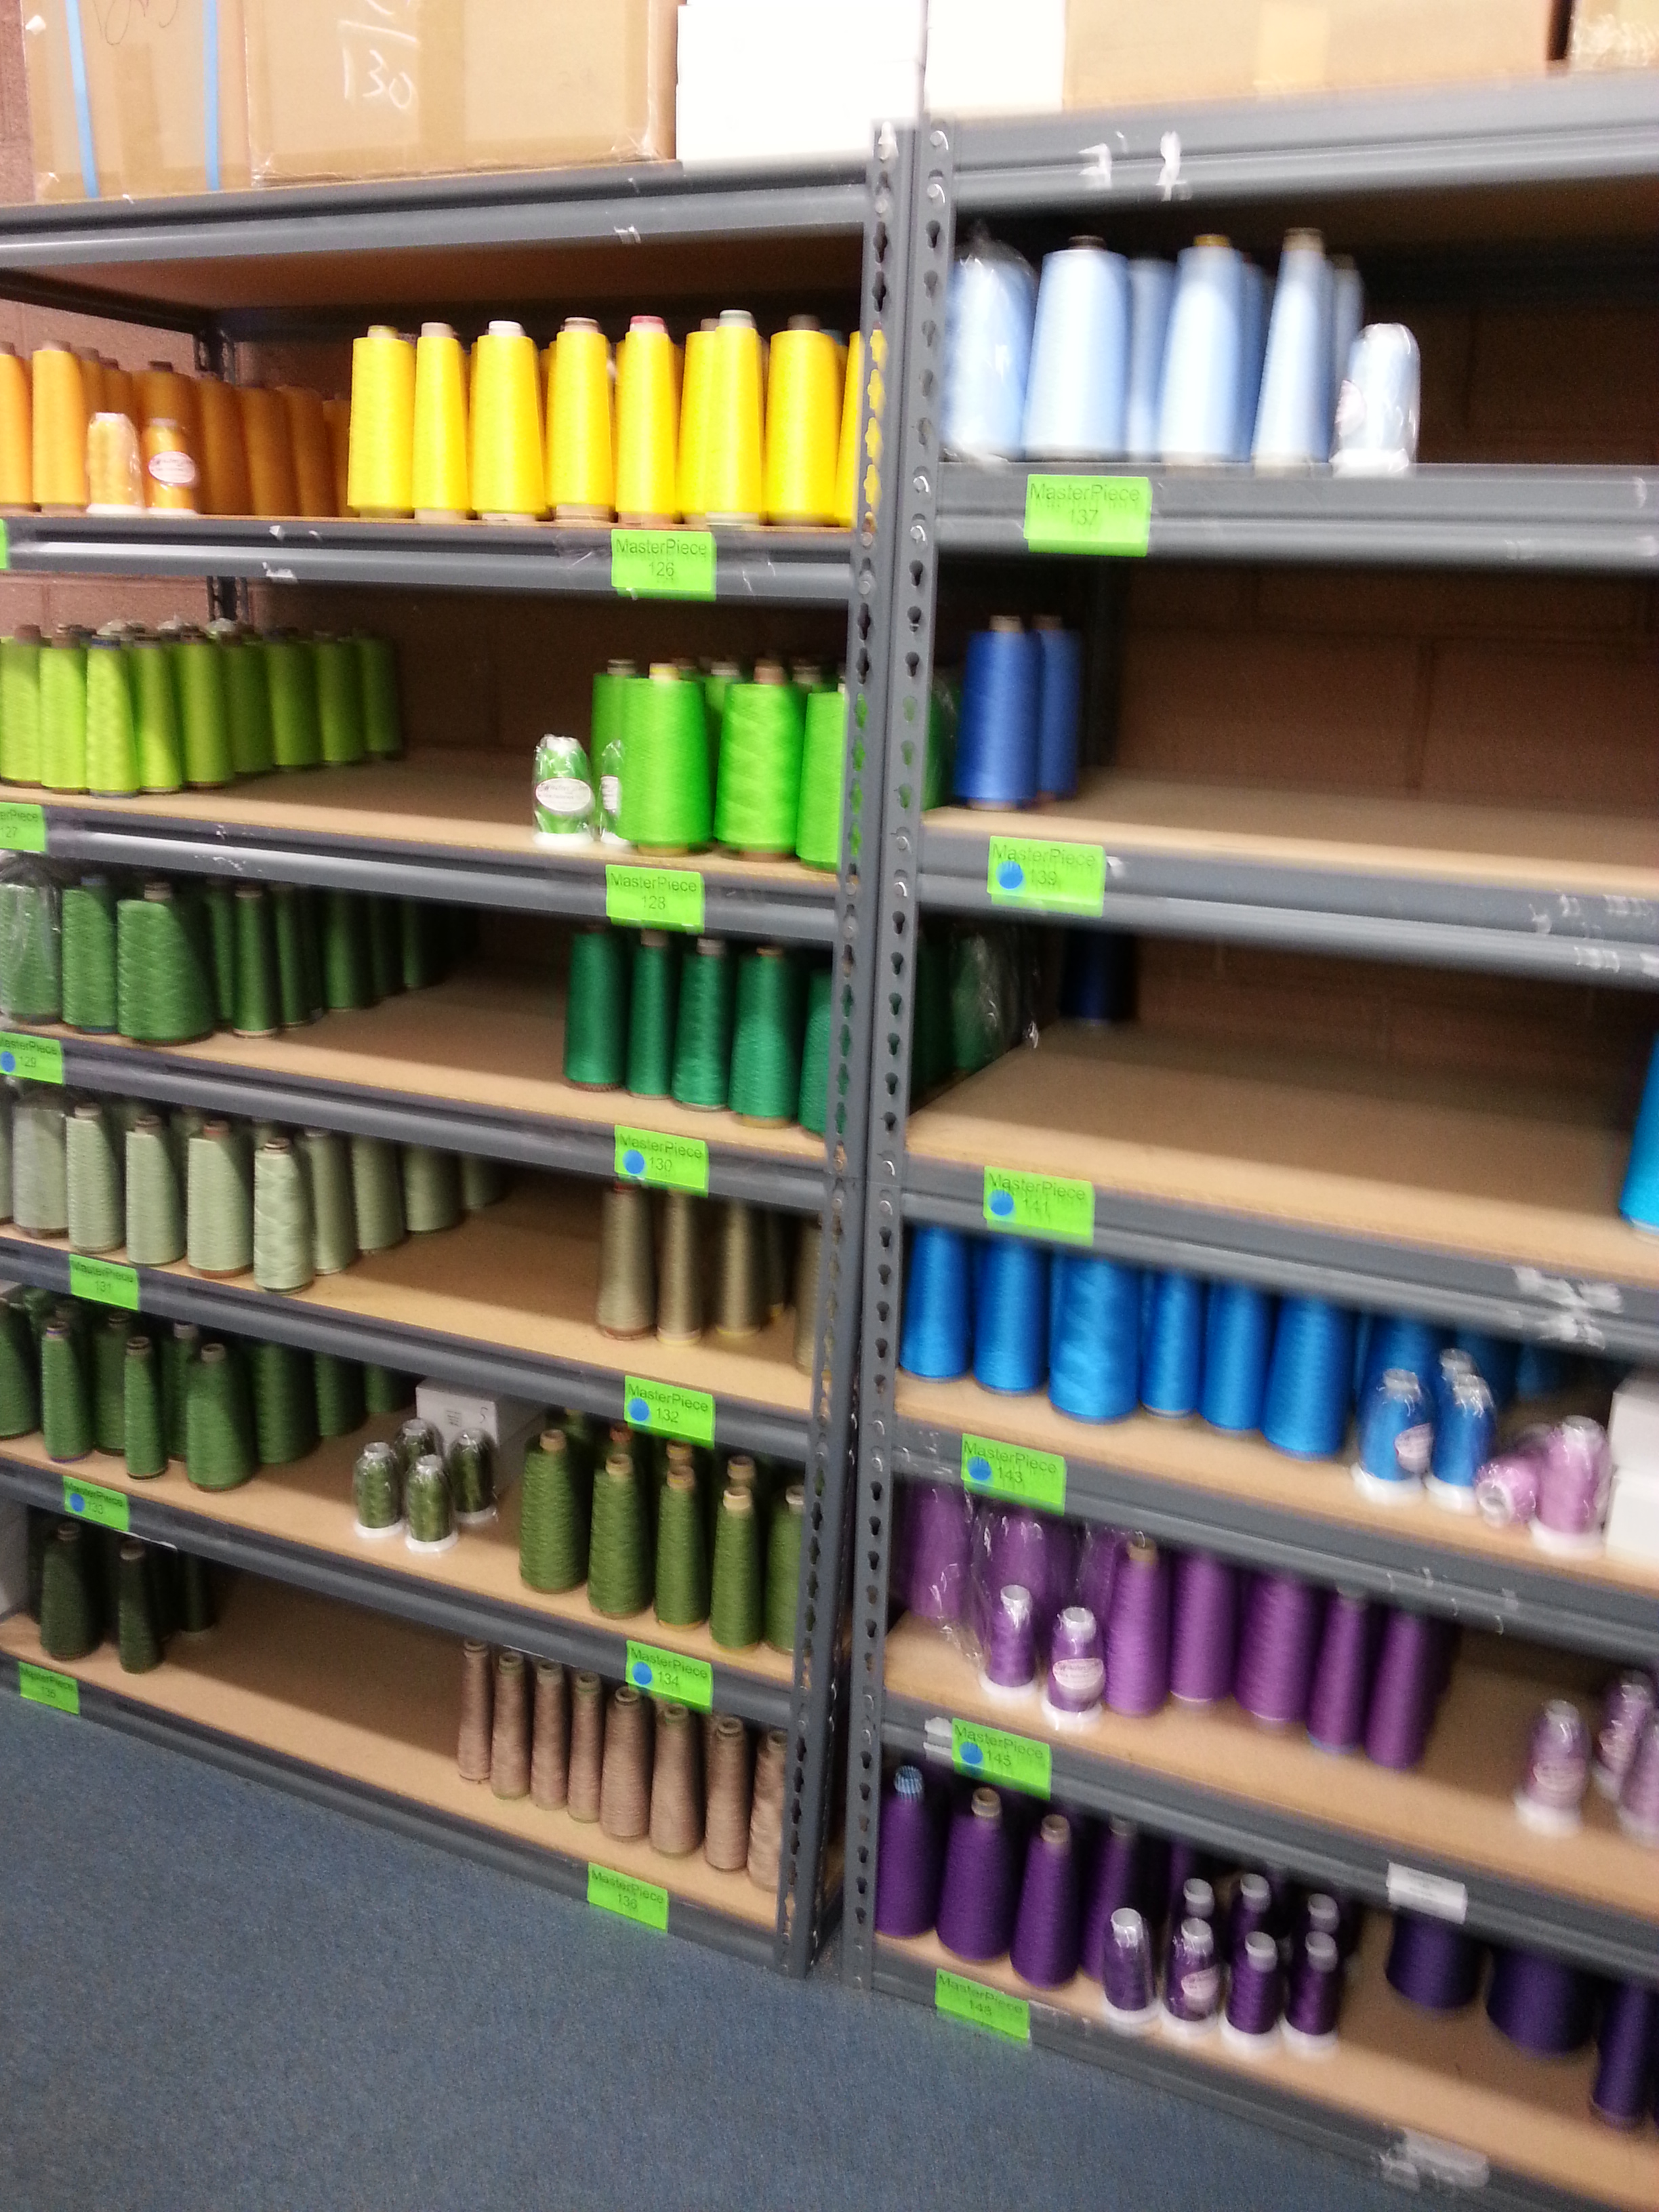 They stock around 2 million spools of thread and ship orders to customers all over the world.
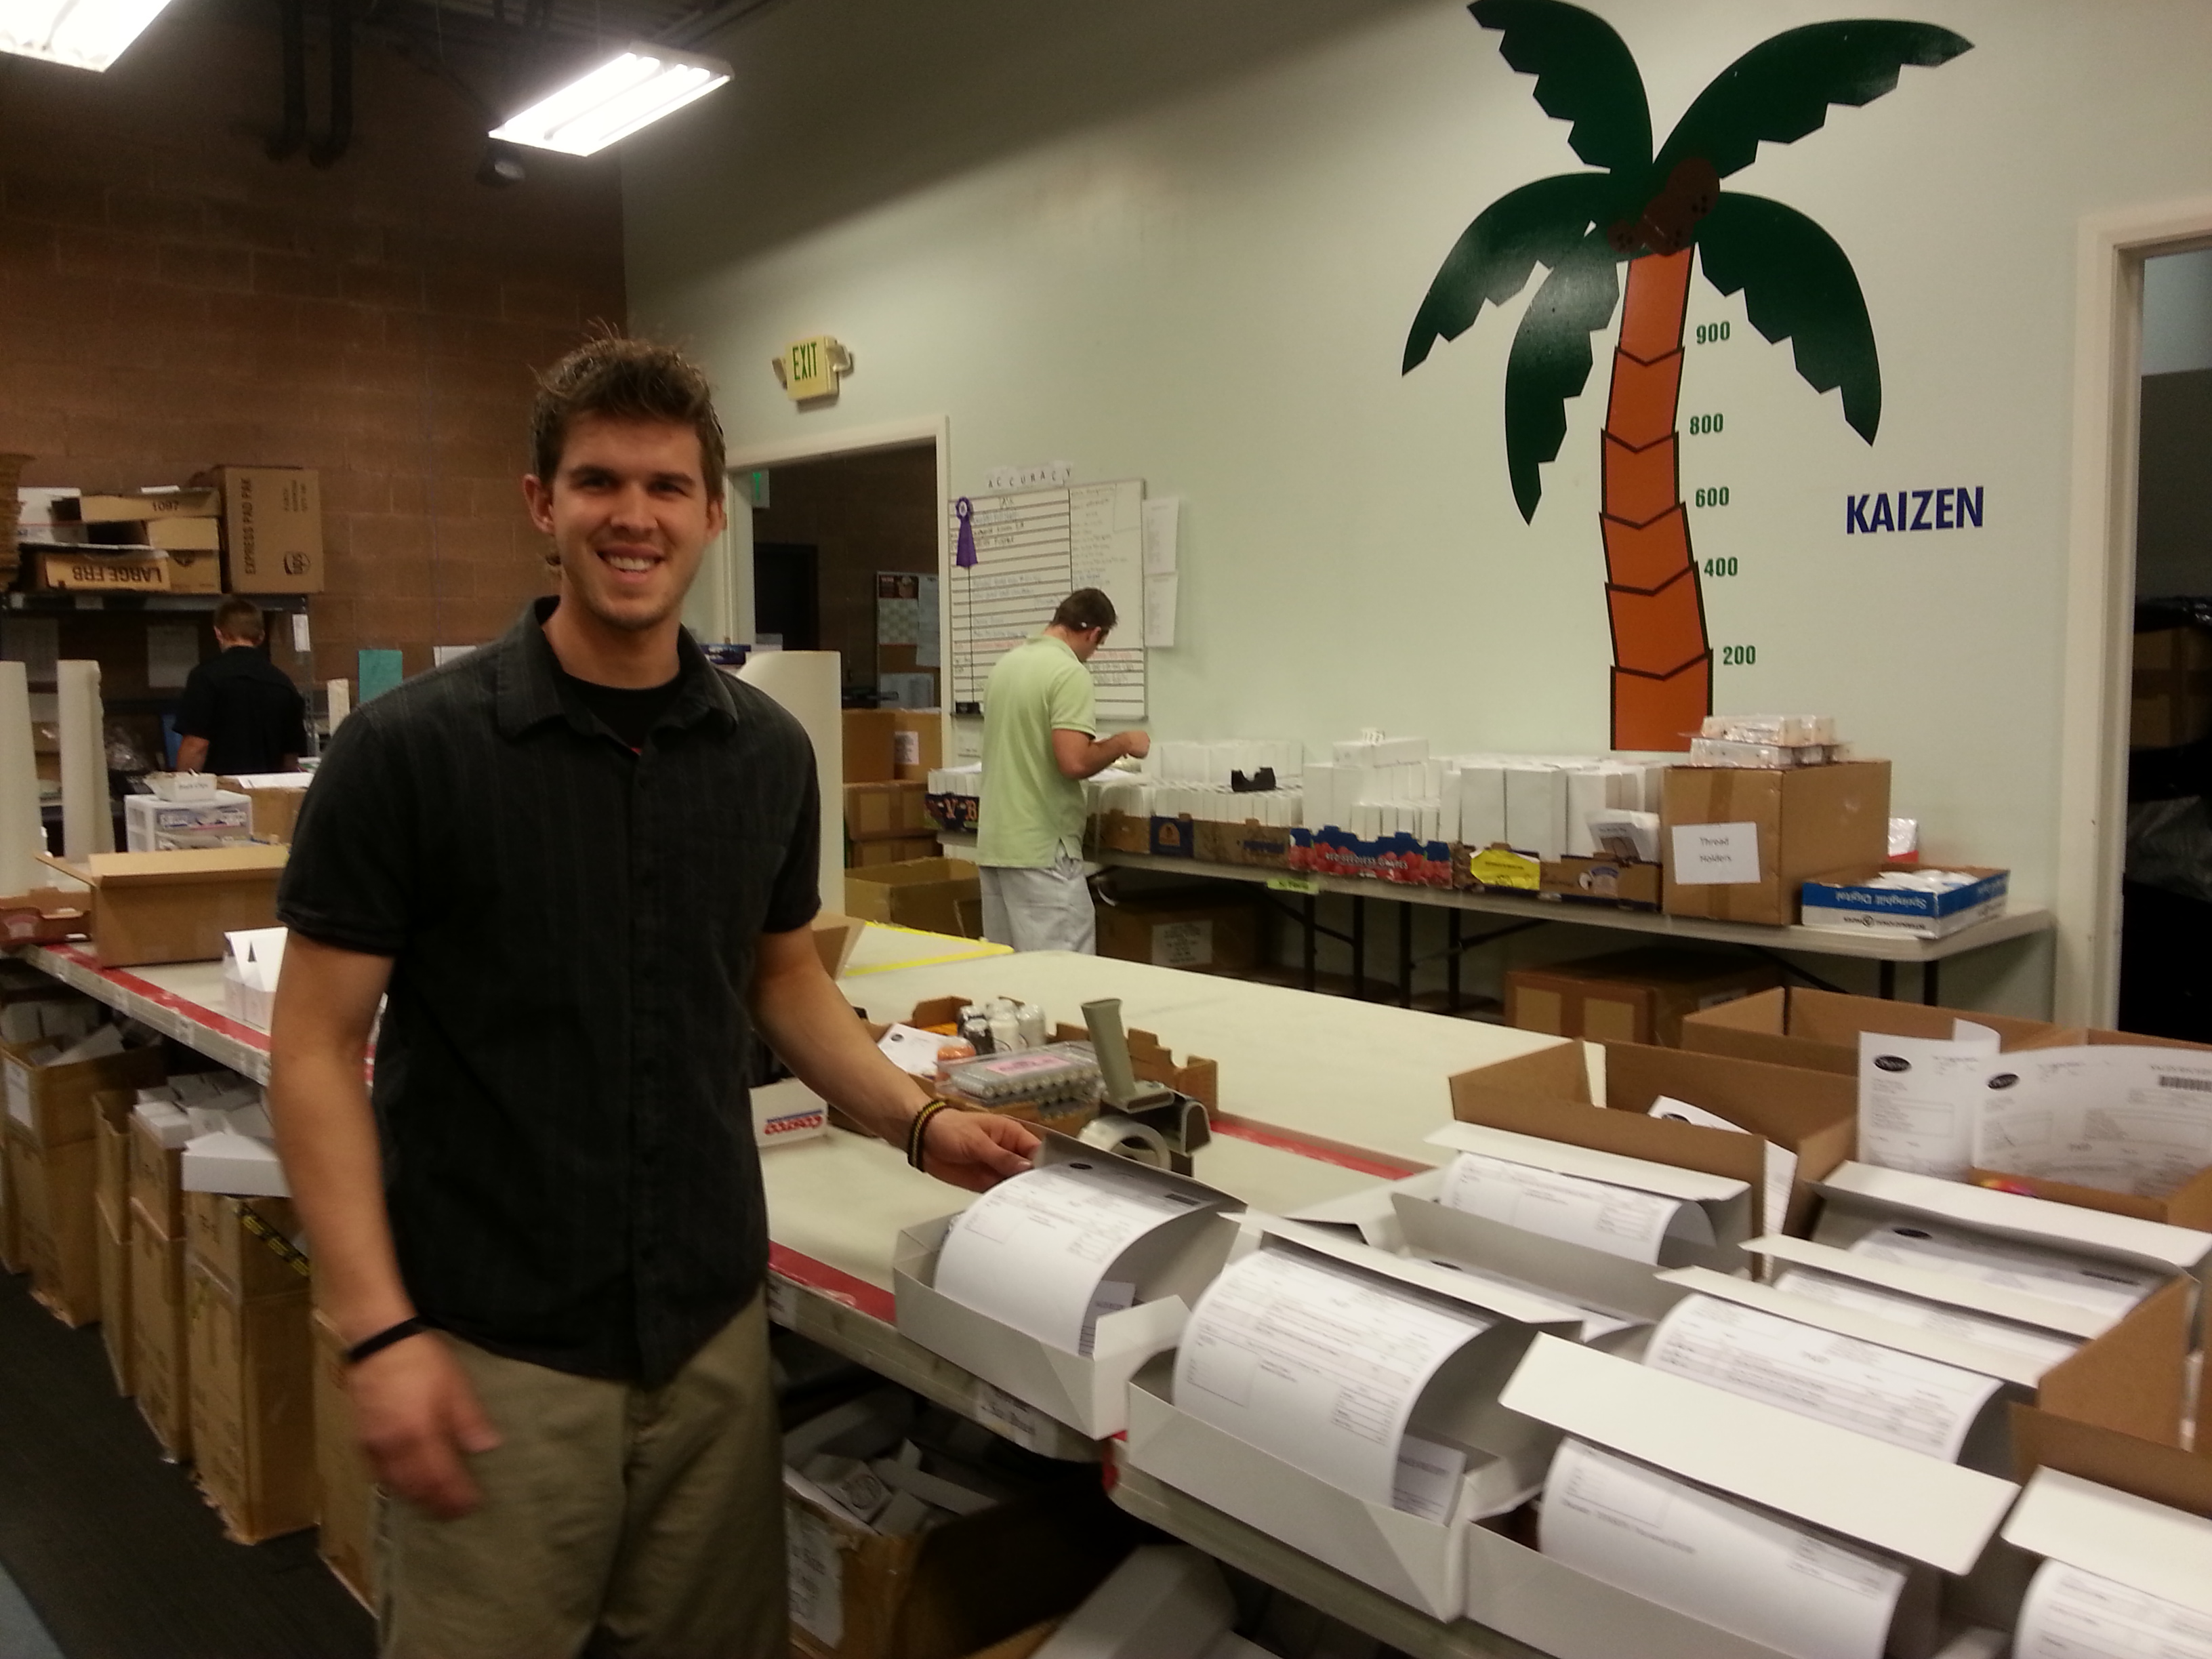
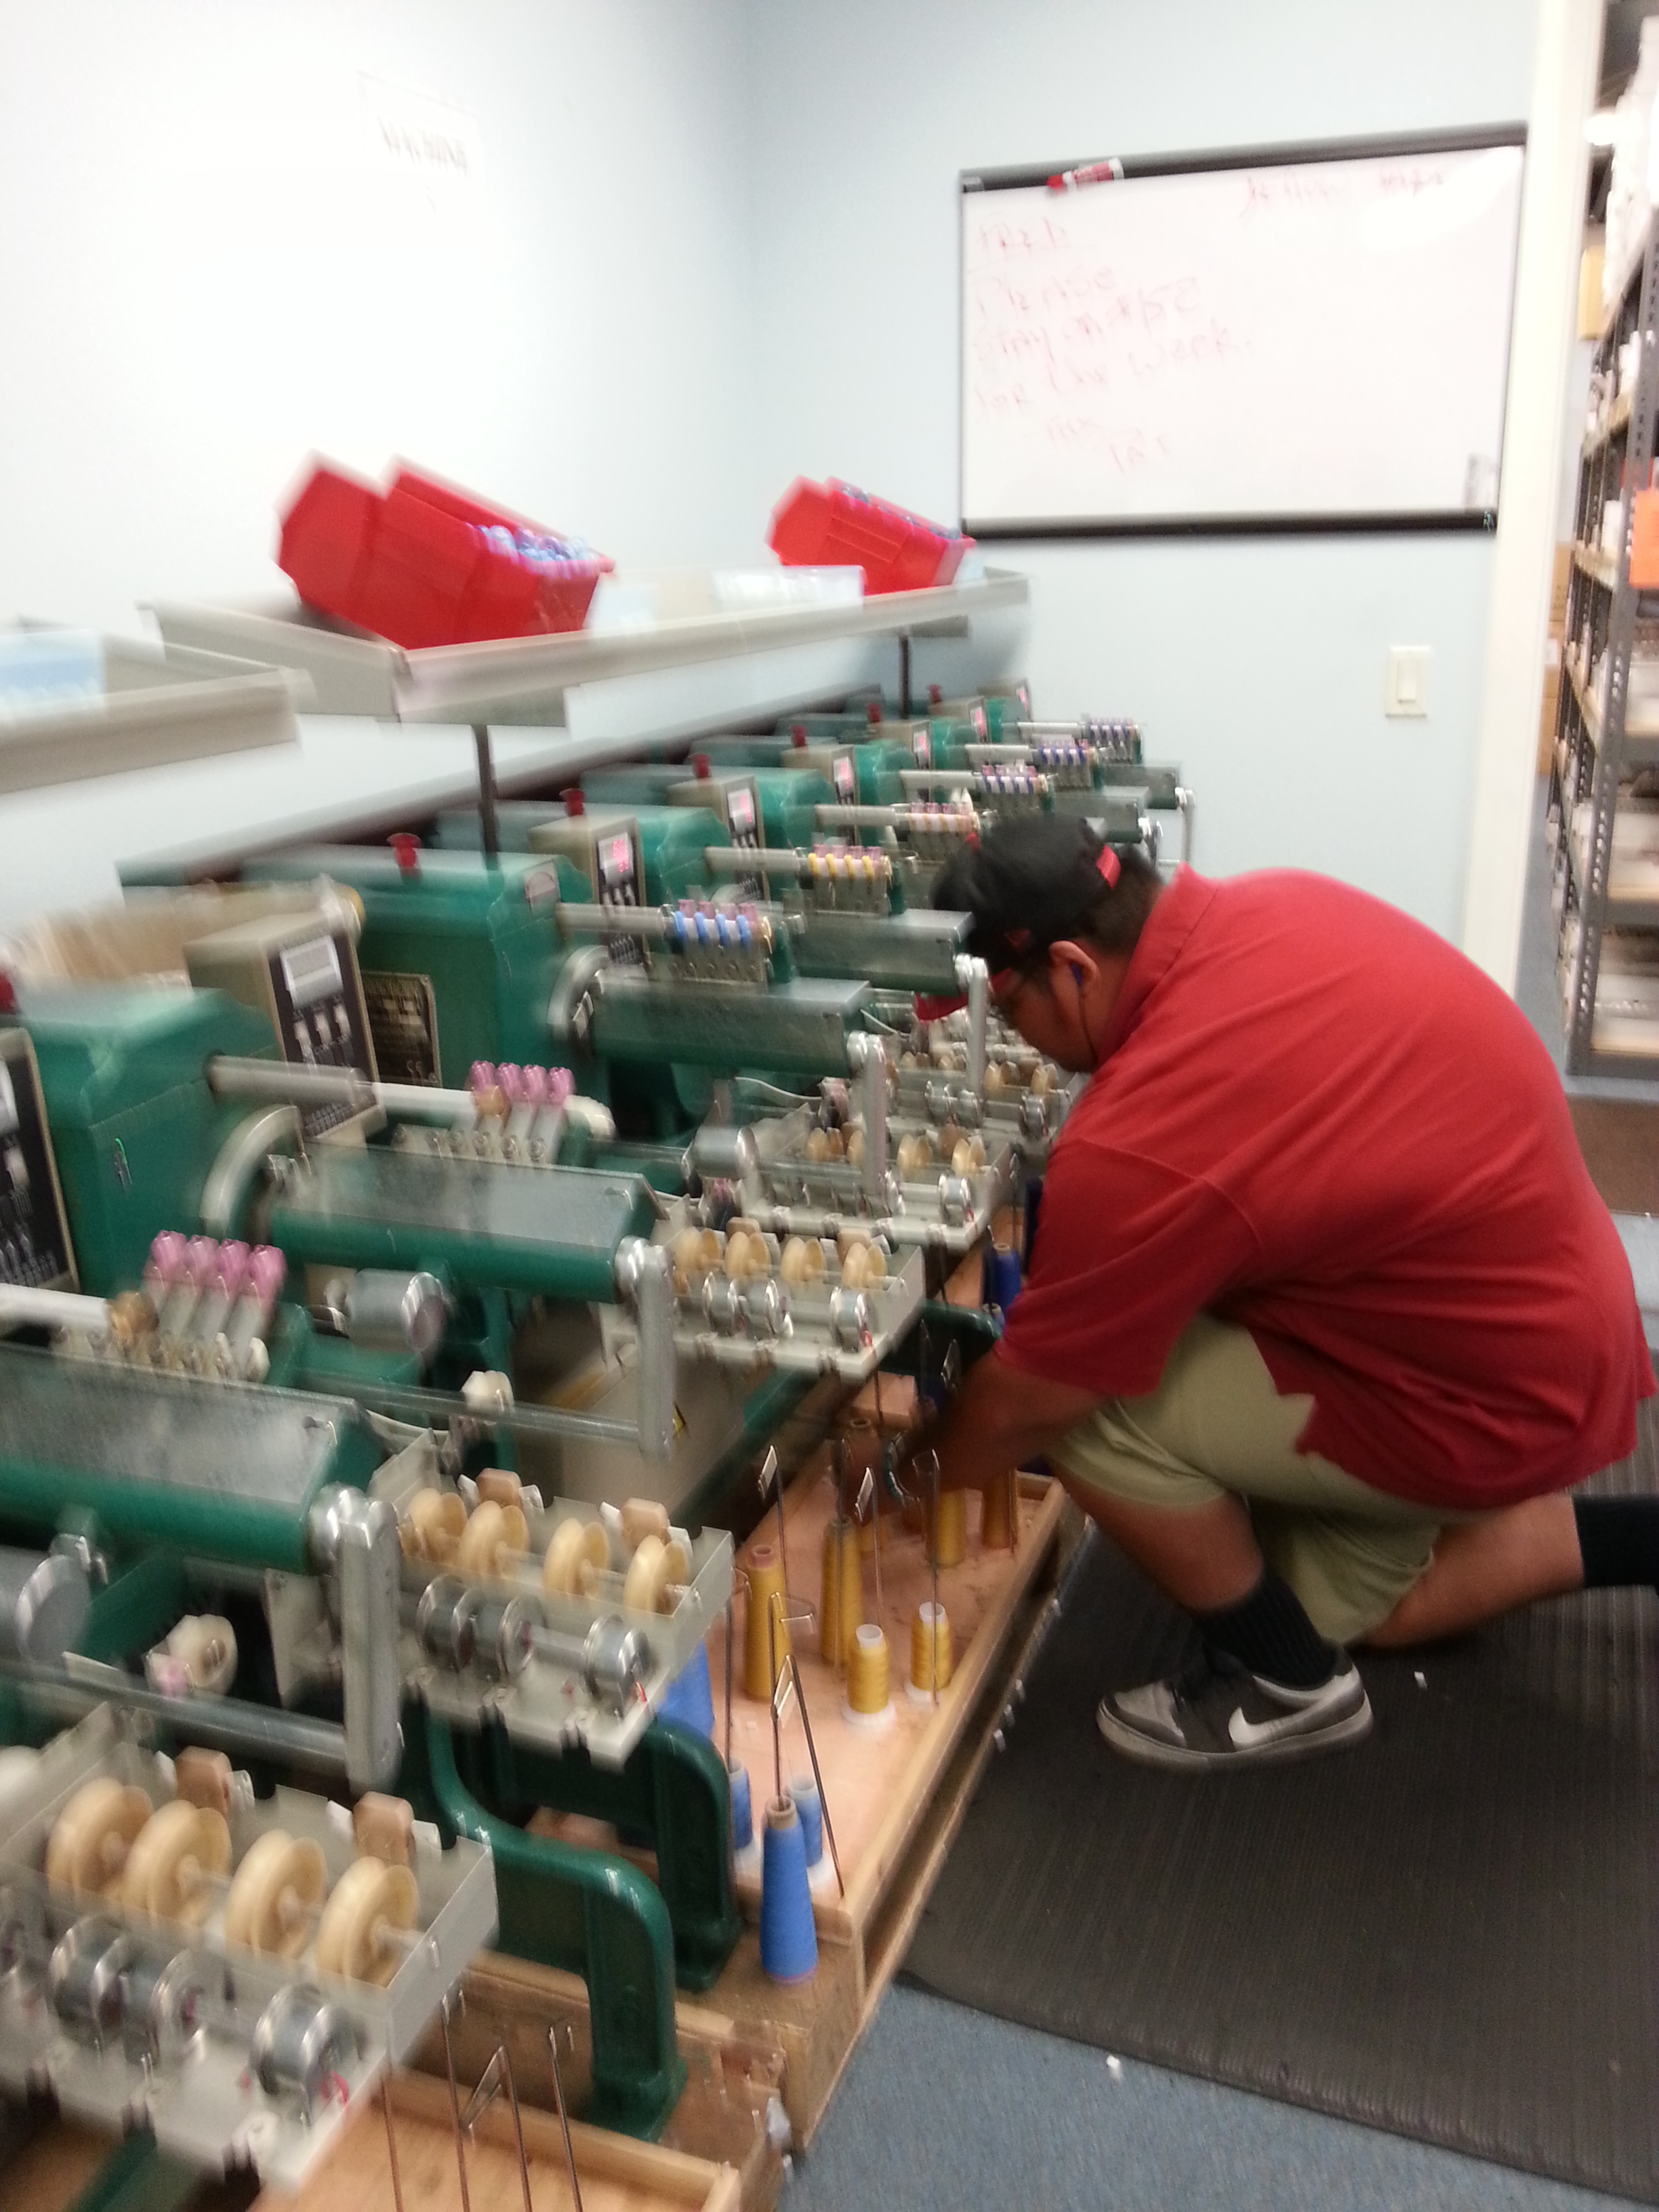
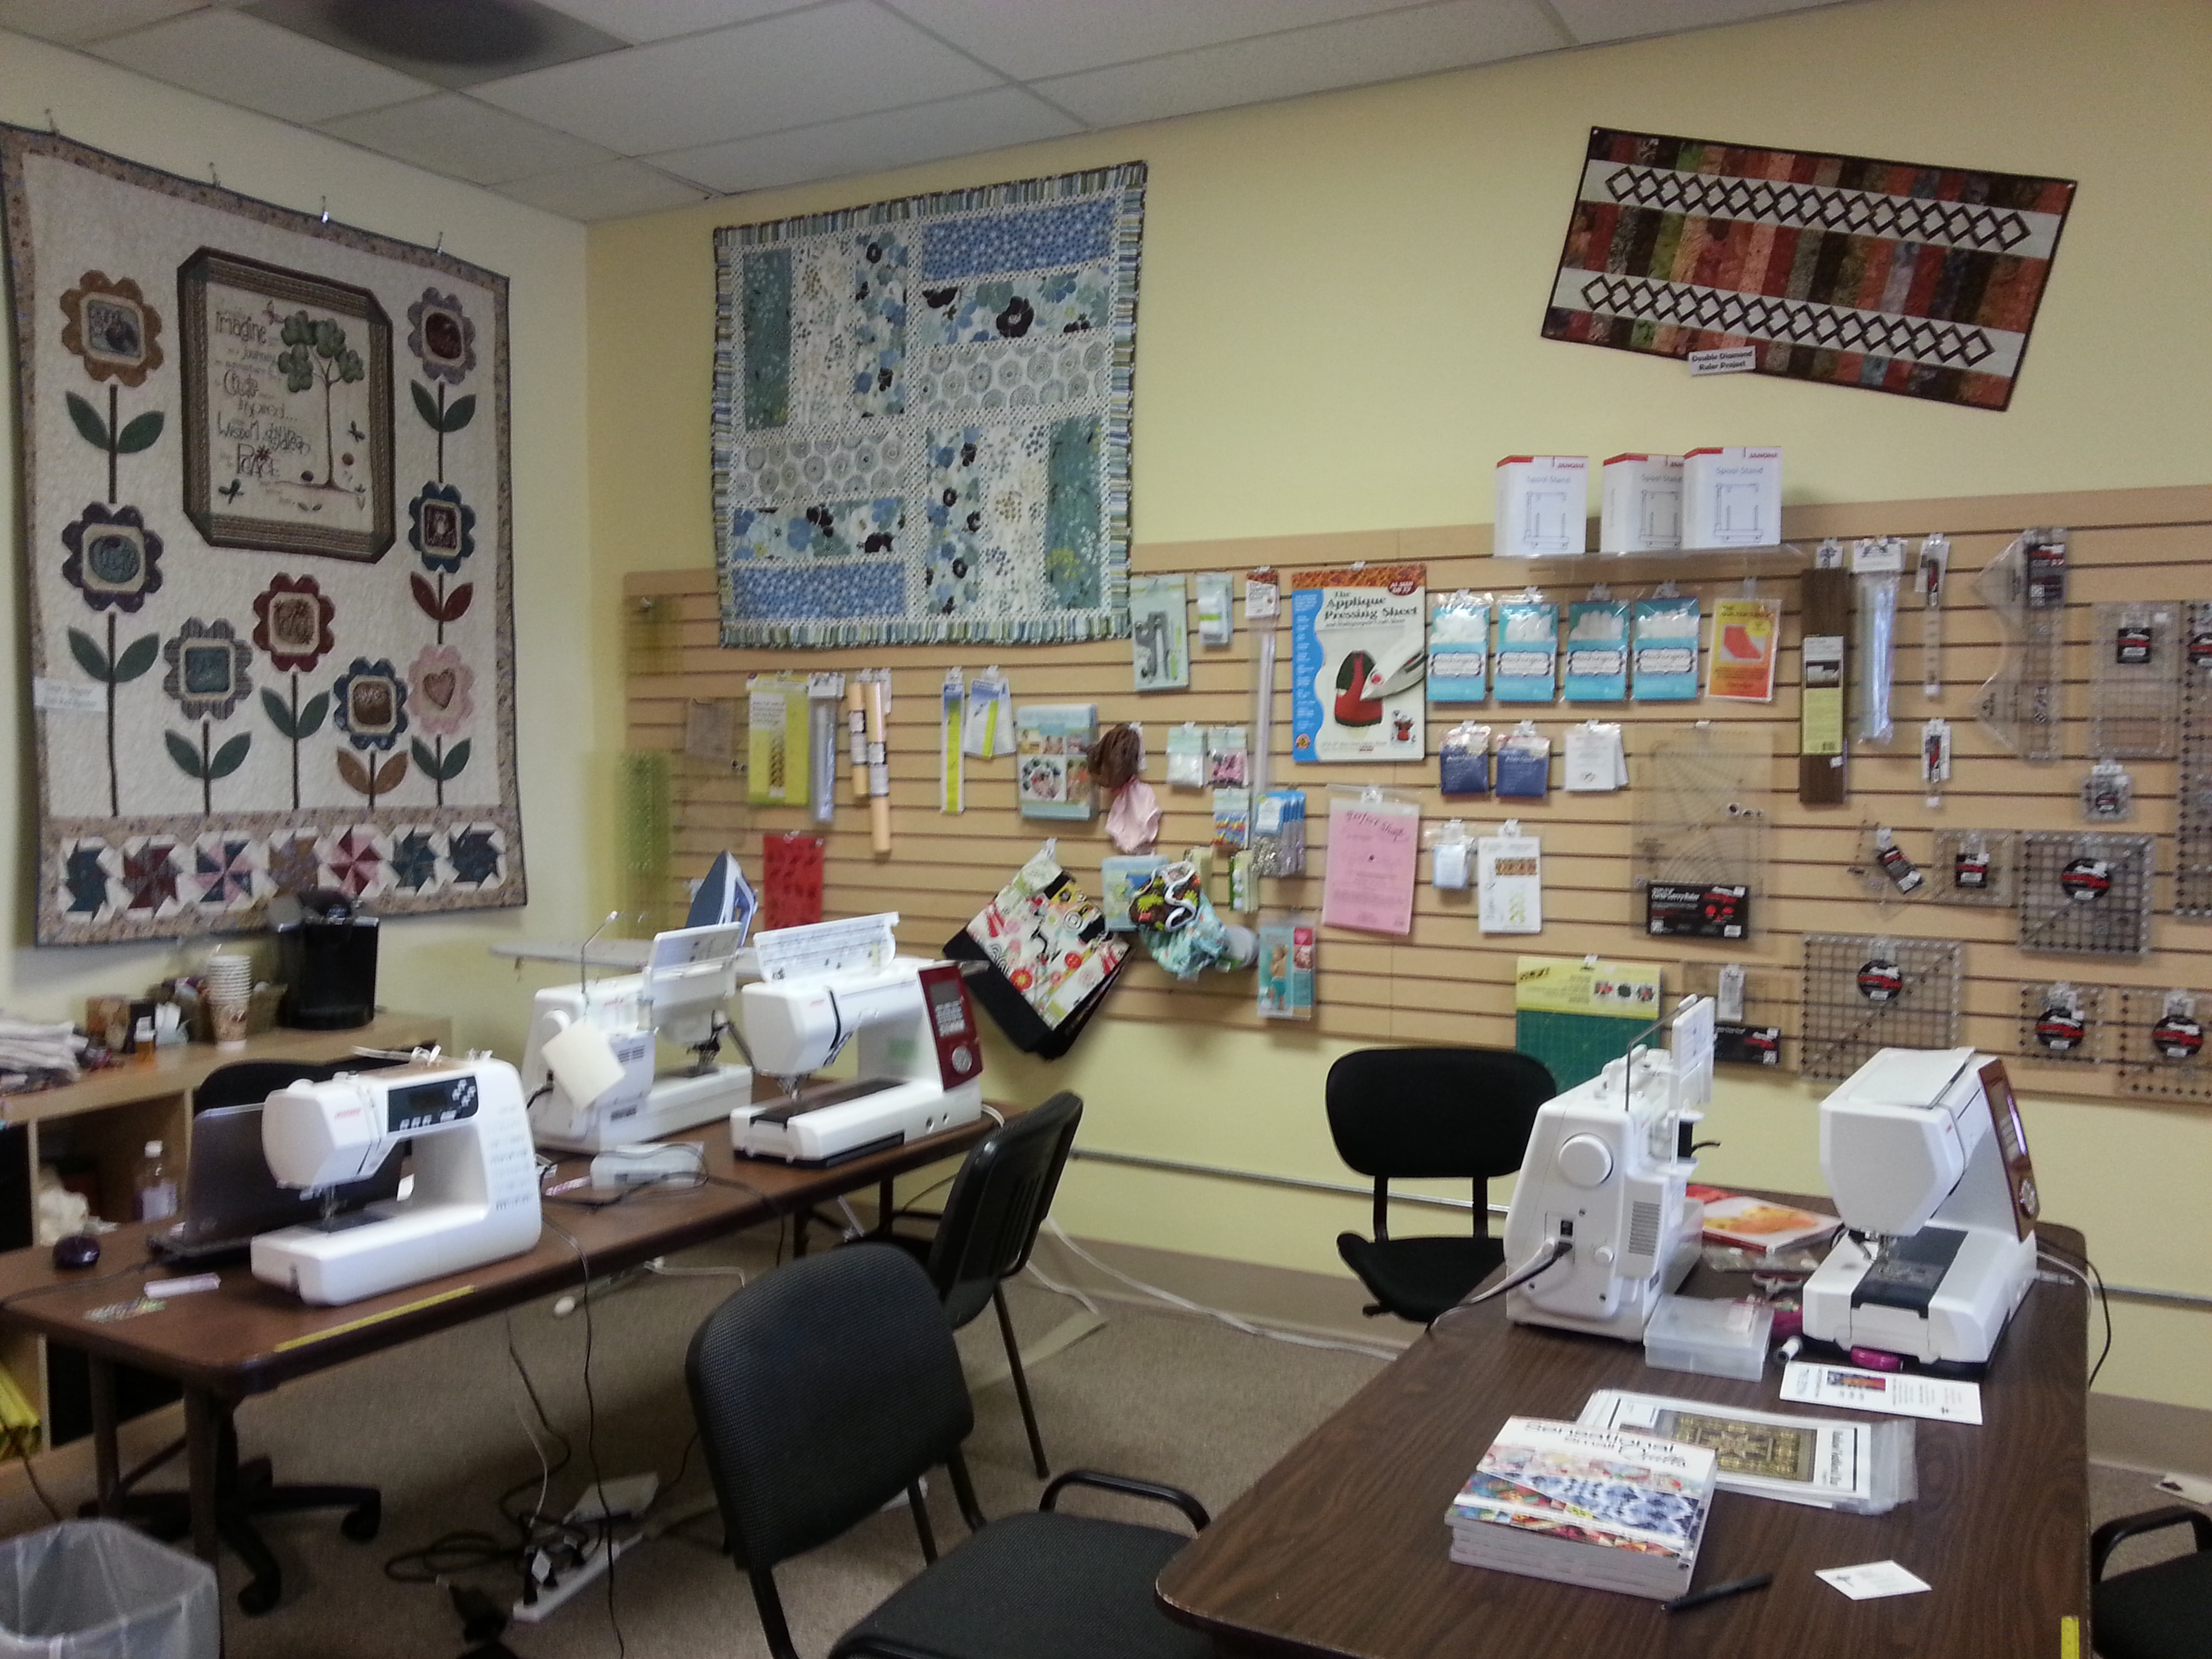
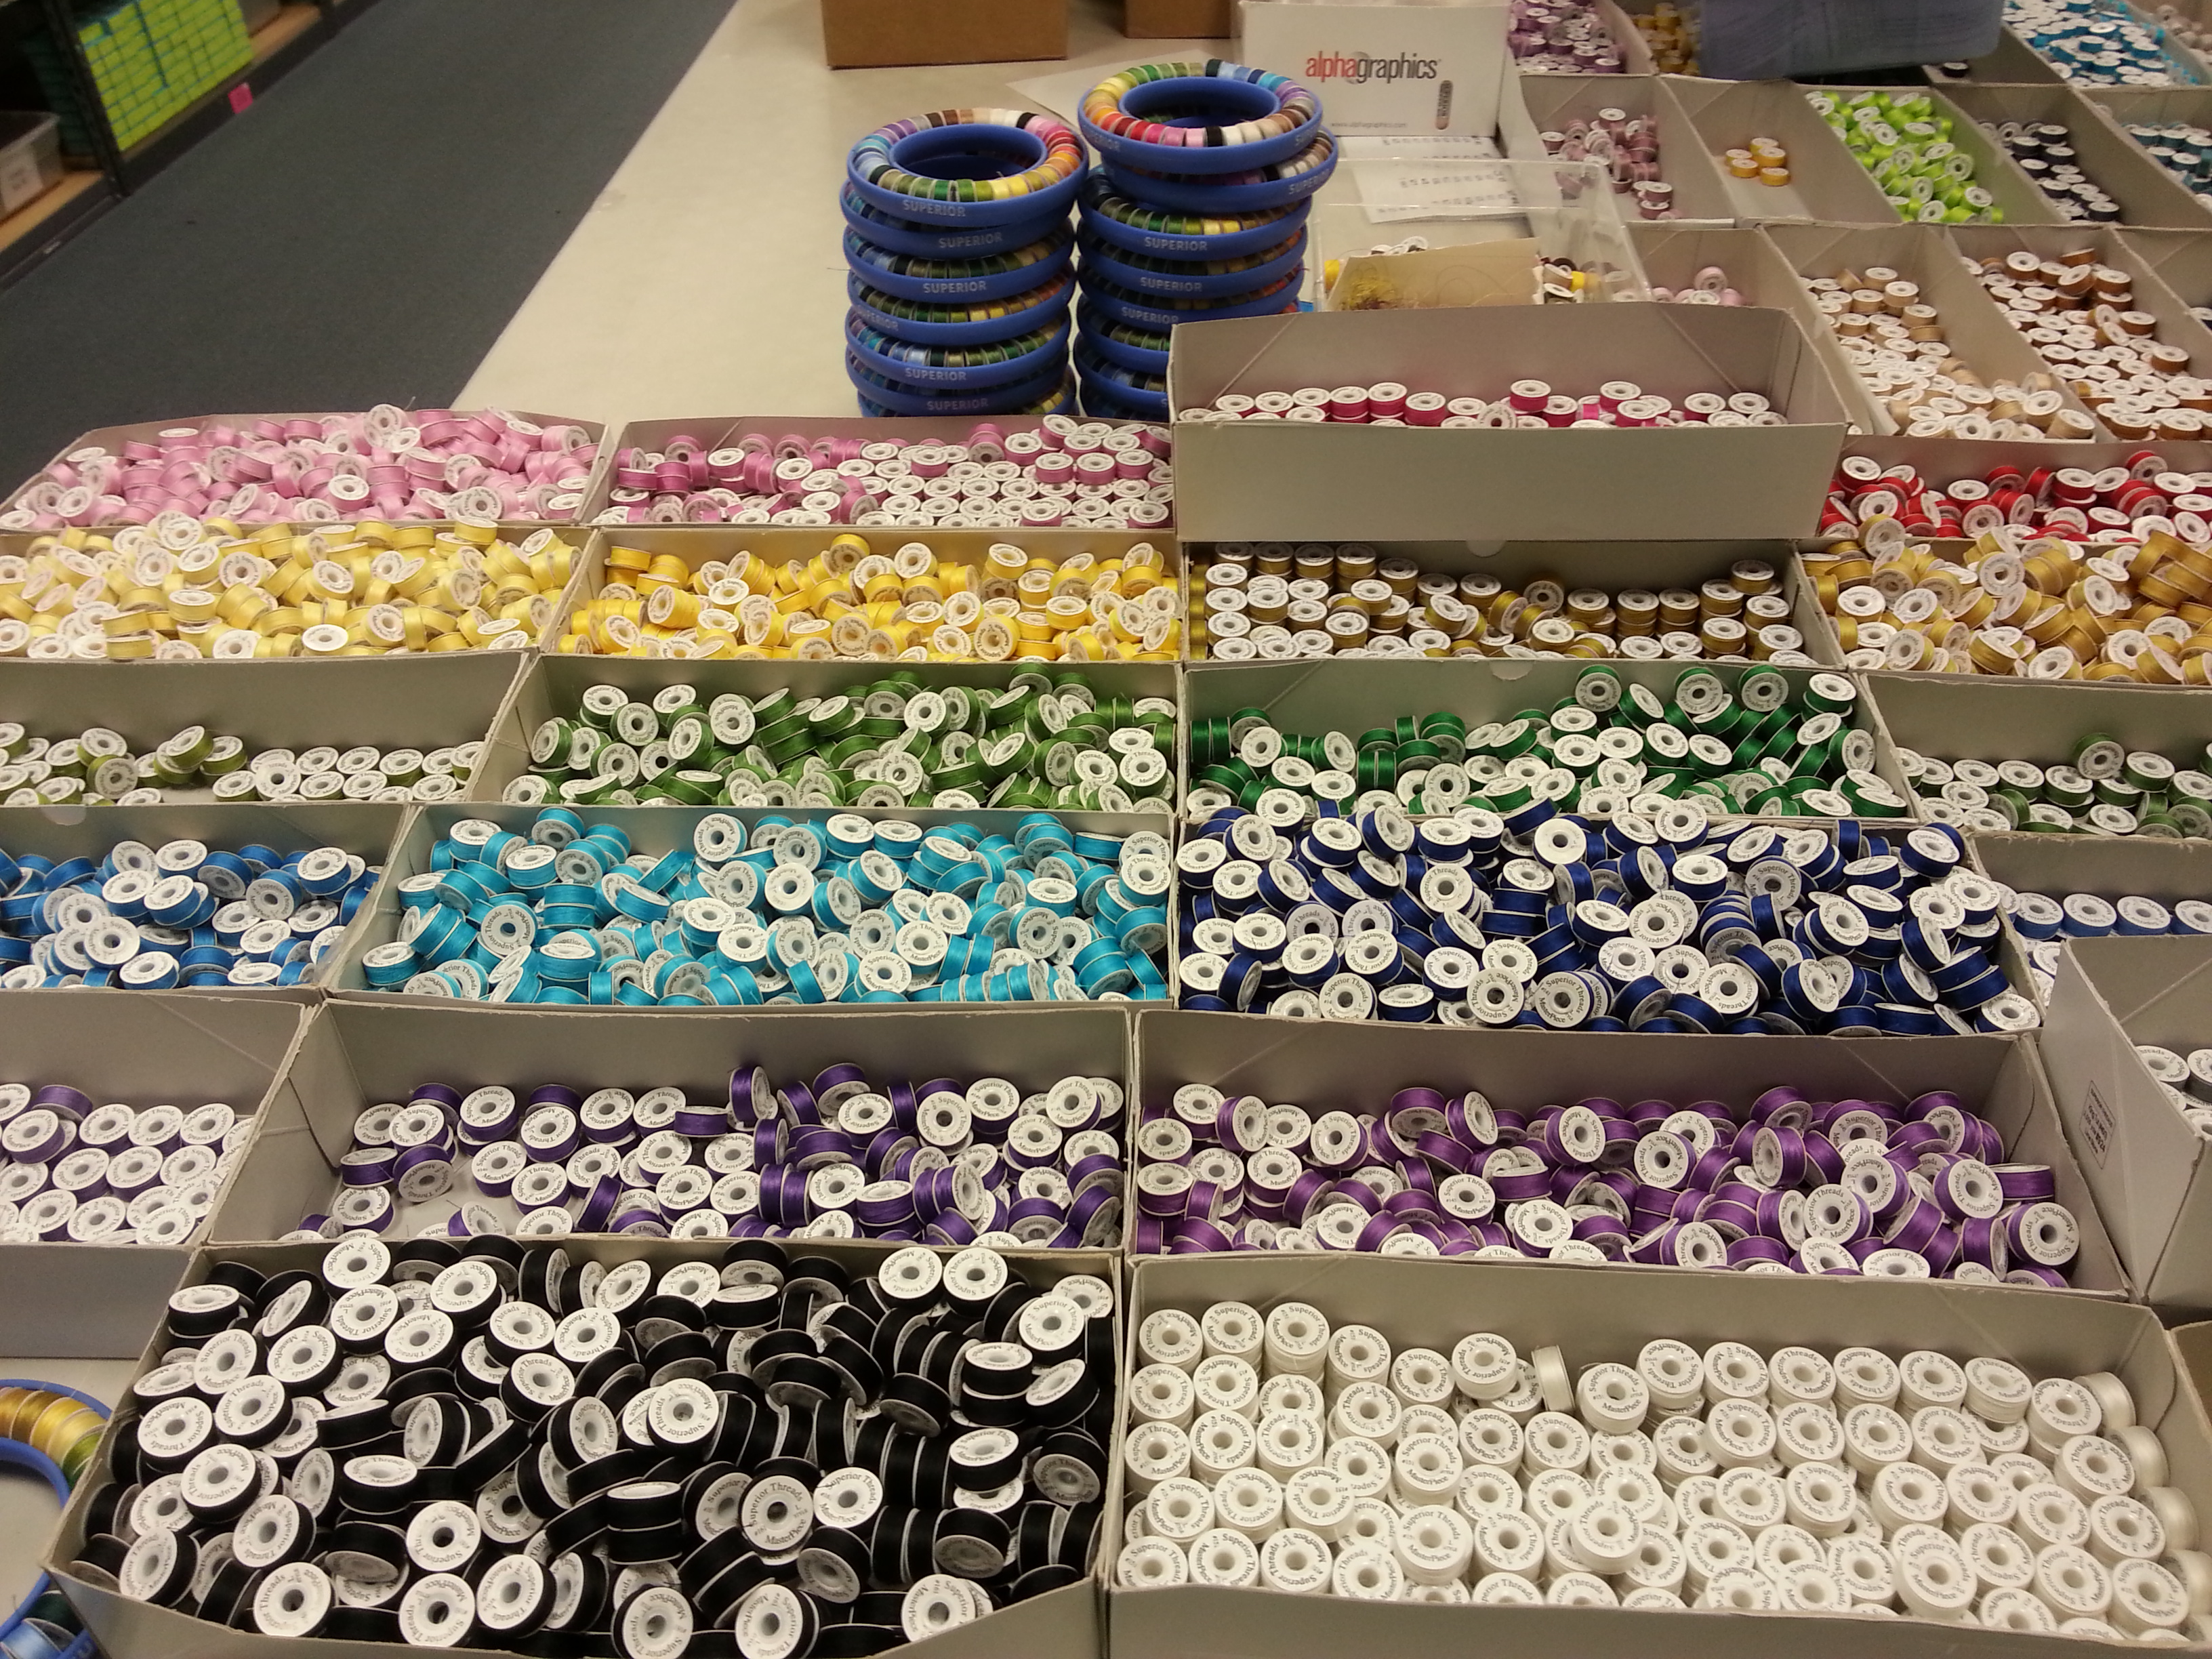 Every day, they wind over 3,000 bobbins in a beautiful array of colors. The bobbin winding room is noisy with several machines winding multiple bobbins simultaneously. Once the thread is wound onto the bobbins, each bobbin has to capped with white cardboard top and bottom.