Teaching trip to TX

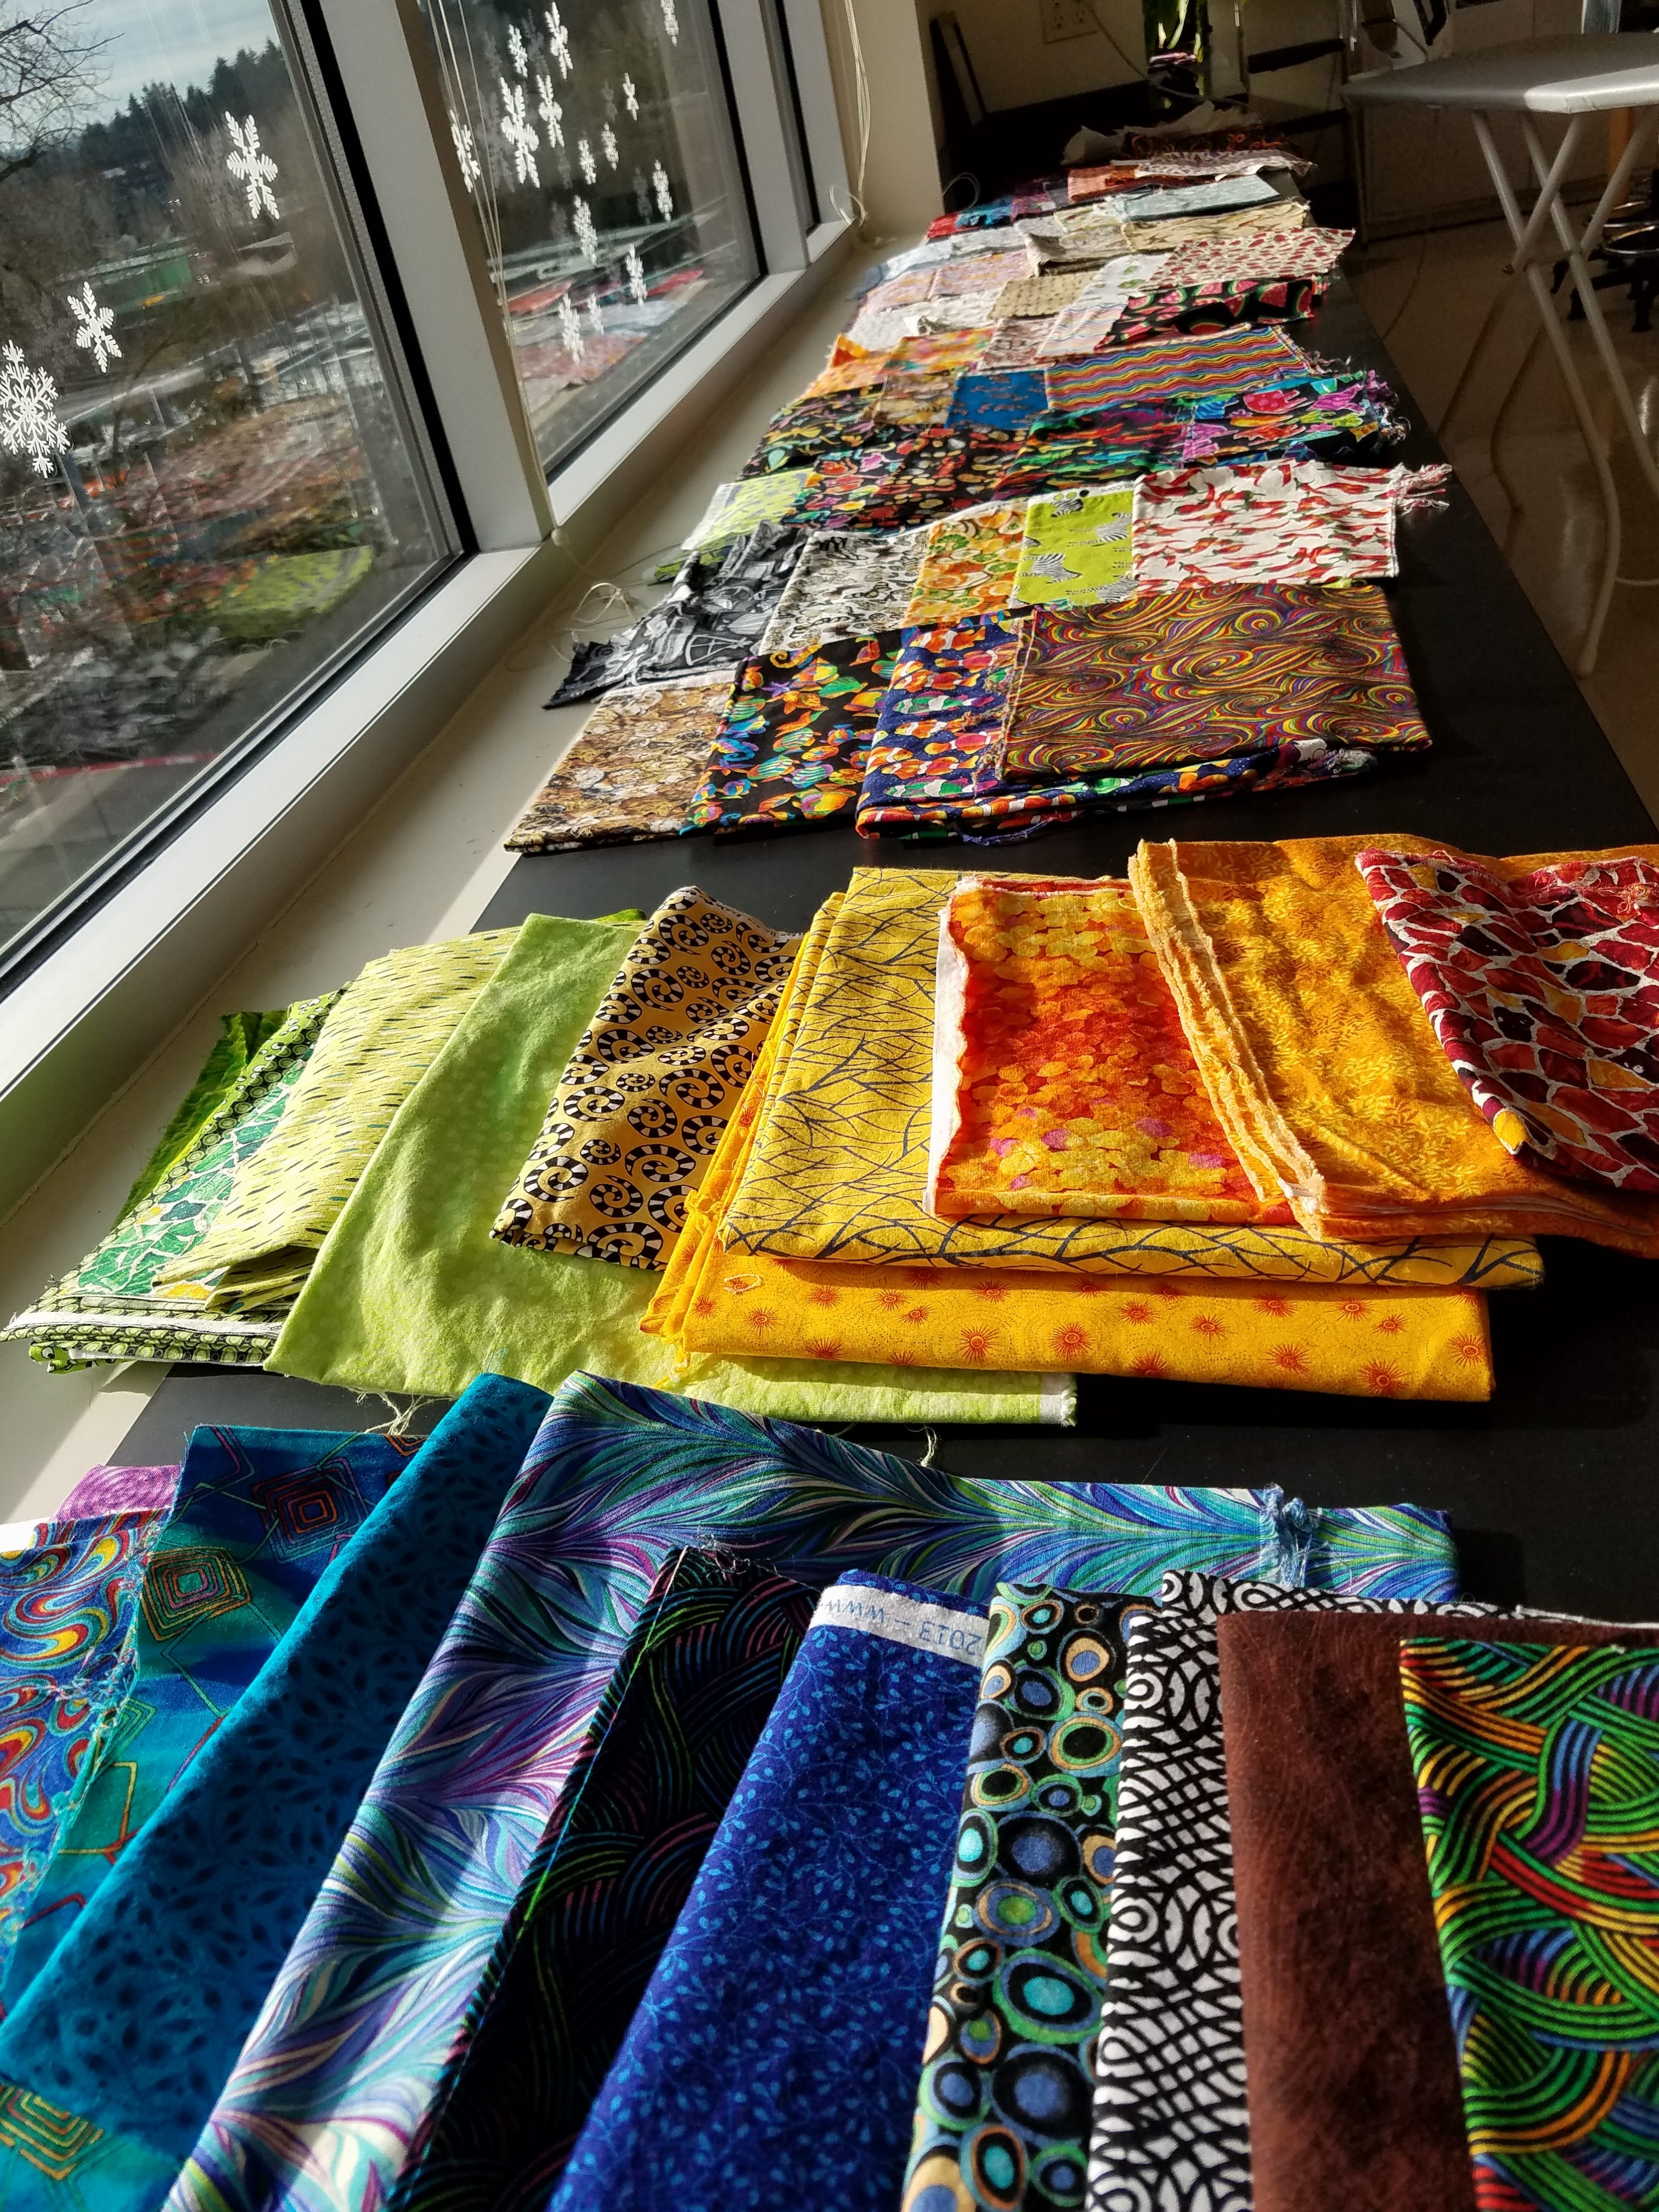
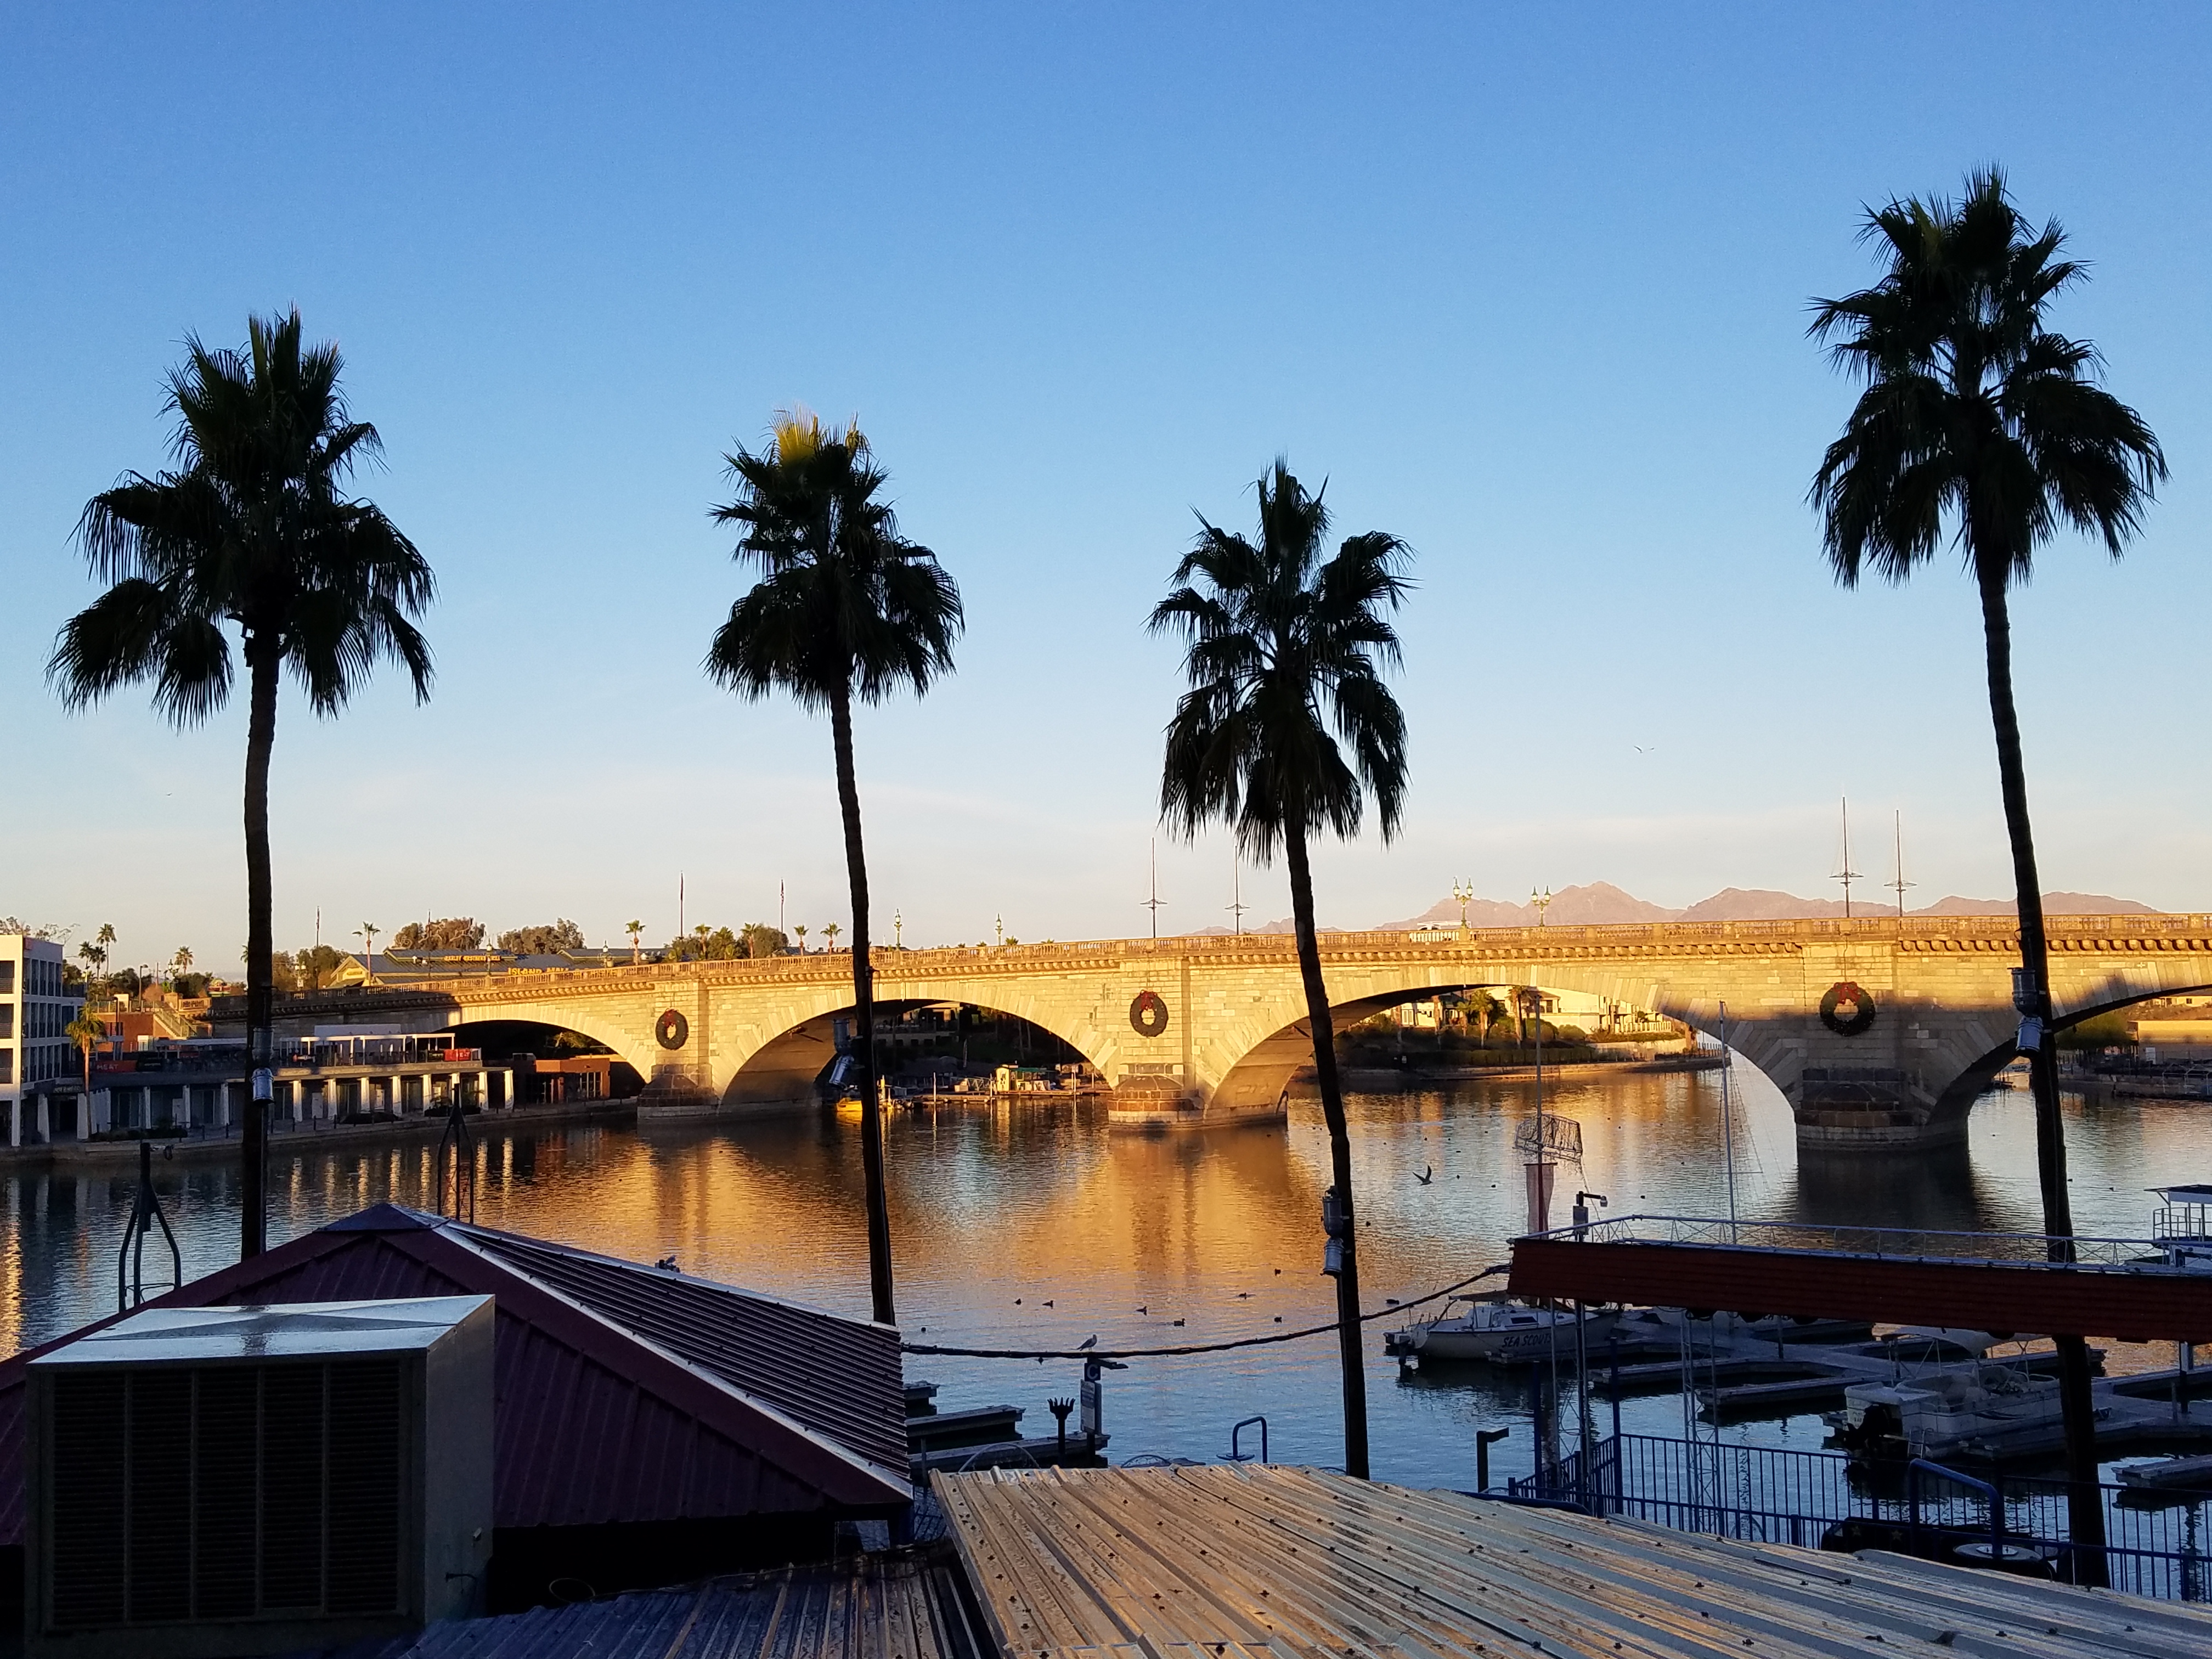
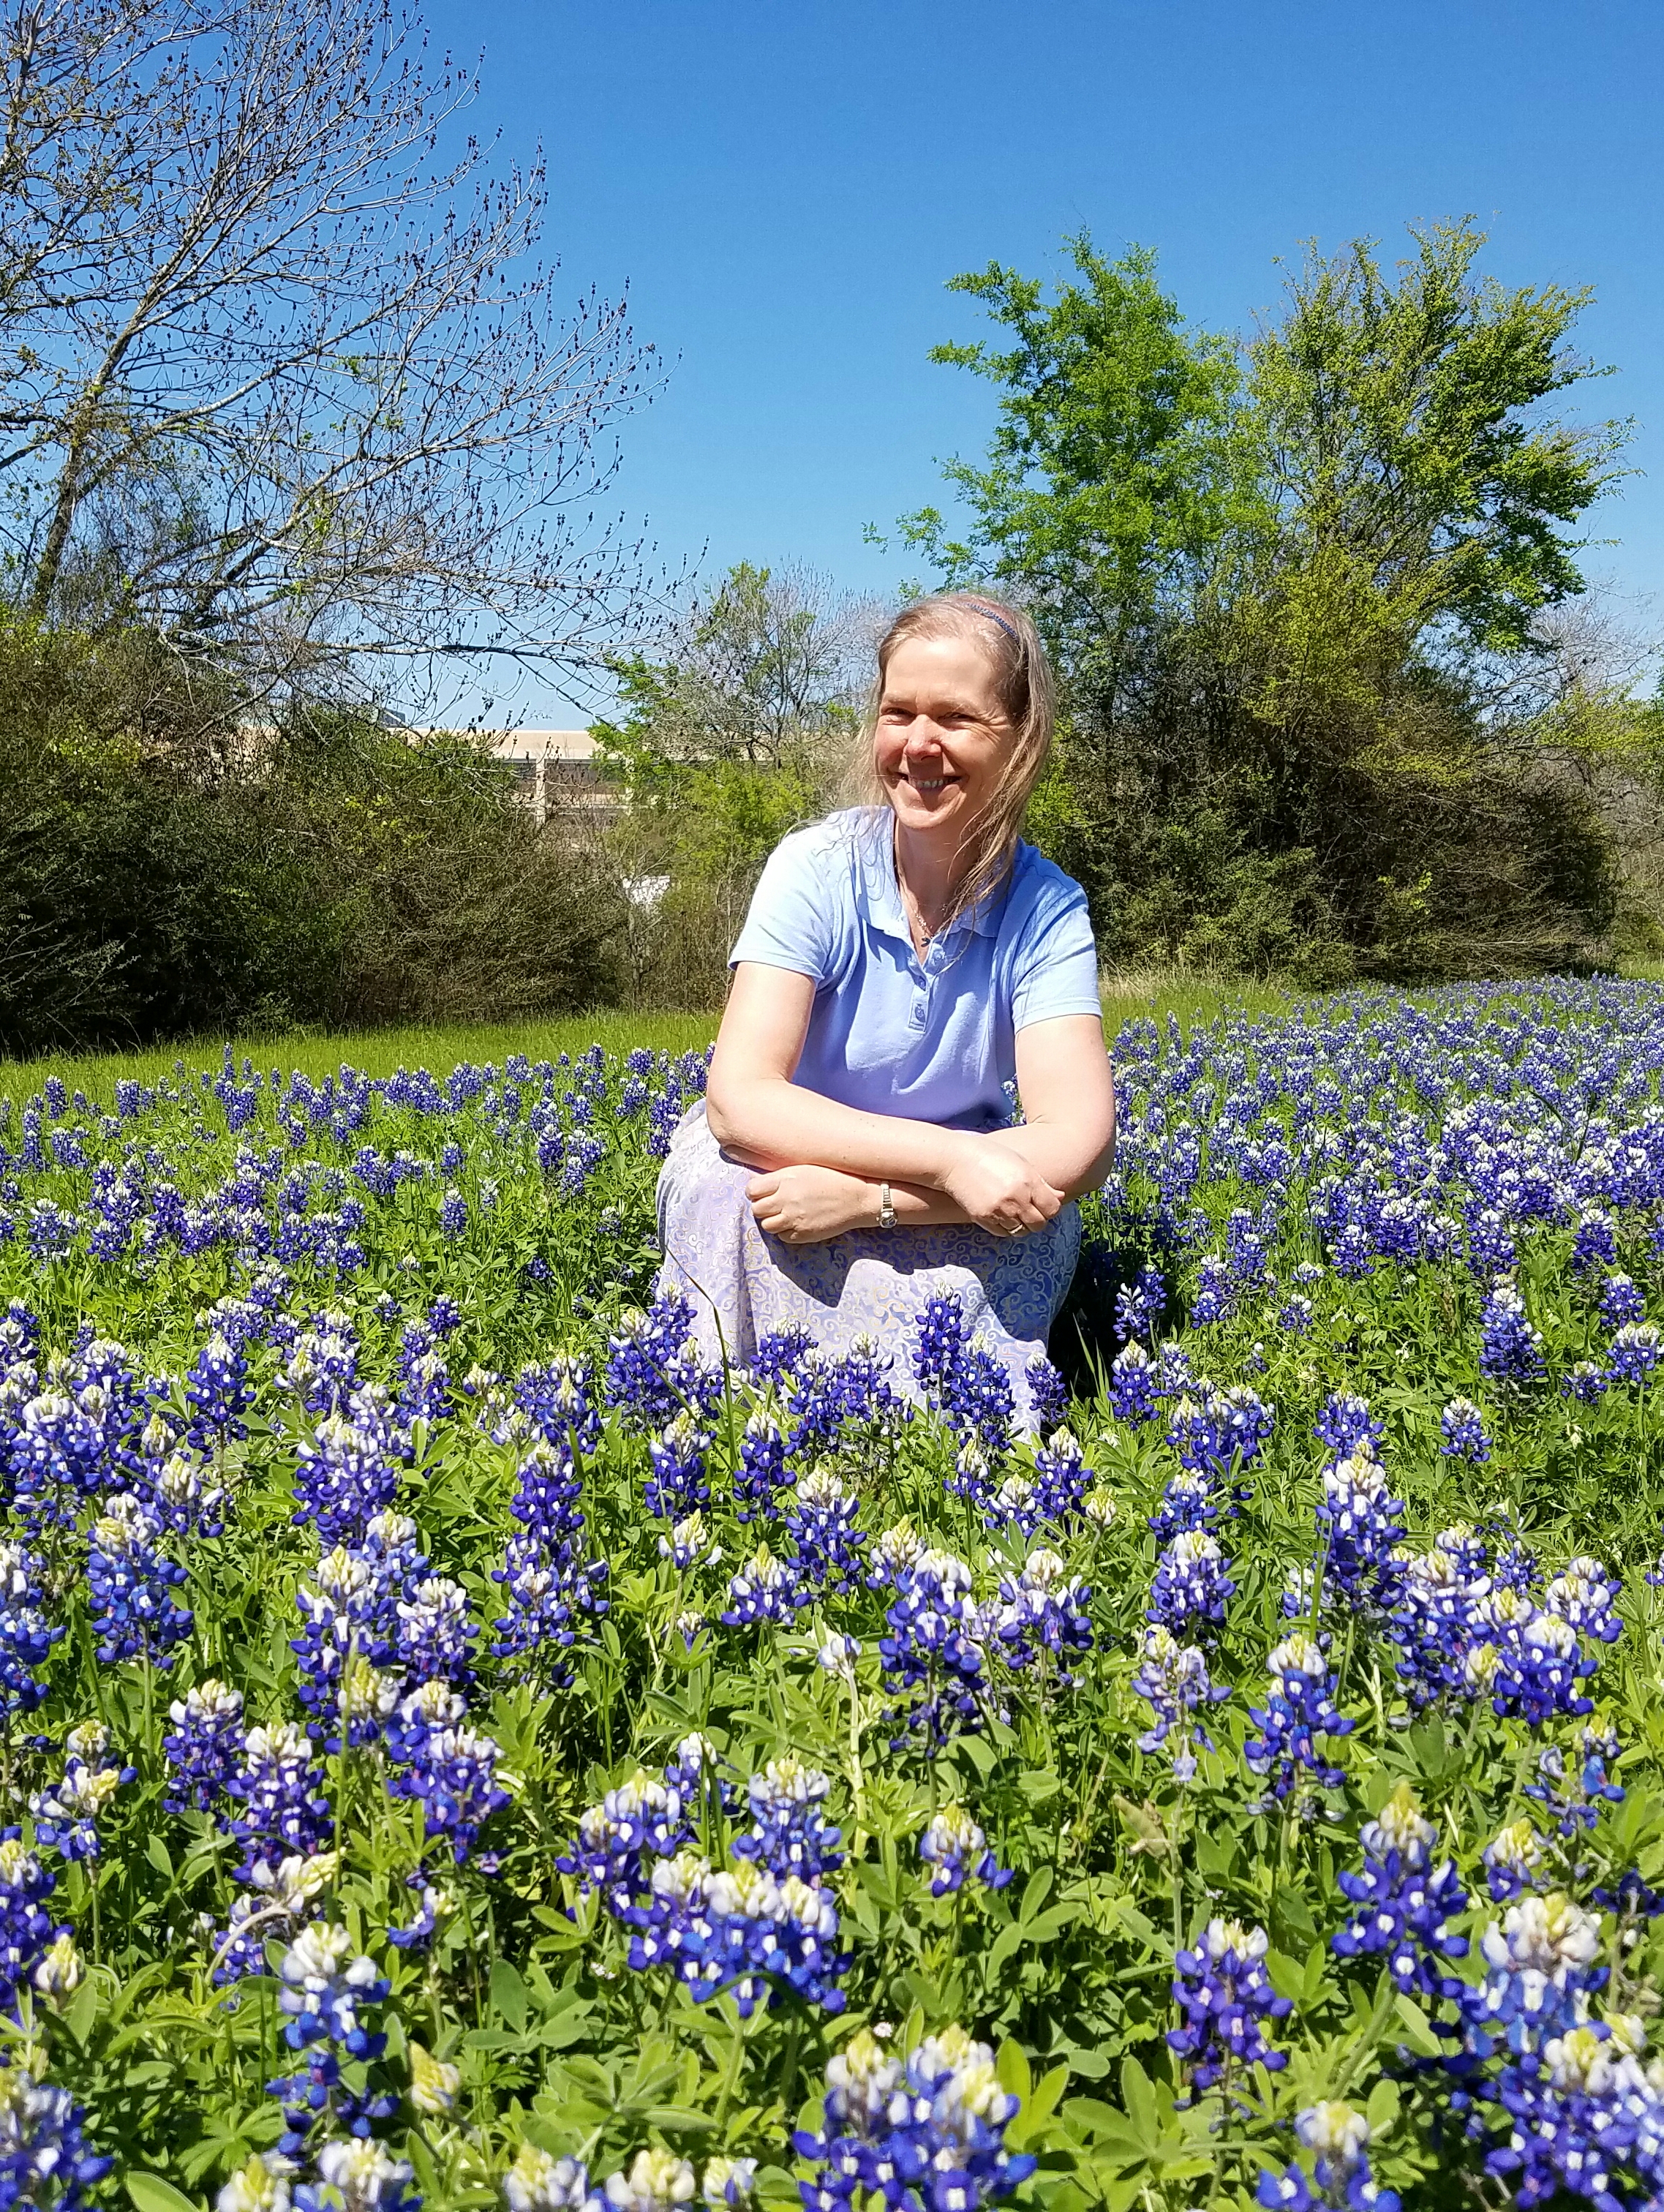
I spent two weeks in March teaching at four TX quilt guilds. Spring was definitely springing in TX, where they had unusually warm weather in February, combined with enough rain to make for a bumper crop of gorgeous bluebonnets. Here I am in Bryan, surrounded by these beauties. I loved the brilliant swaths of blue along the highways, then patches of rich orange Indian paintbrushes and areas of delicate pink primroses. Of course, time with quilters always involves visiting the local quilt stores and I relished several on the trip. Here are some lovely TX wildflower fabrics sold in most of the stores there, (check at a later date for blogs on the TX stores). These are so appropriate for this area.

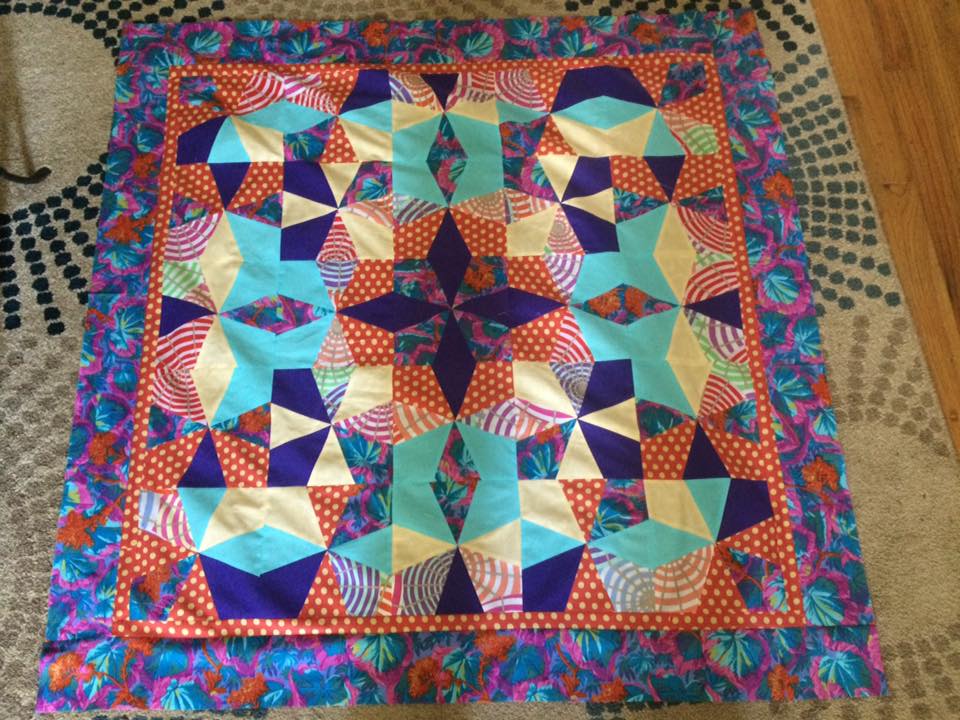
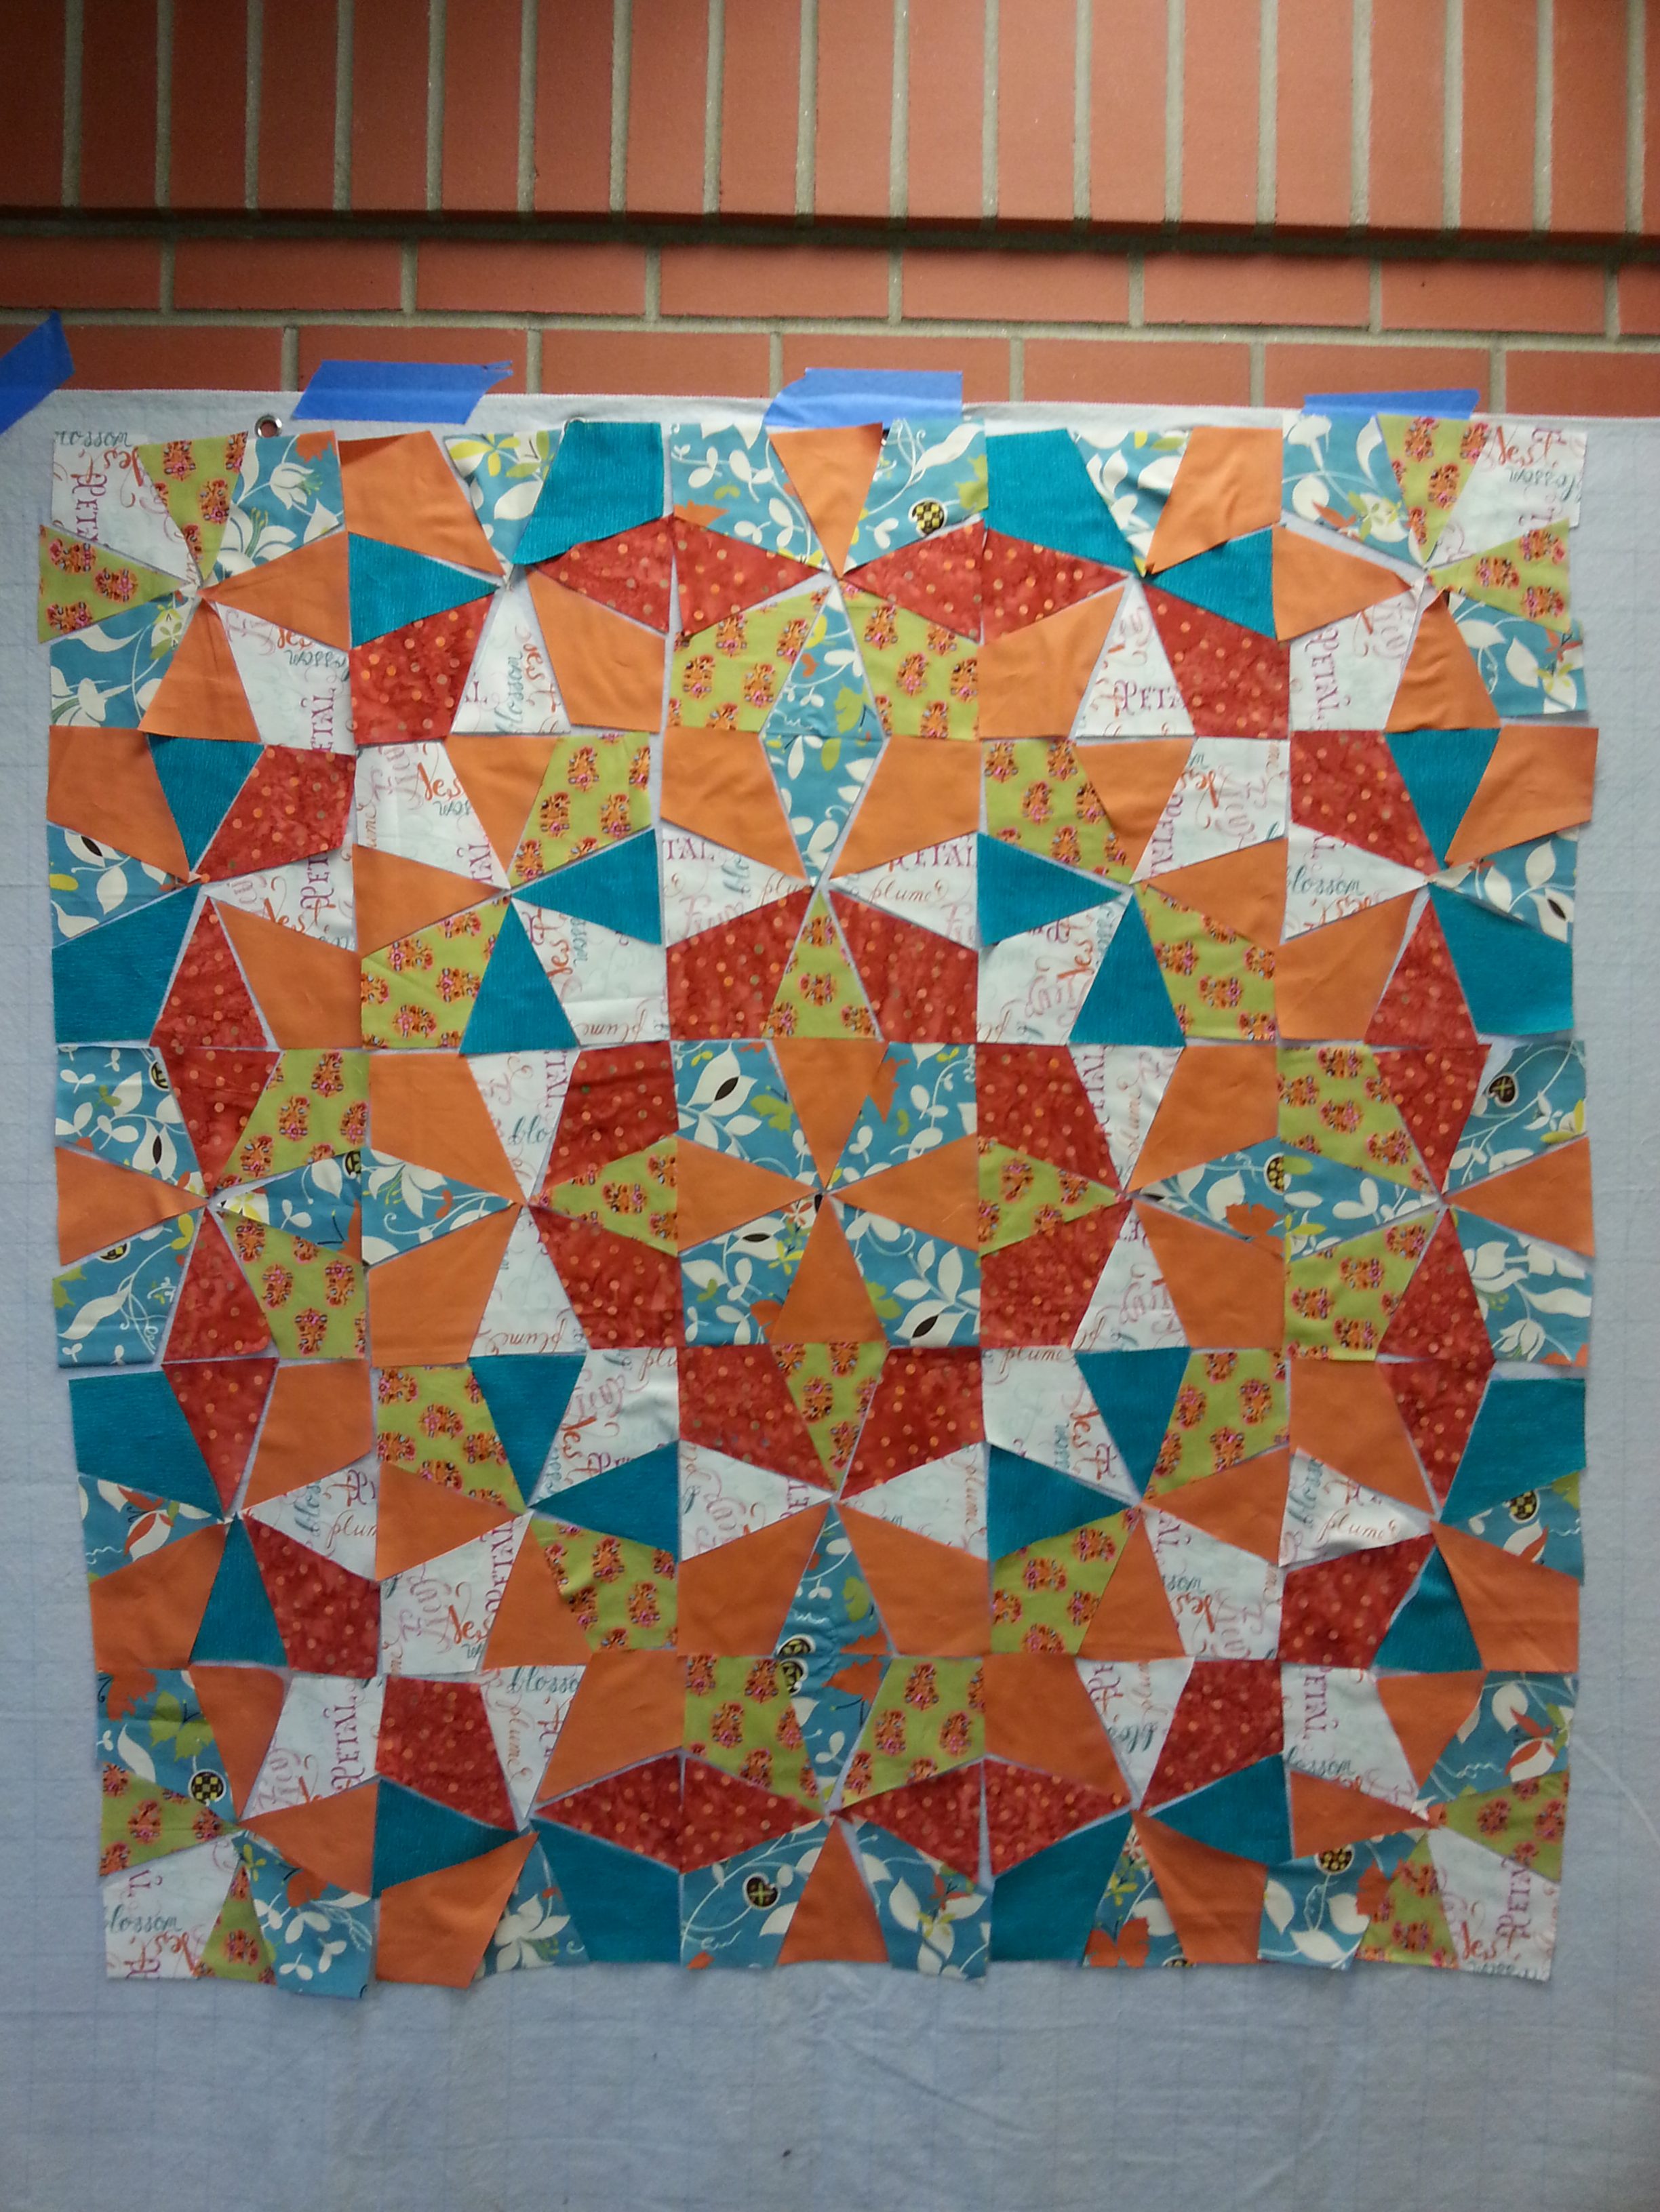
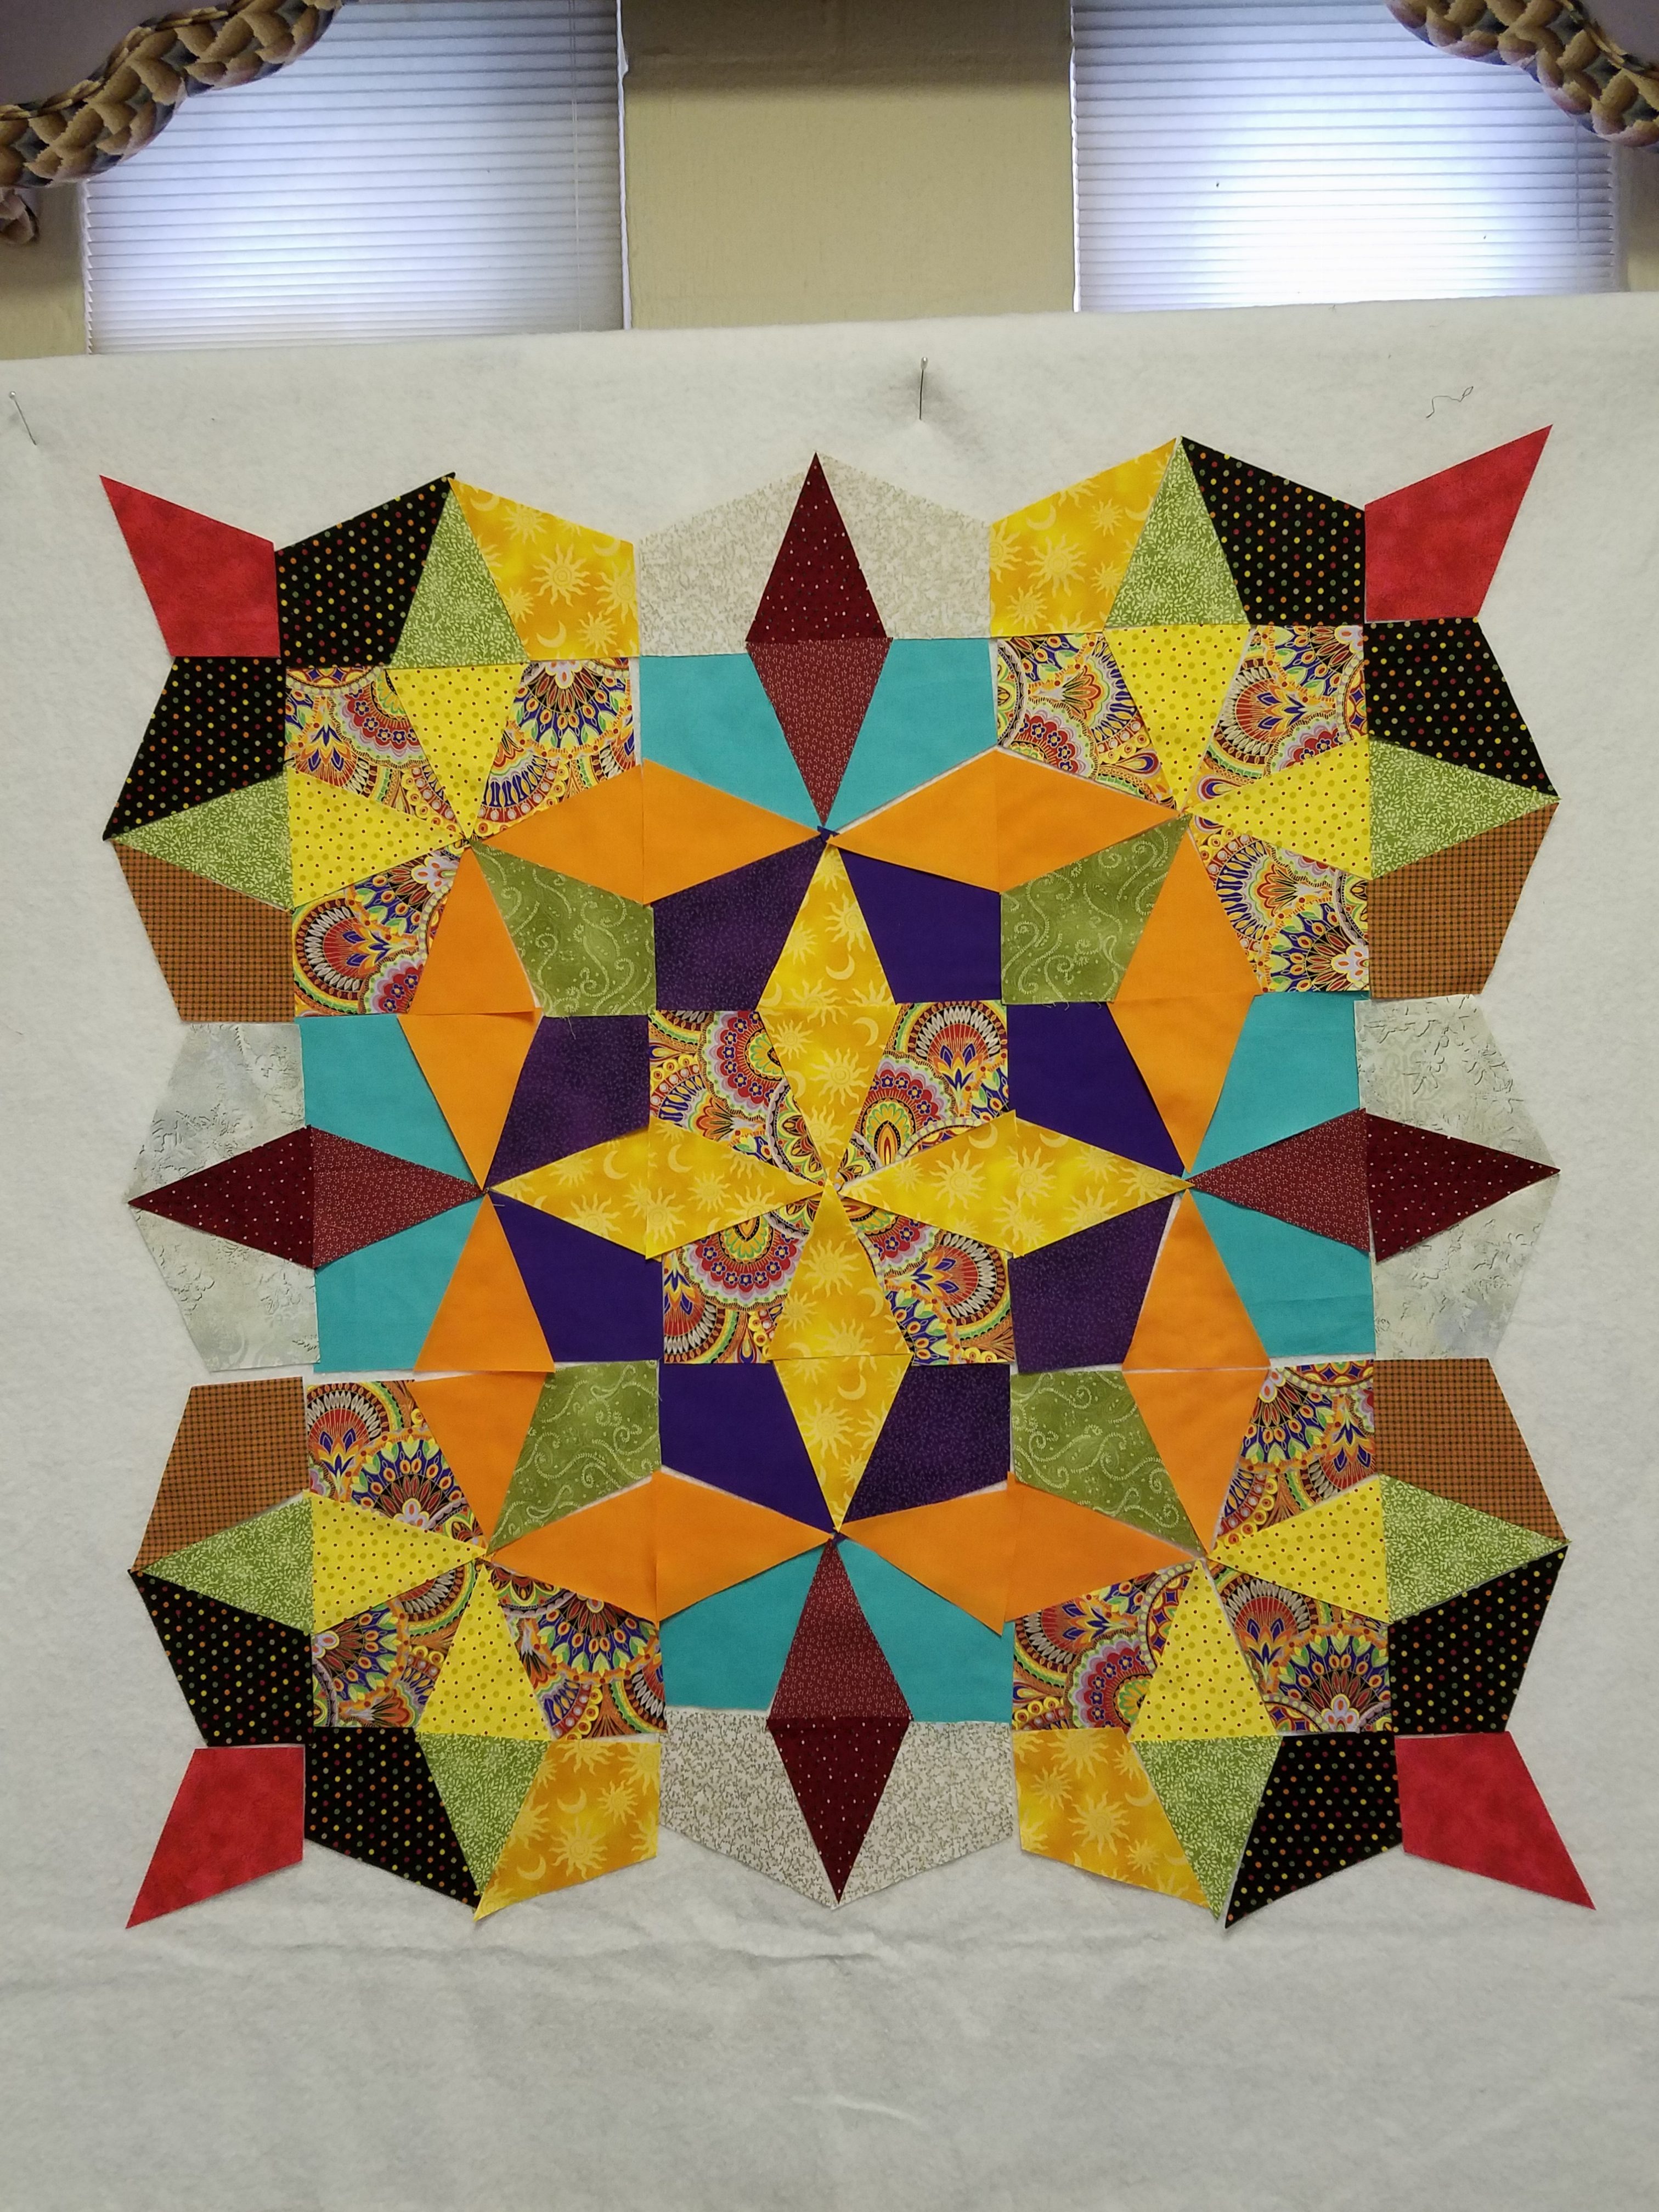
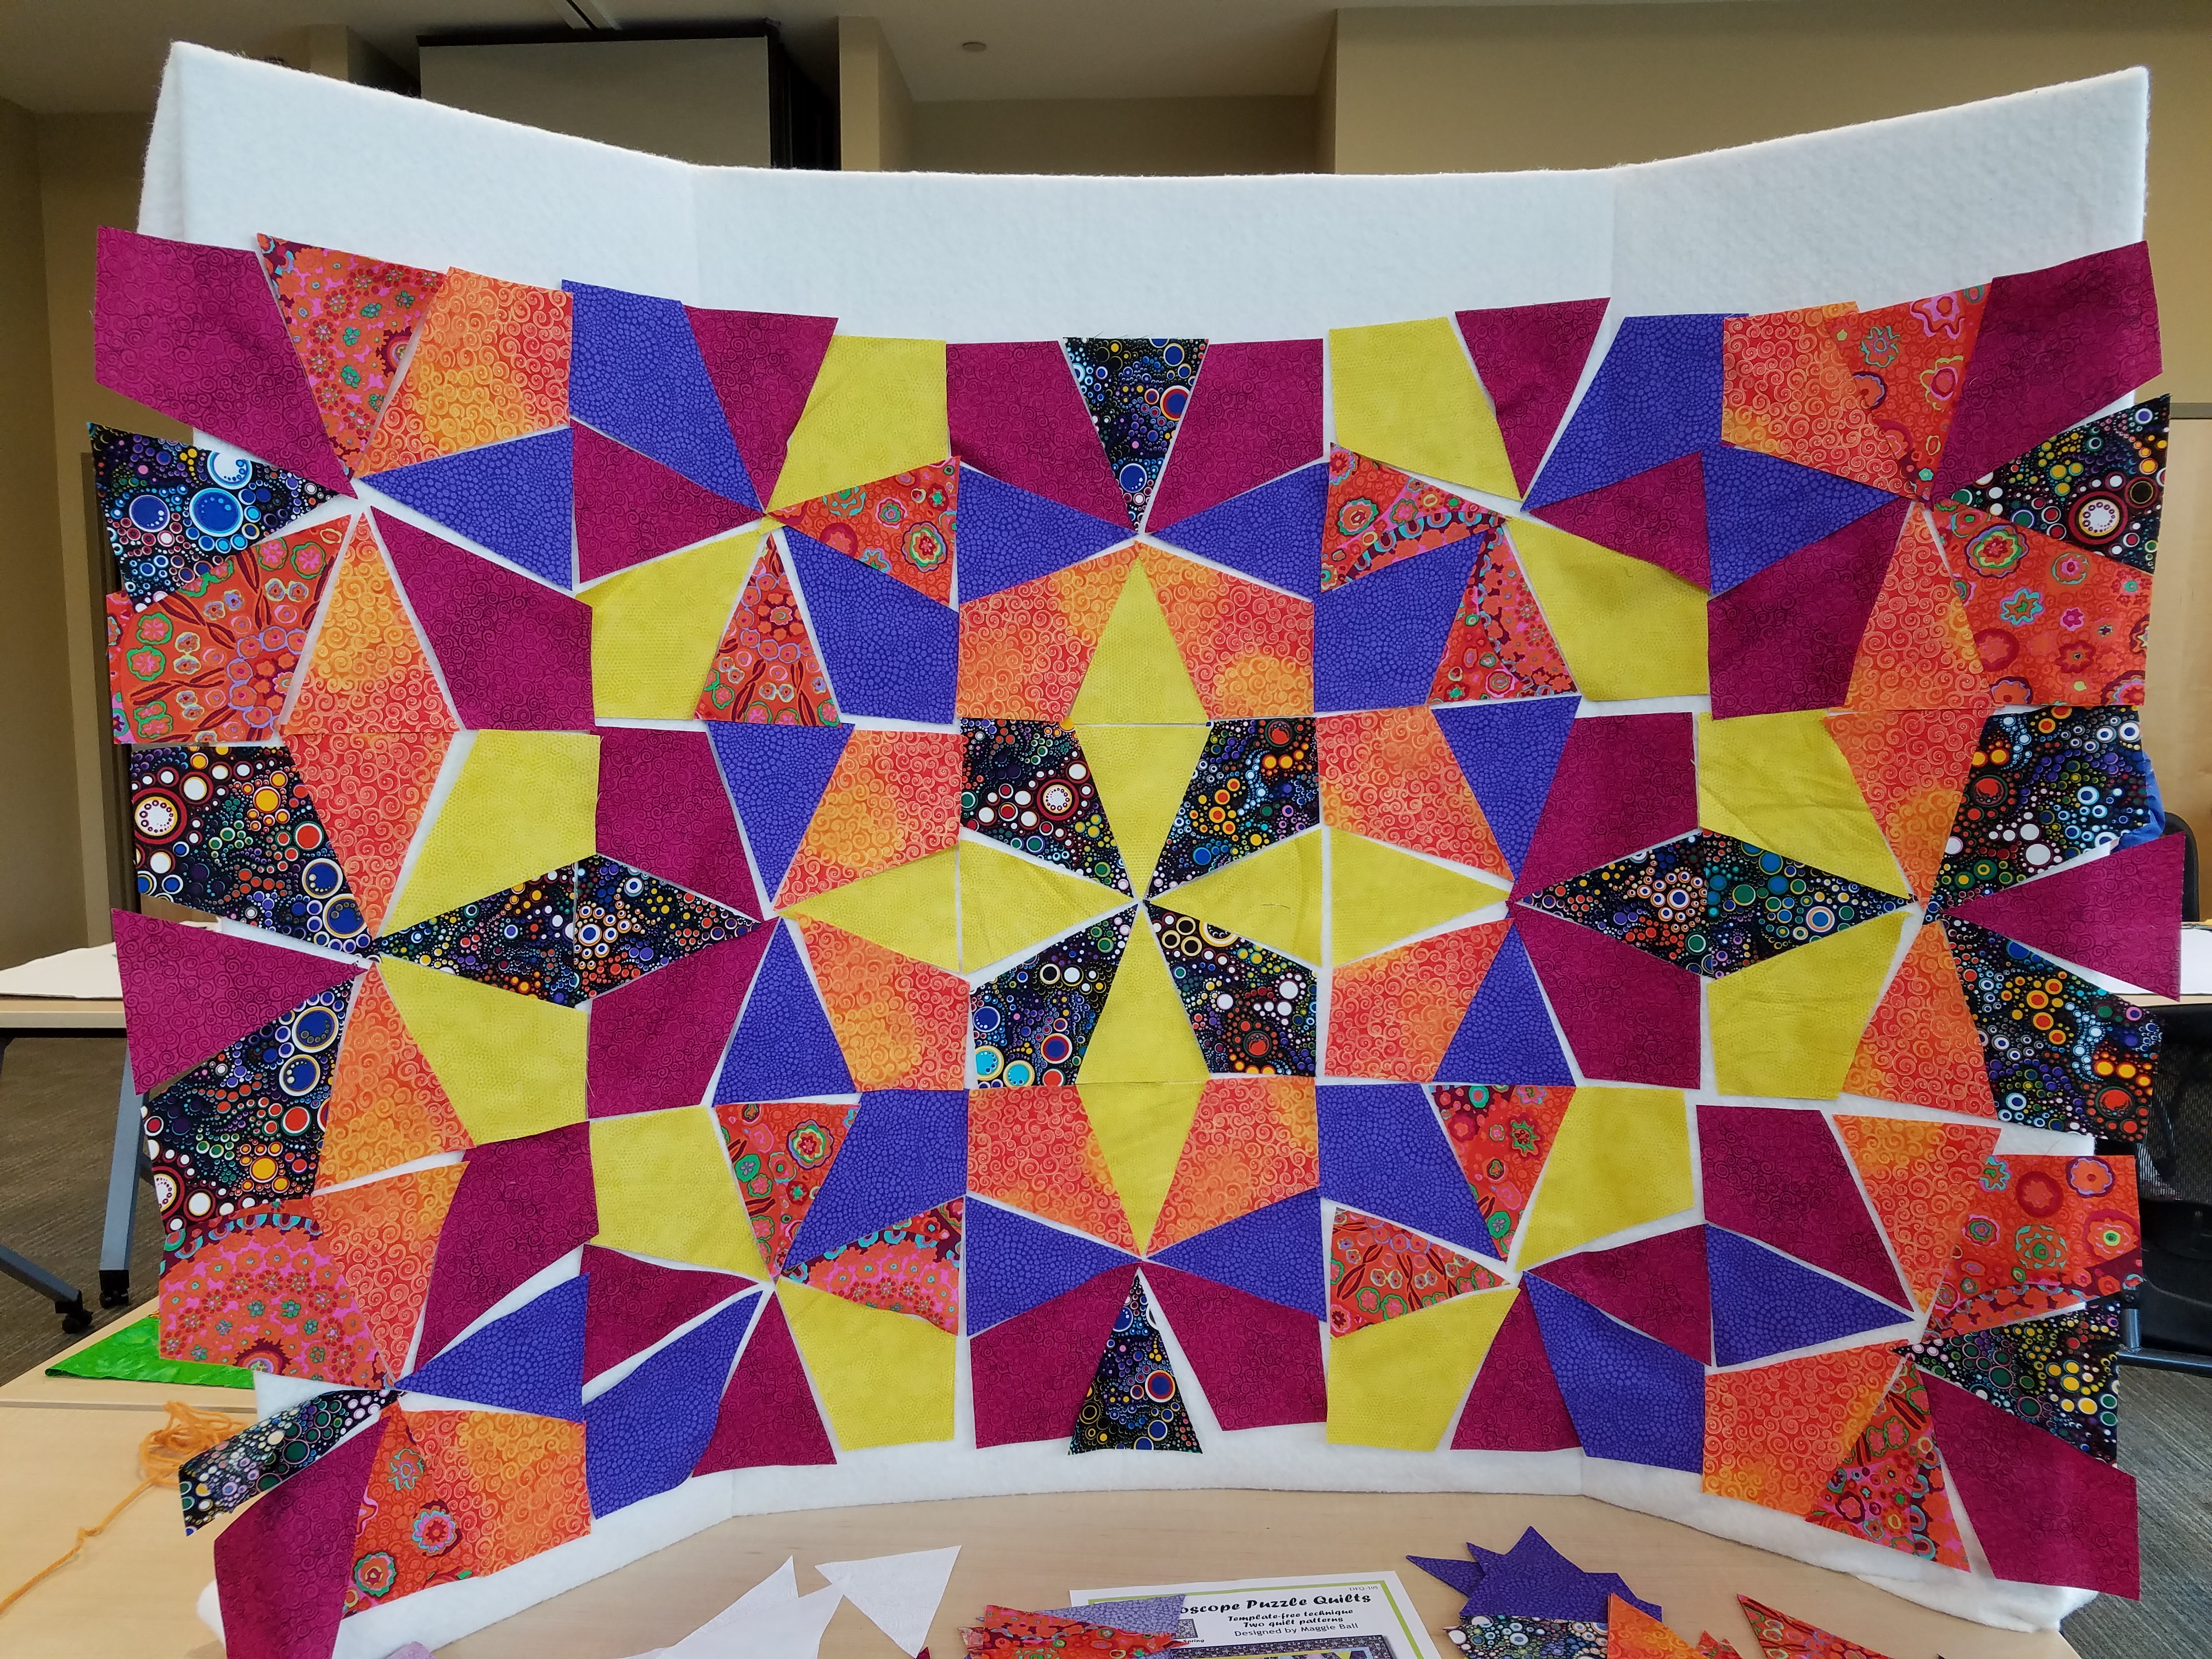
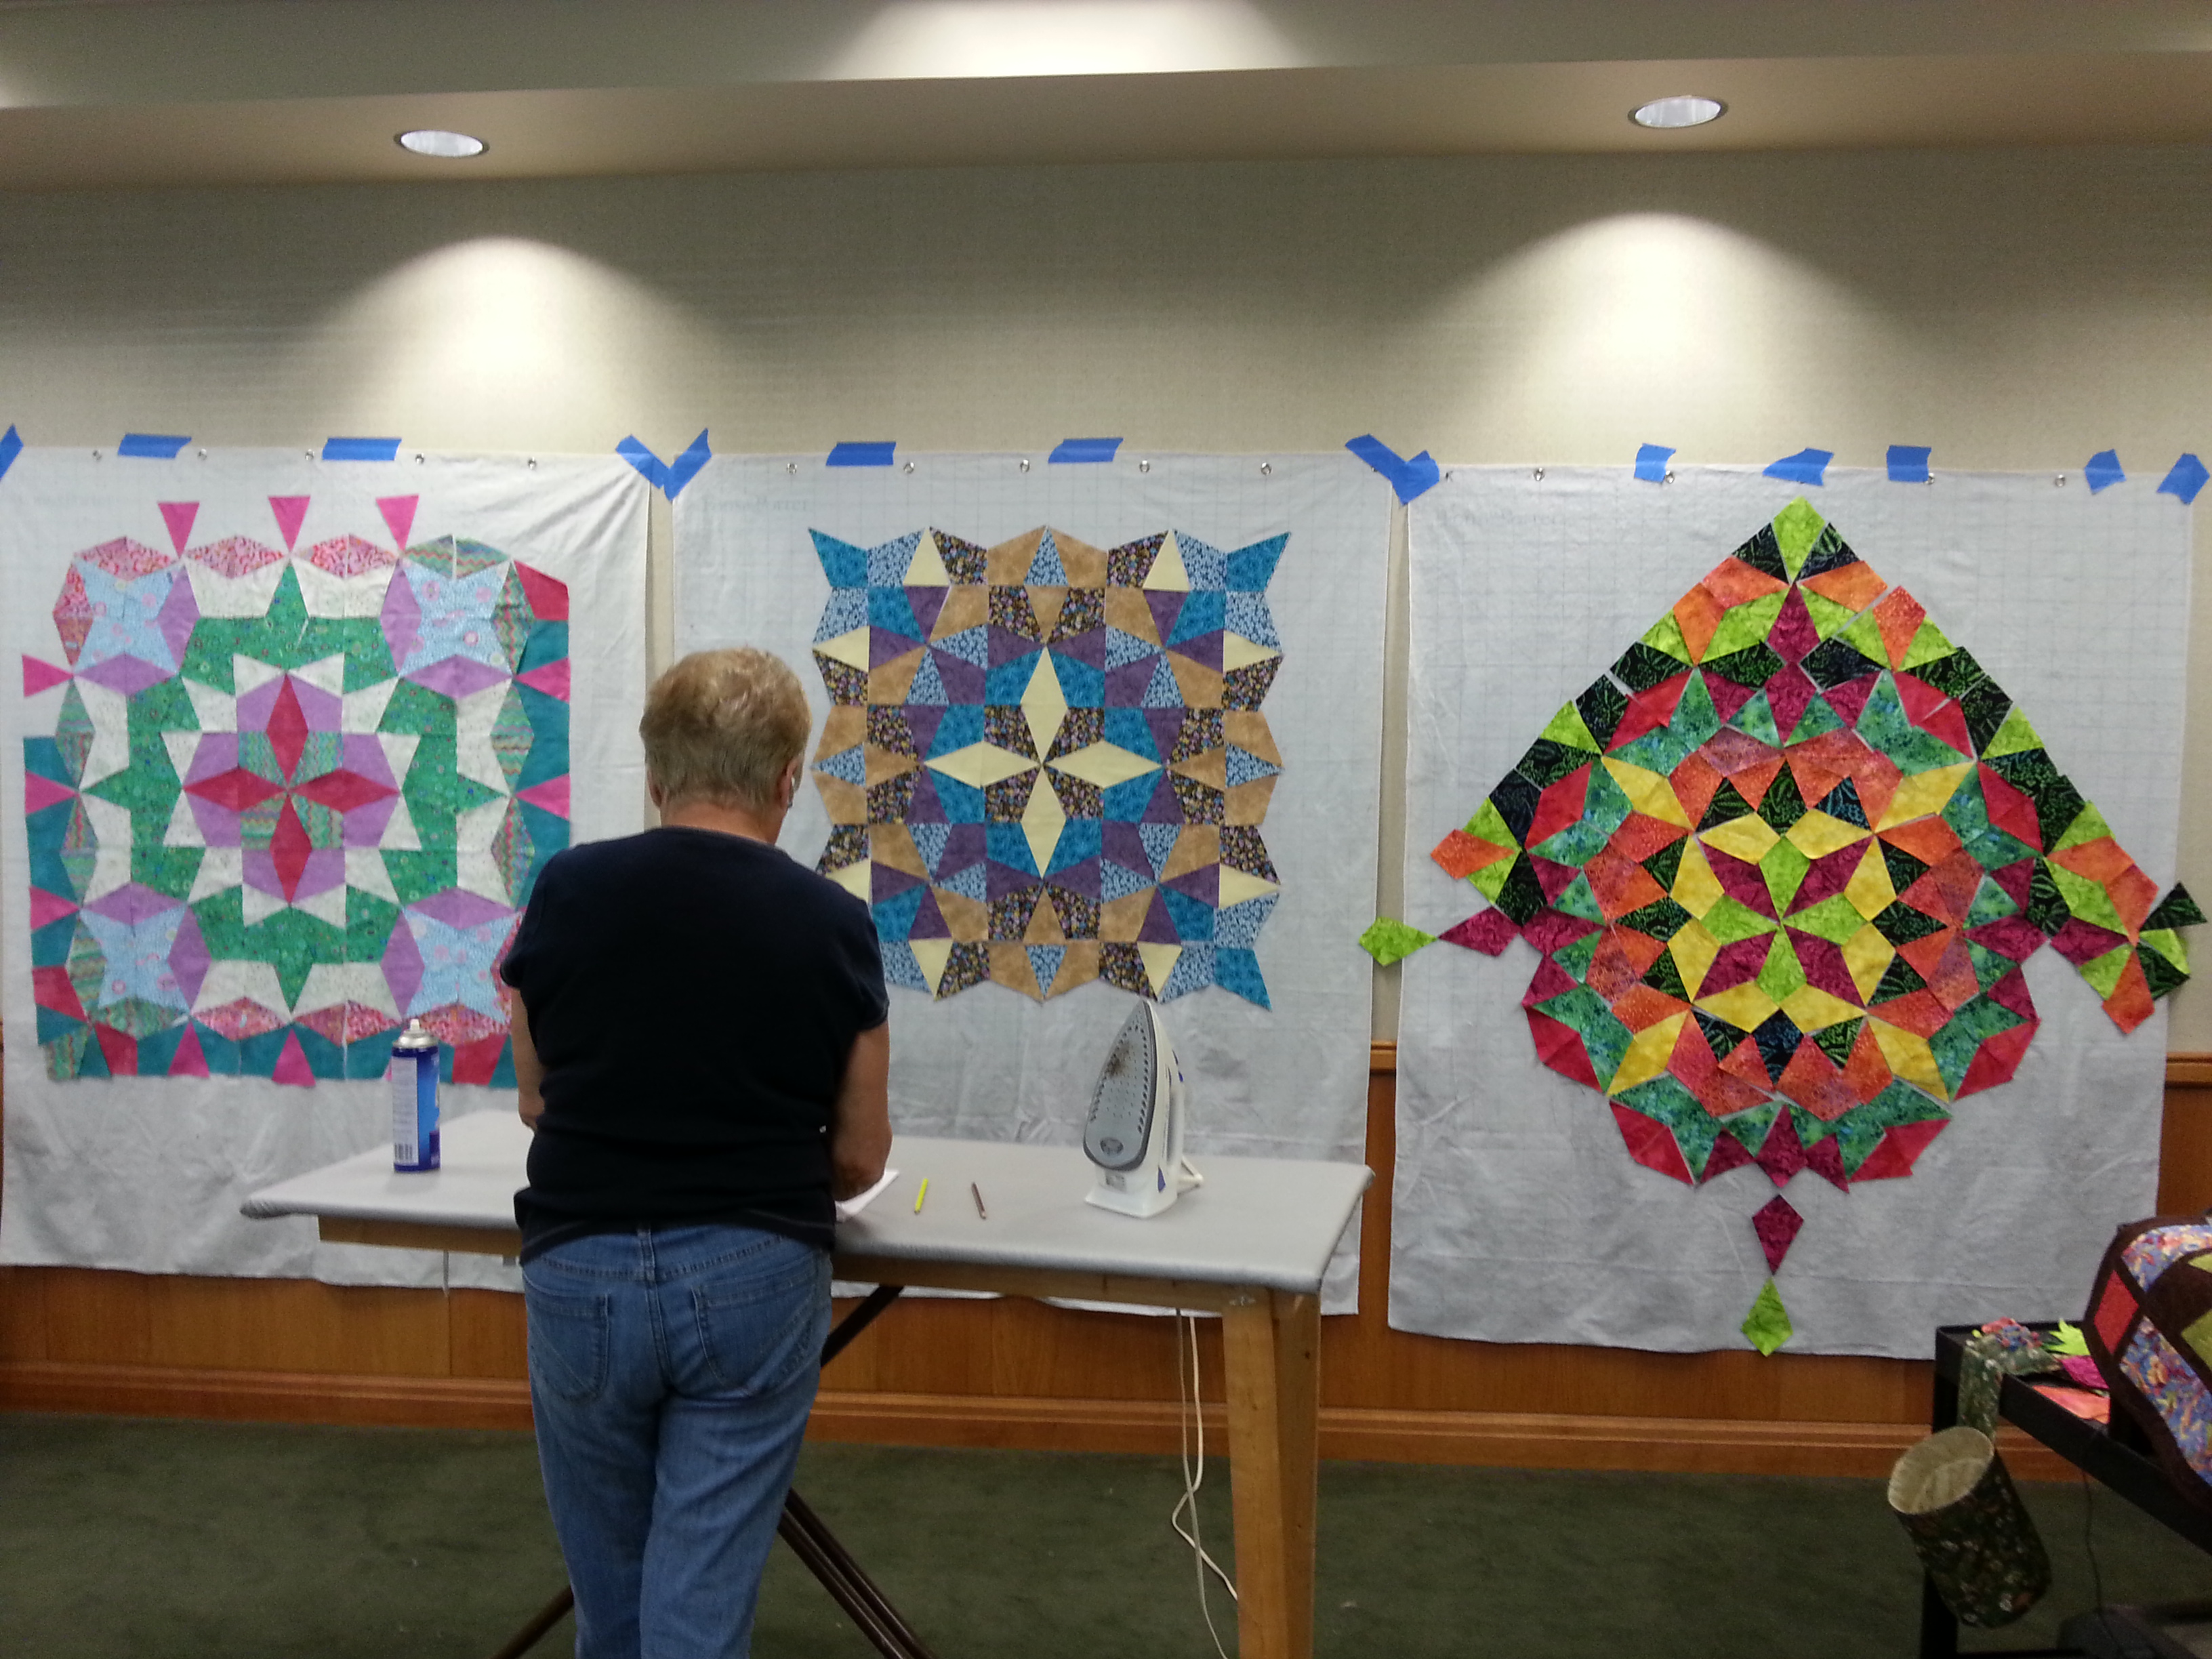
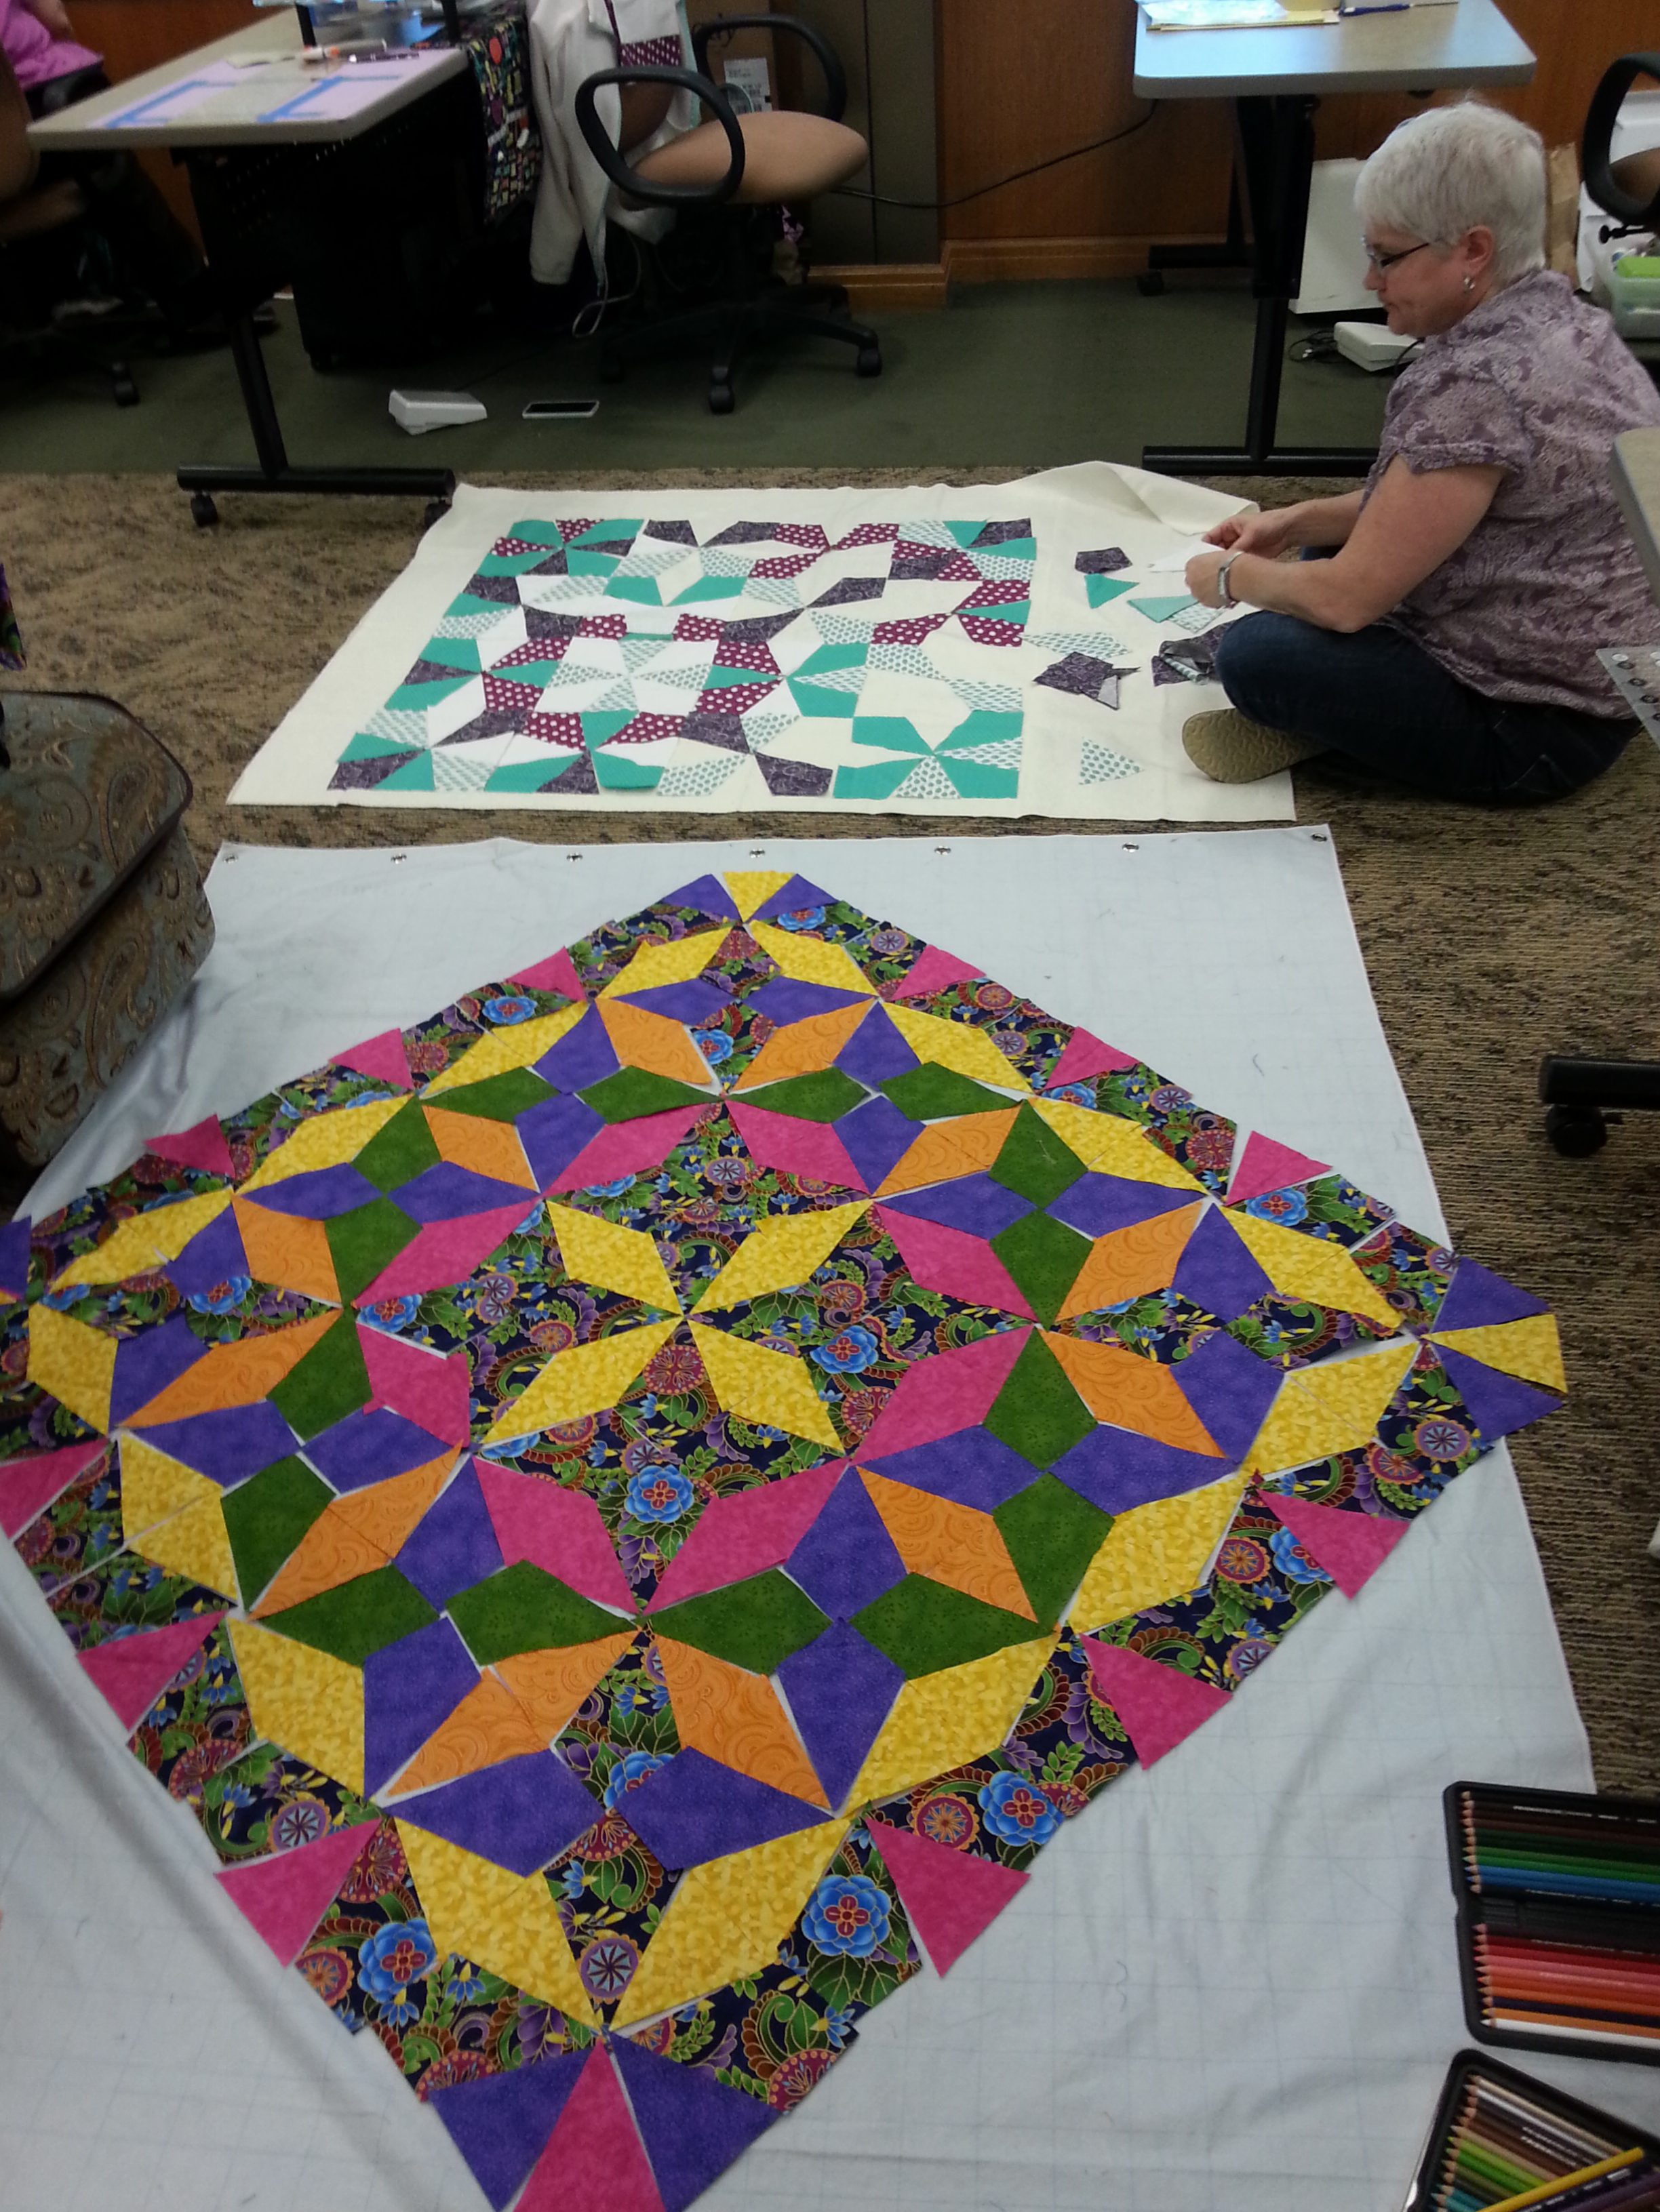
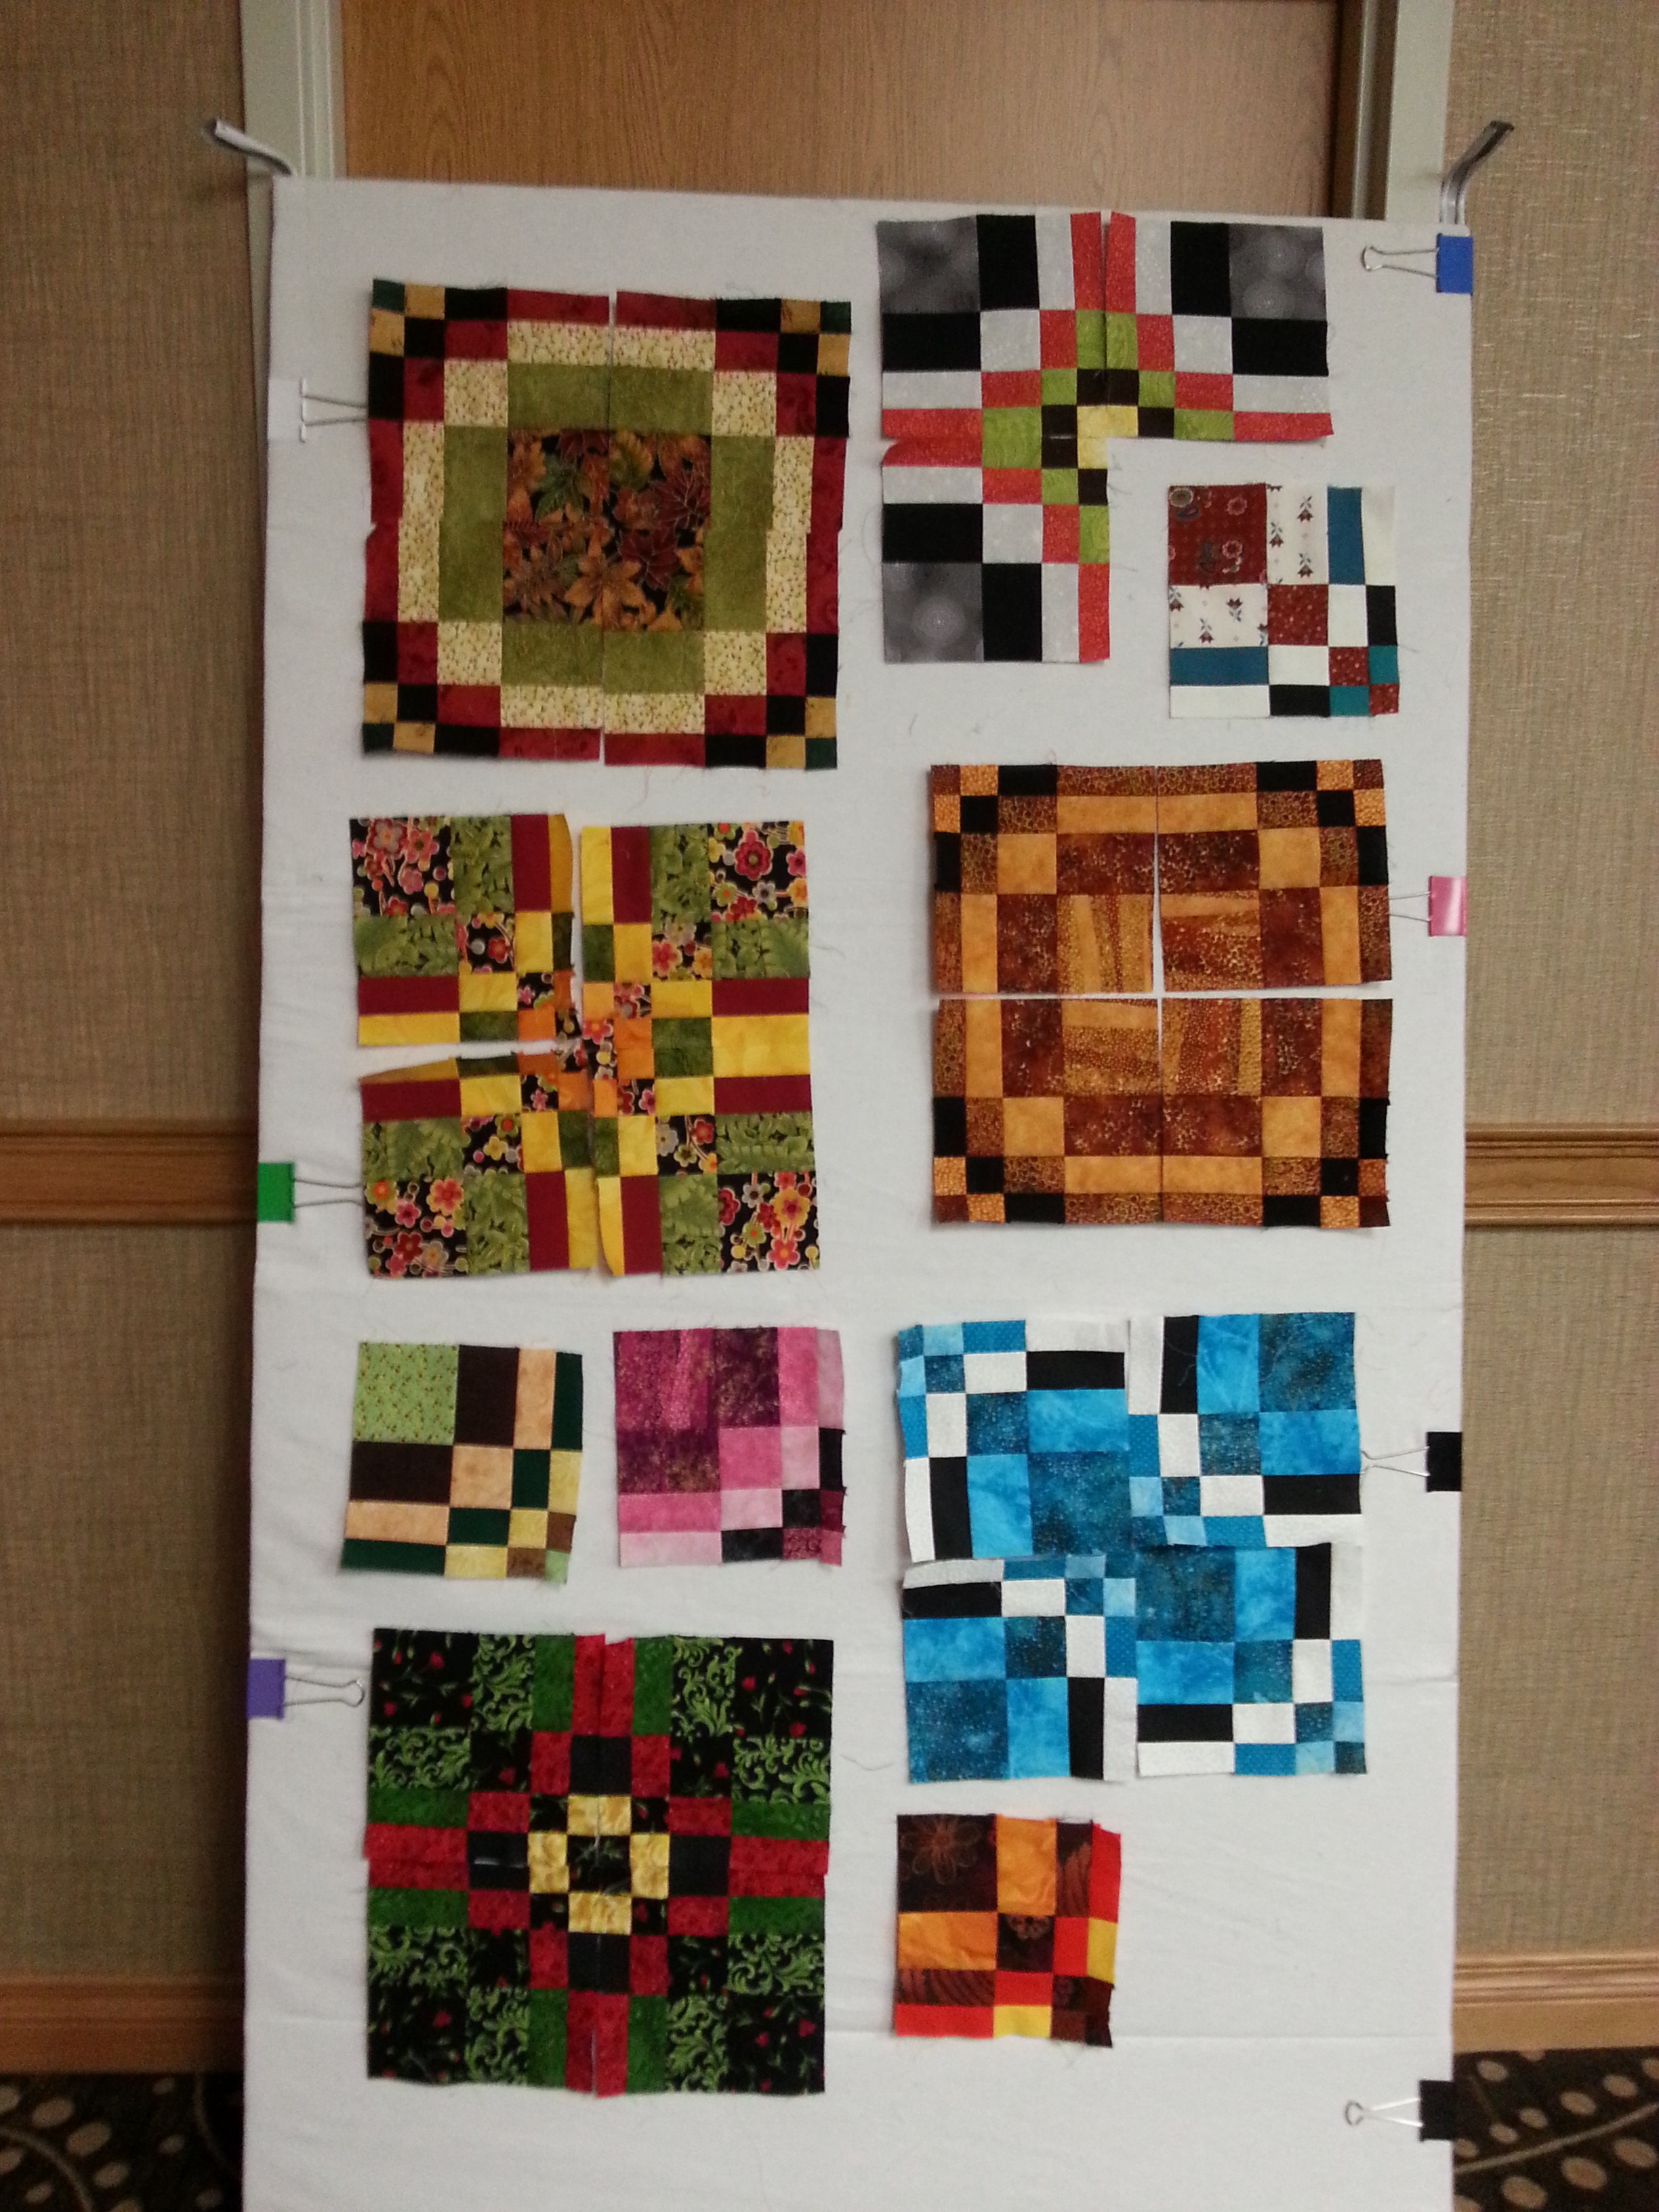
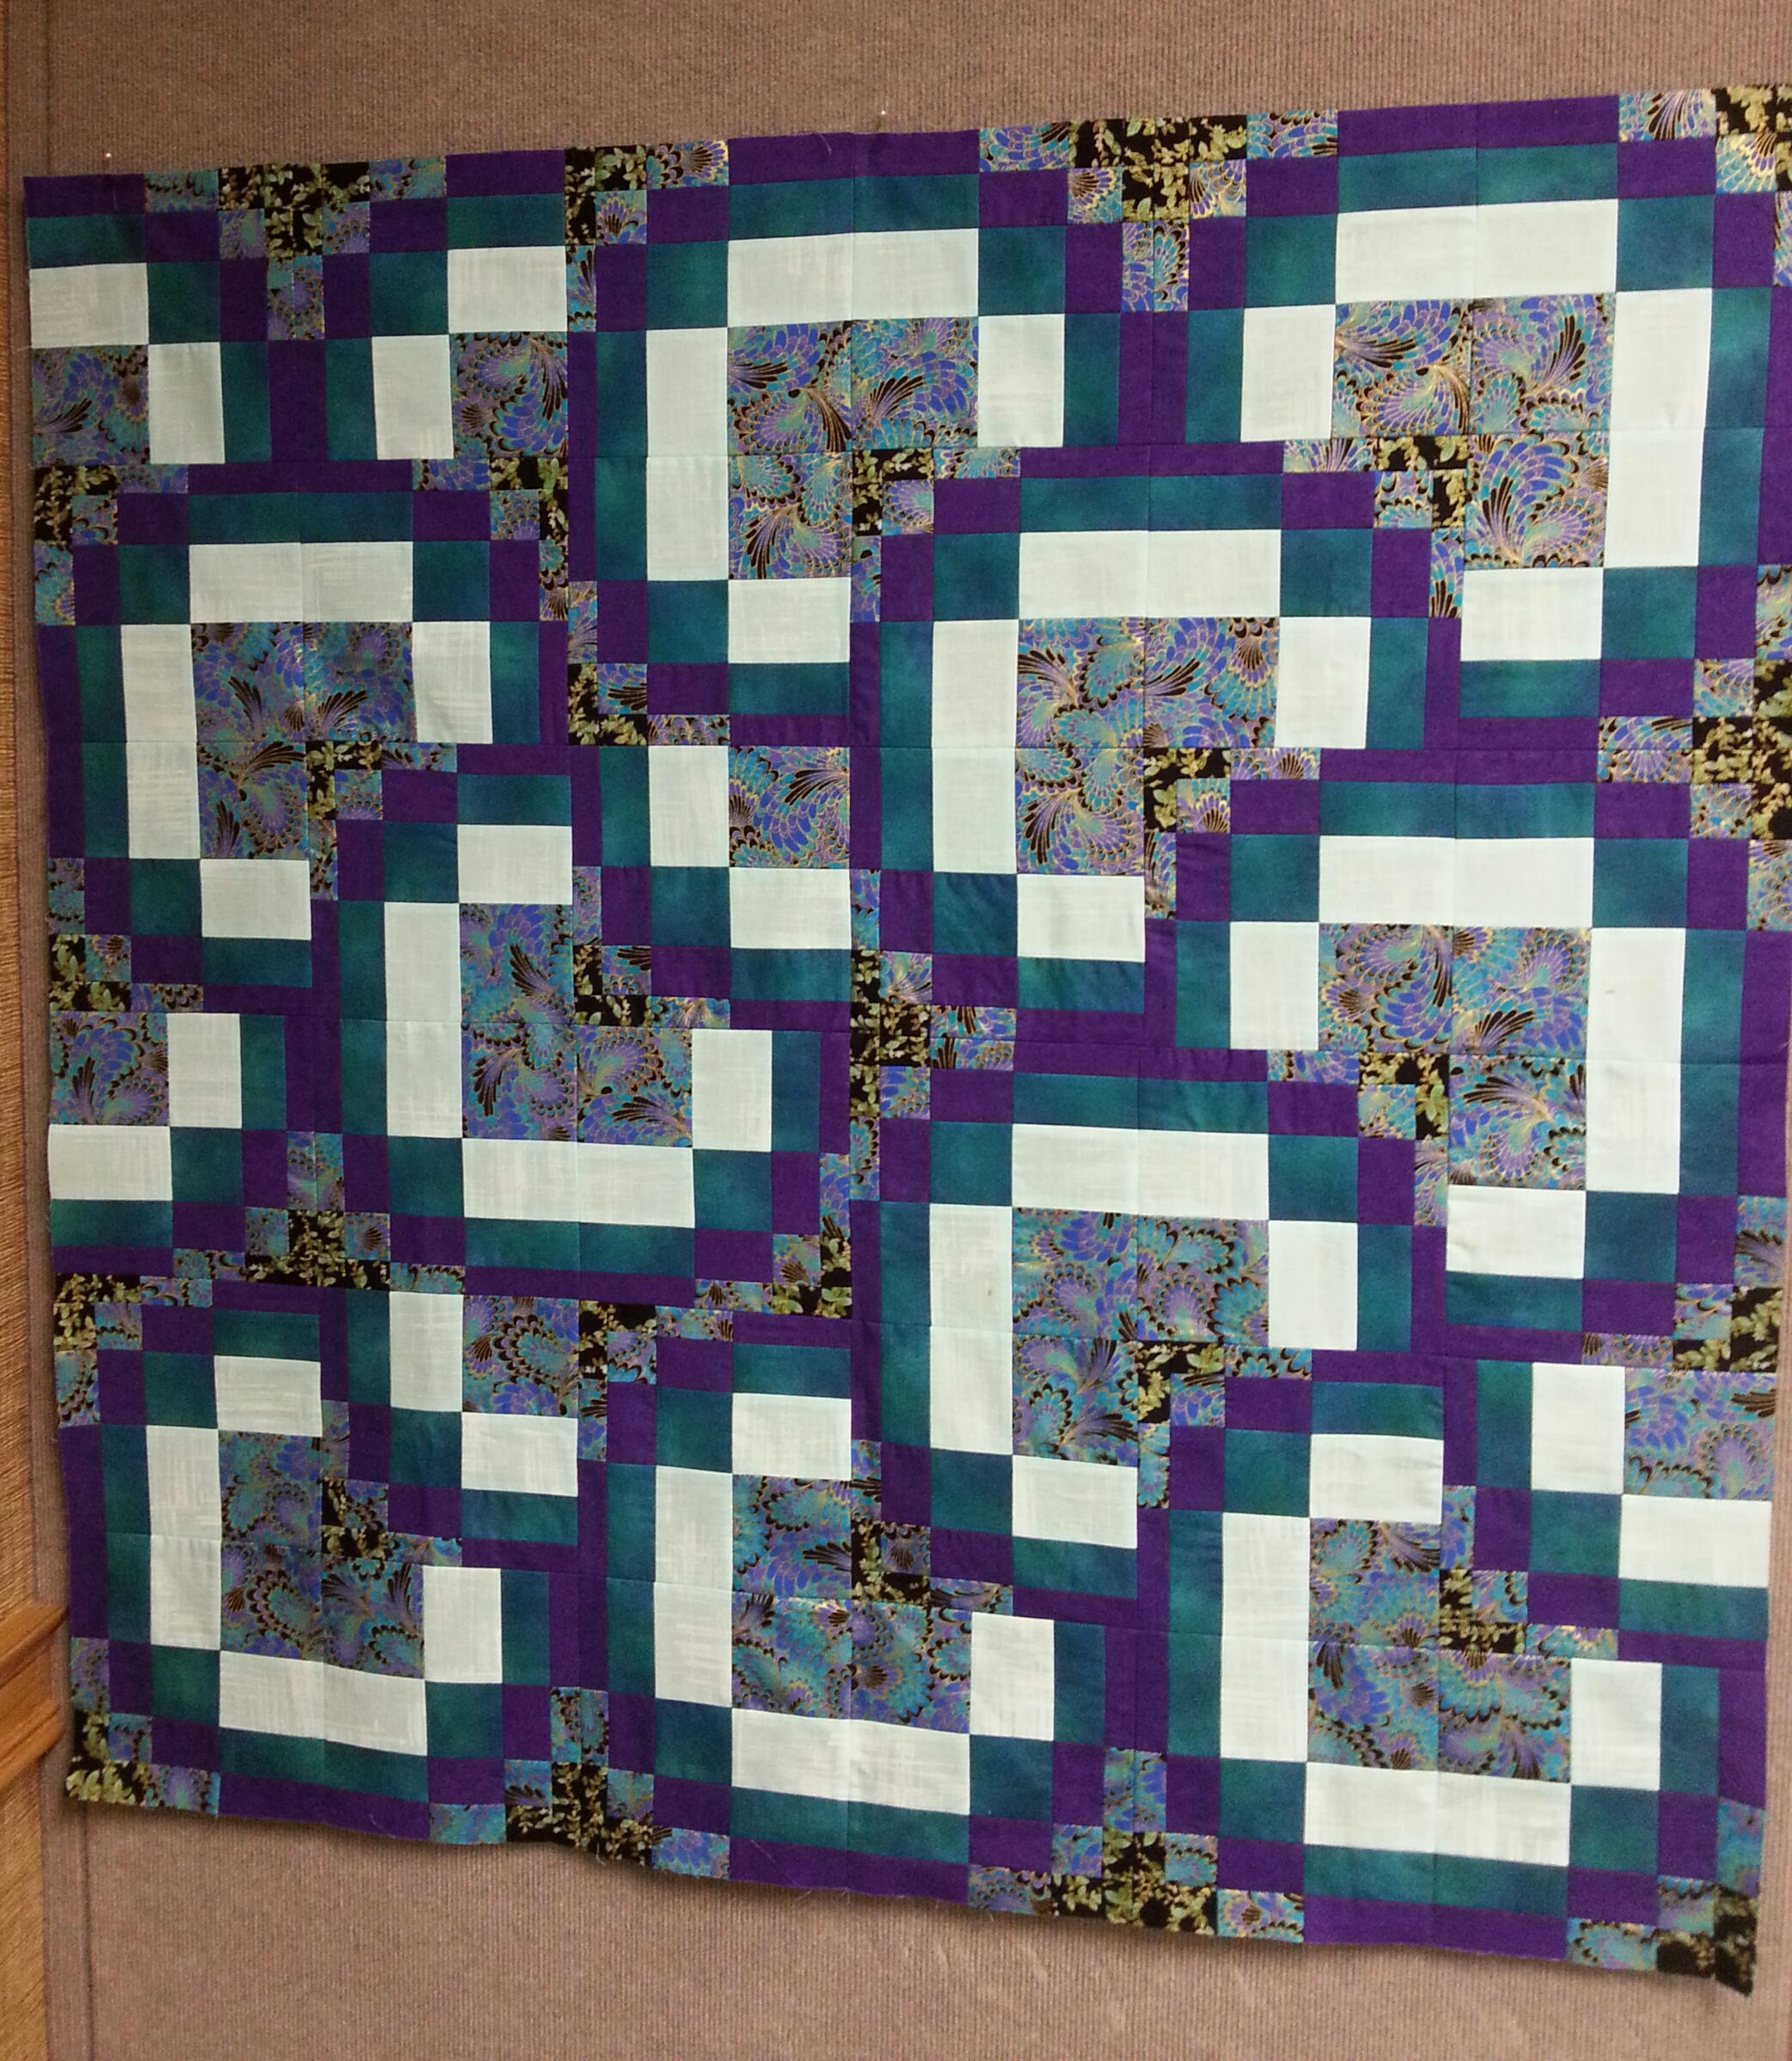
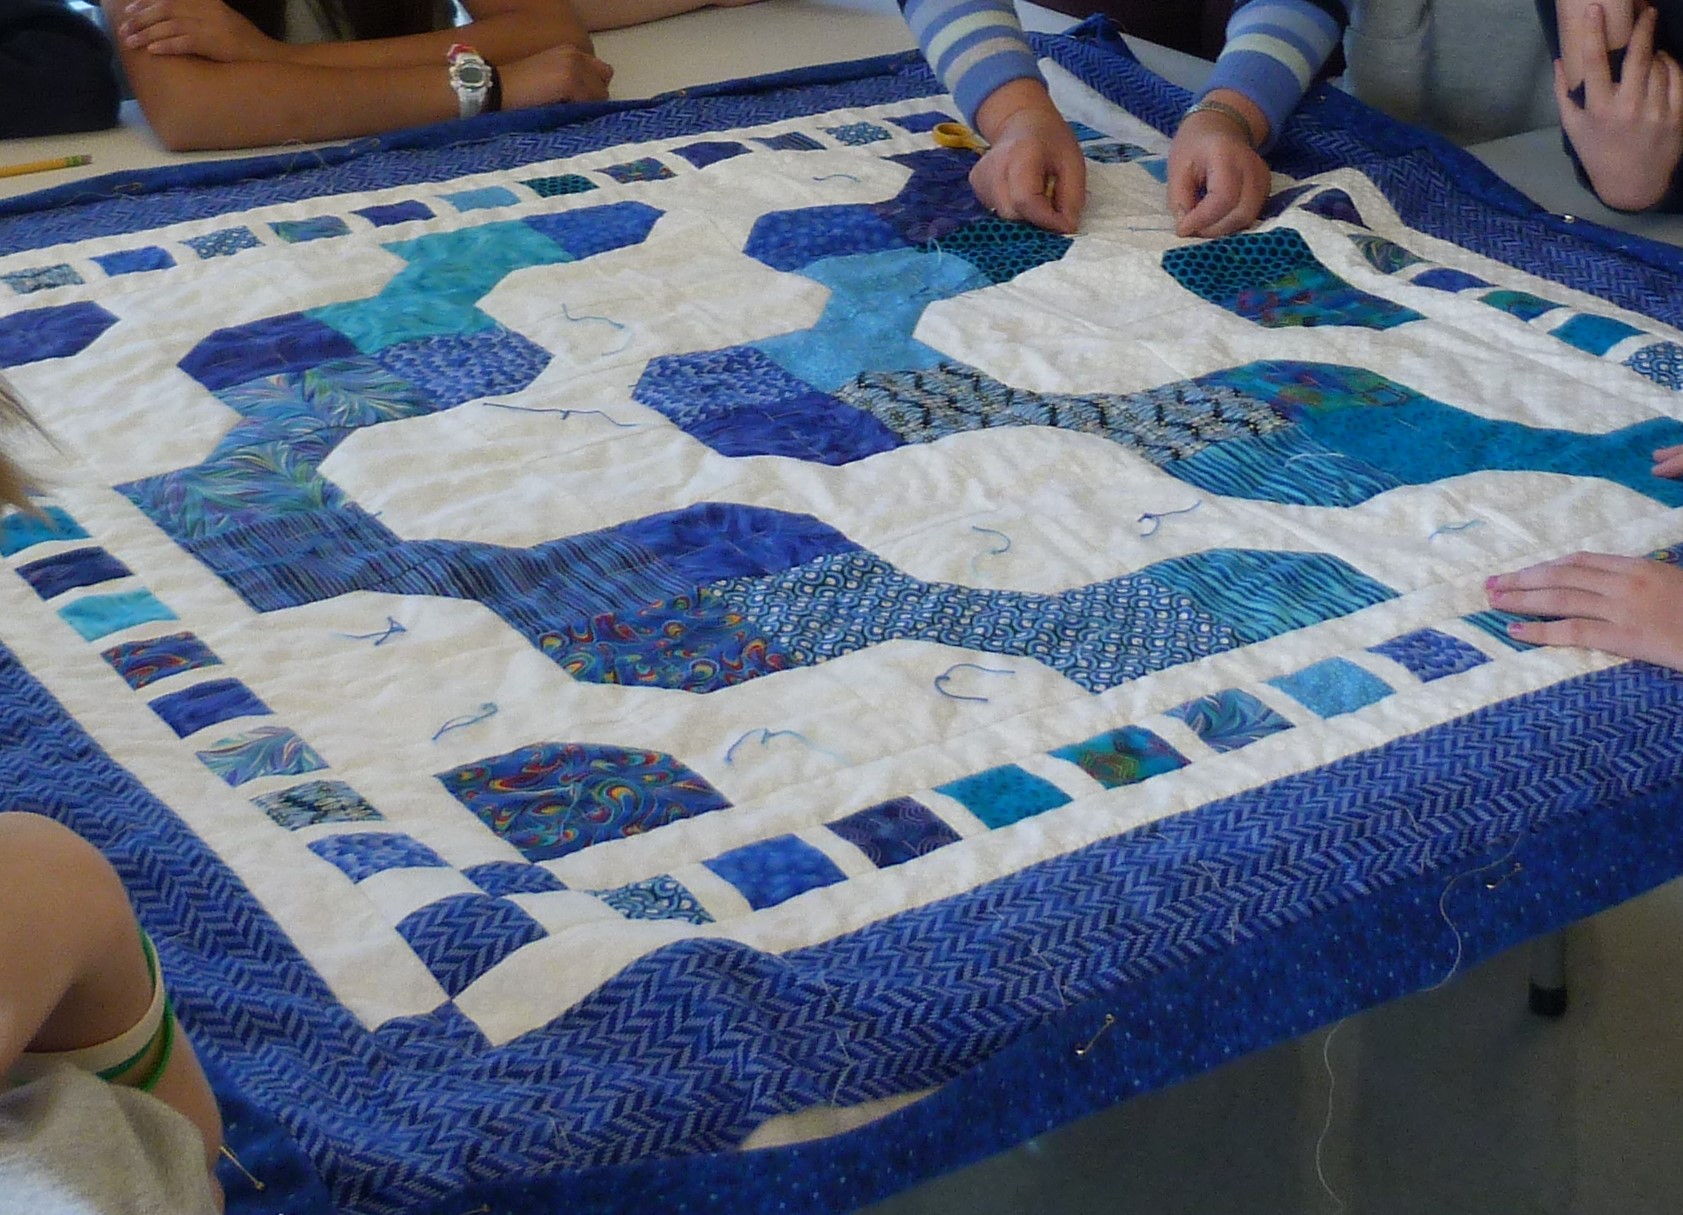
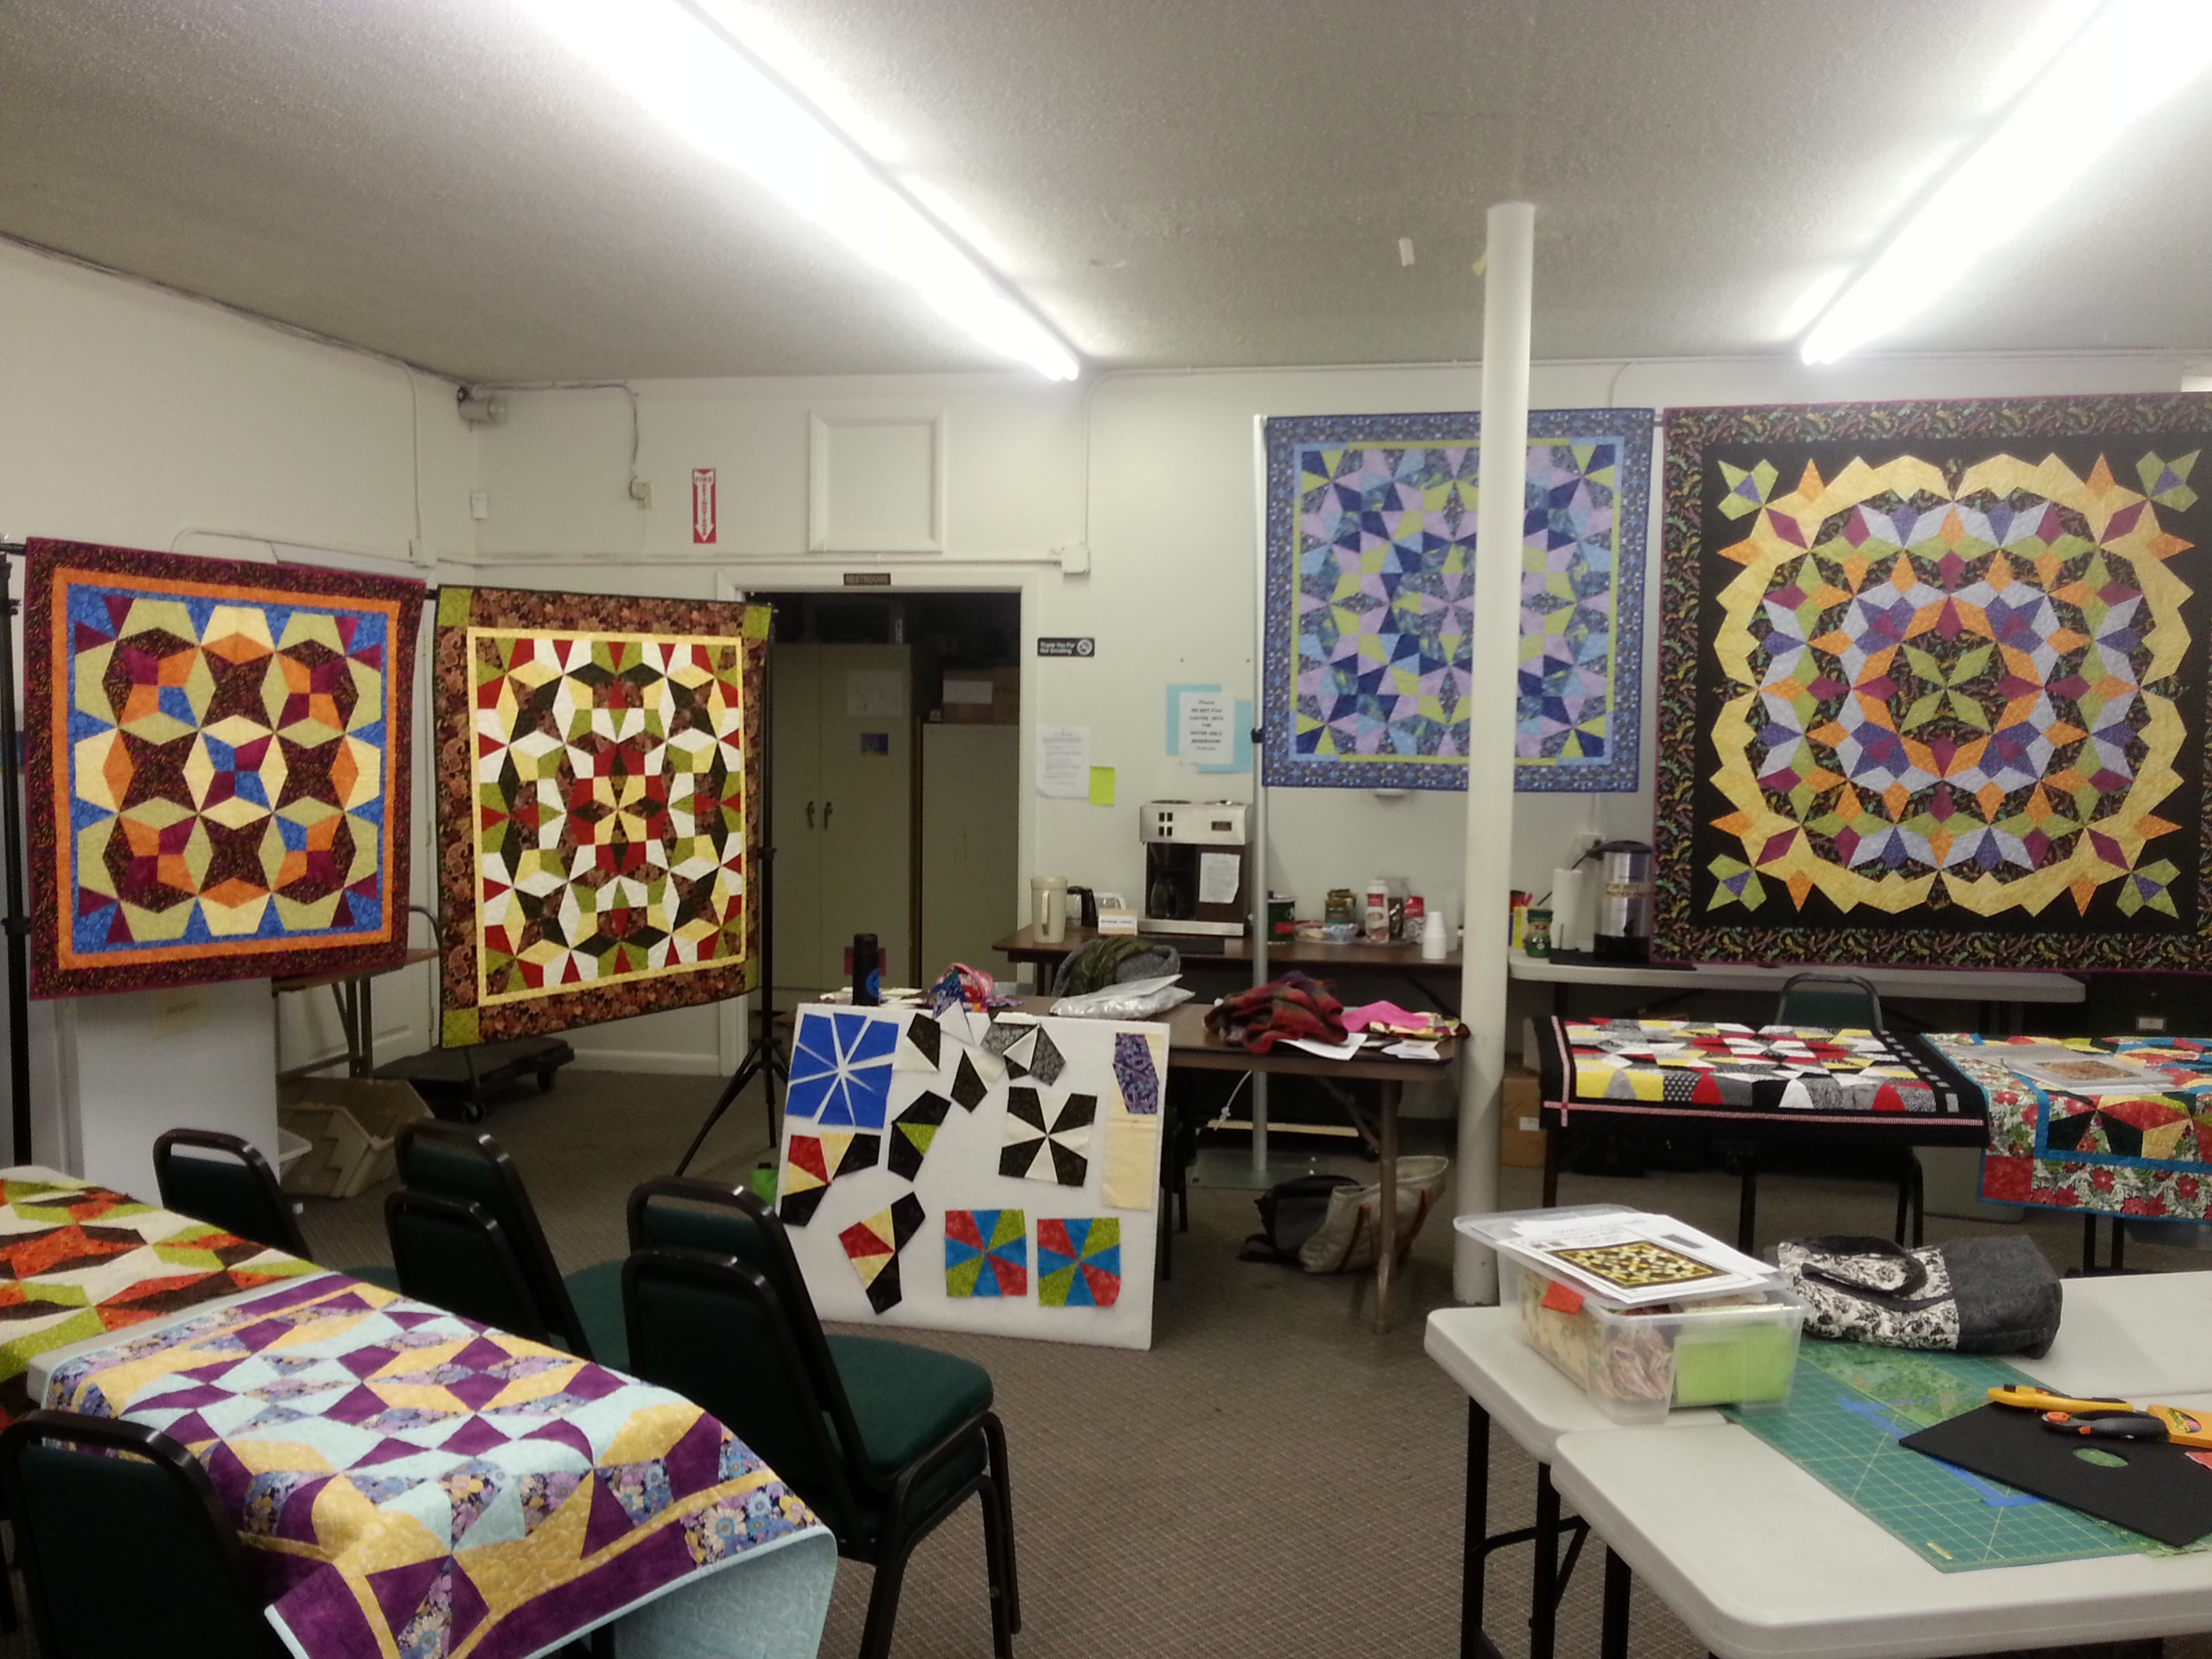
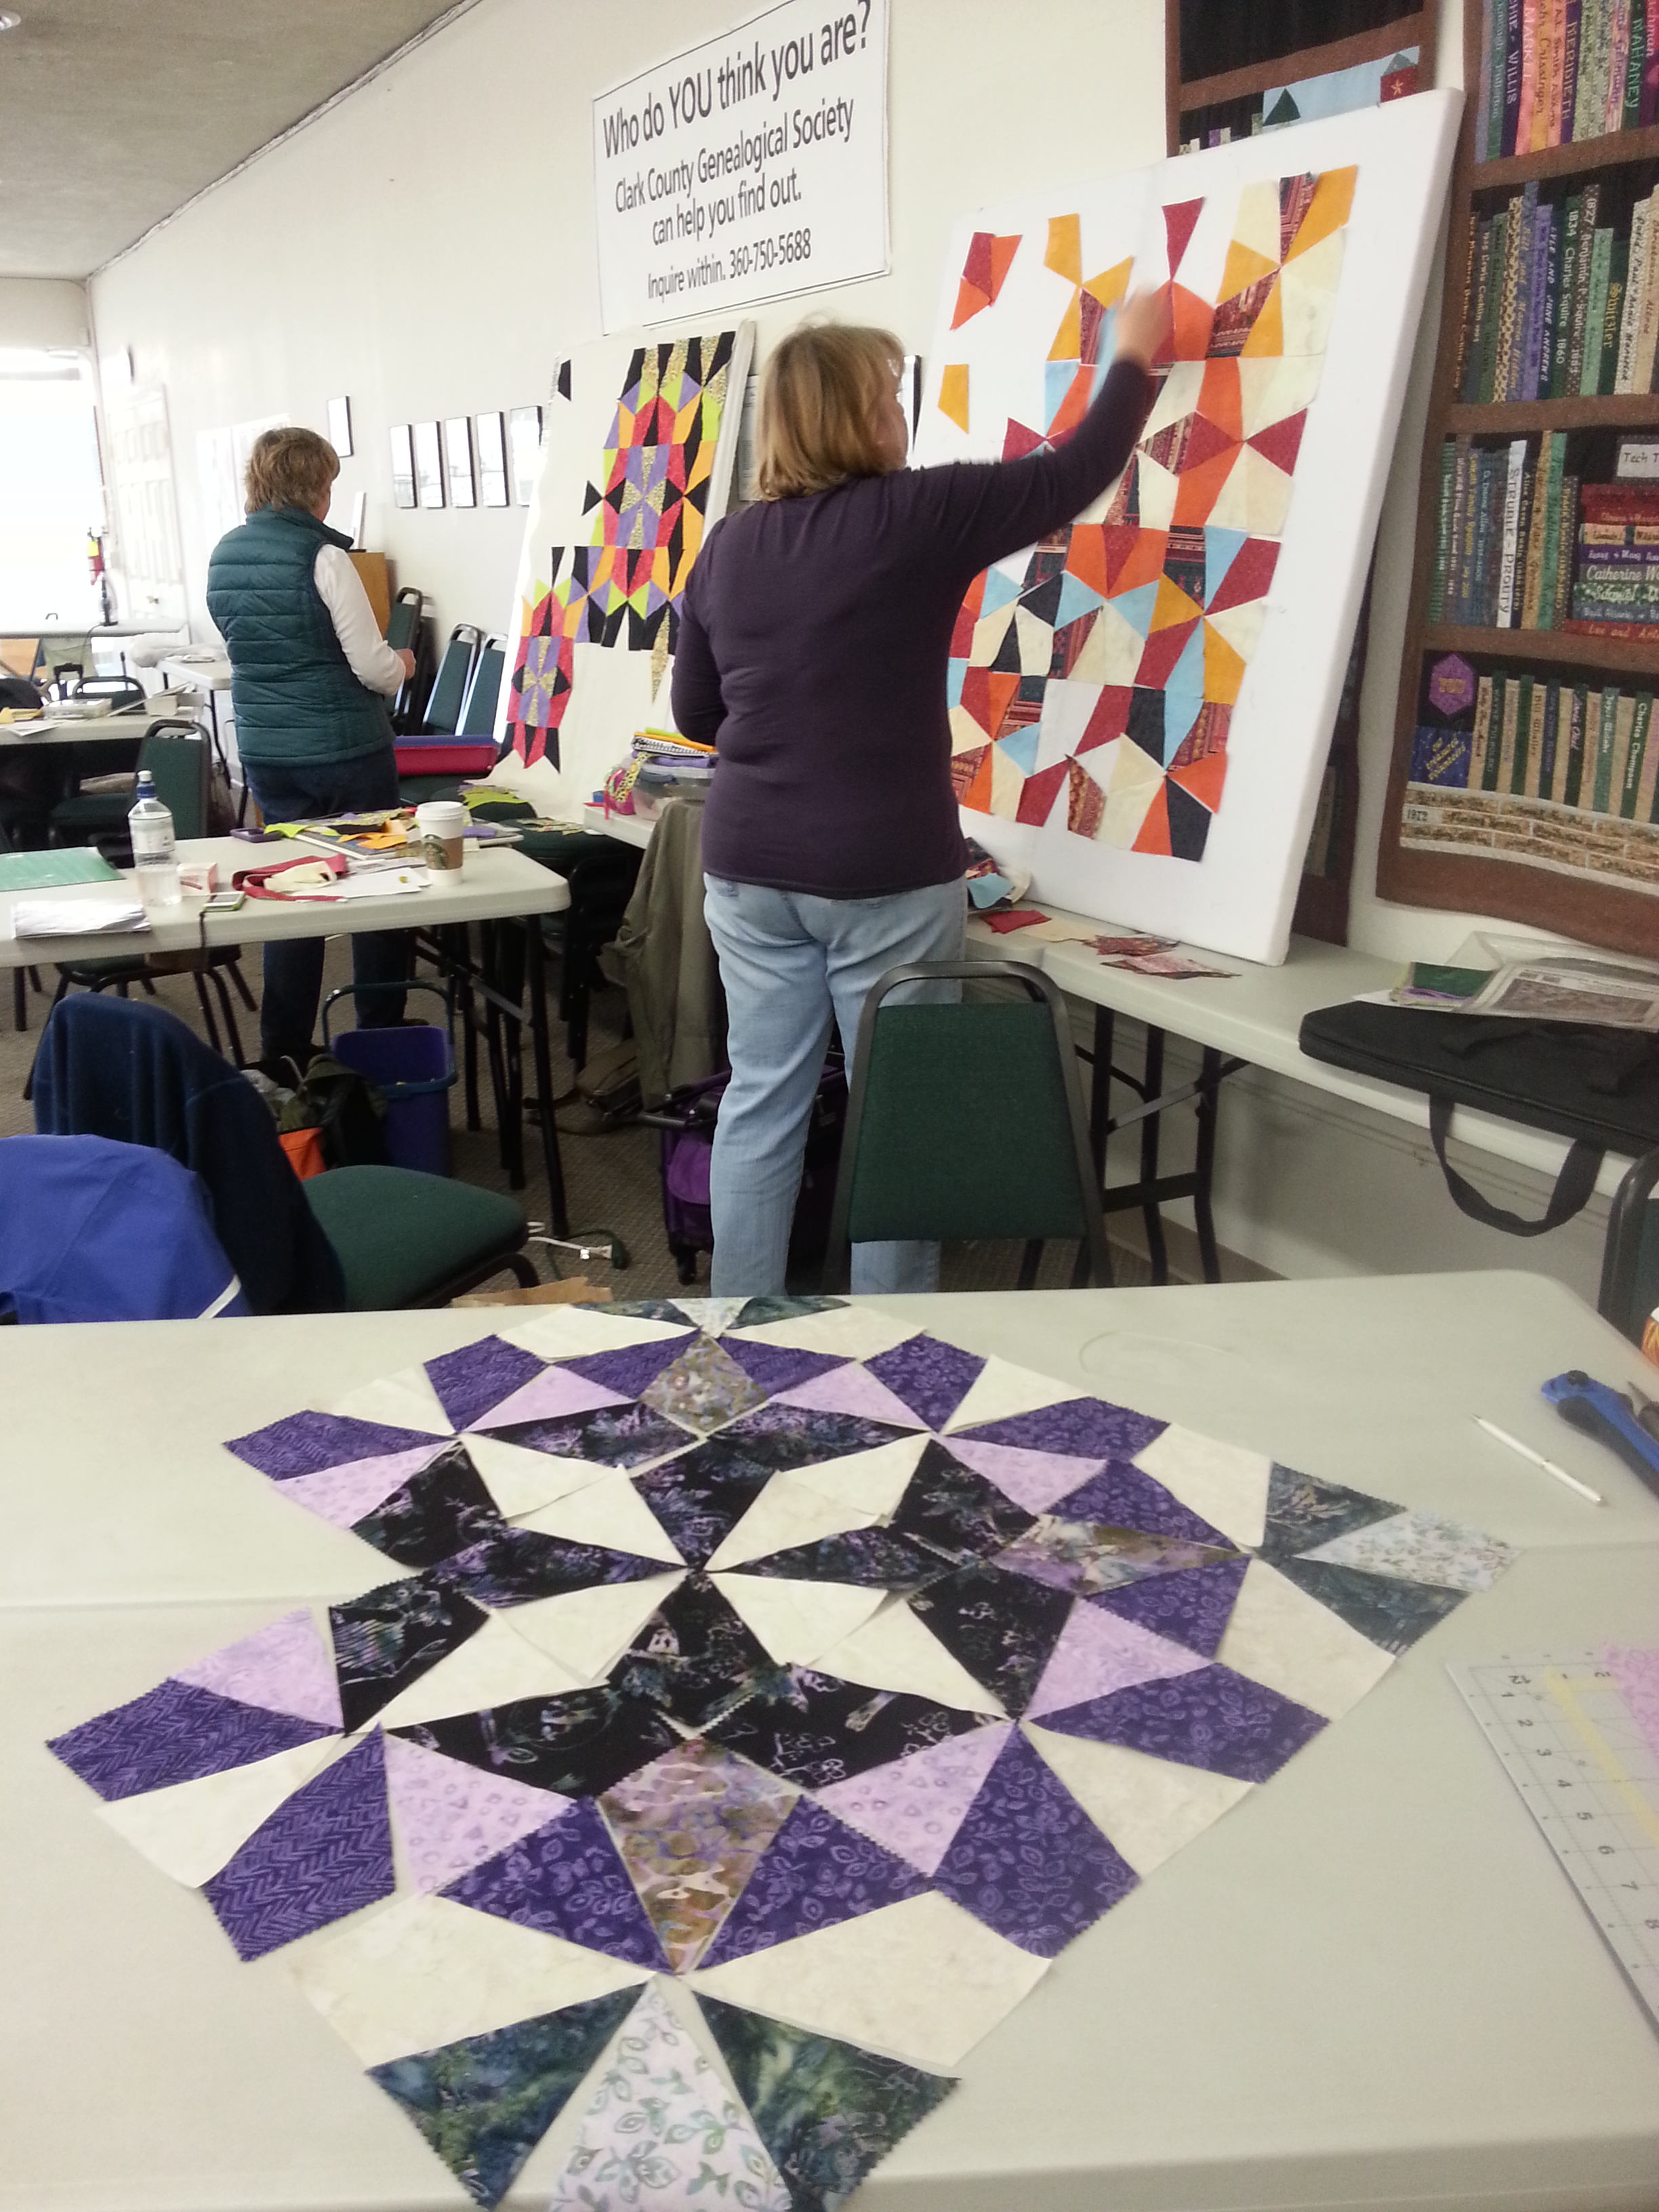
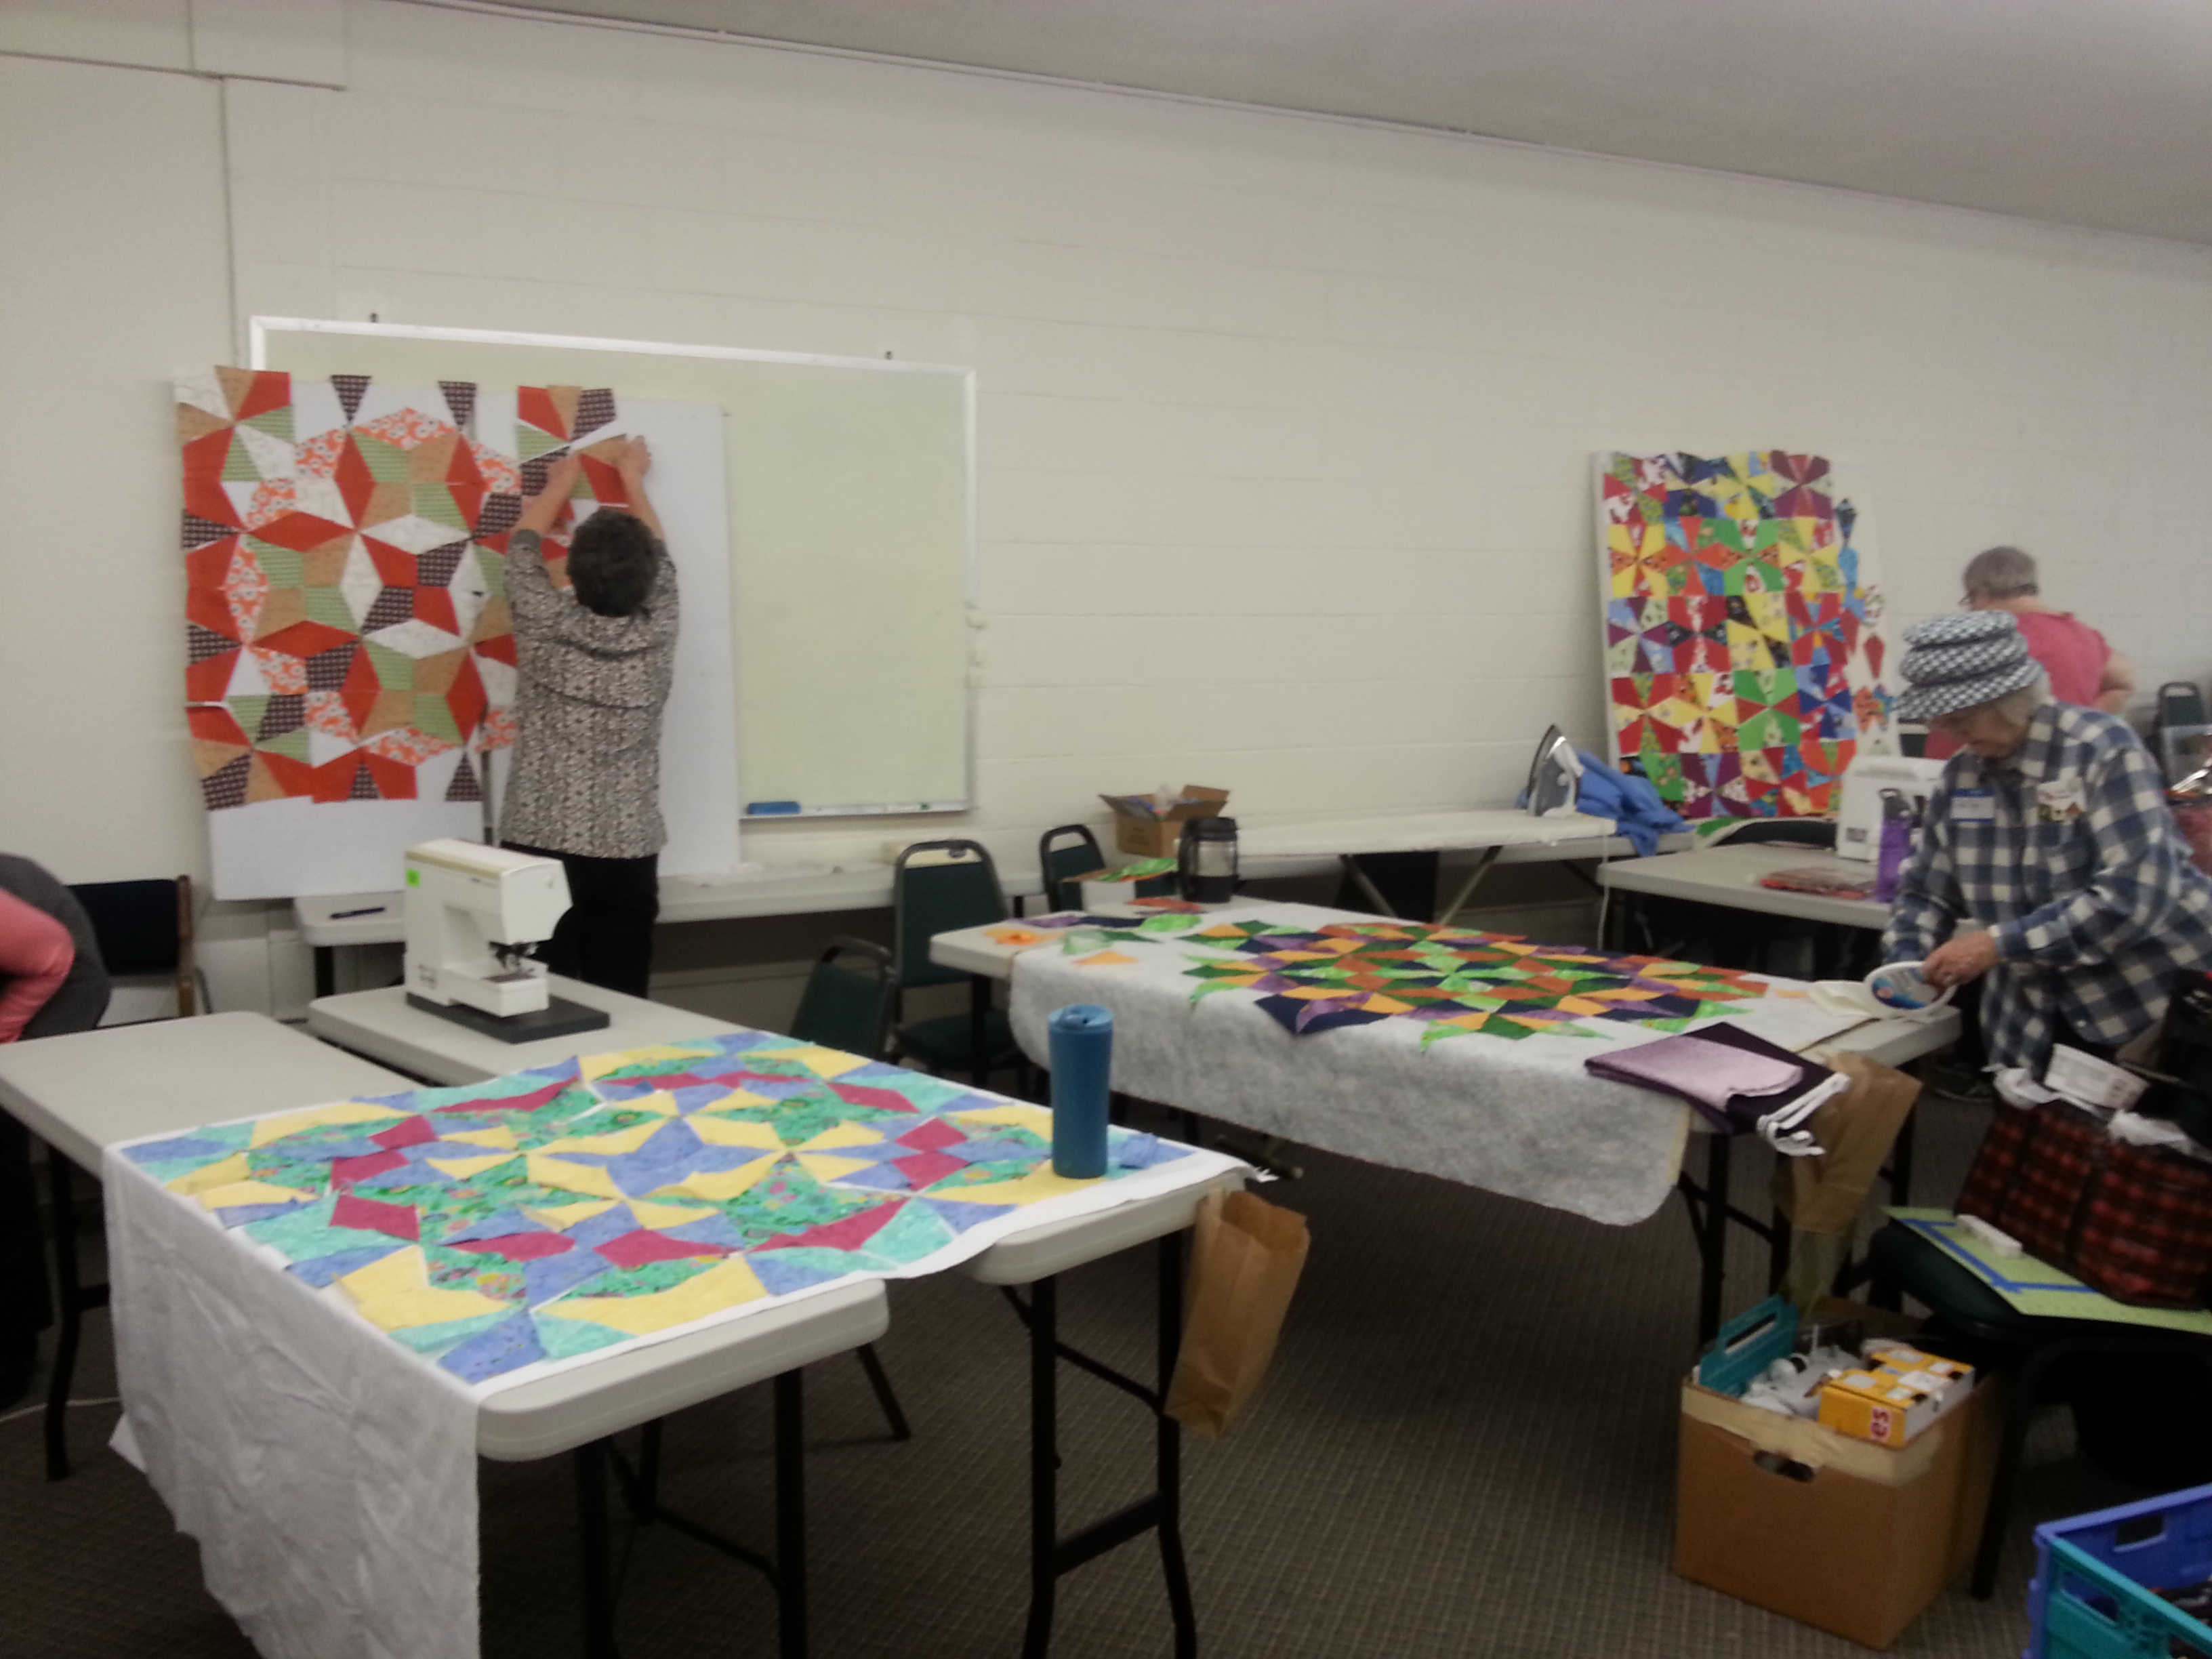
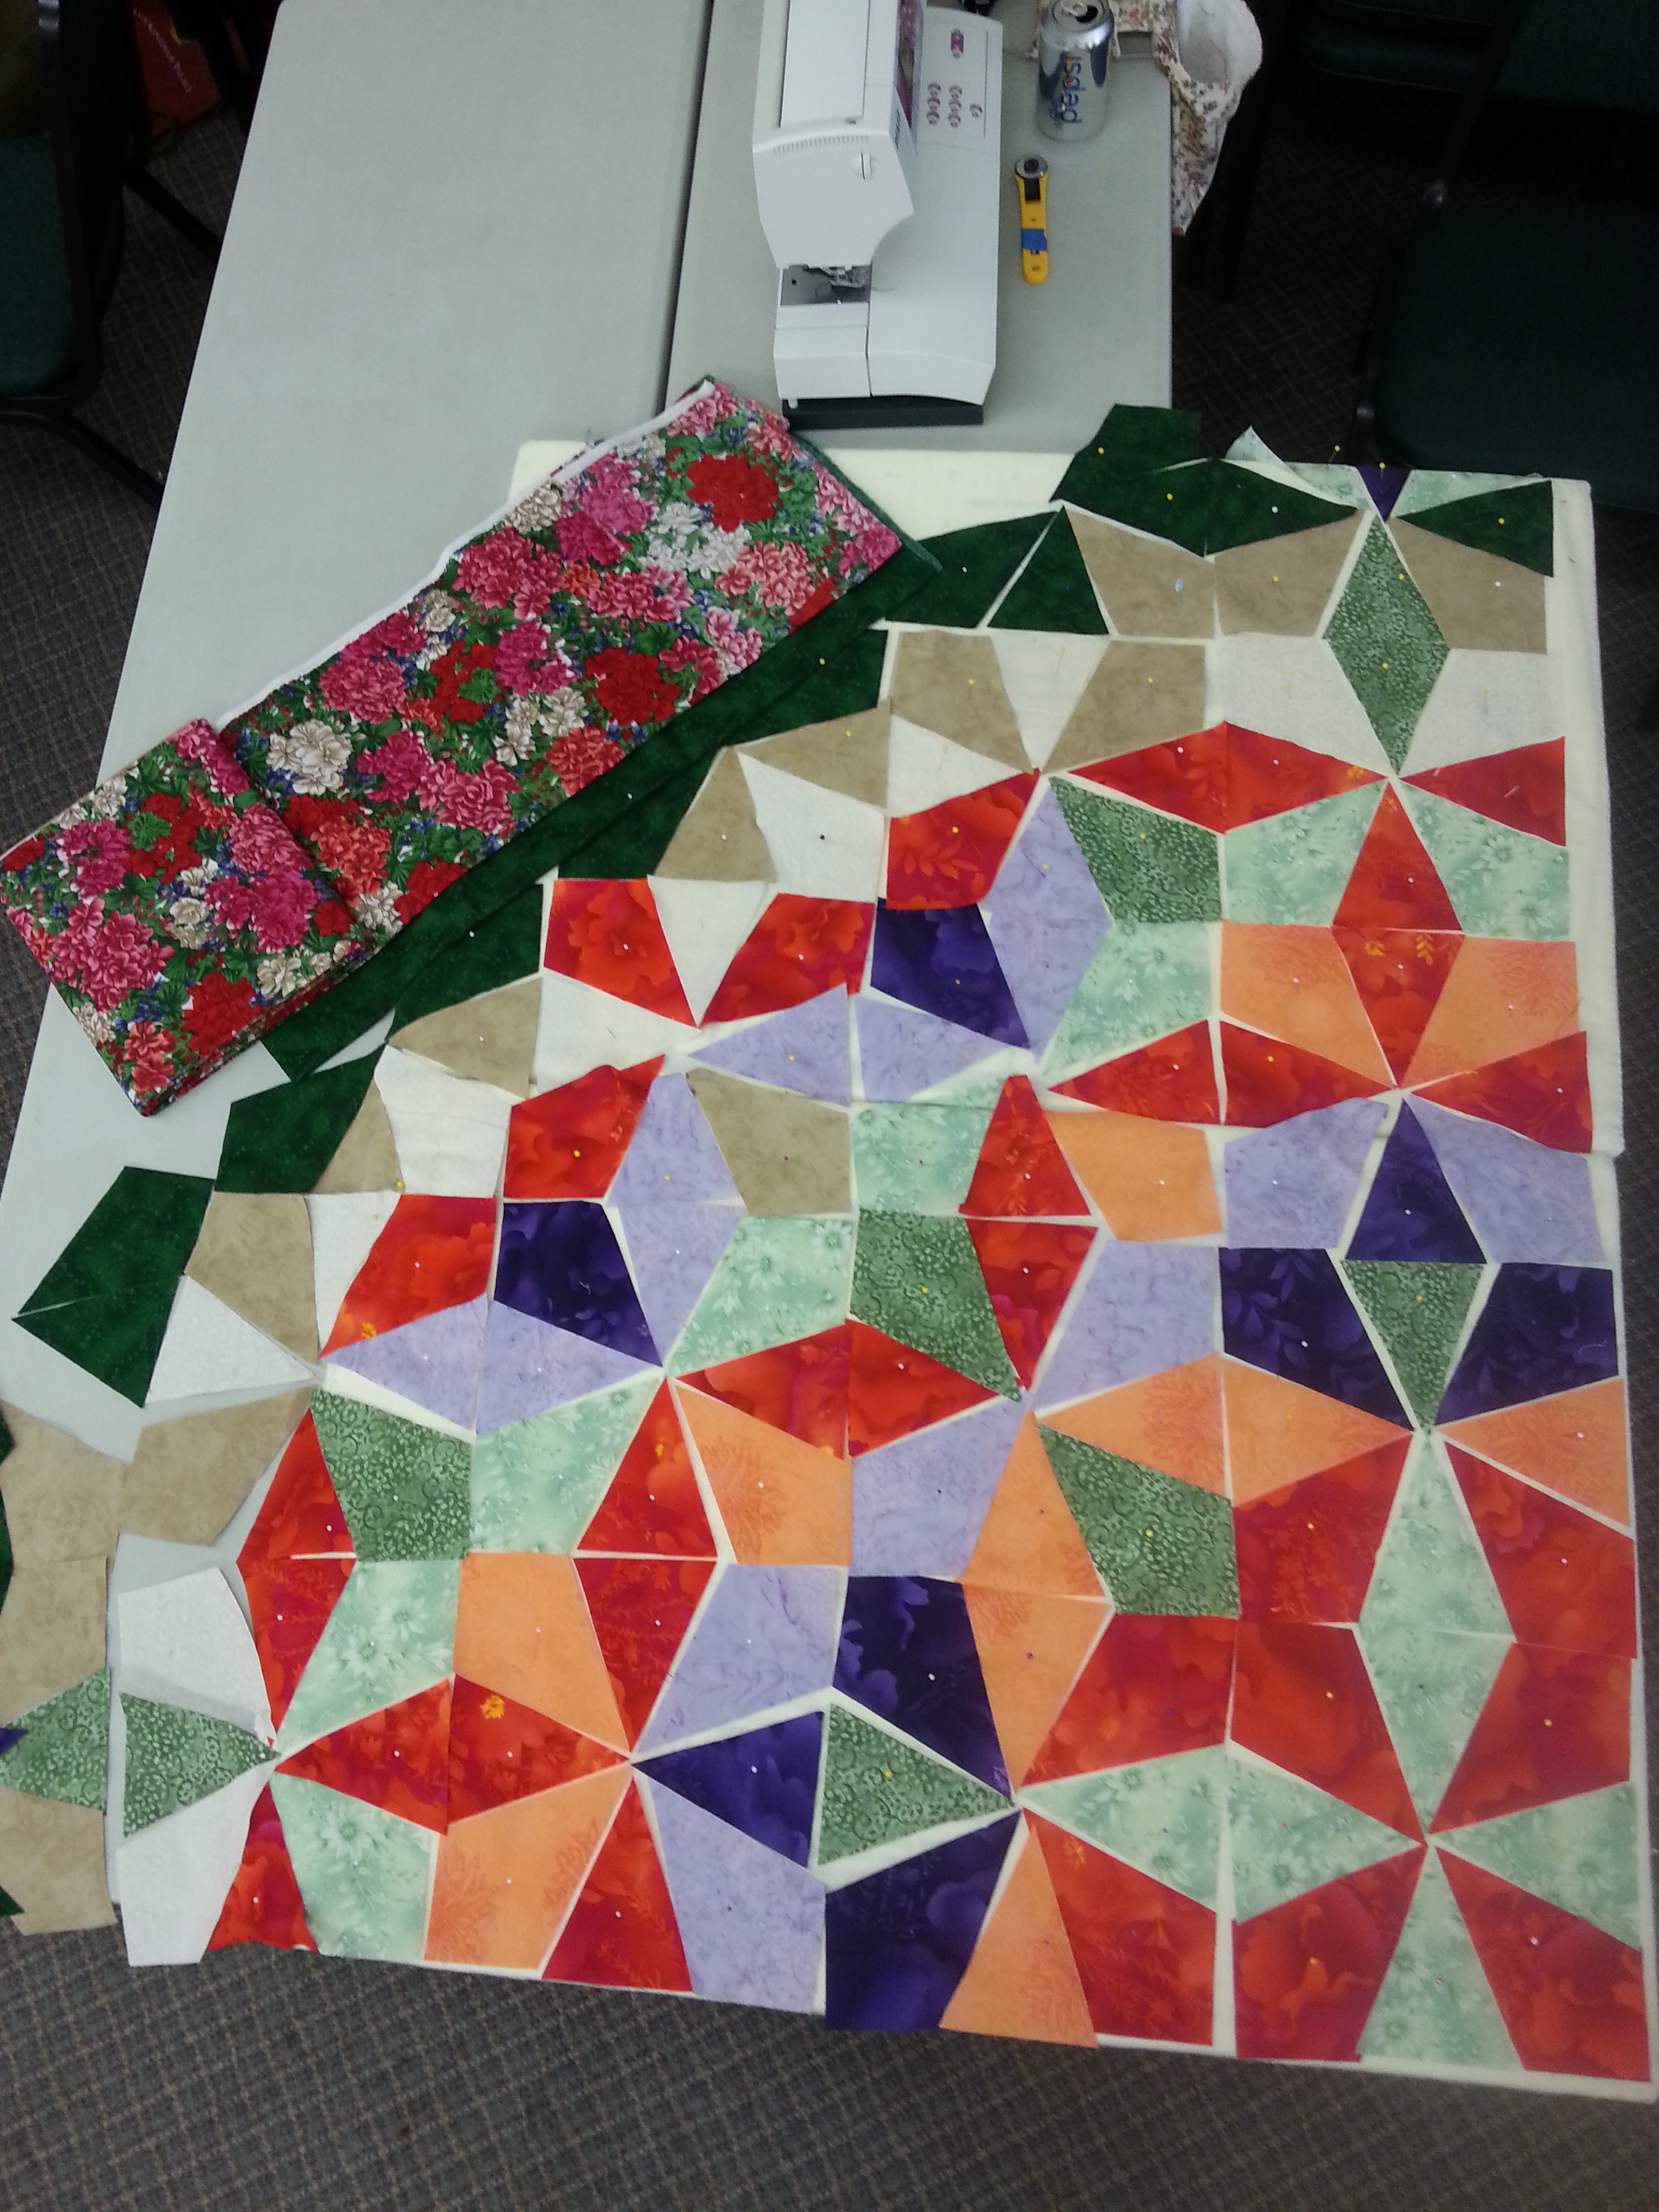
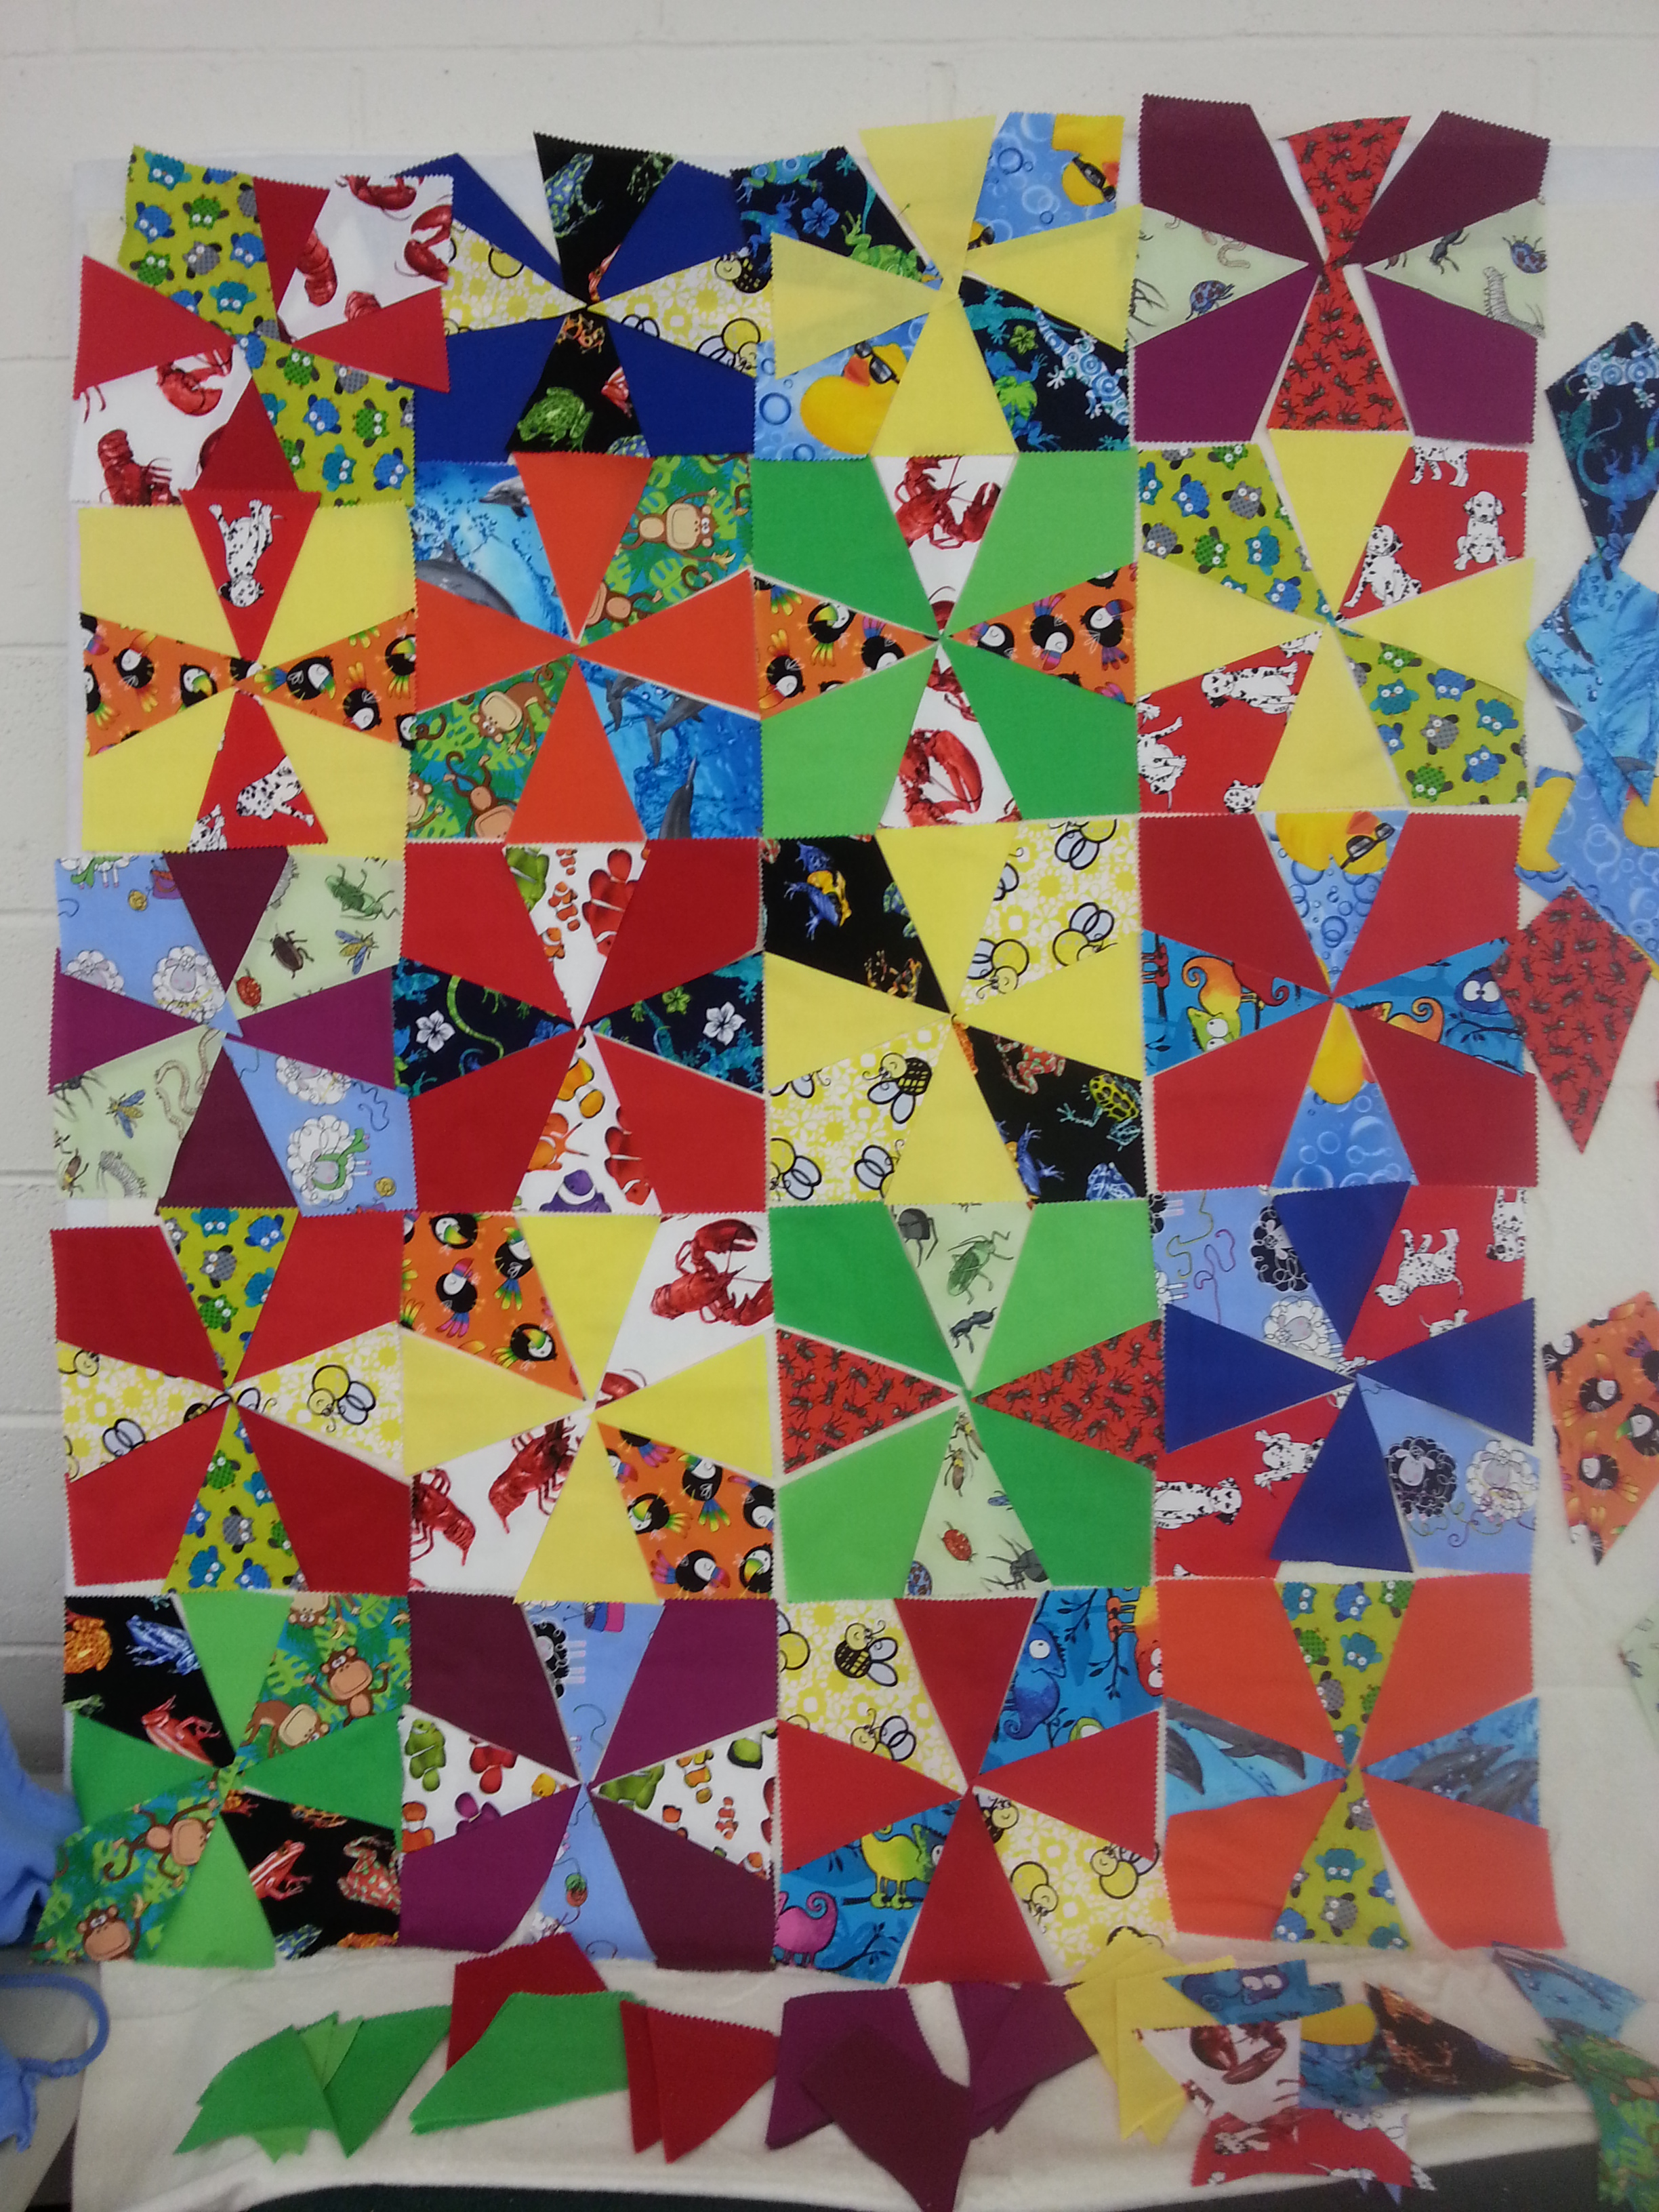
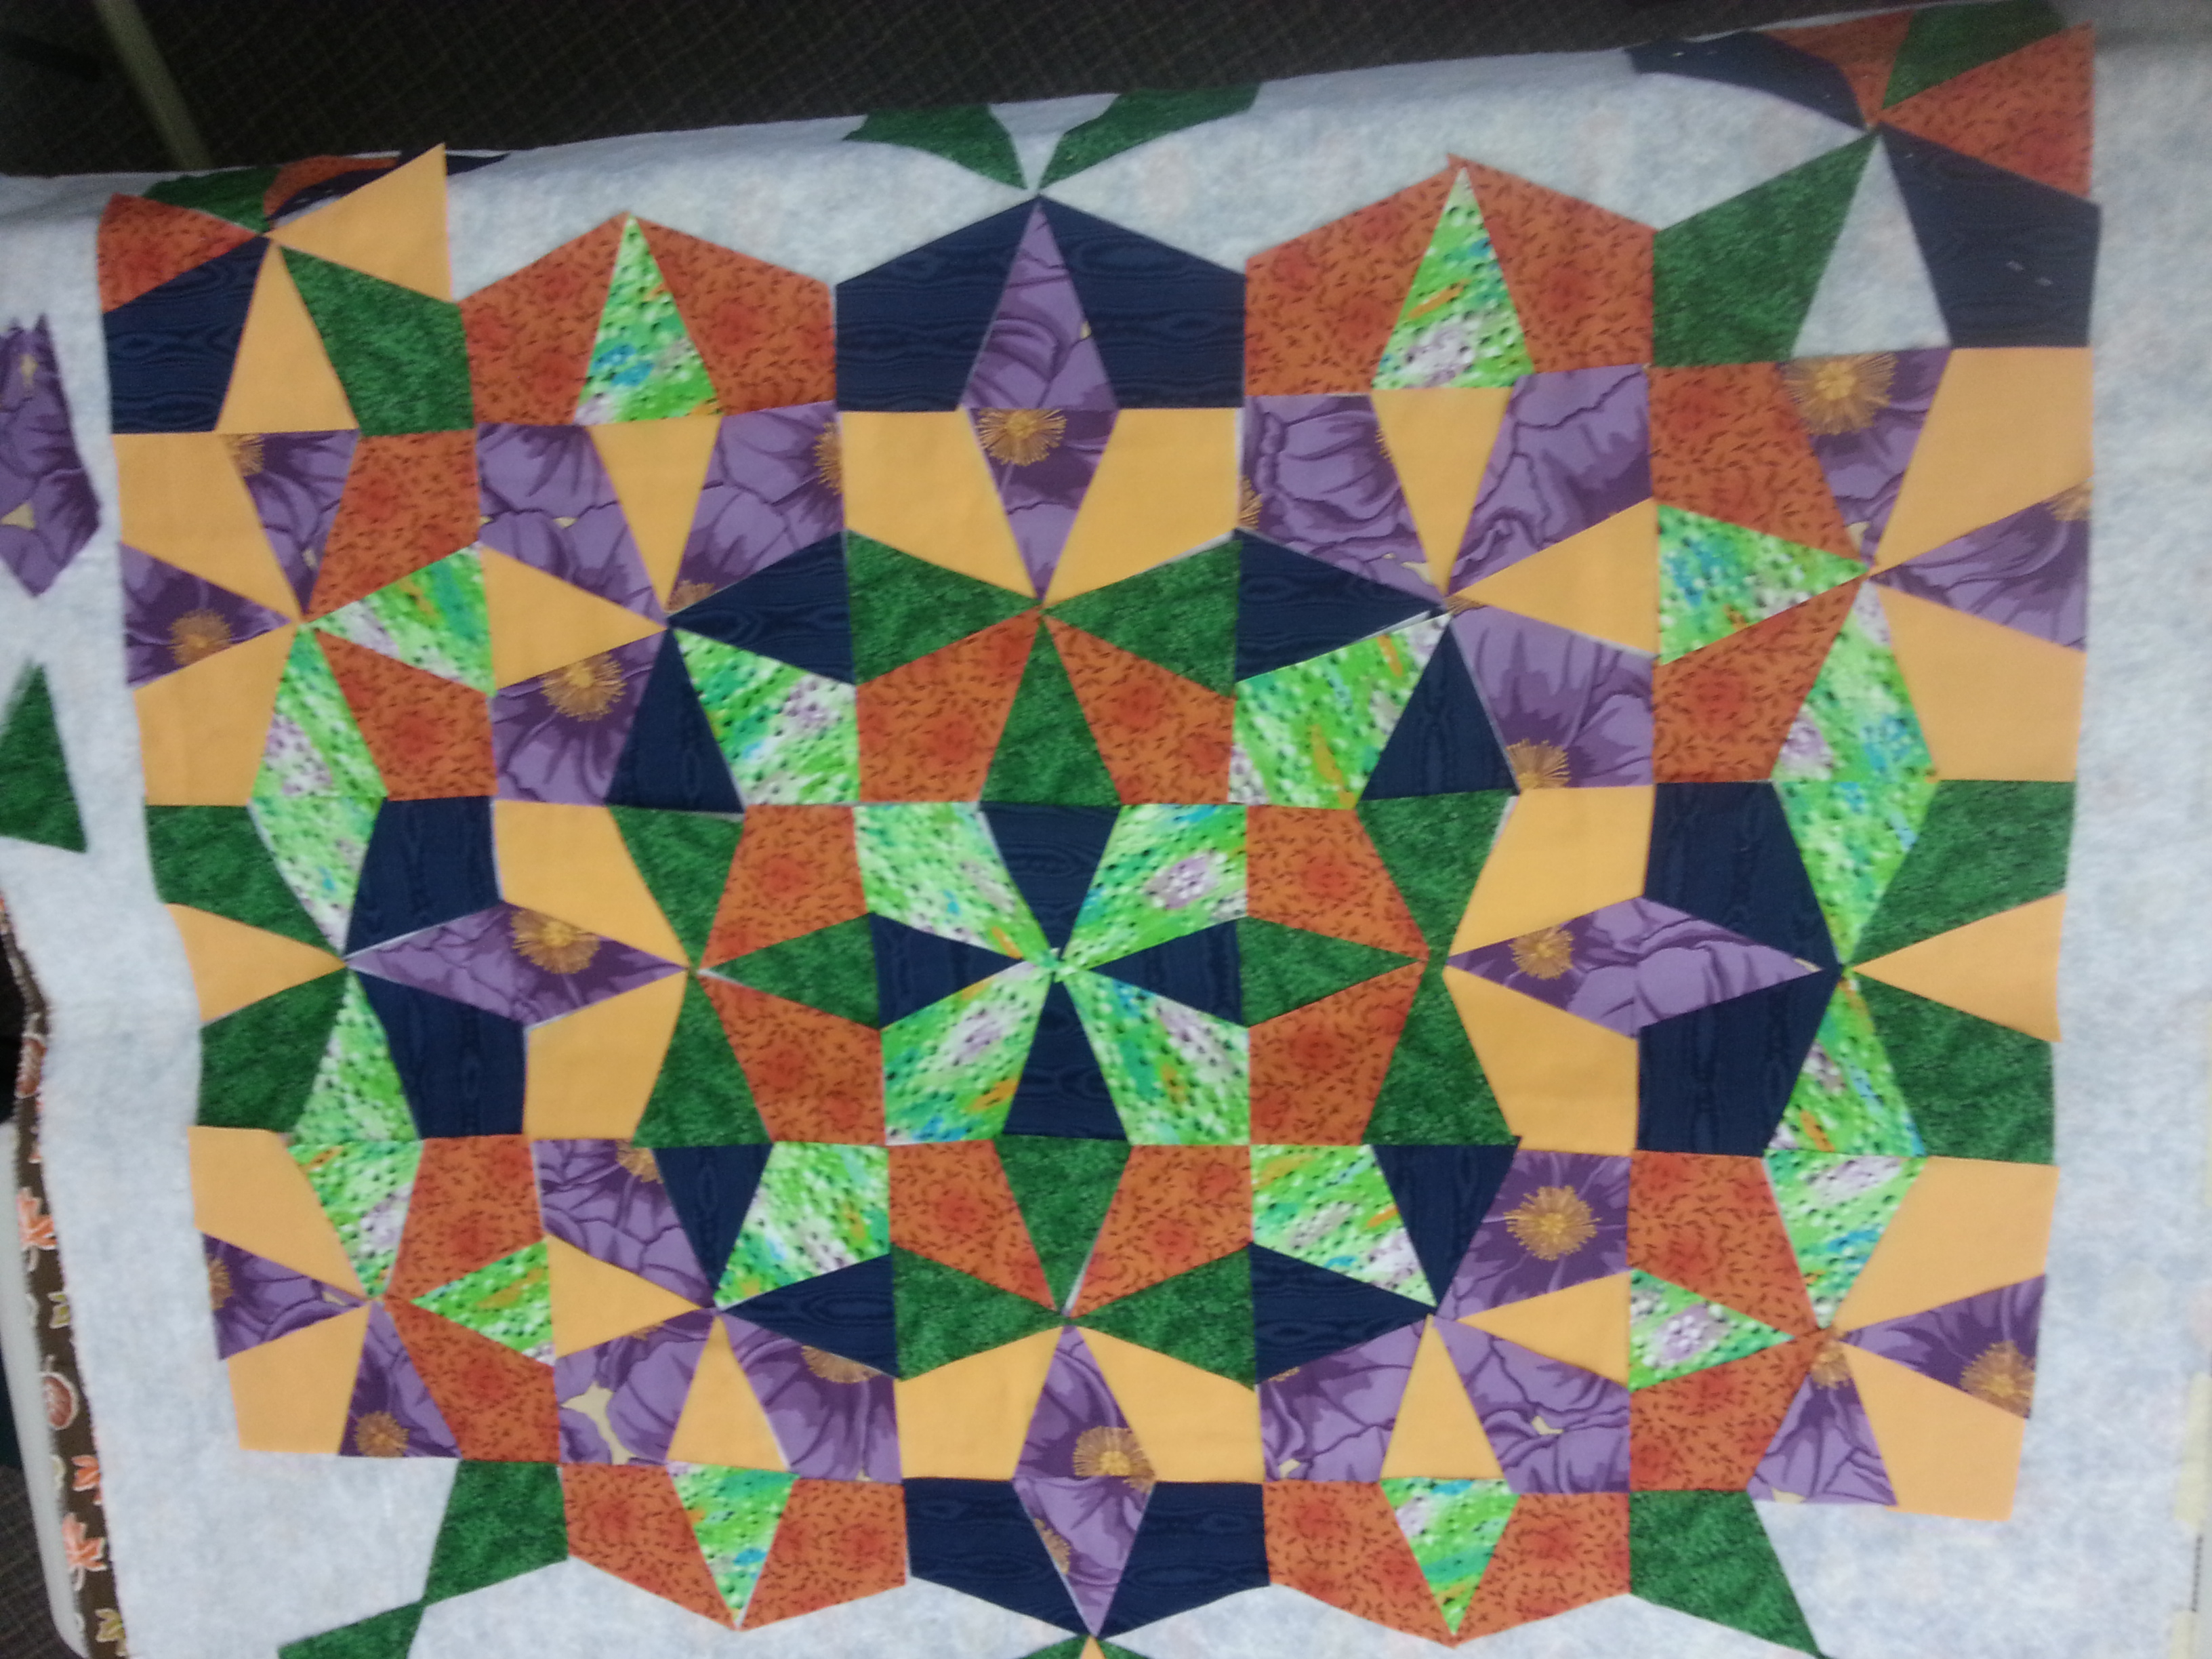
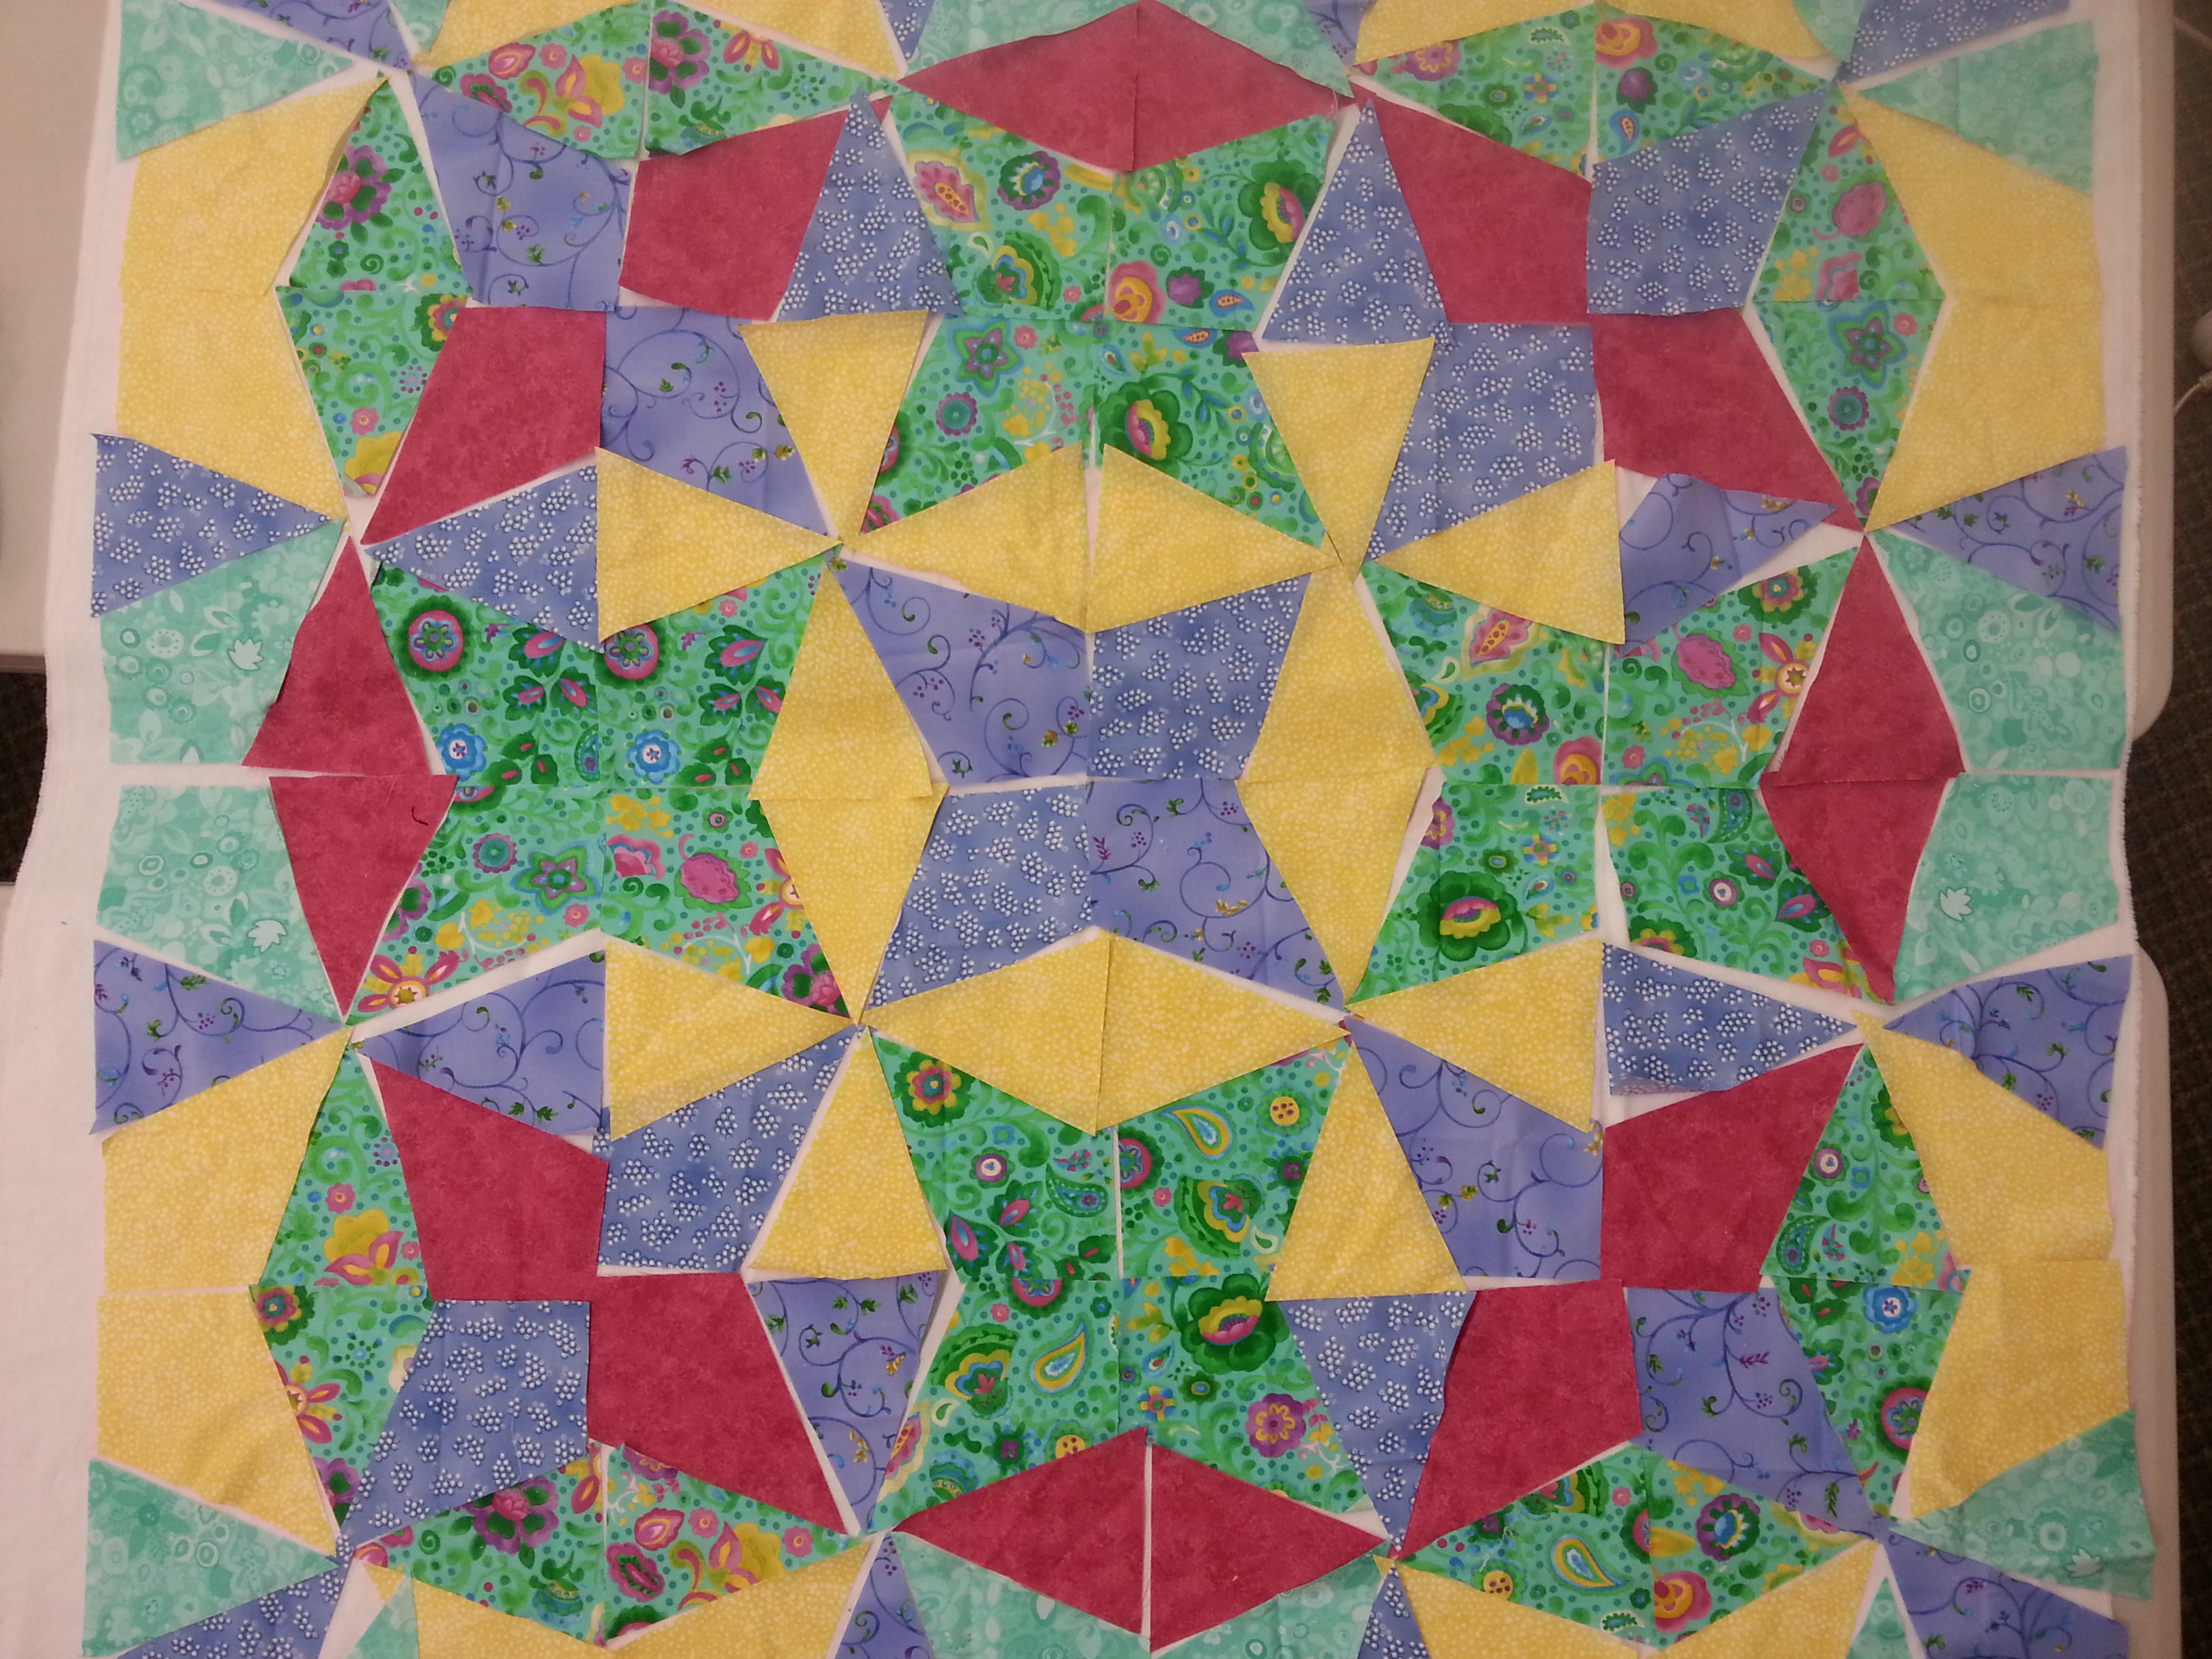
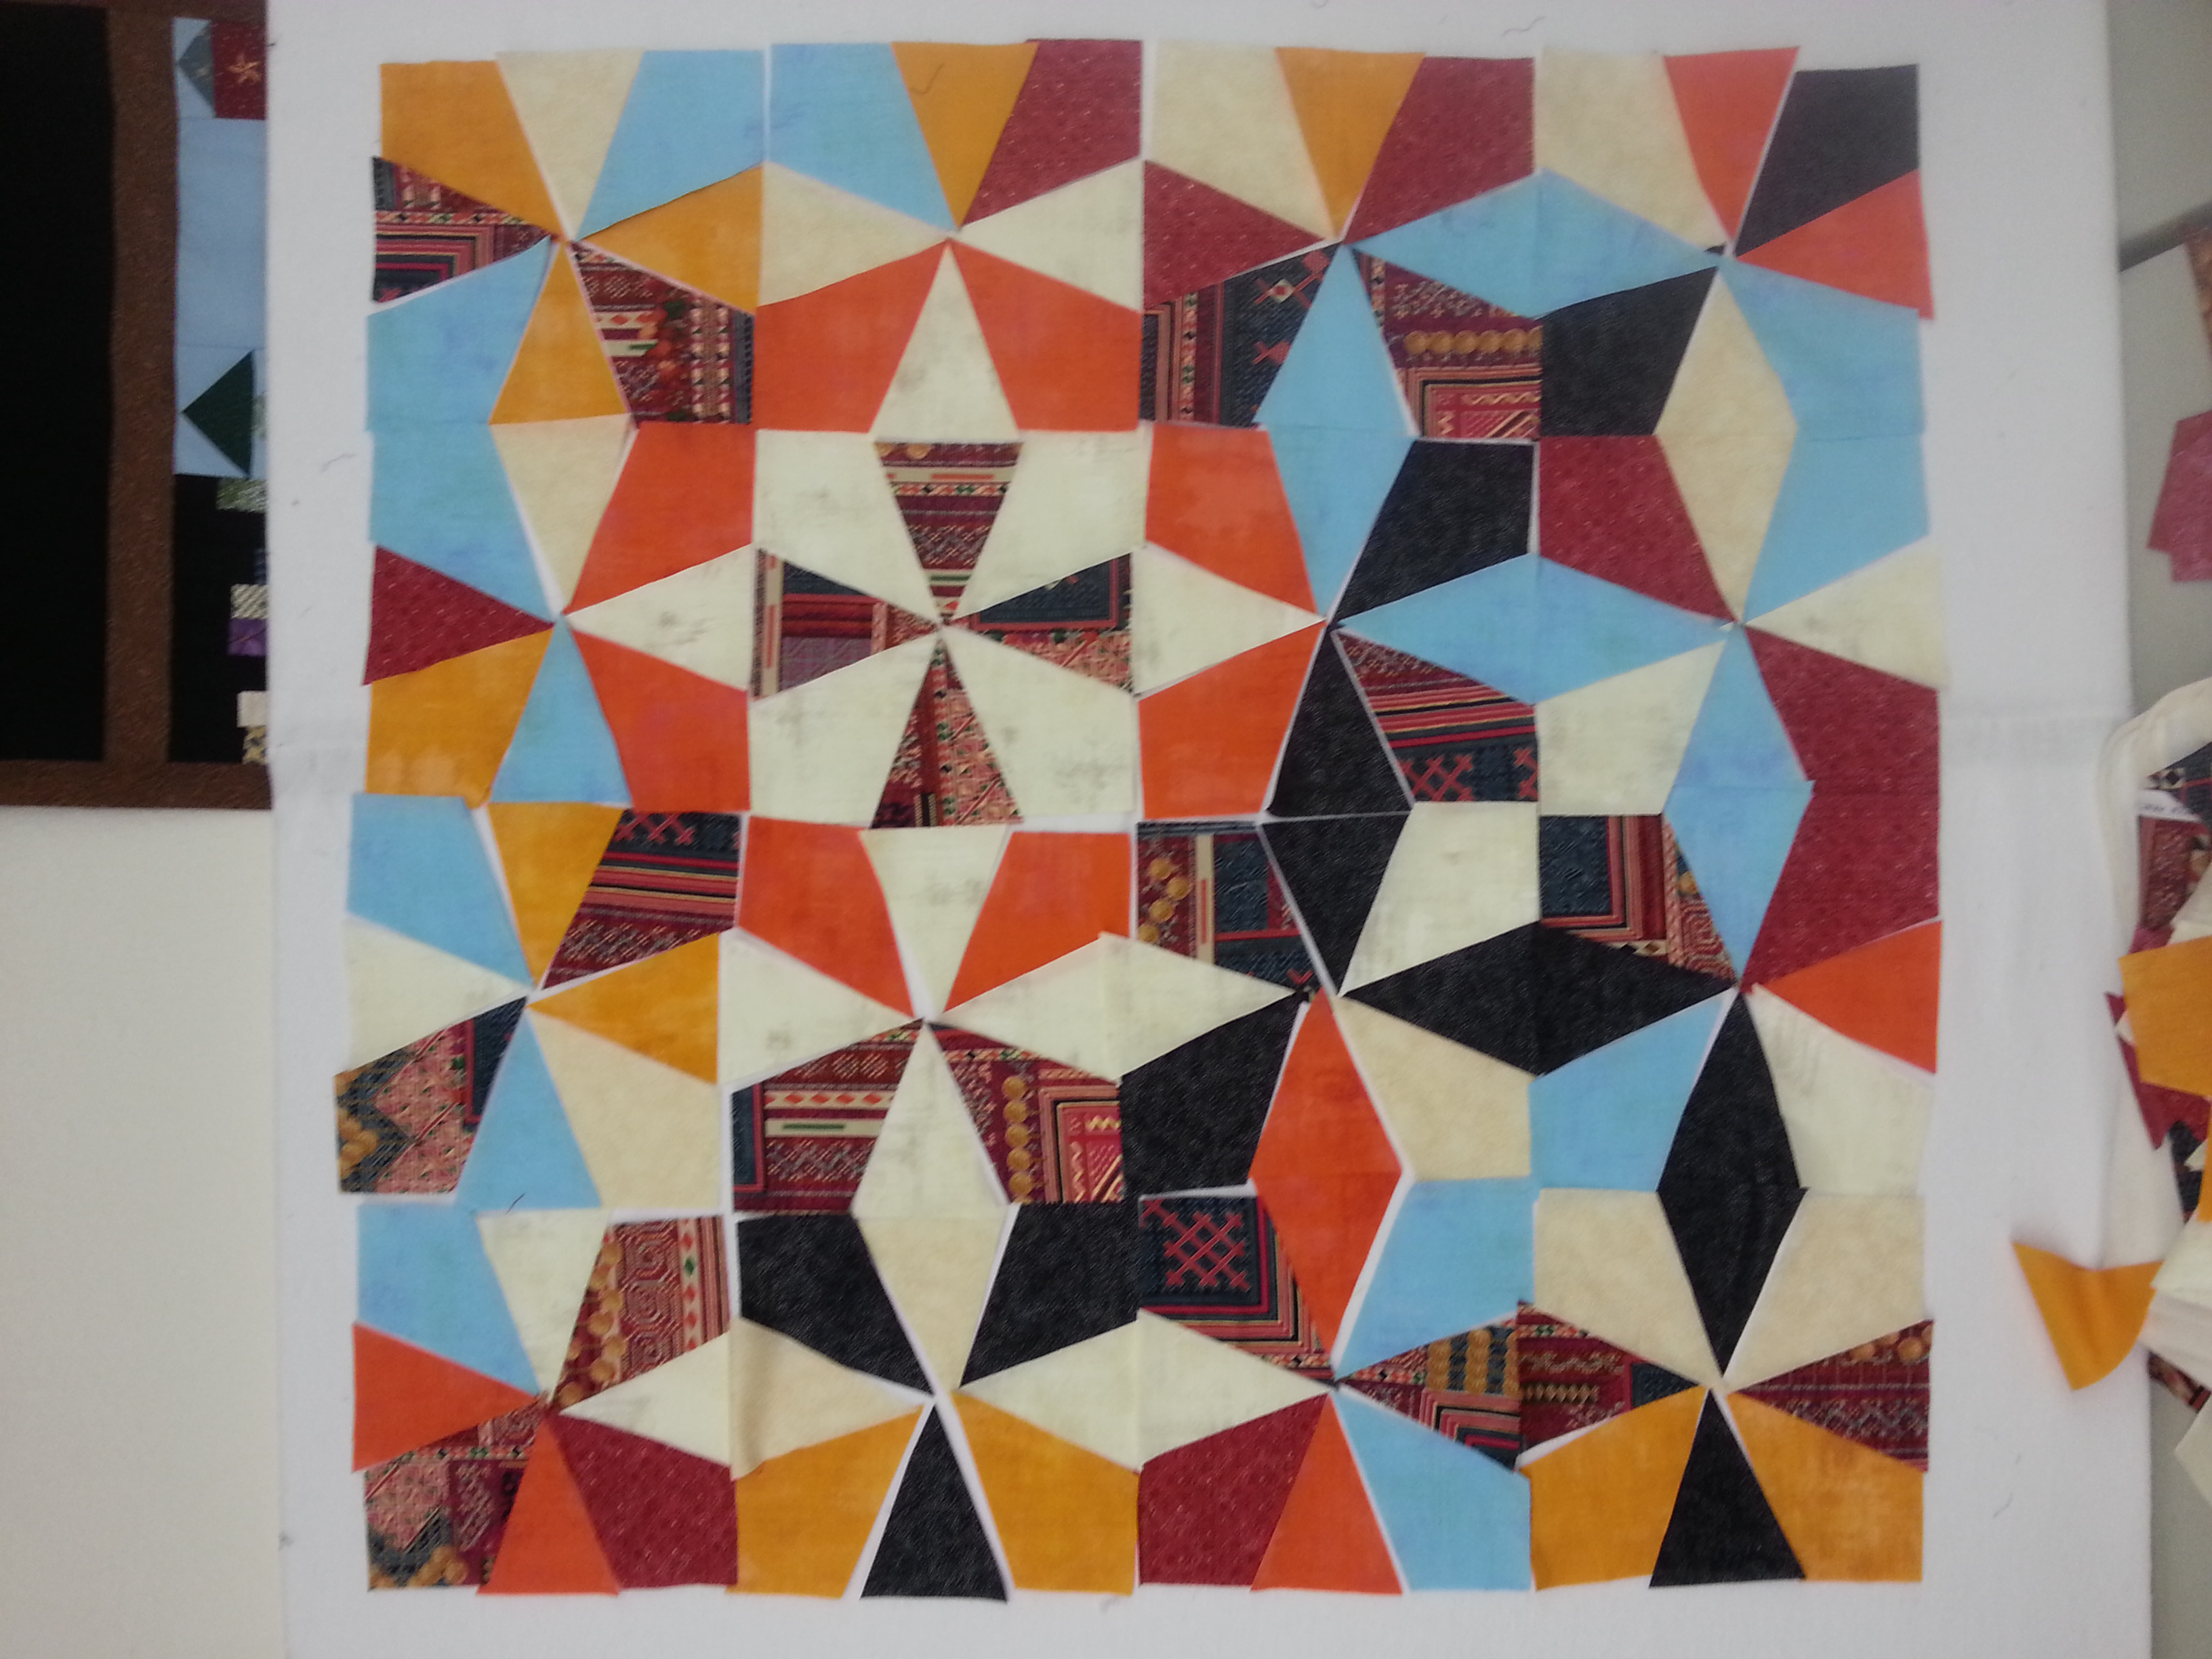
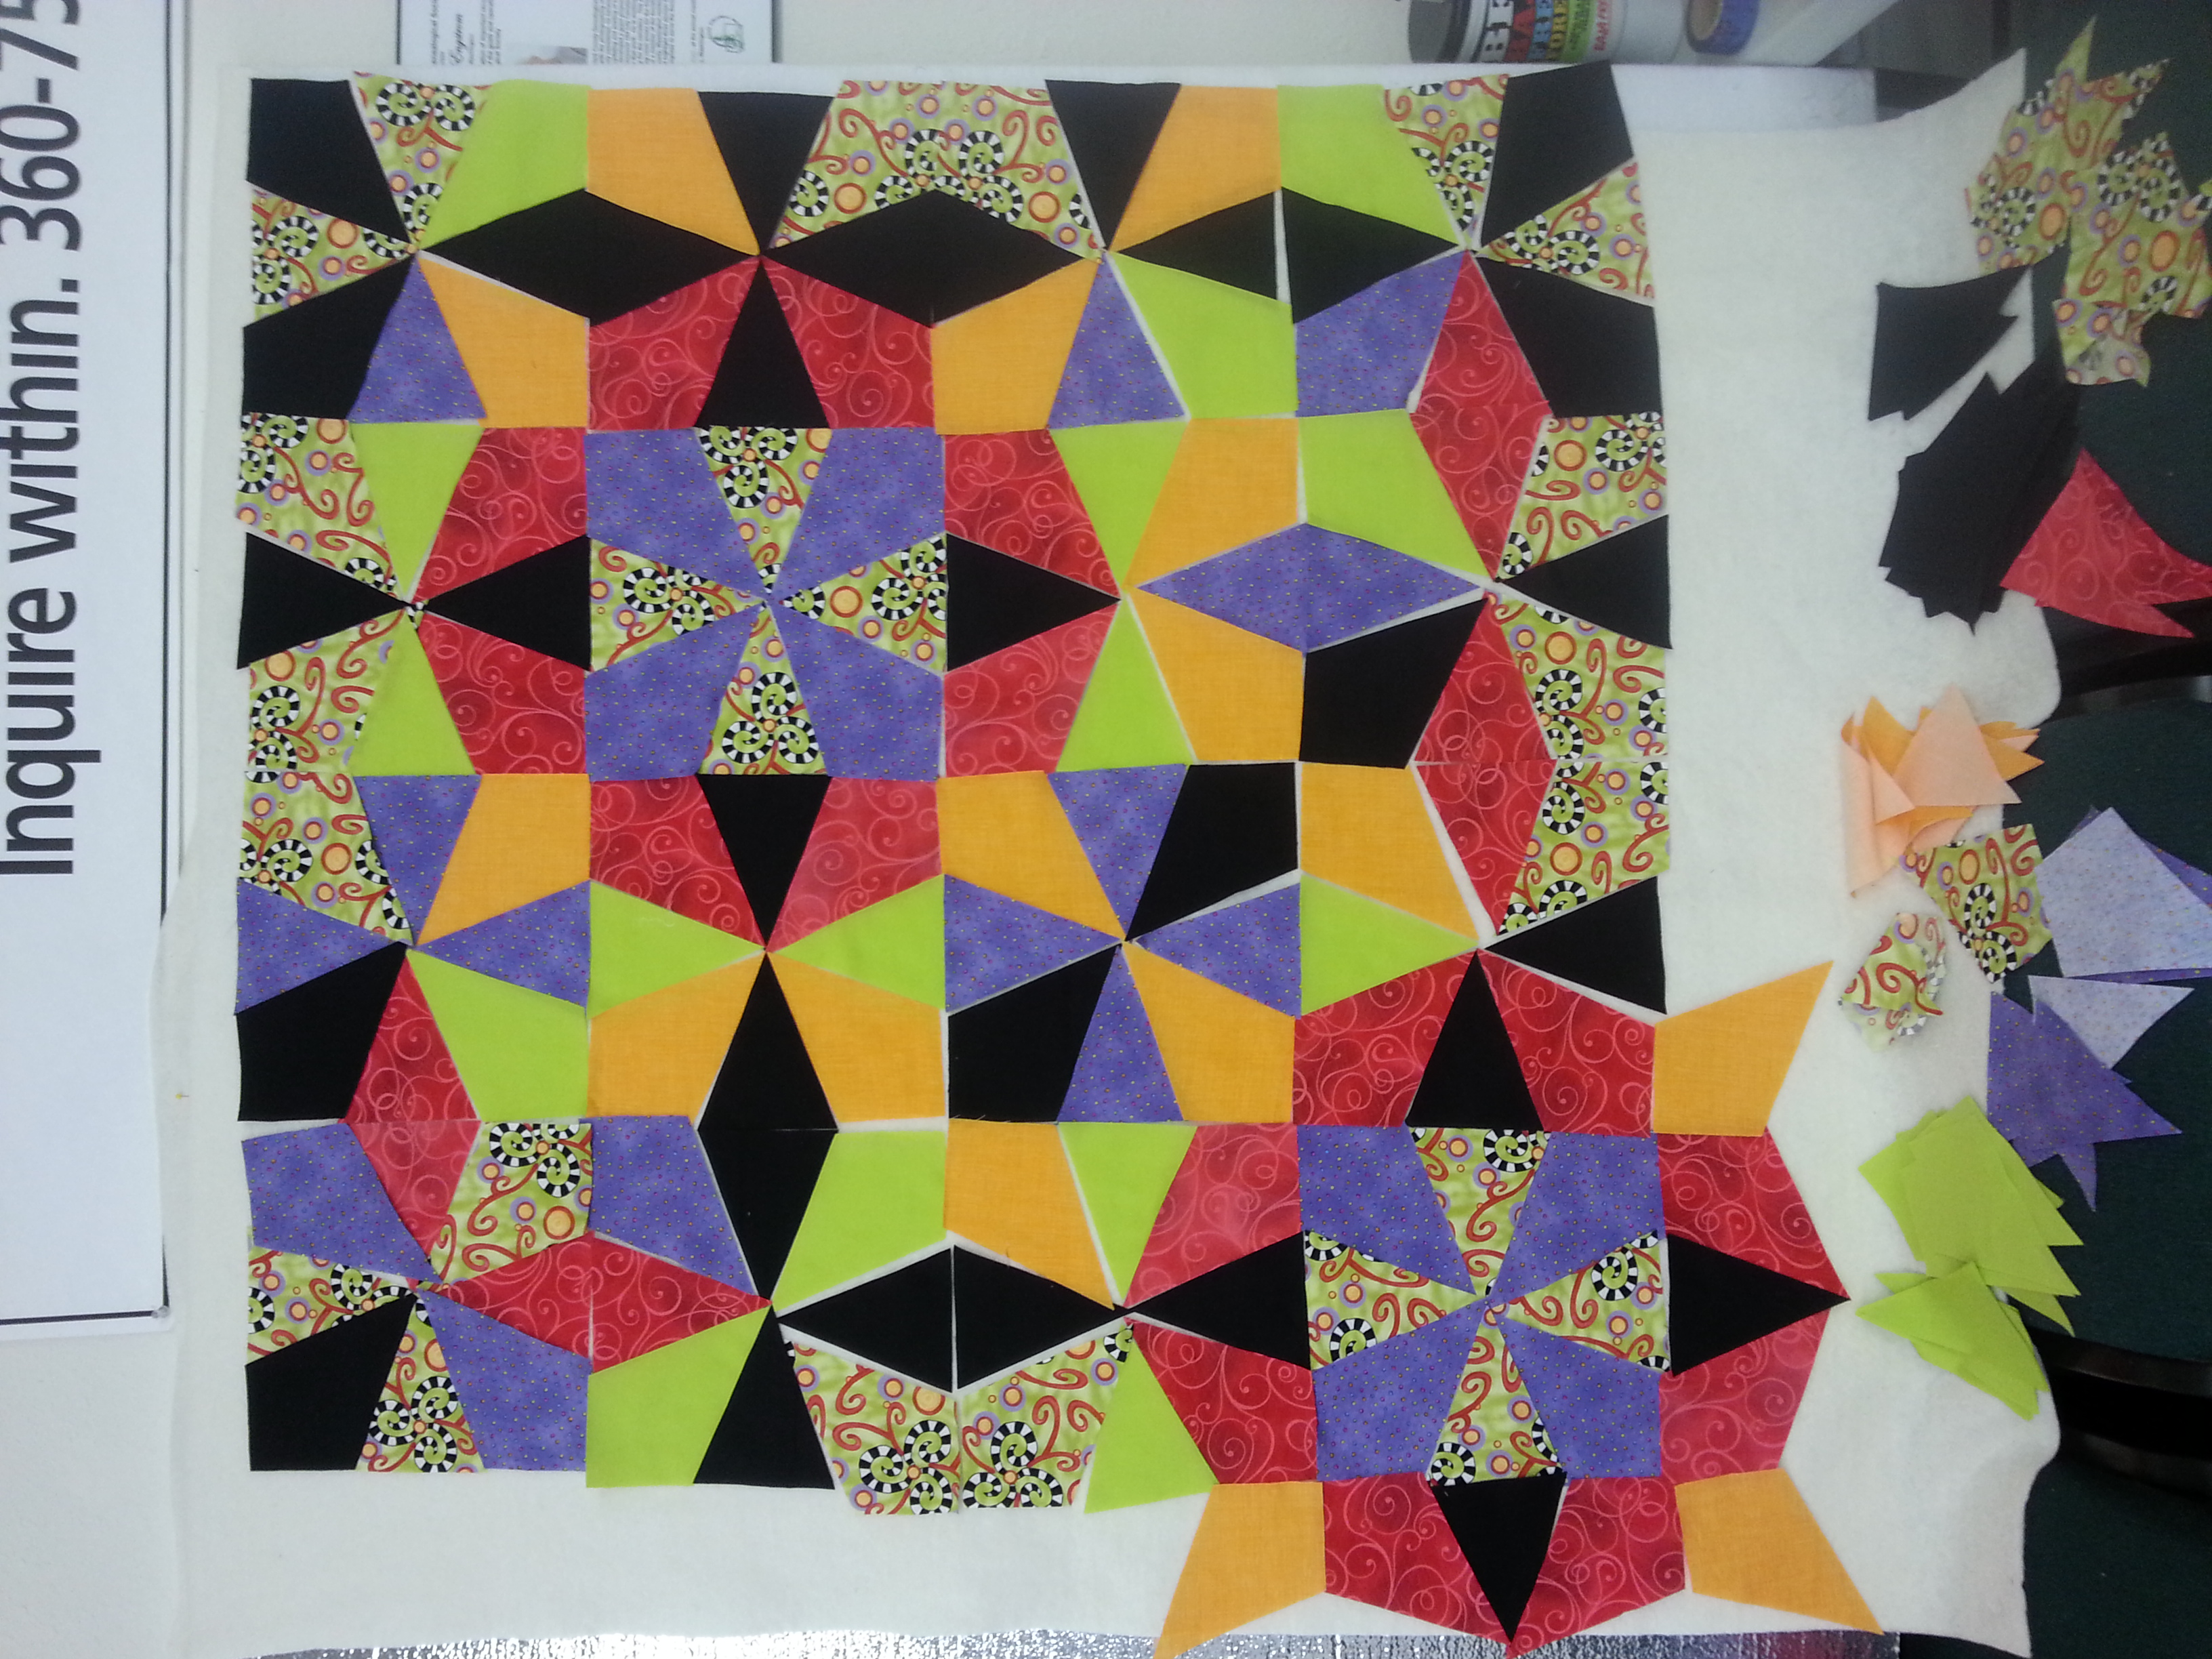
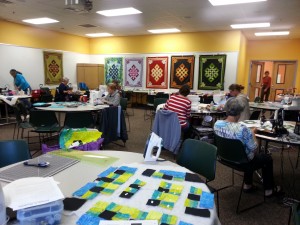
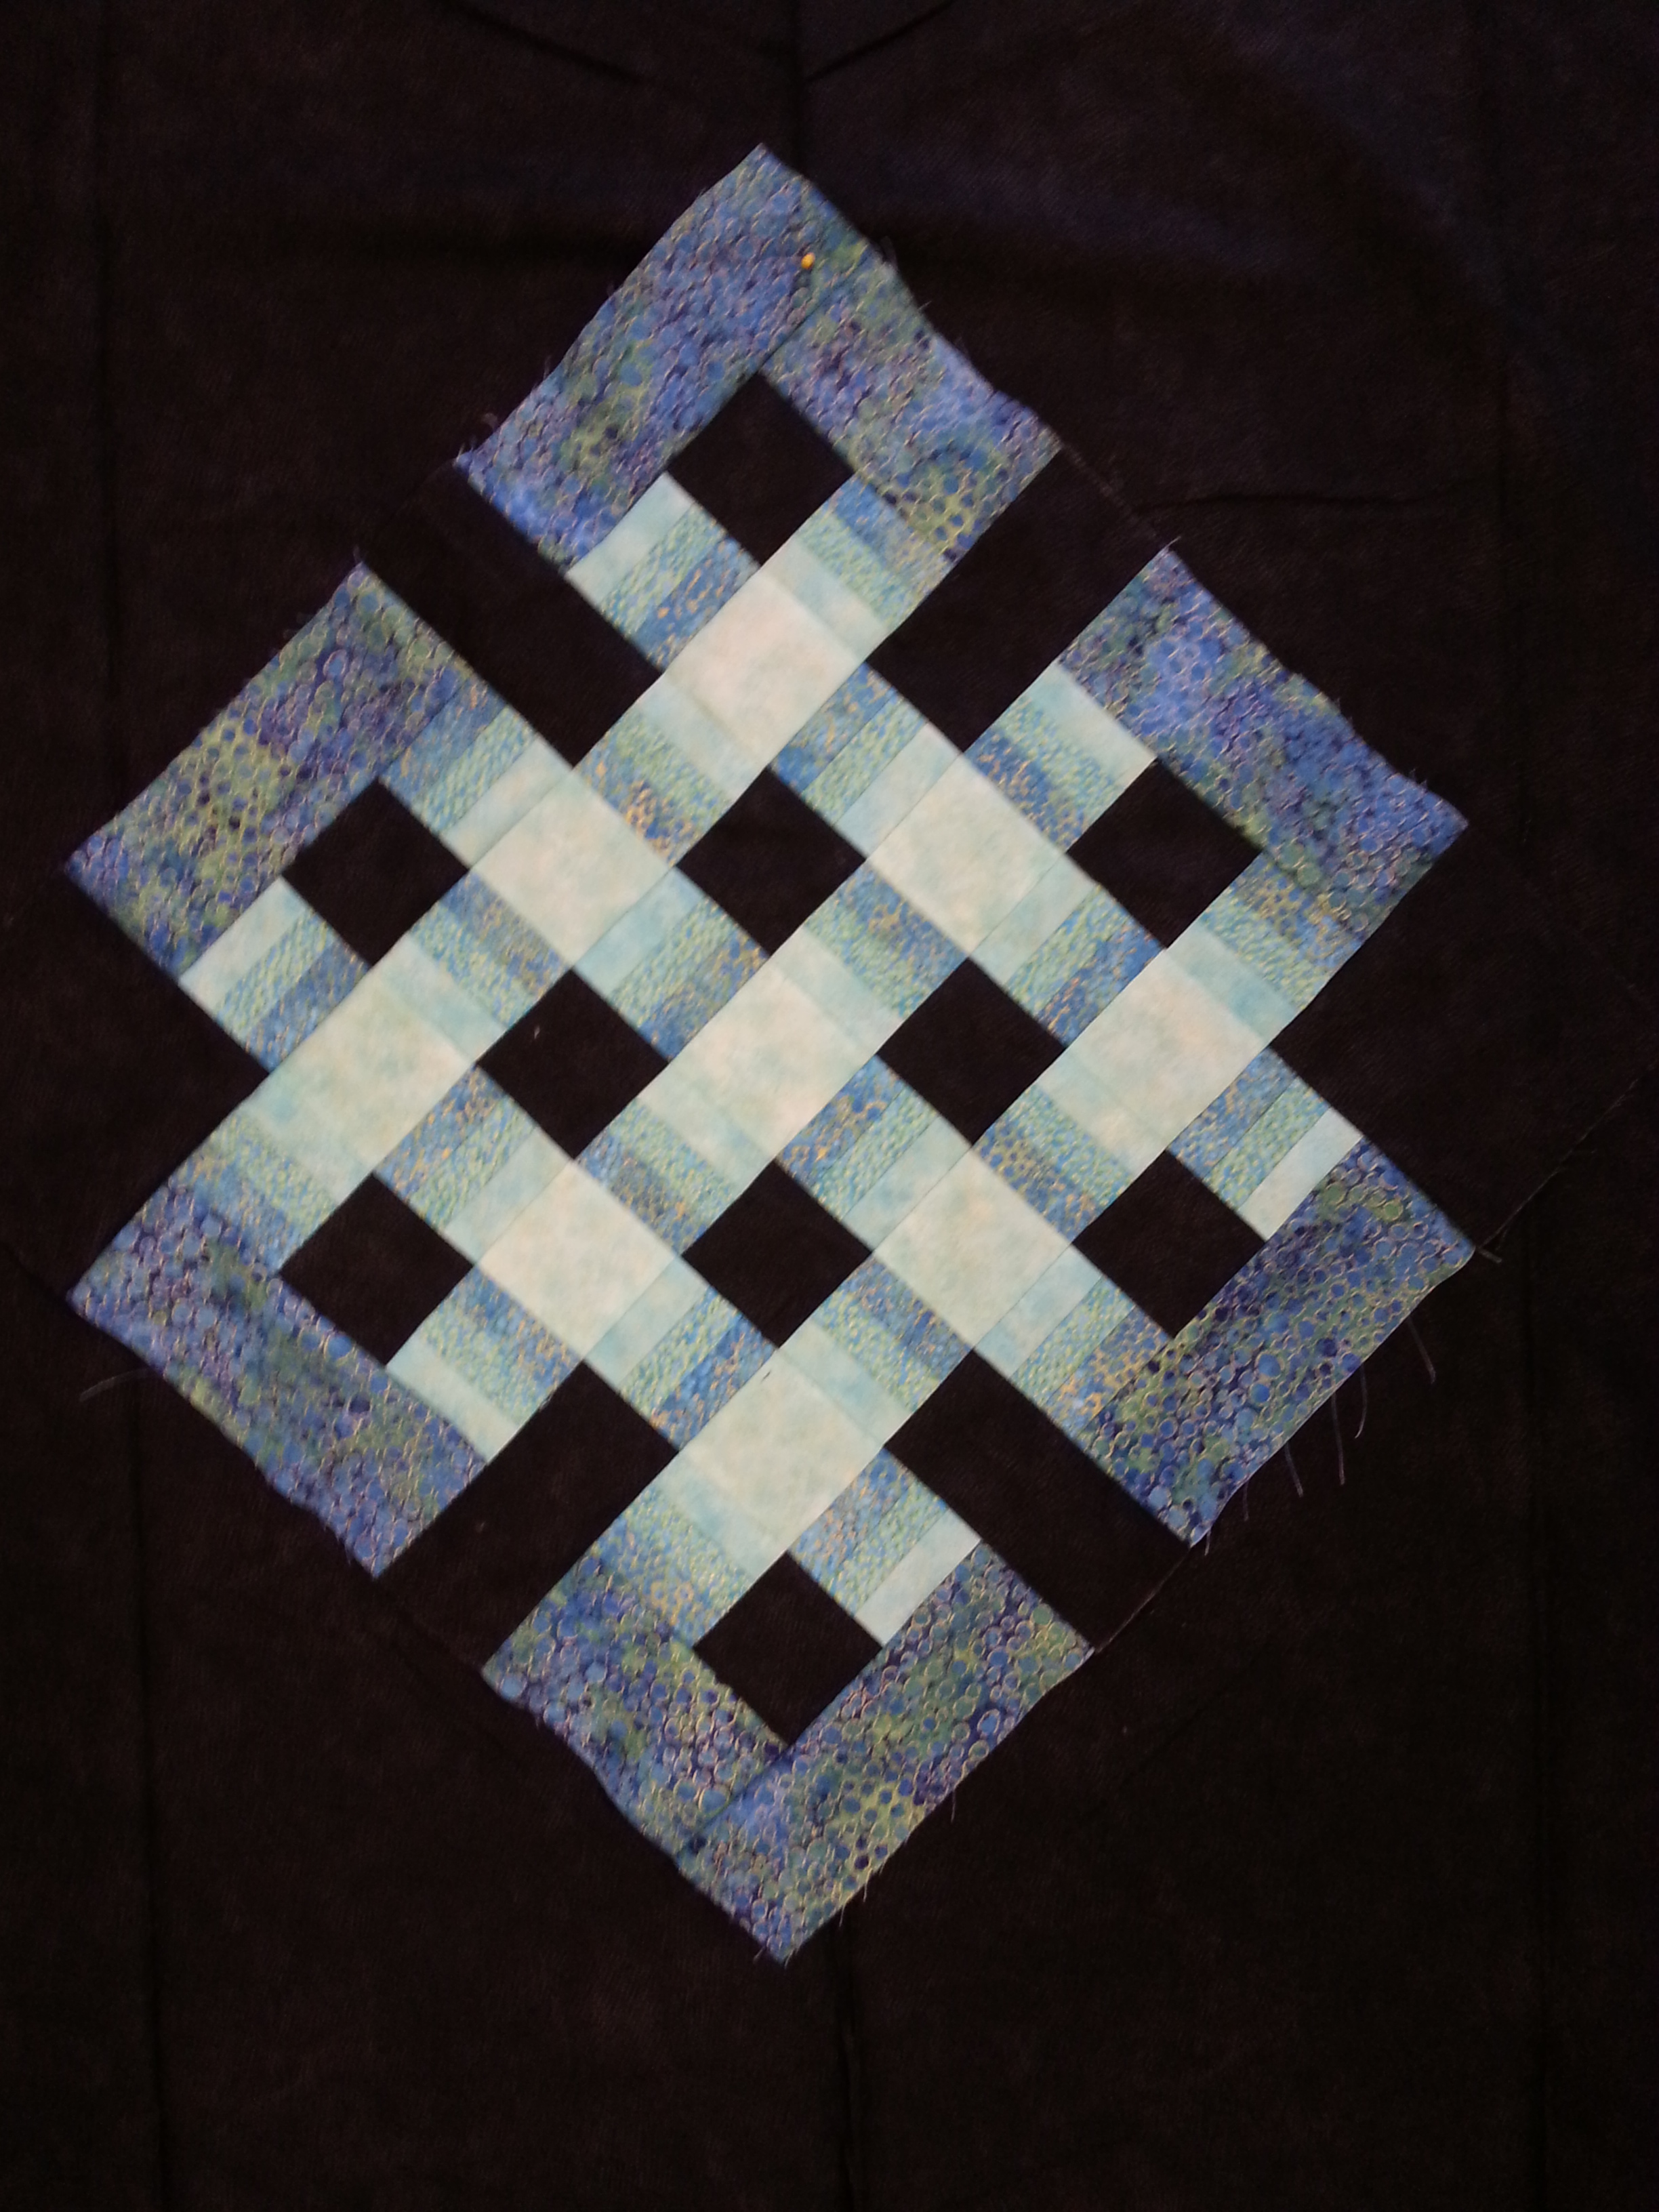
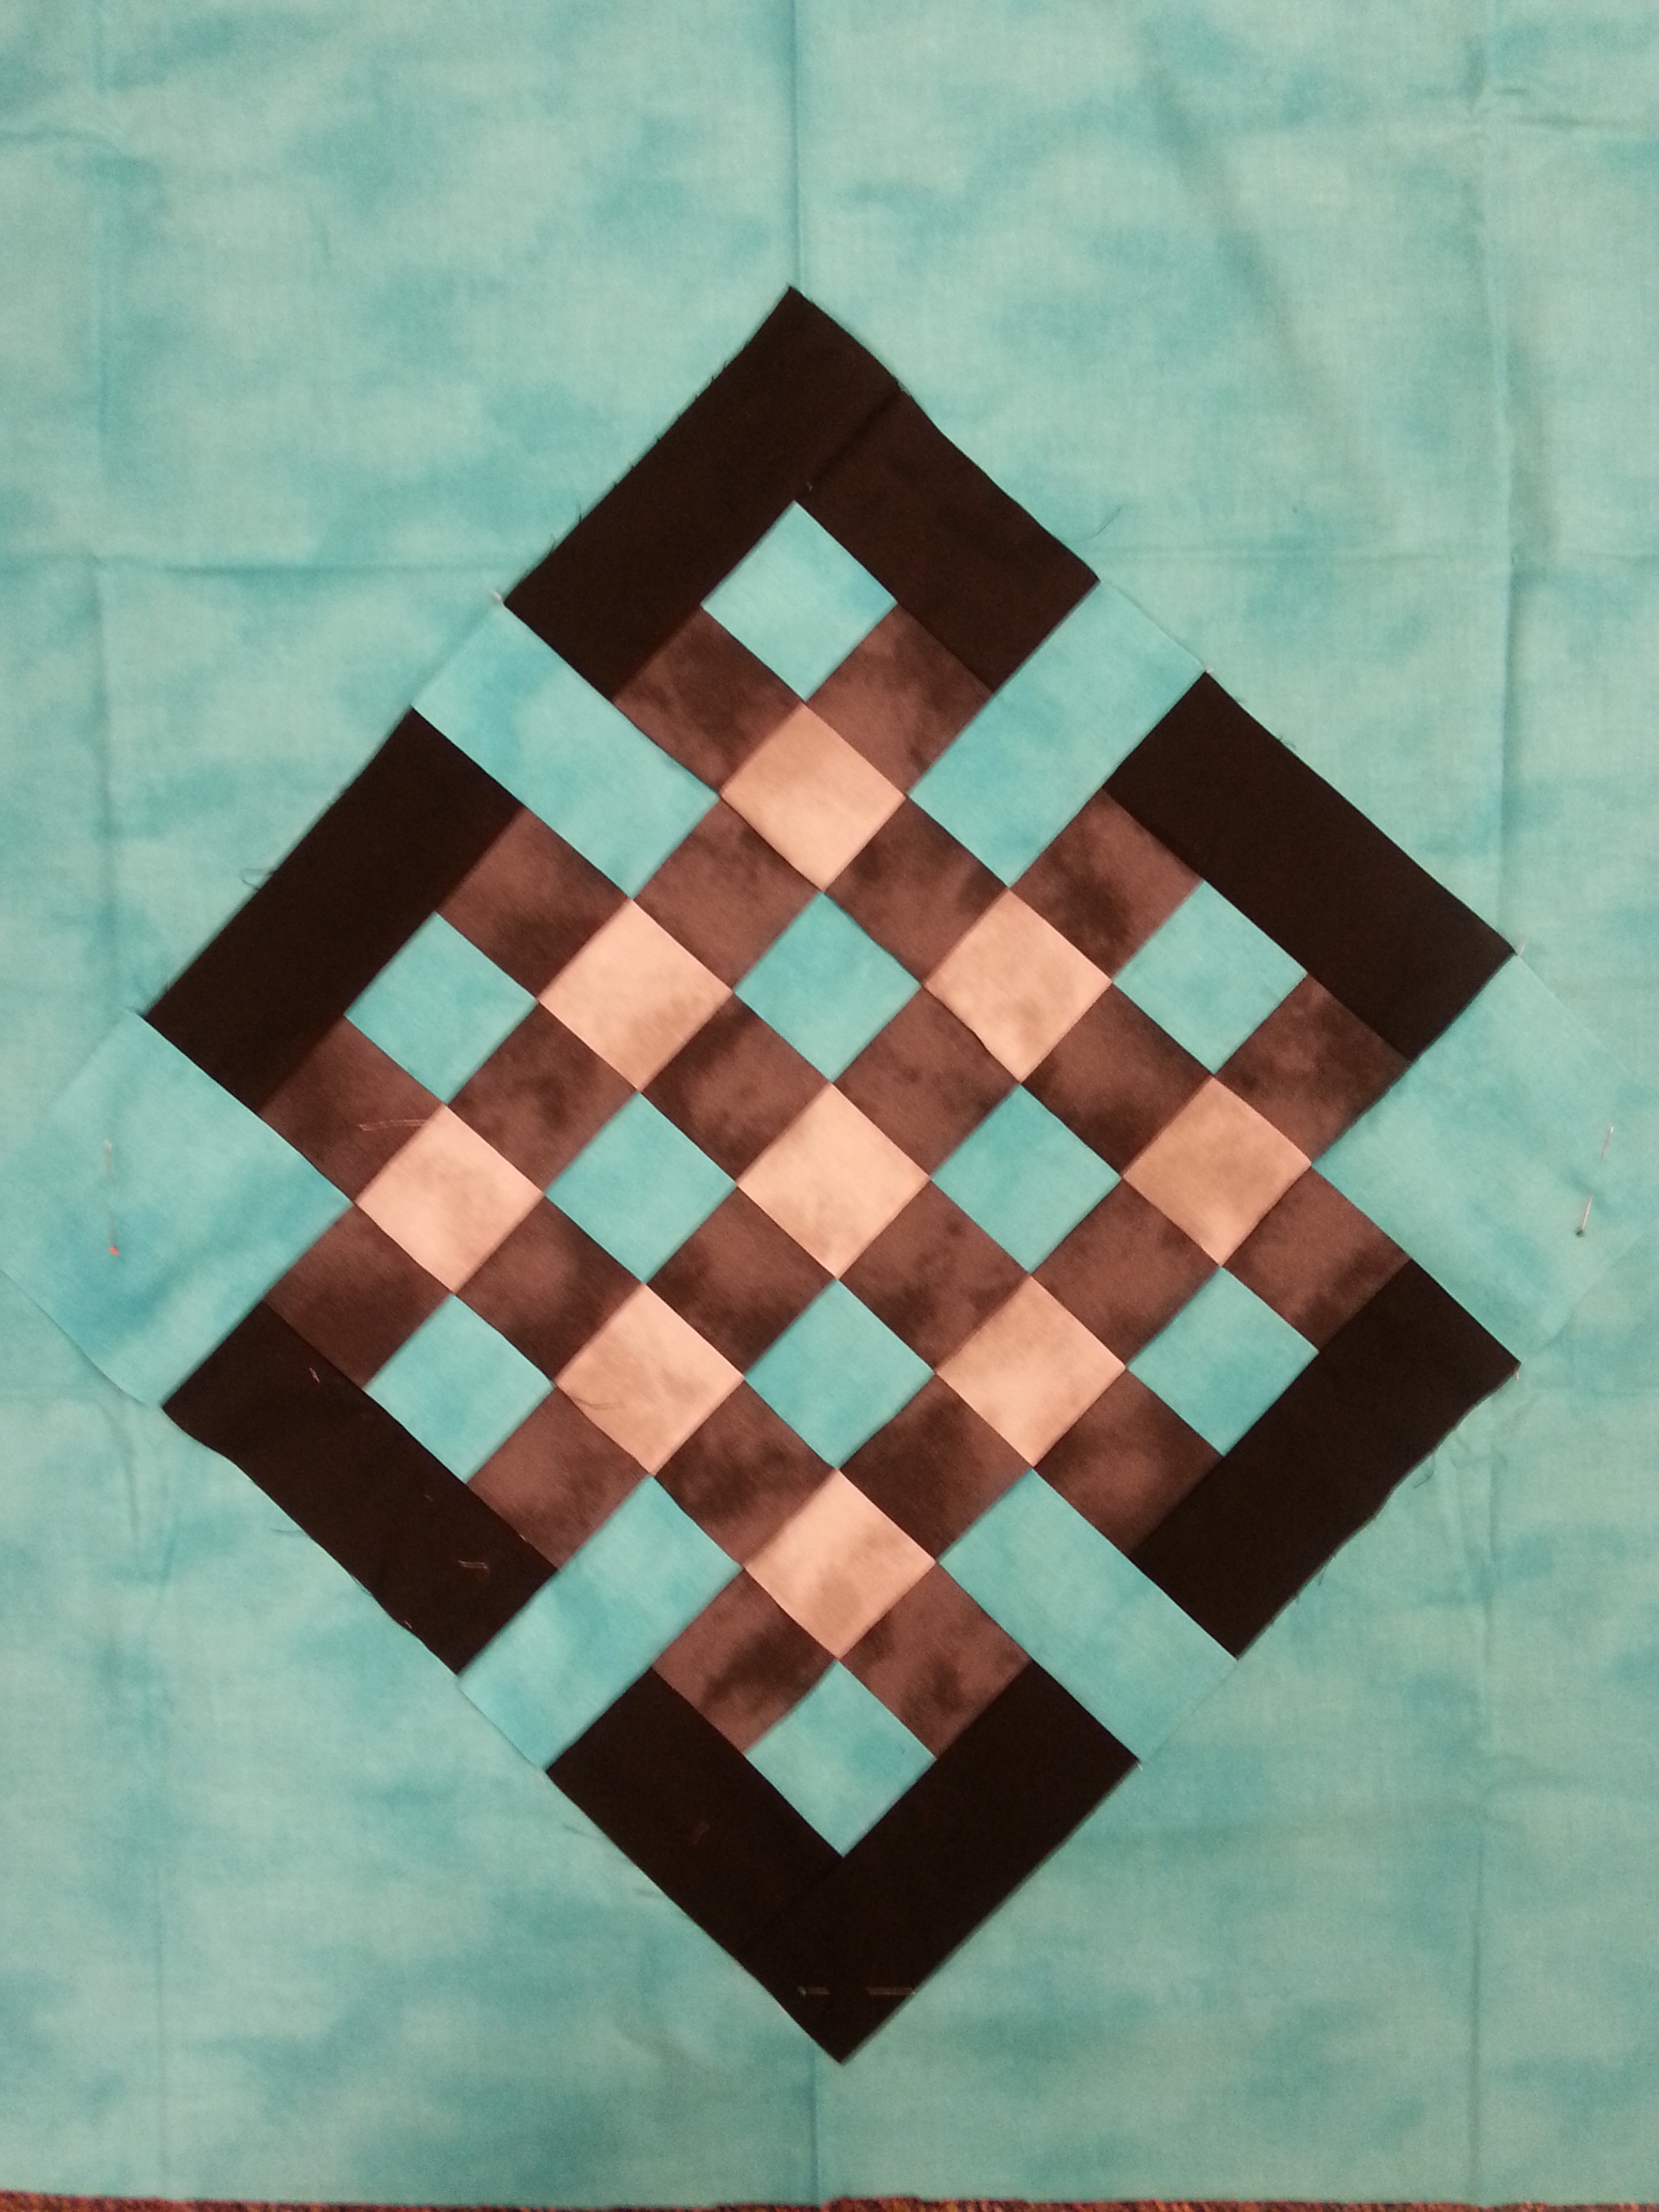
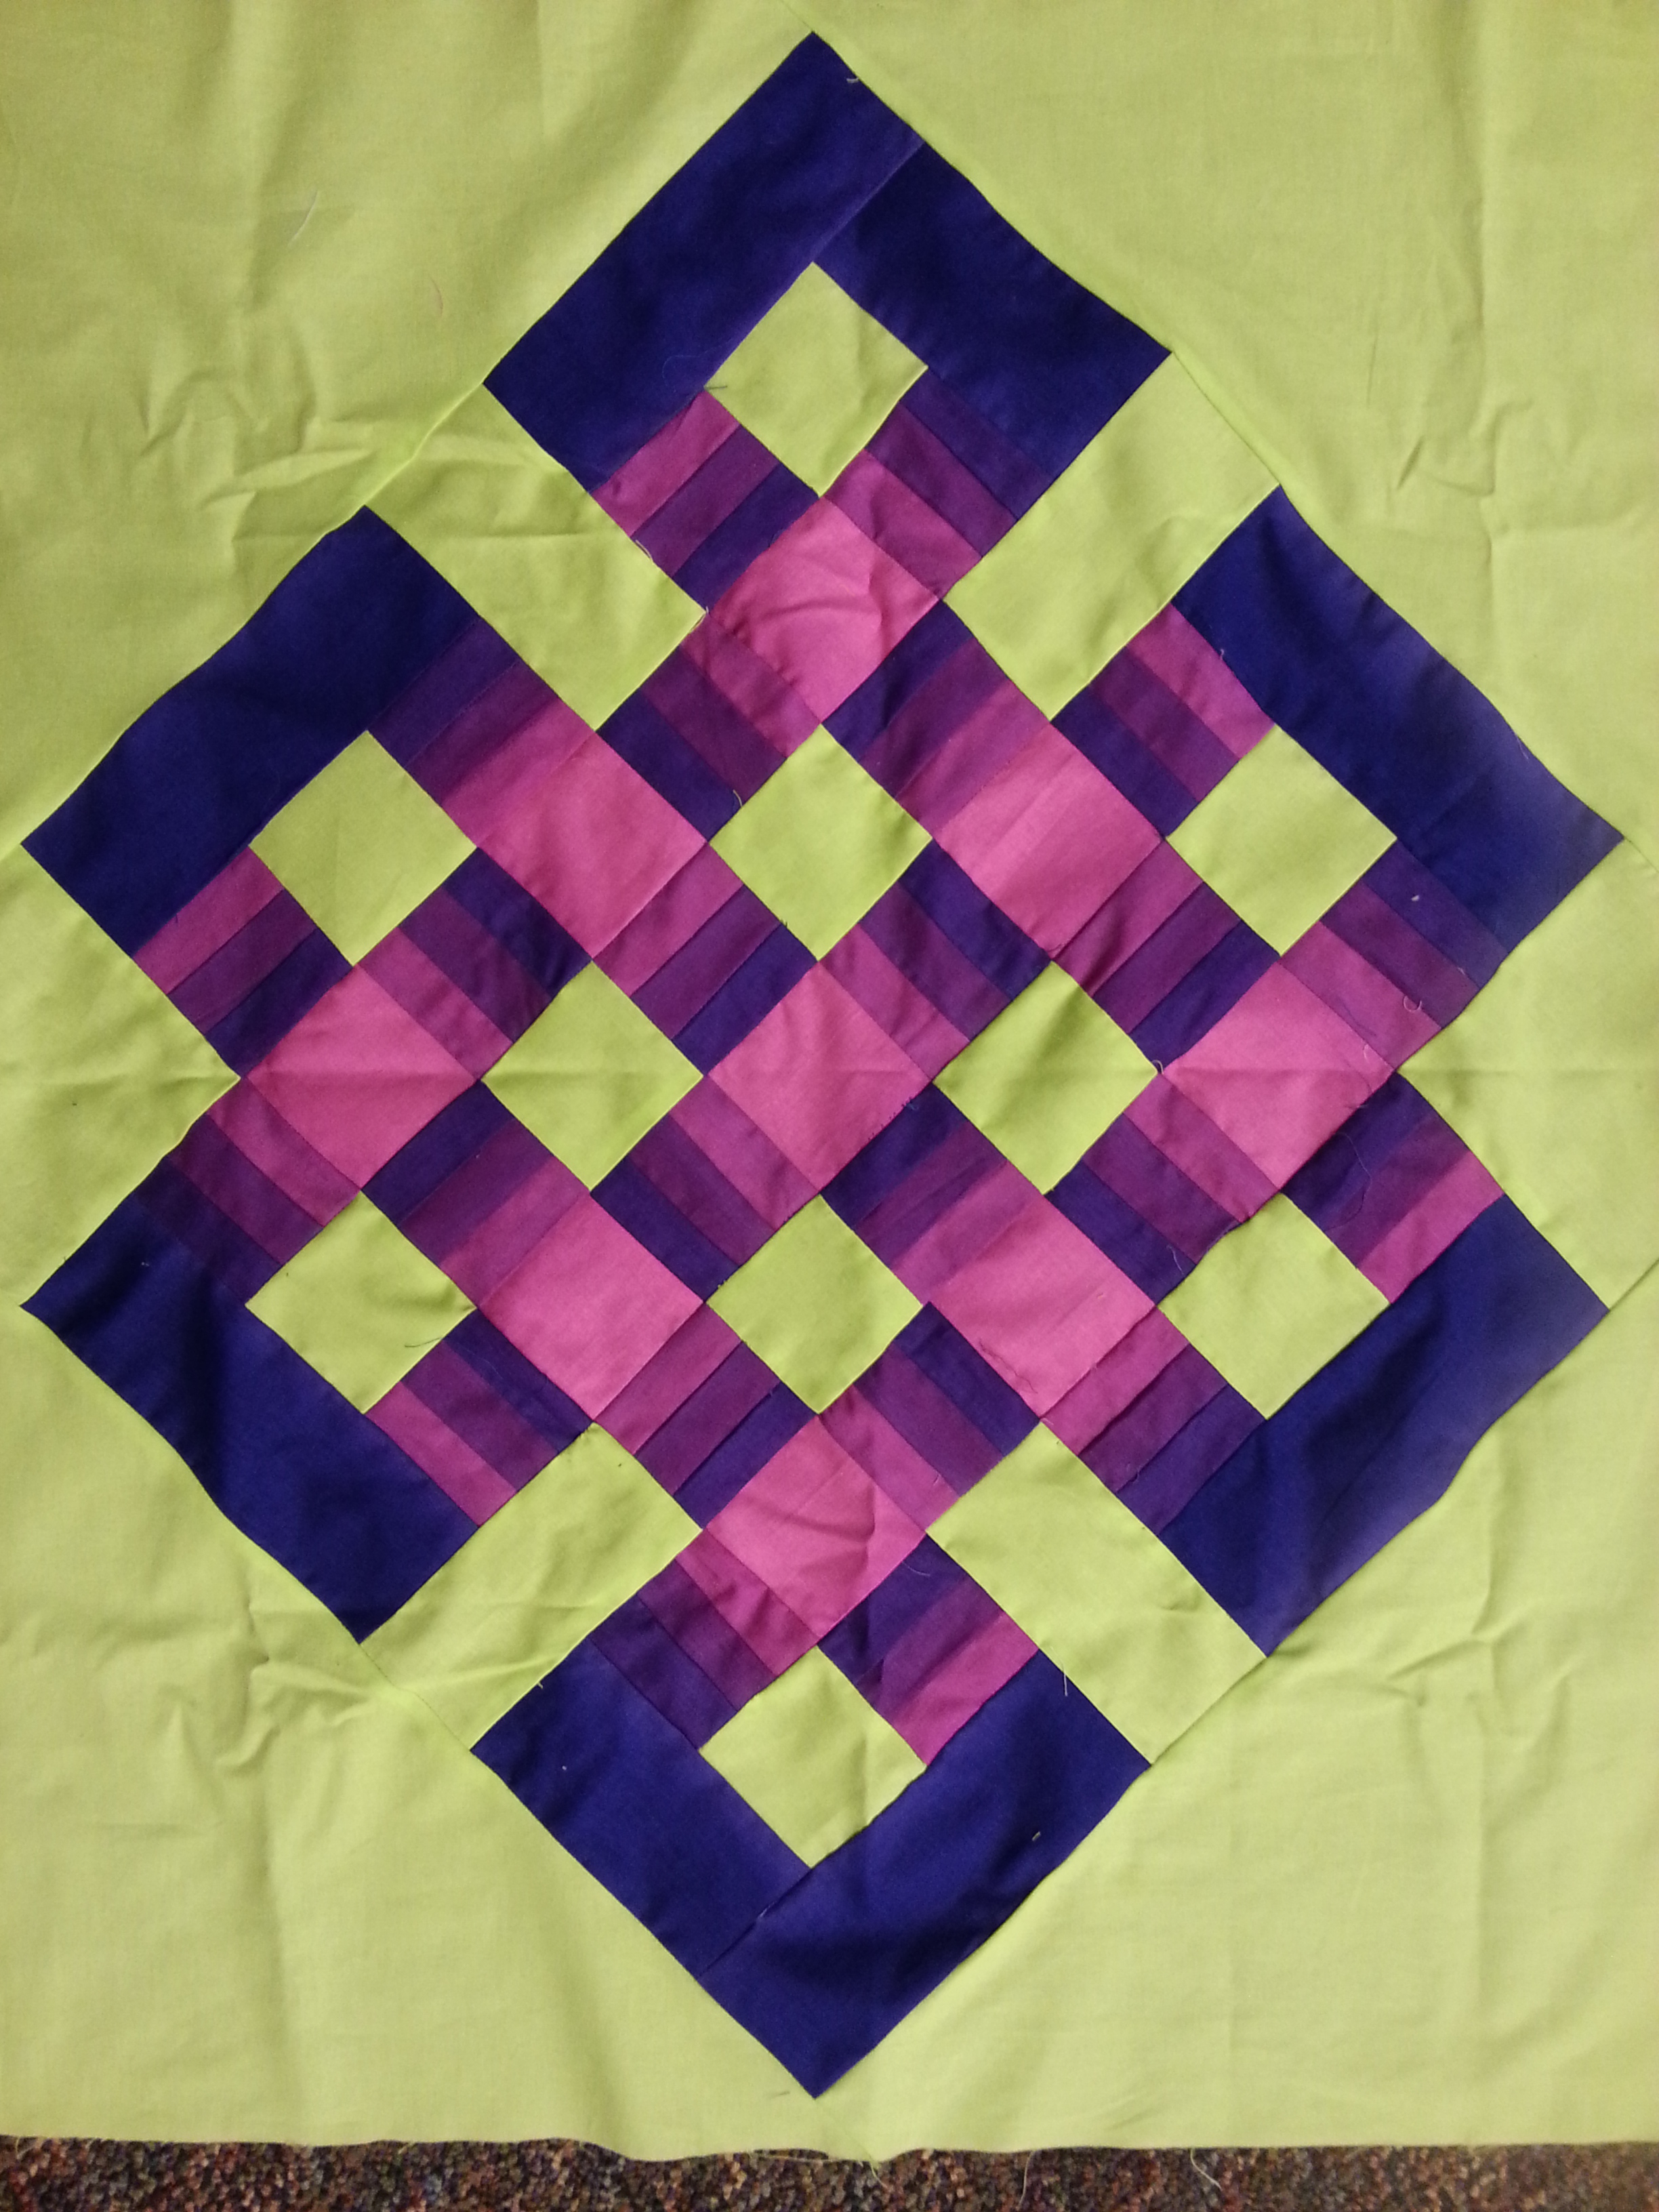
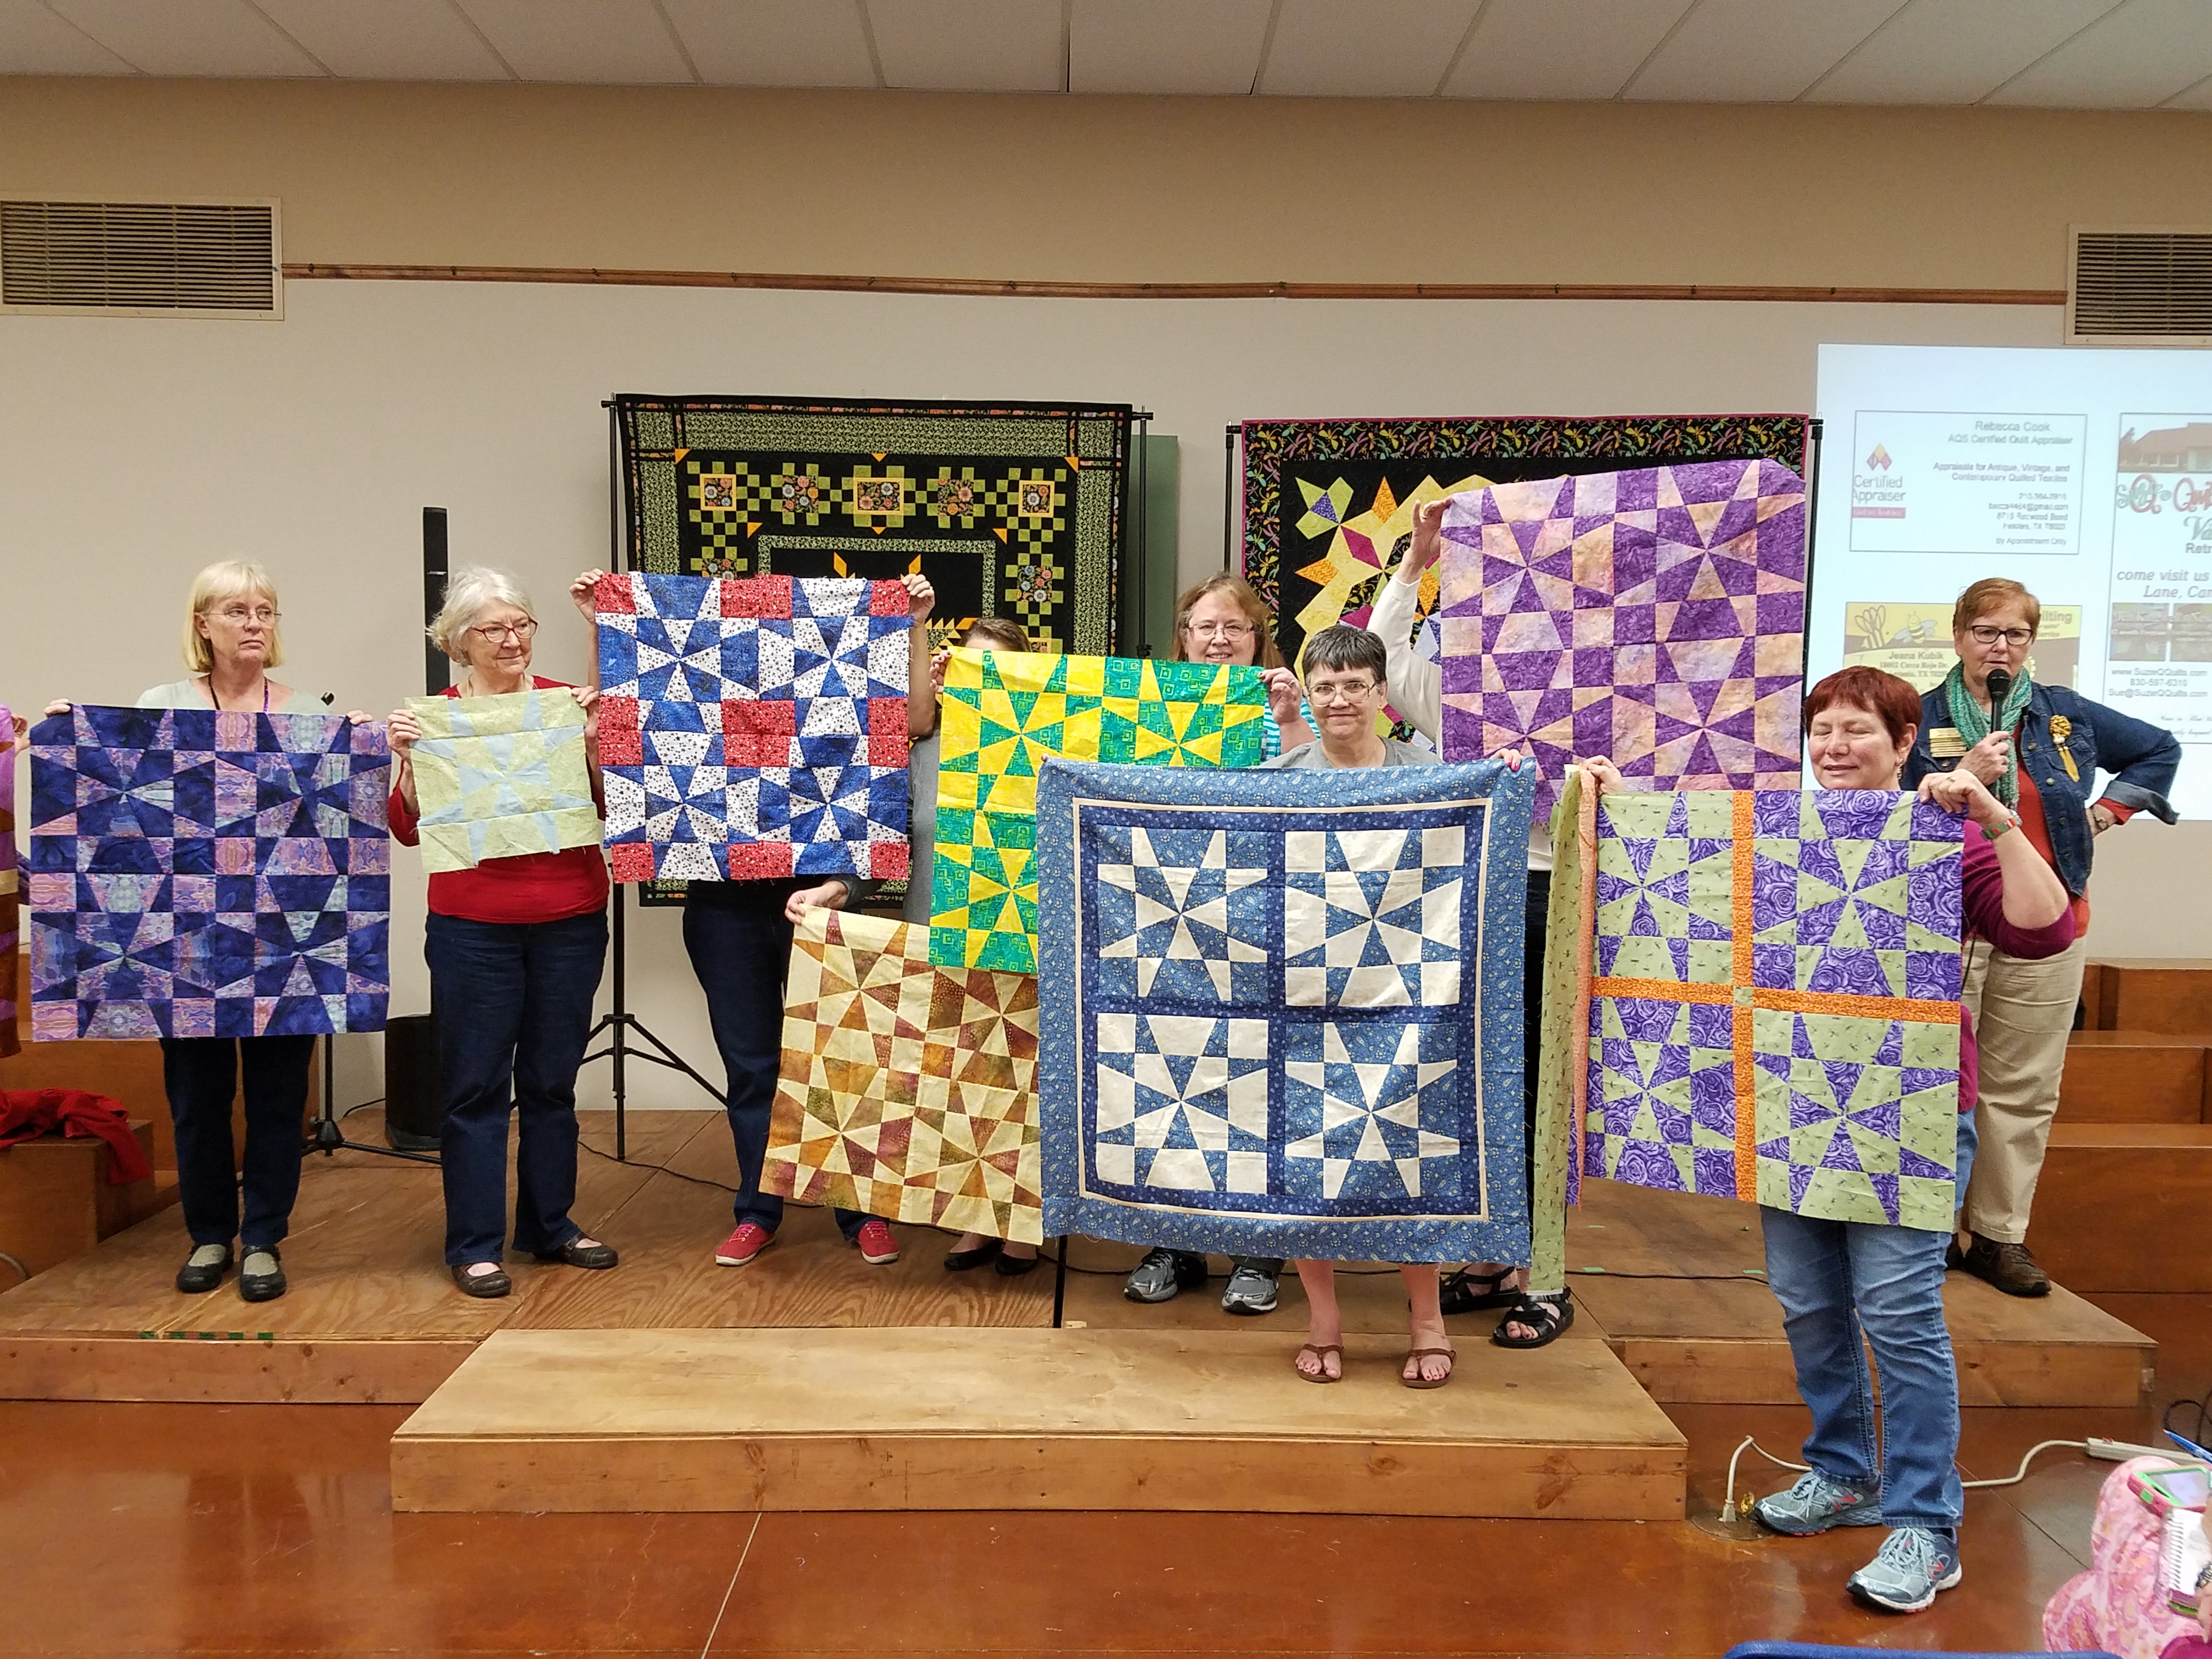
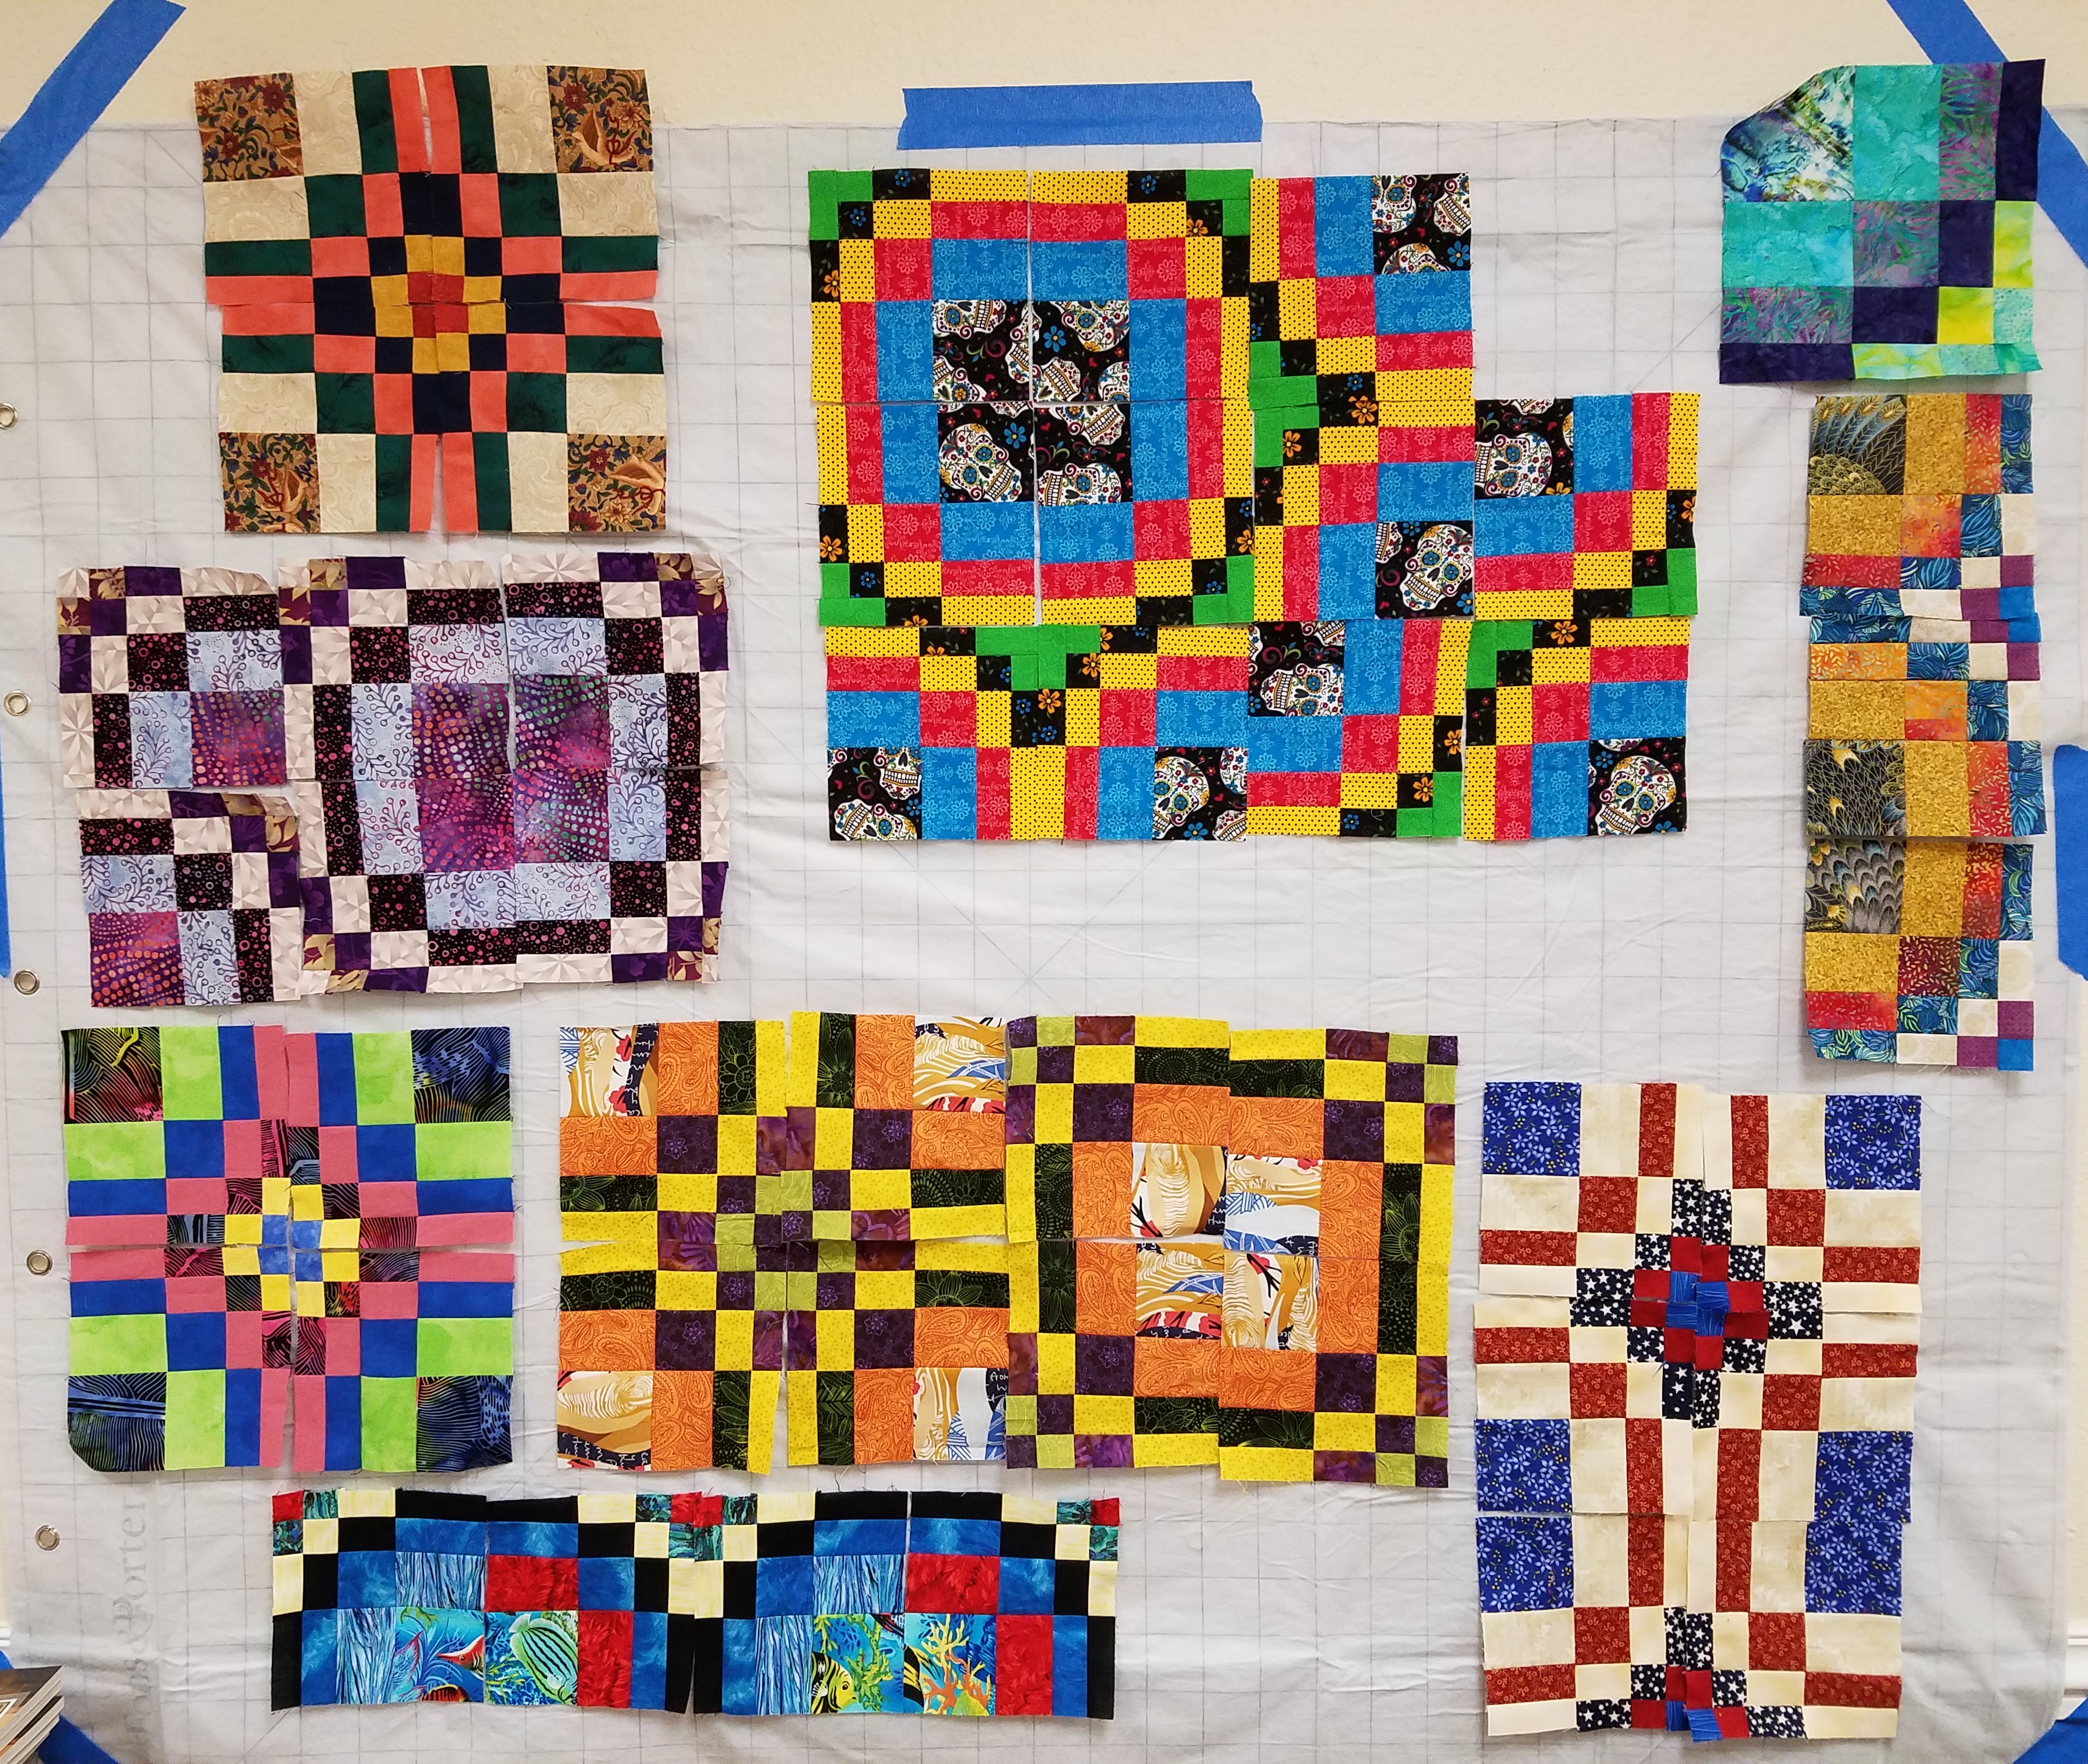
My first engagement was with the Greater San Antonio Quilters’ Guild. I taught my Op-Art Kaleidoscope workshop the day before the guild meeting. Several of my students continued piecing their blocks and quilt tops at home that evening, and here they are putting on a nice display during “Show and Tell” at the meeting. After the meeting, I did a half-day UFO class discussing quilt design and problem projects. The next stop was the Brazos Bluebonnet Quilt Guild in Bryan where I taught my Bargello Quilts with a Twist class.

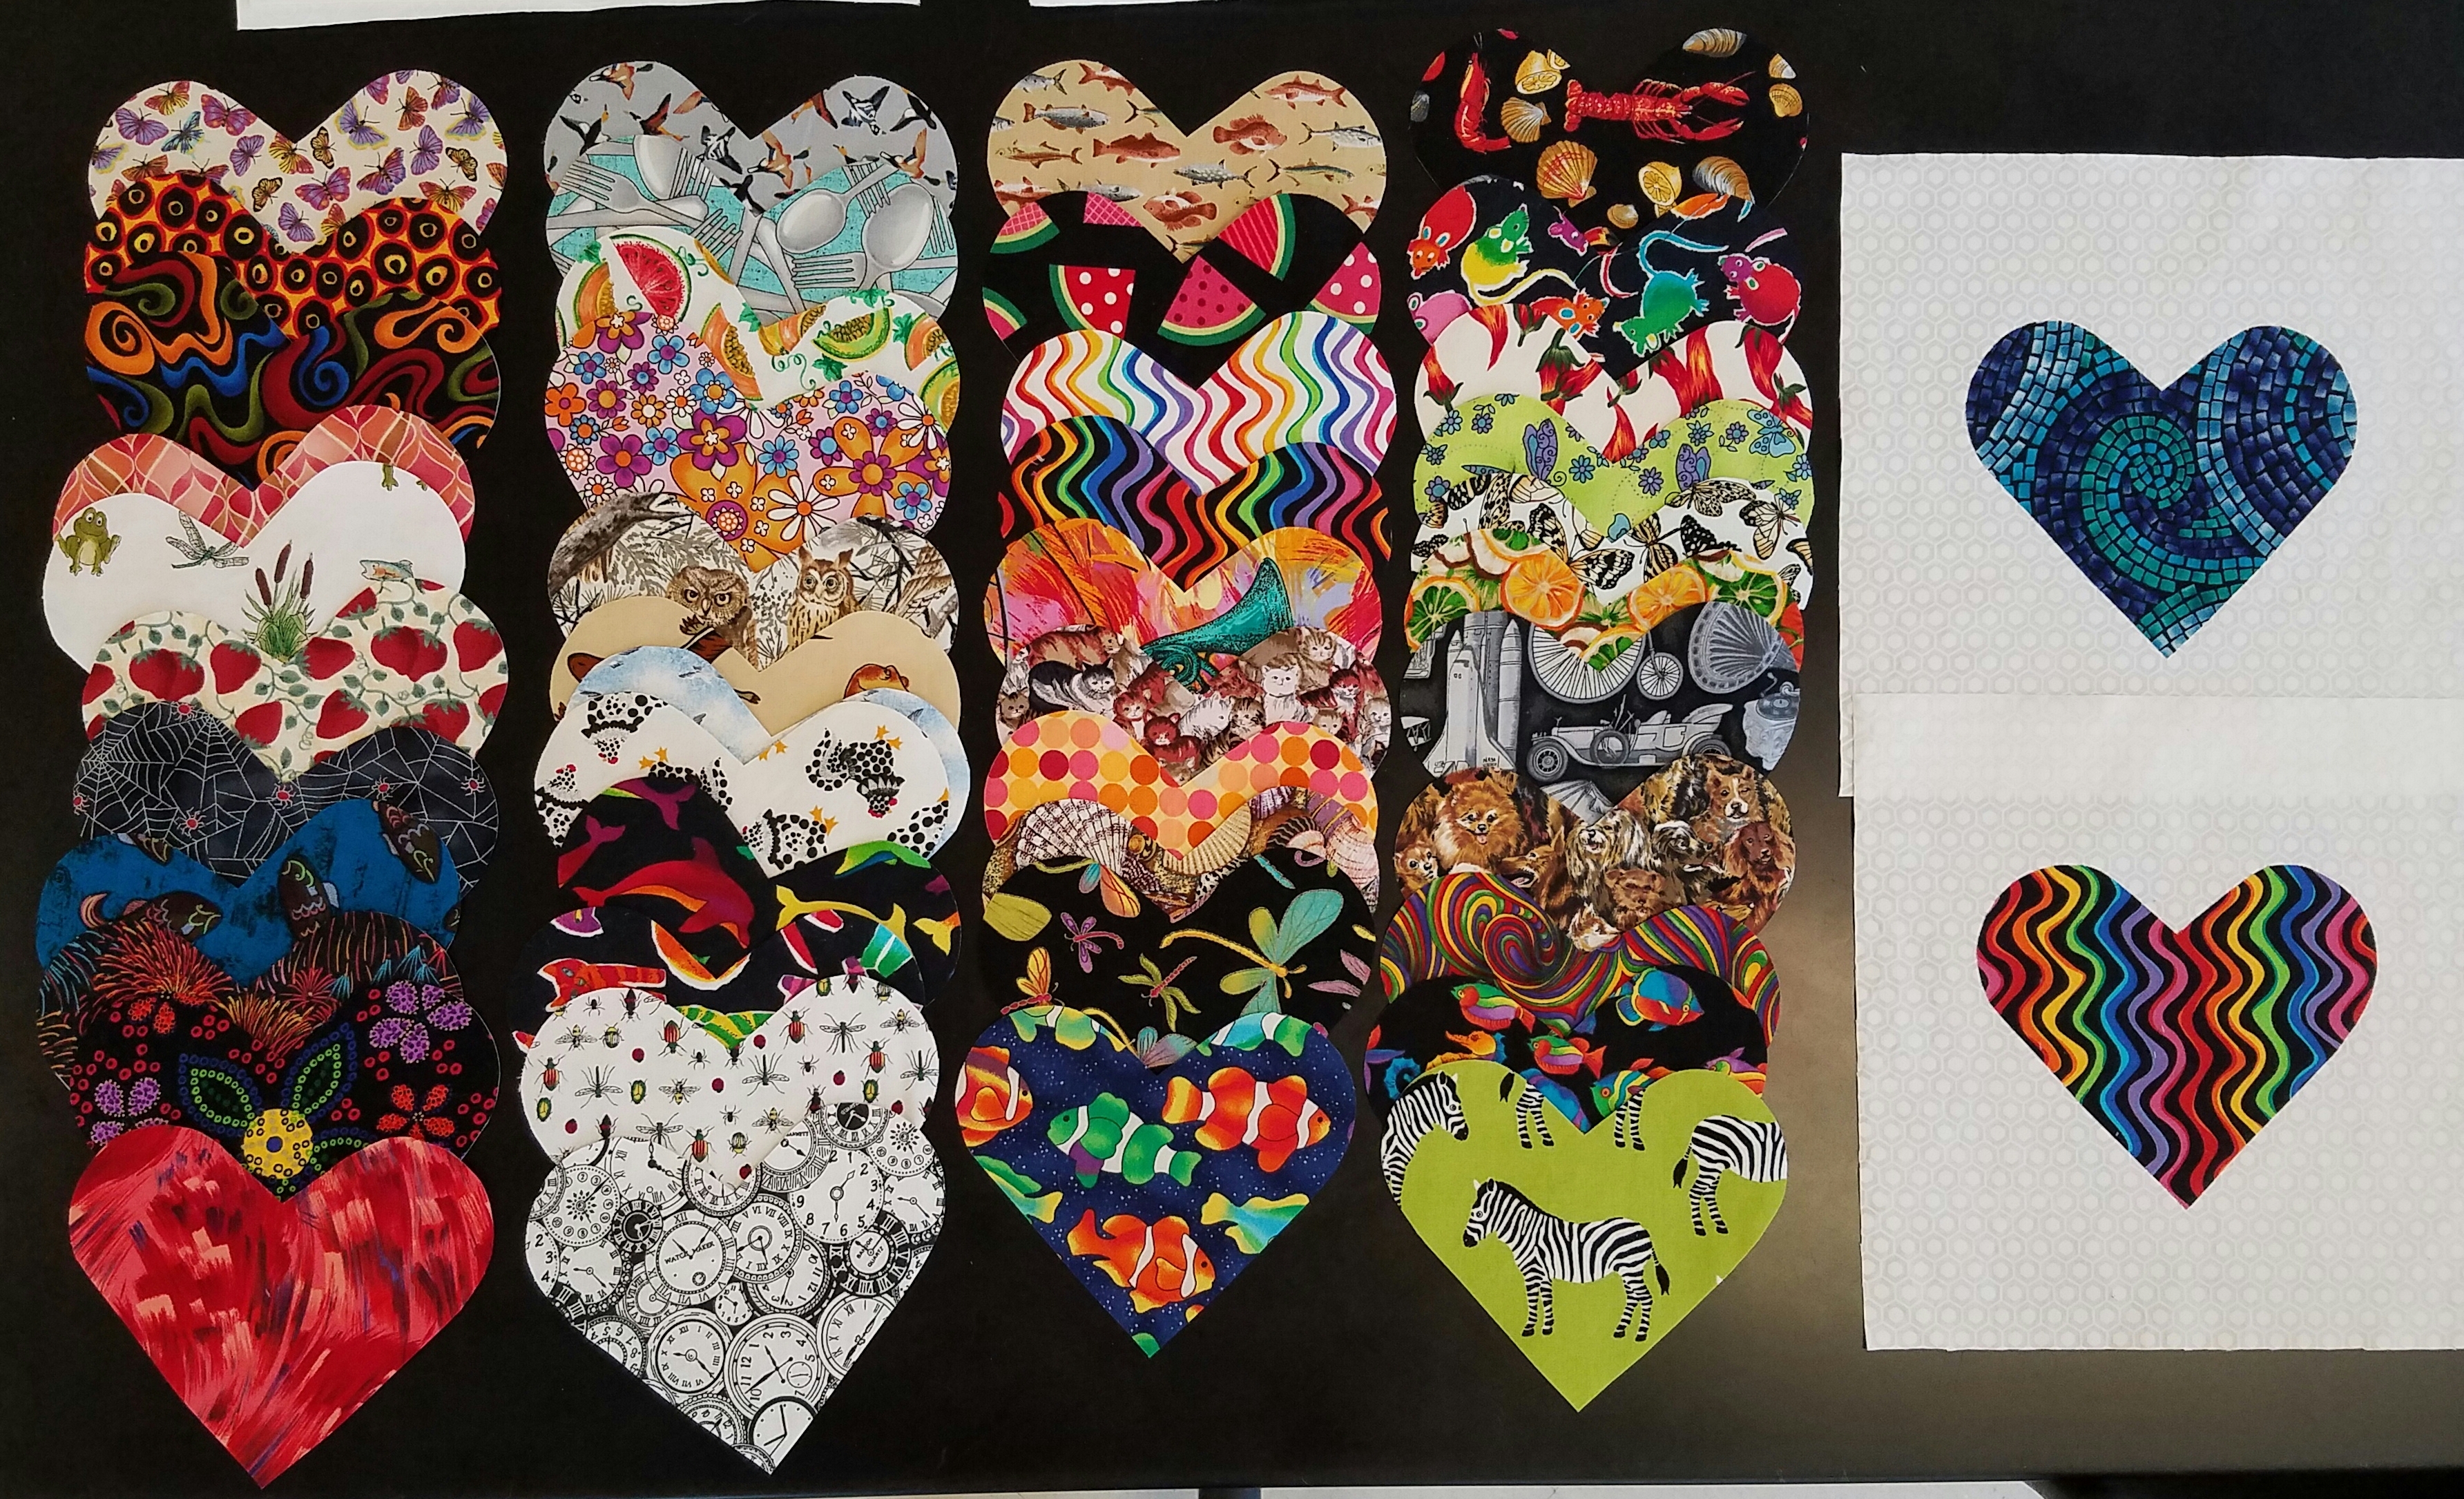
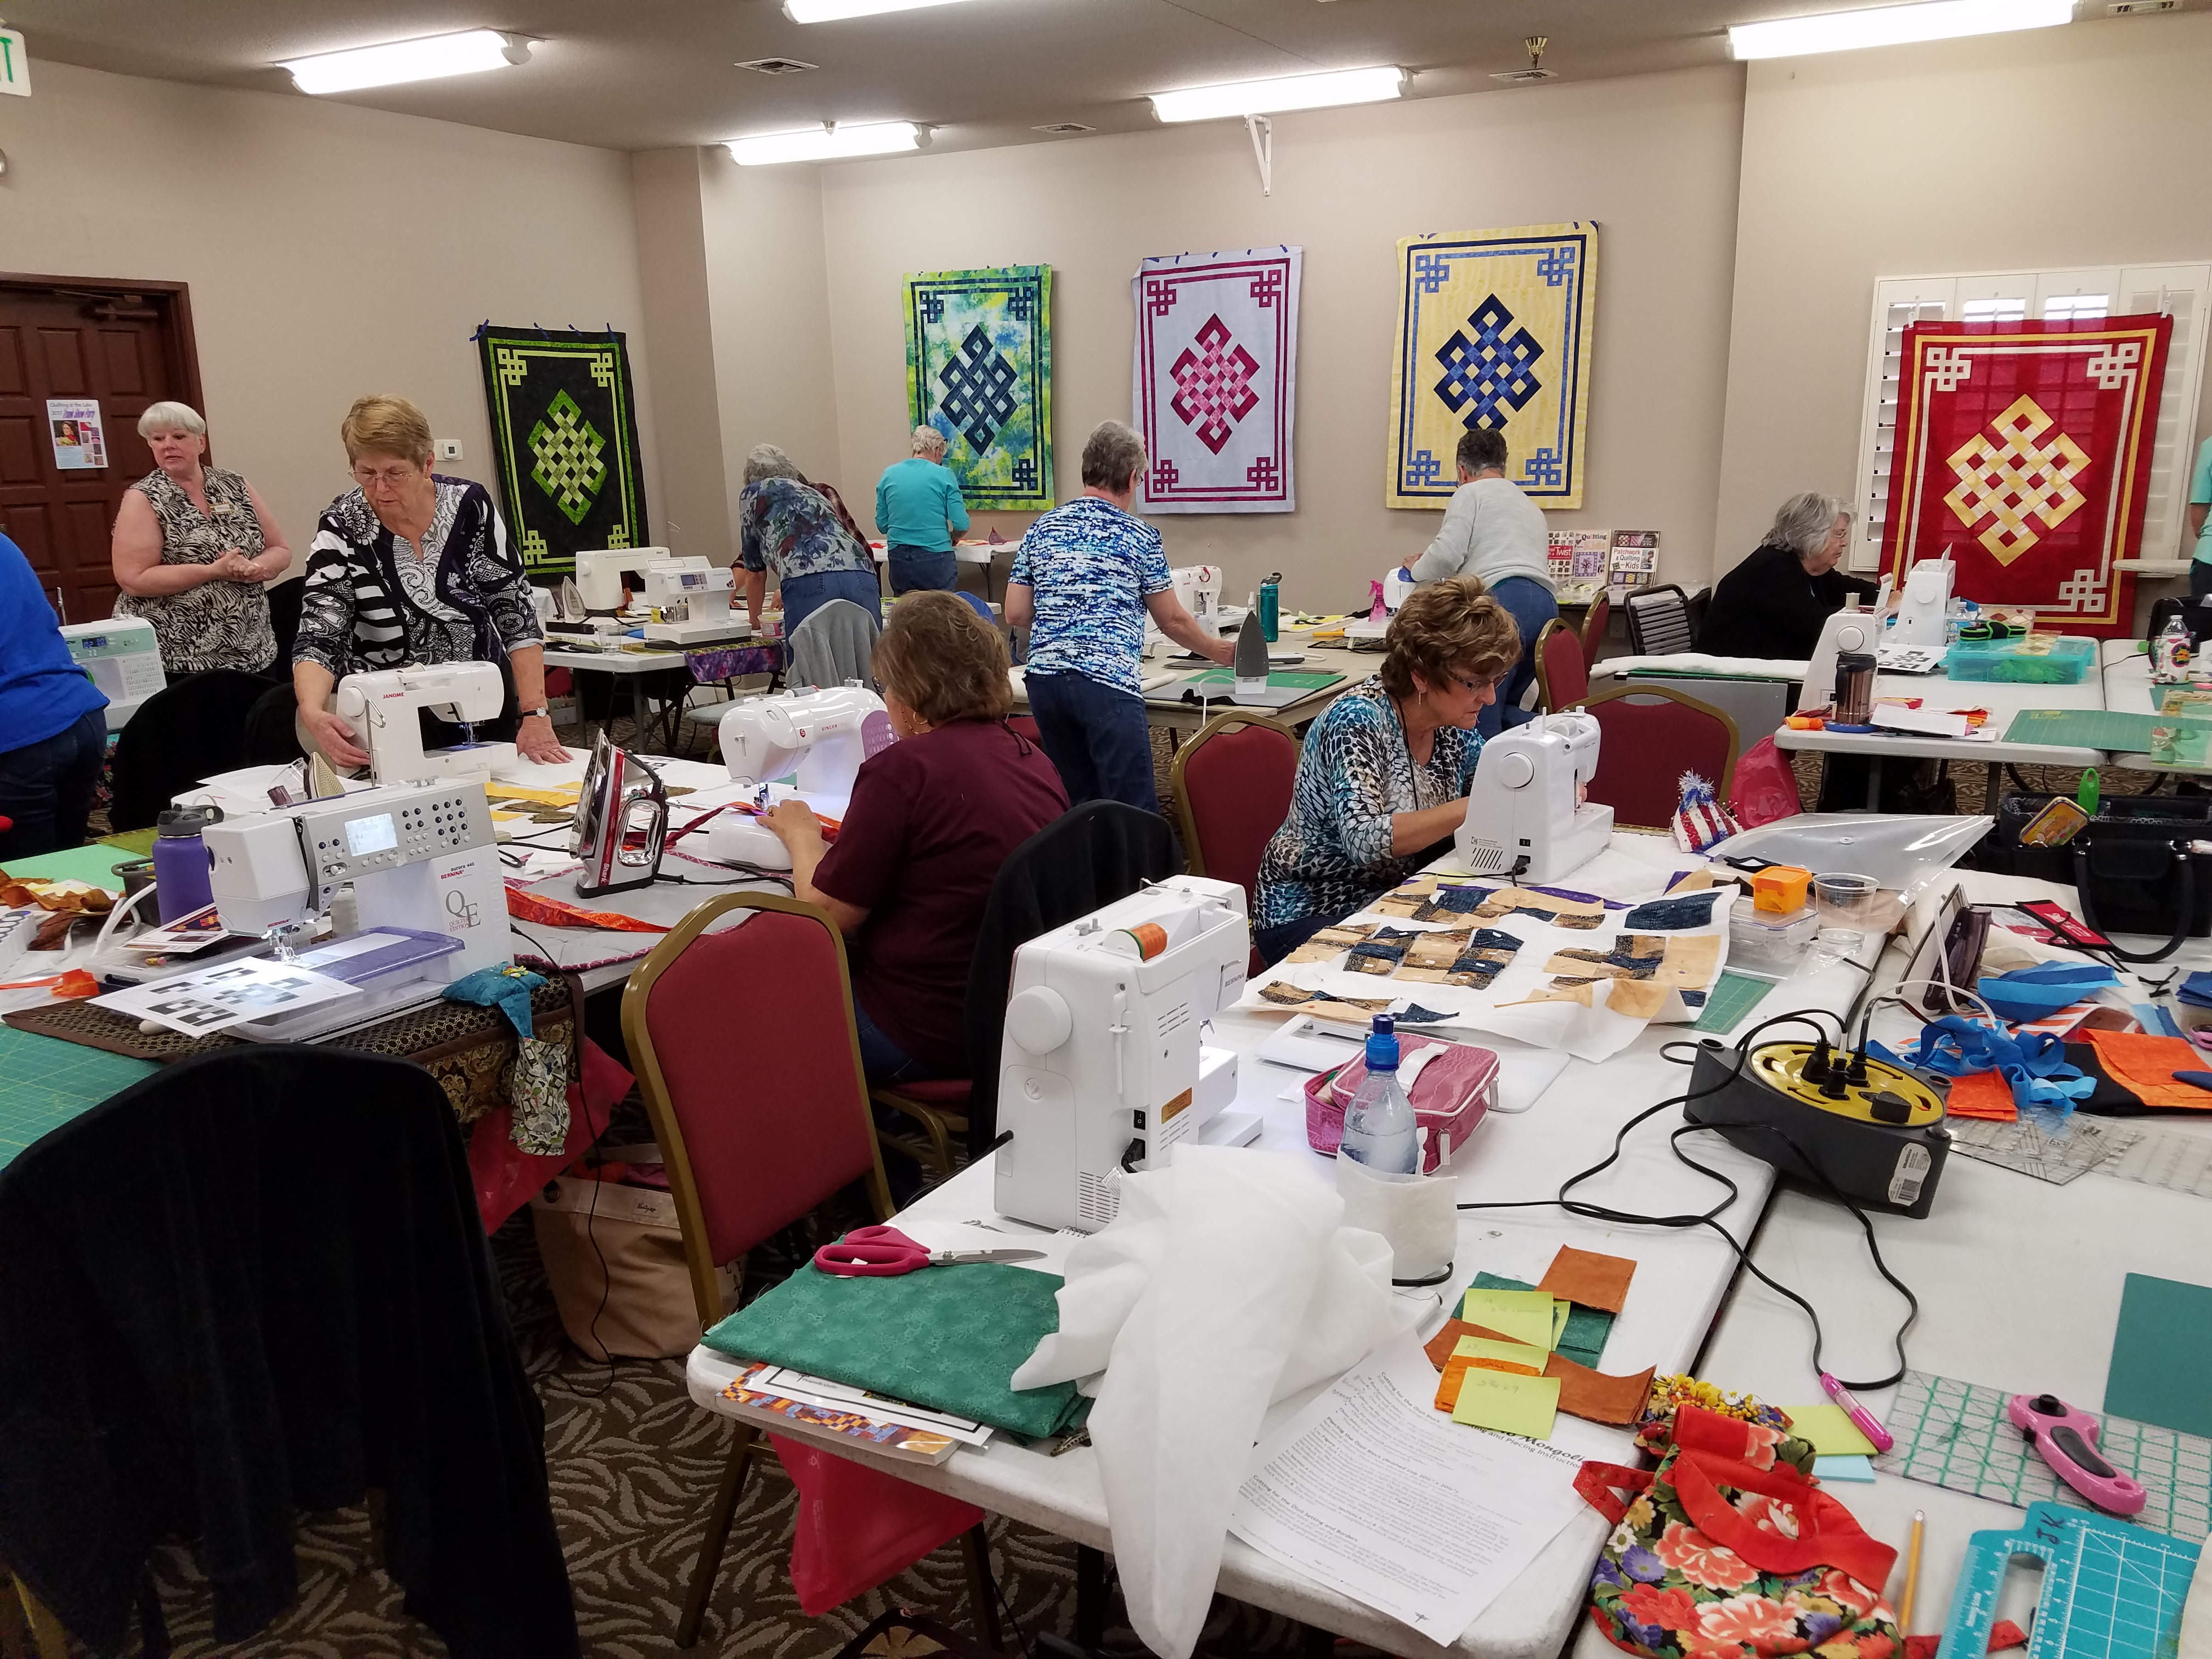
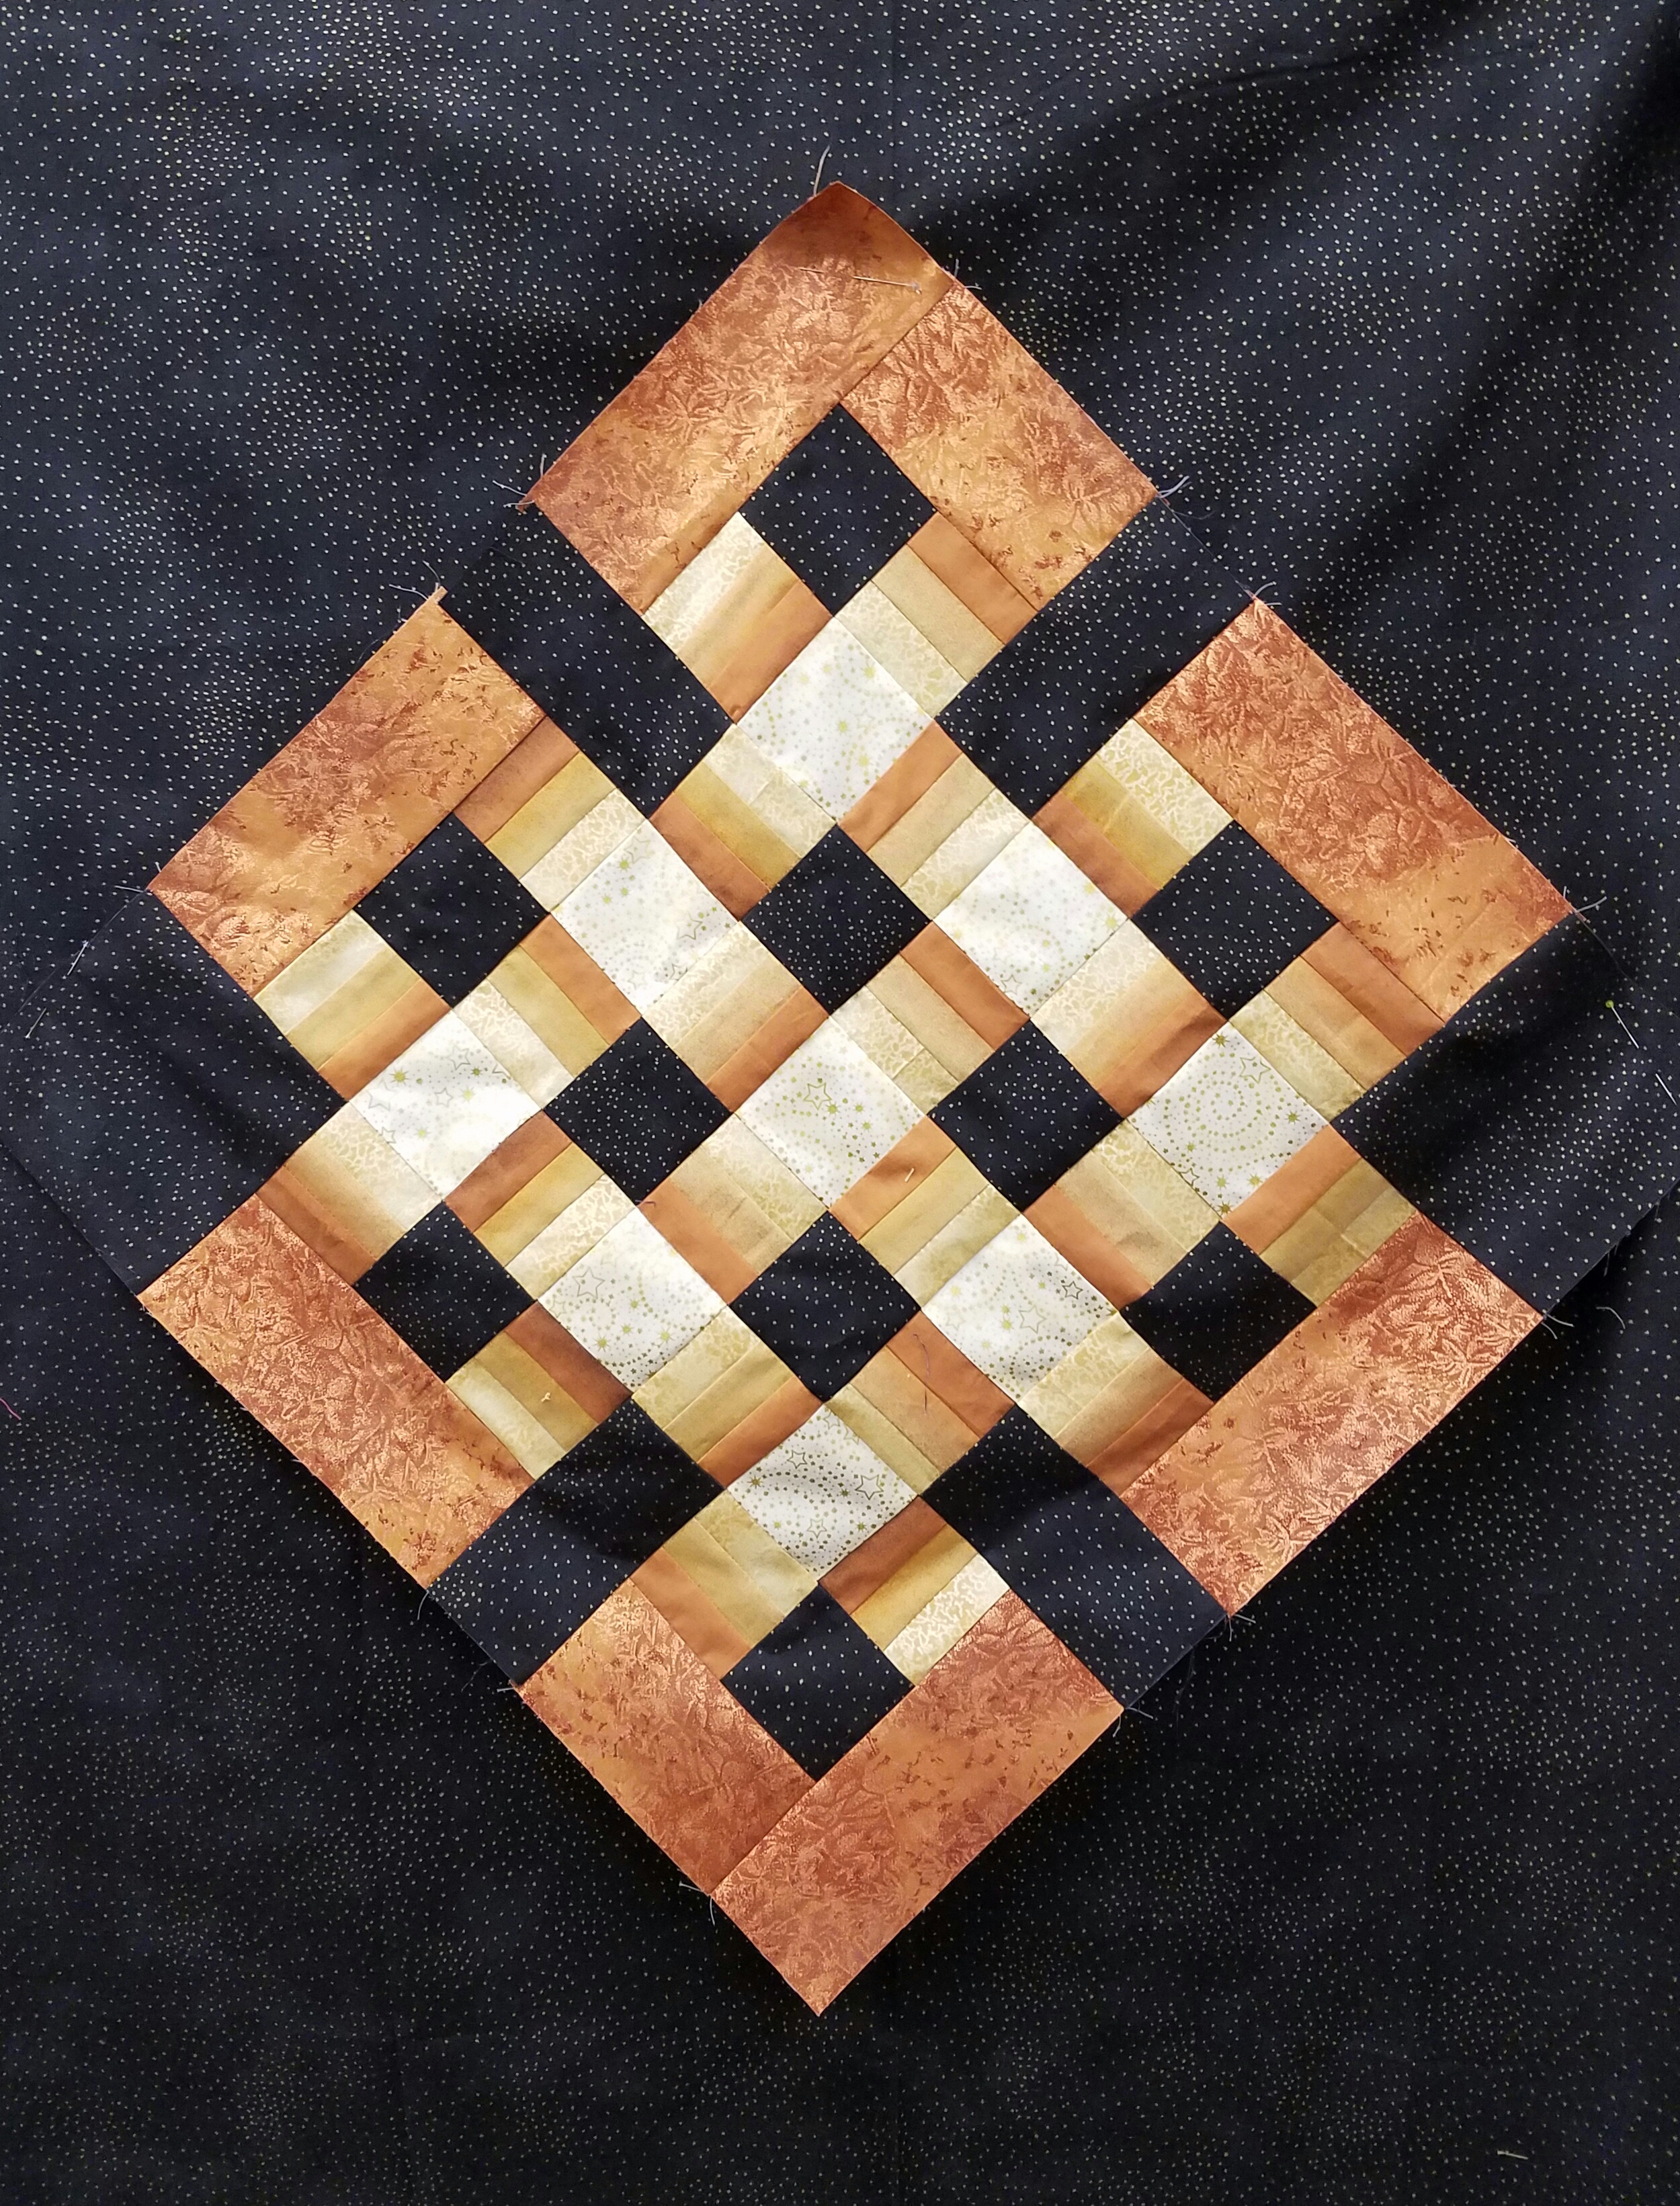
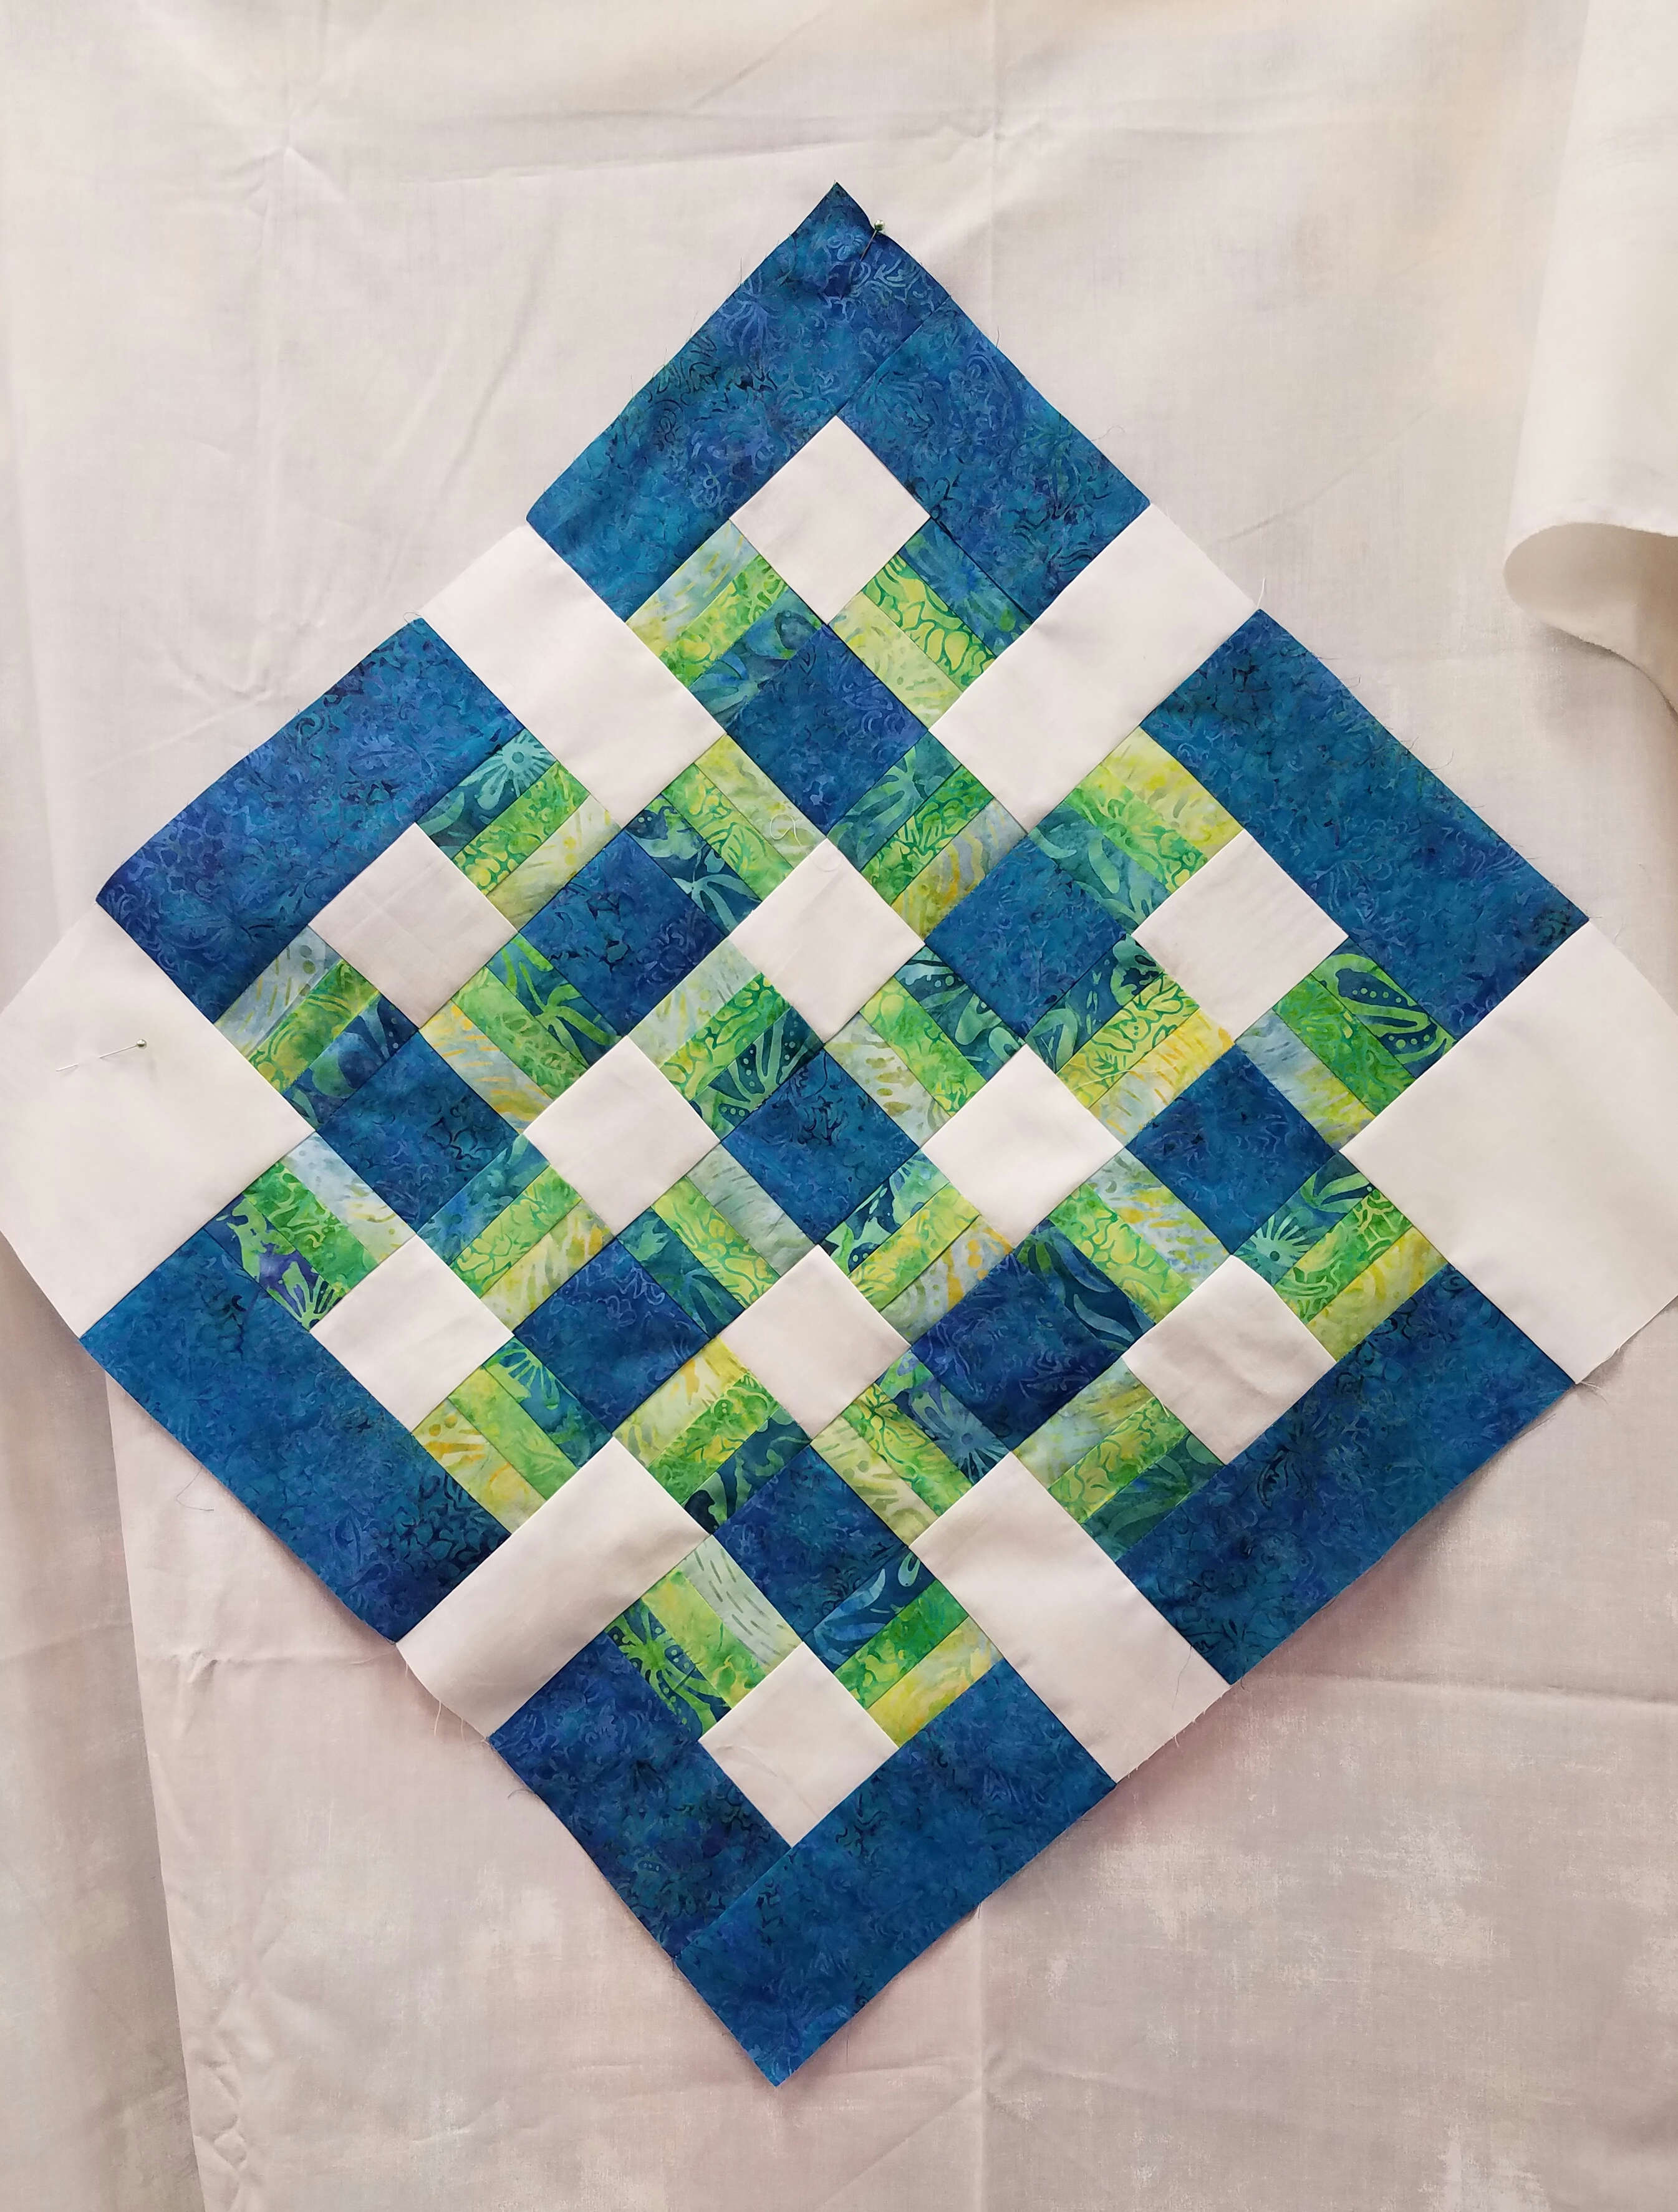
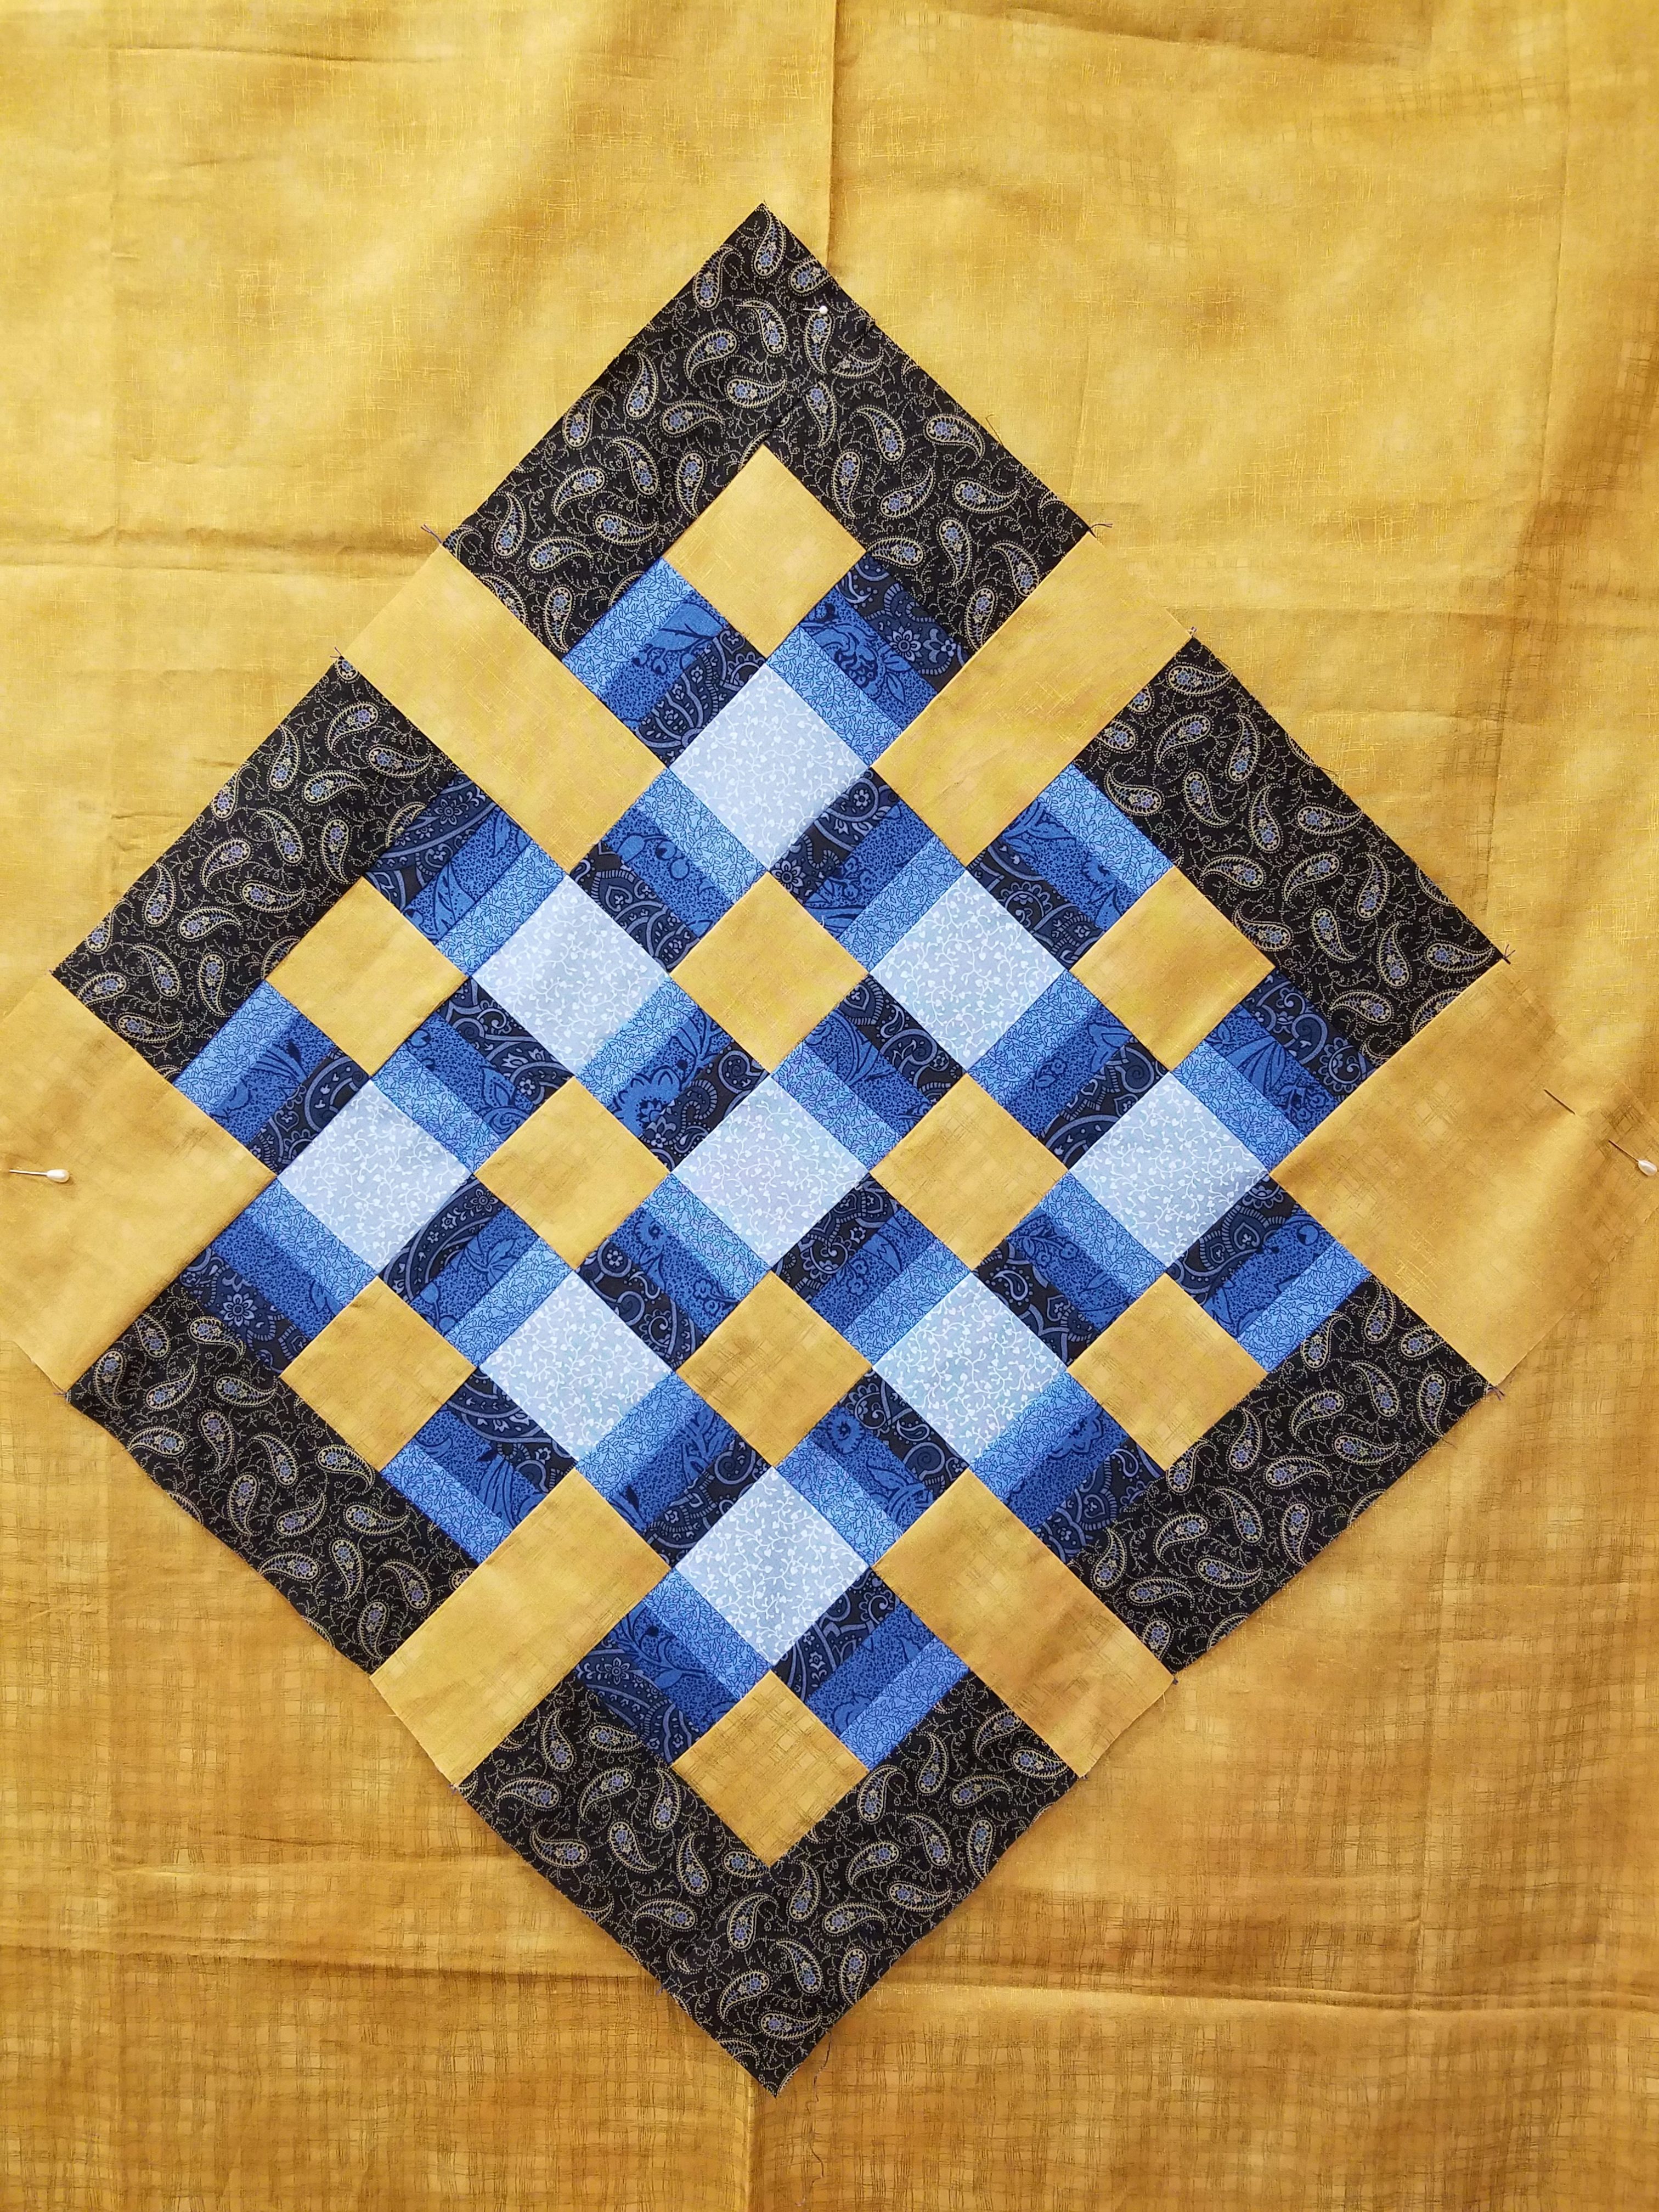
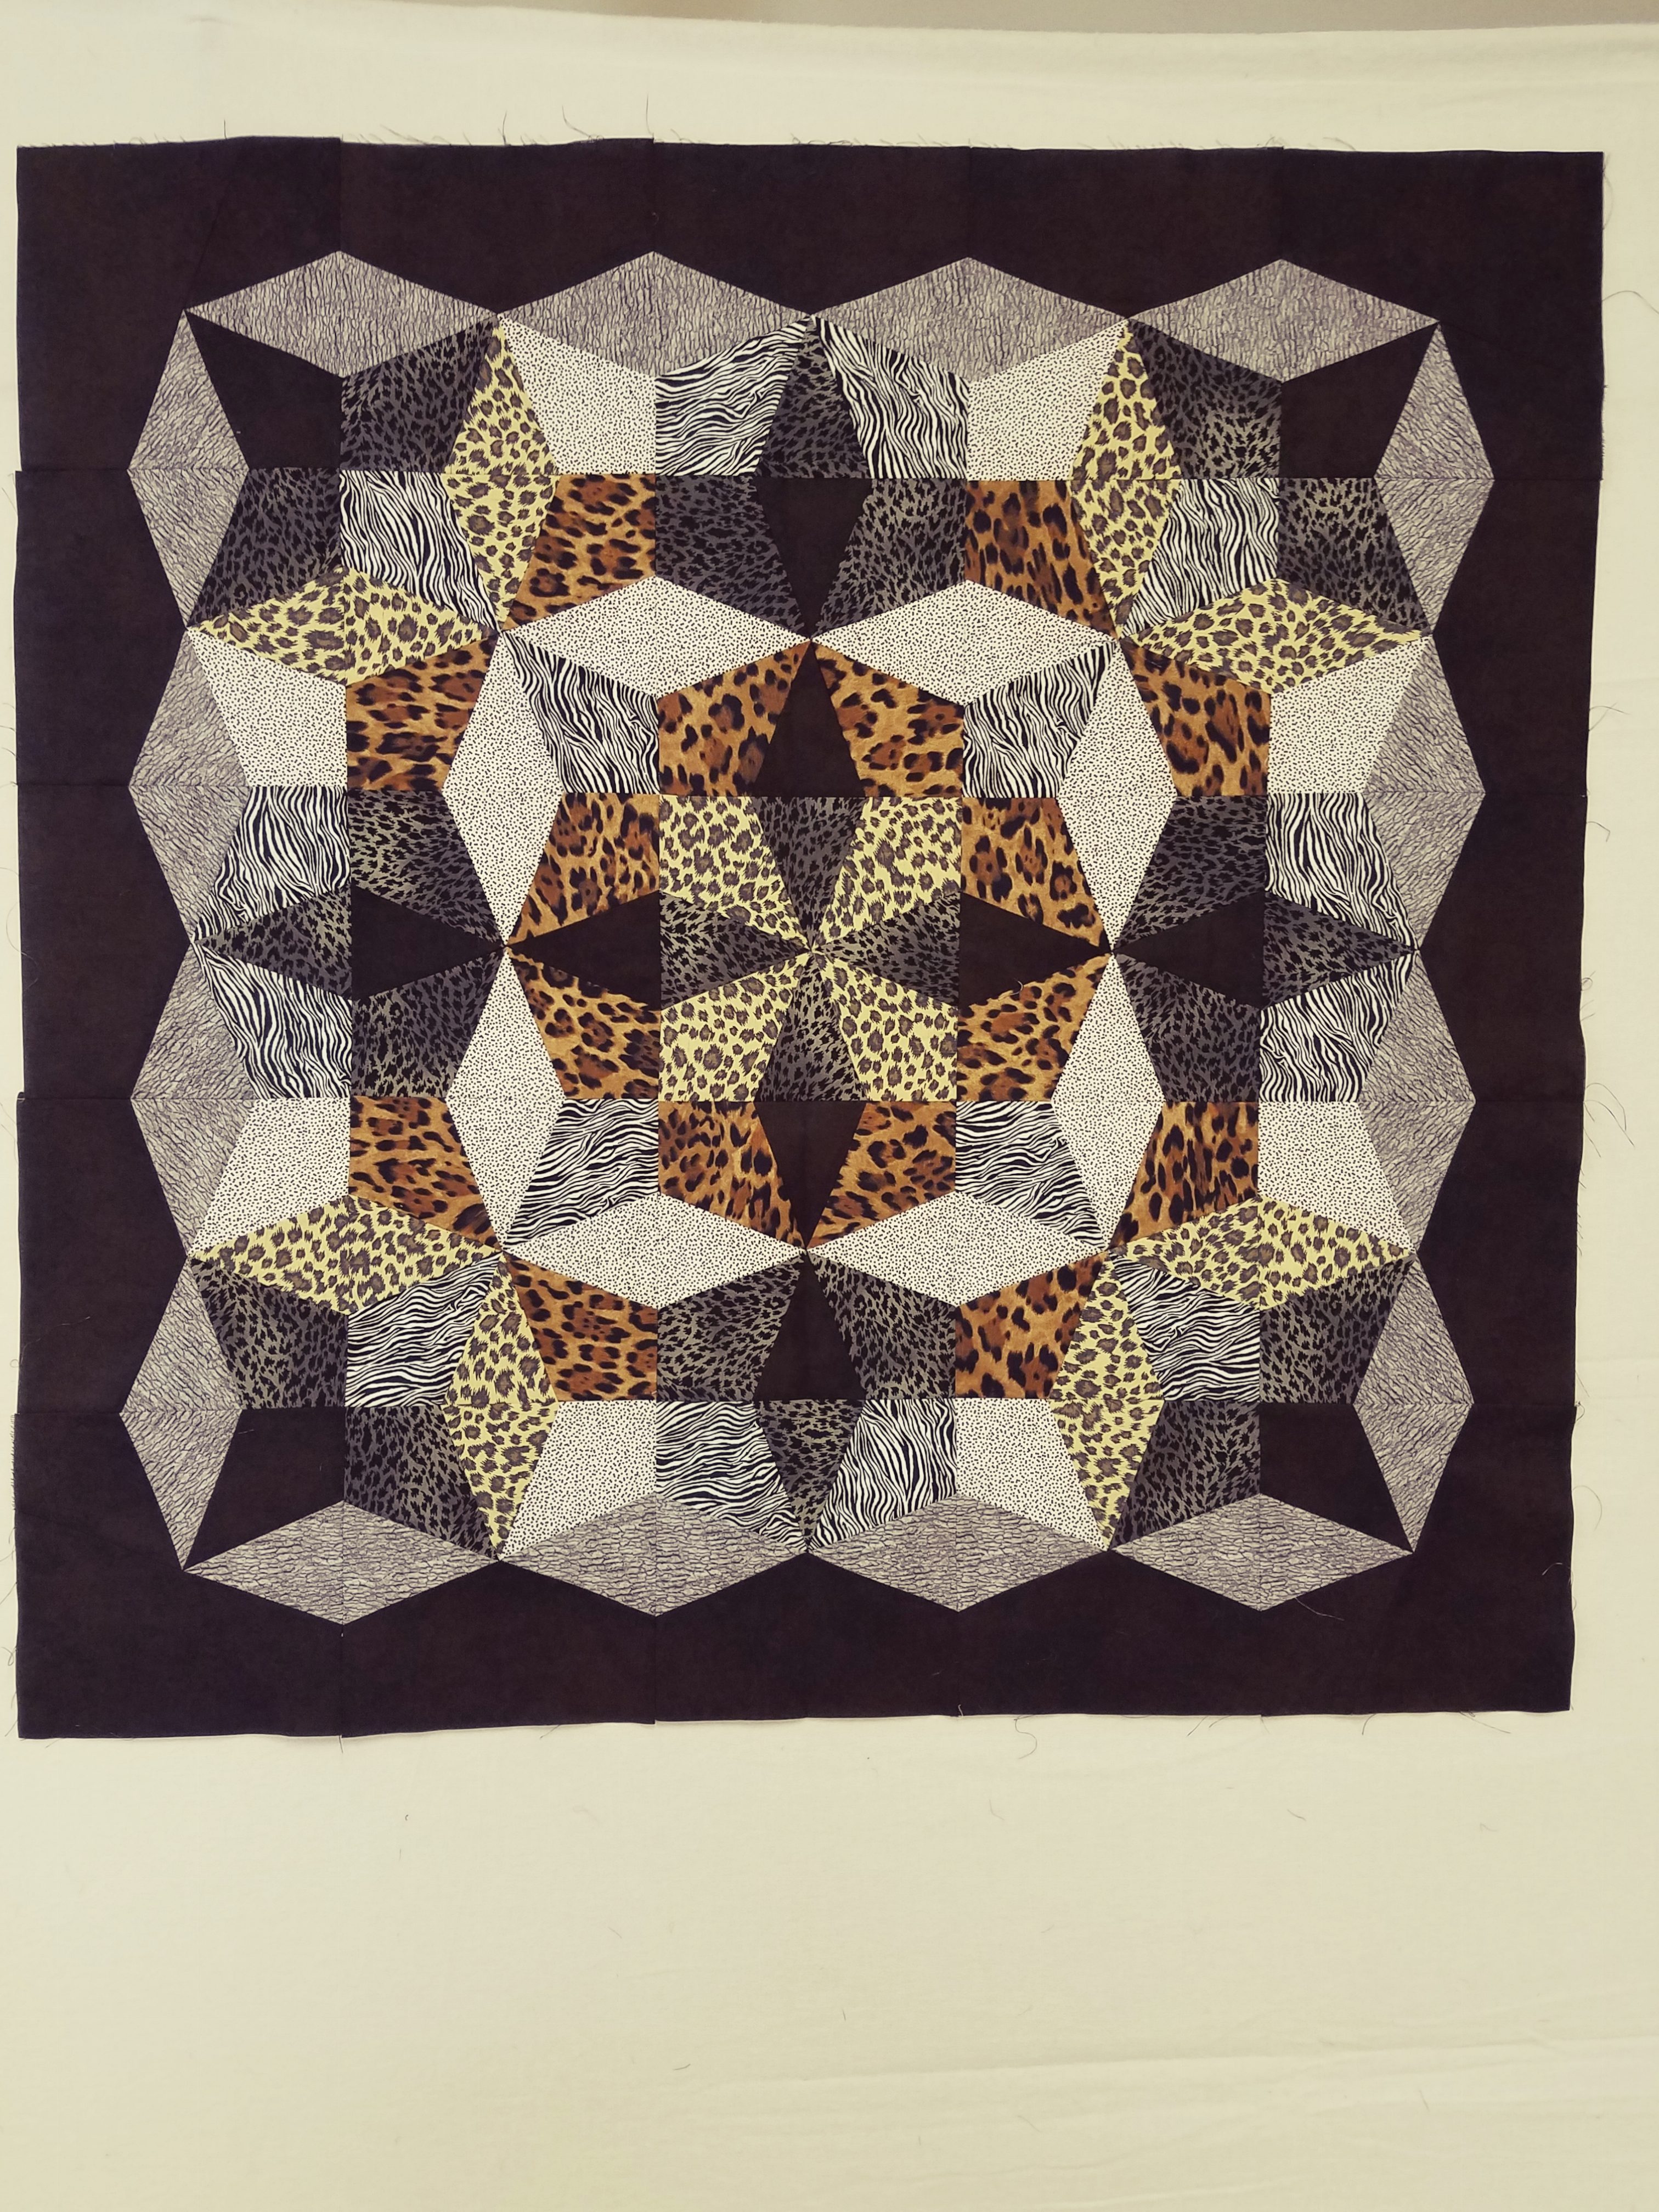
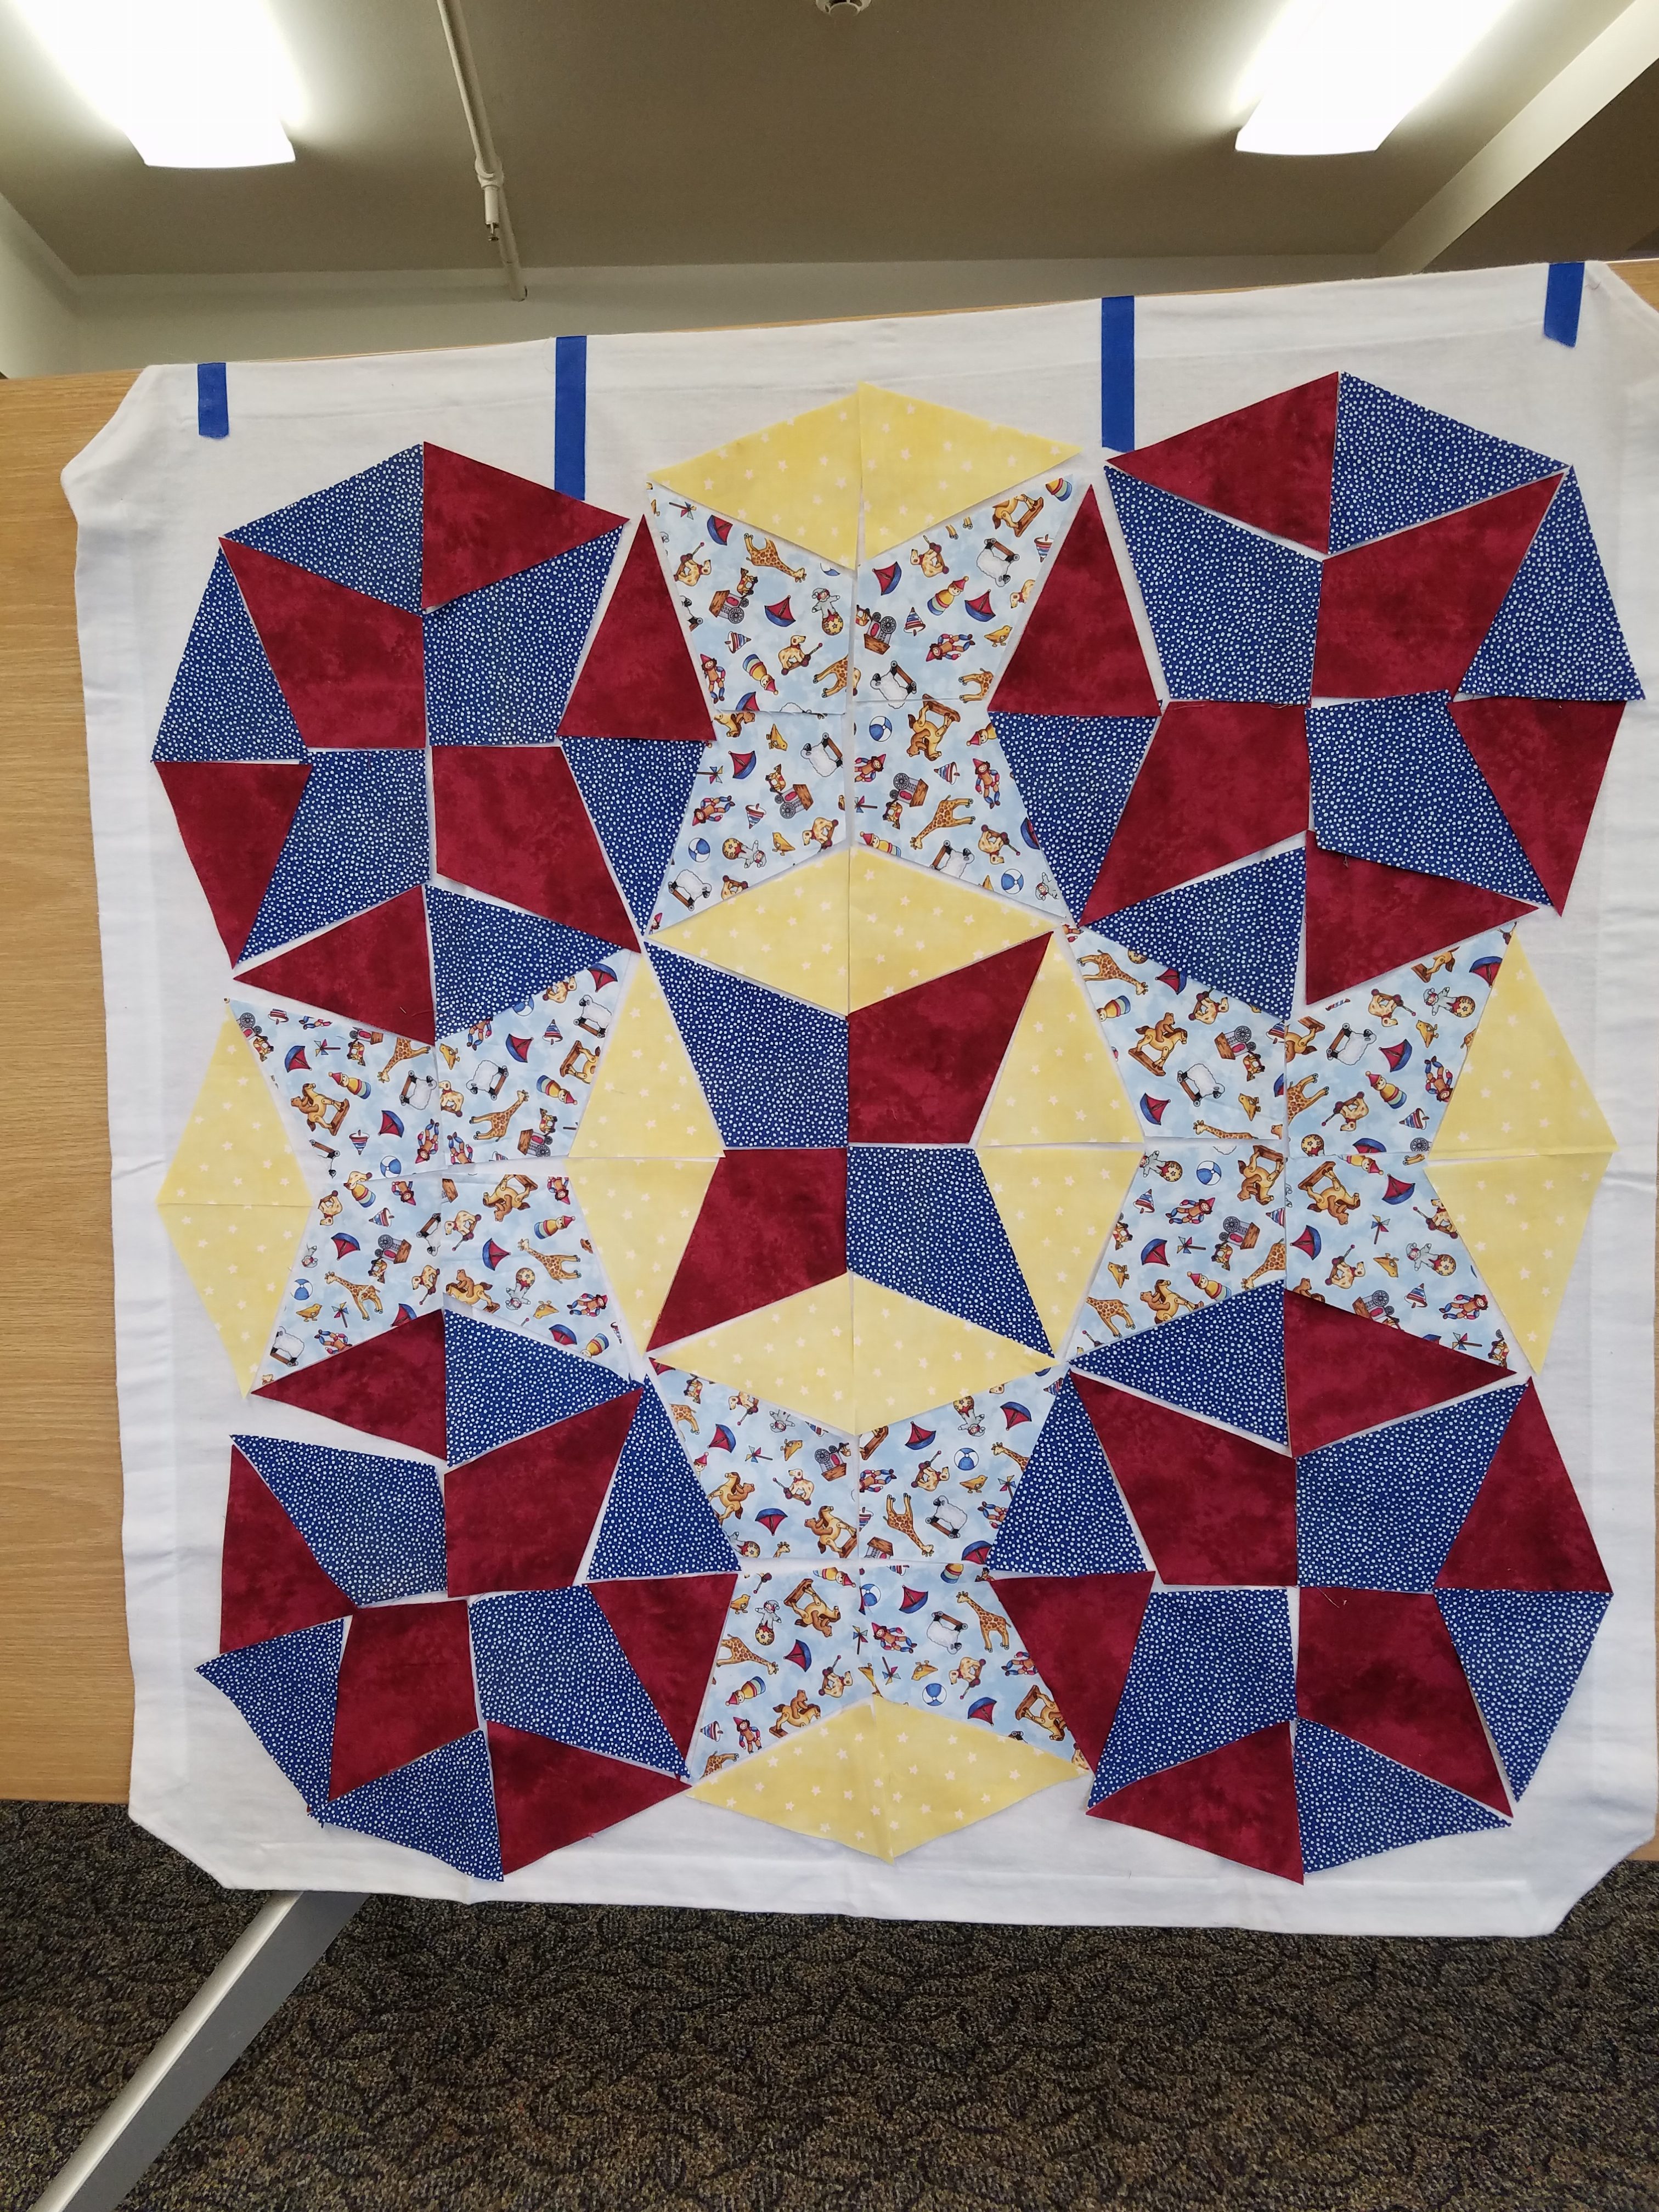
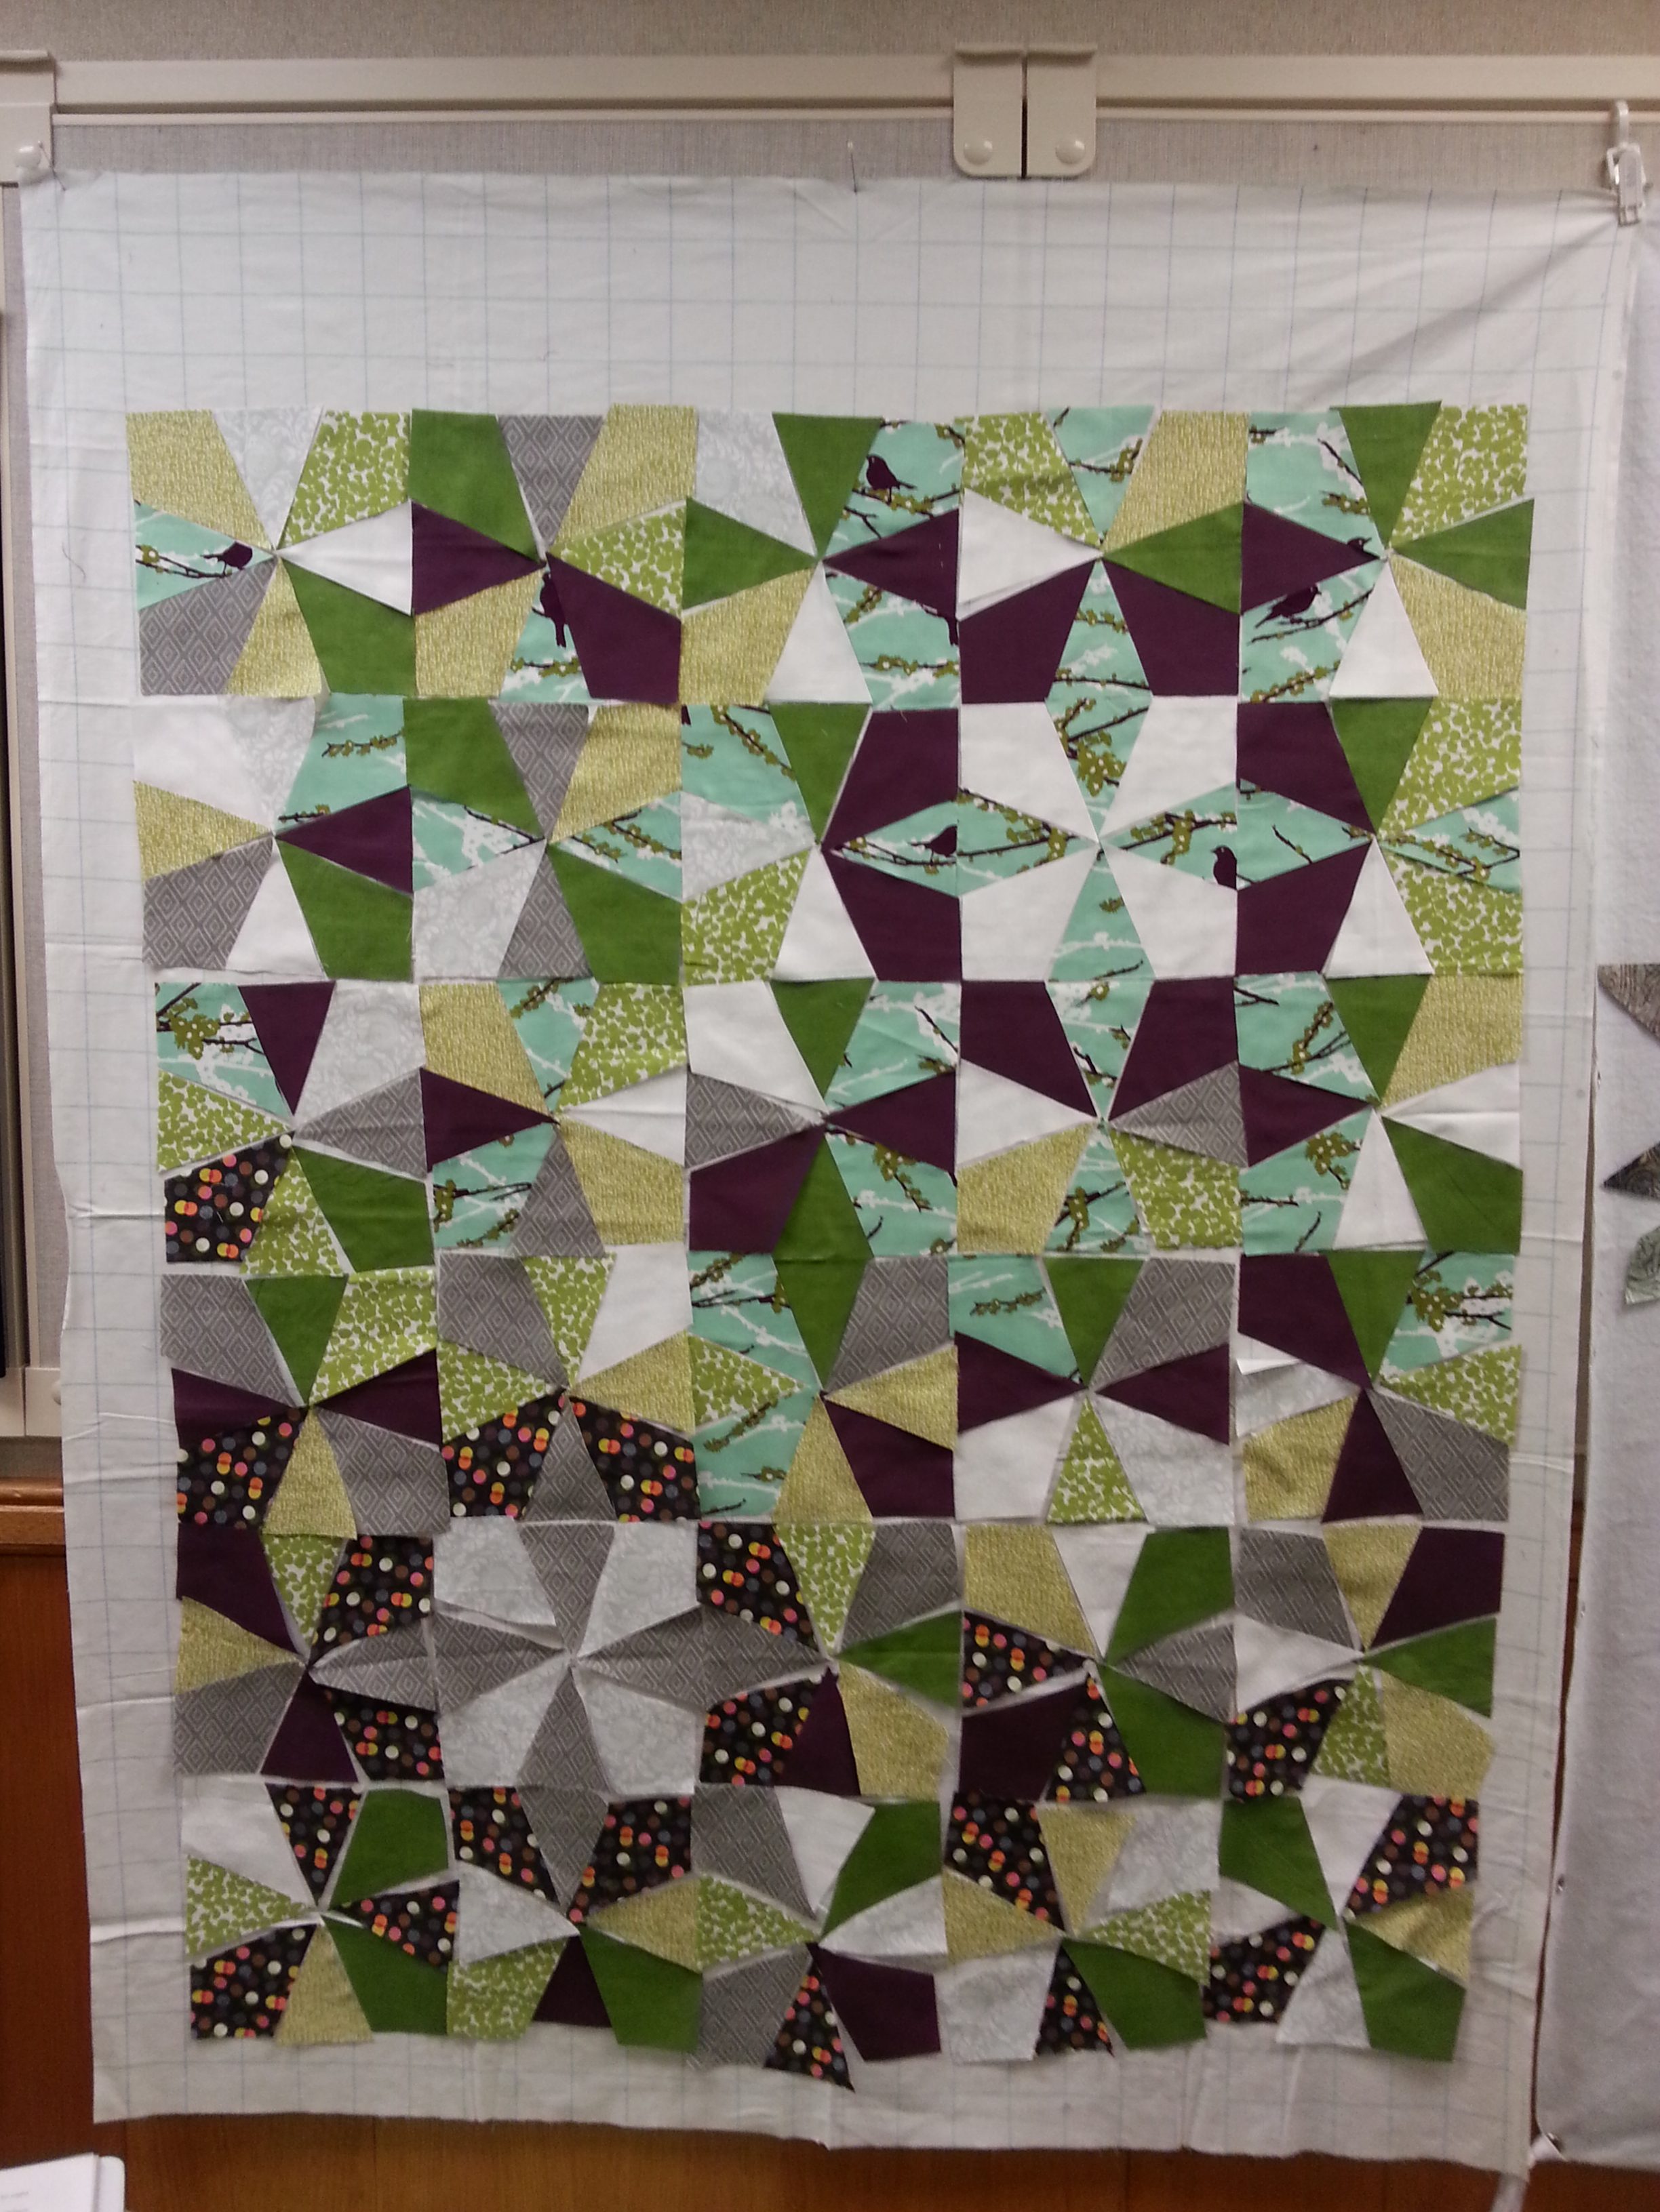
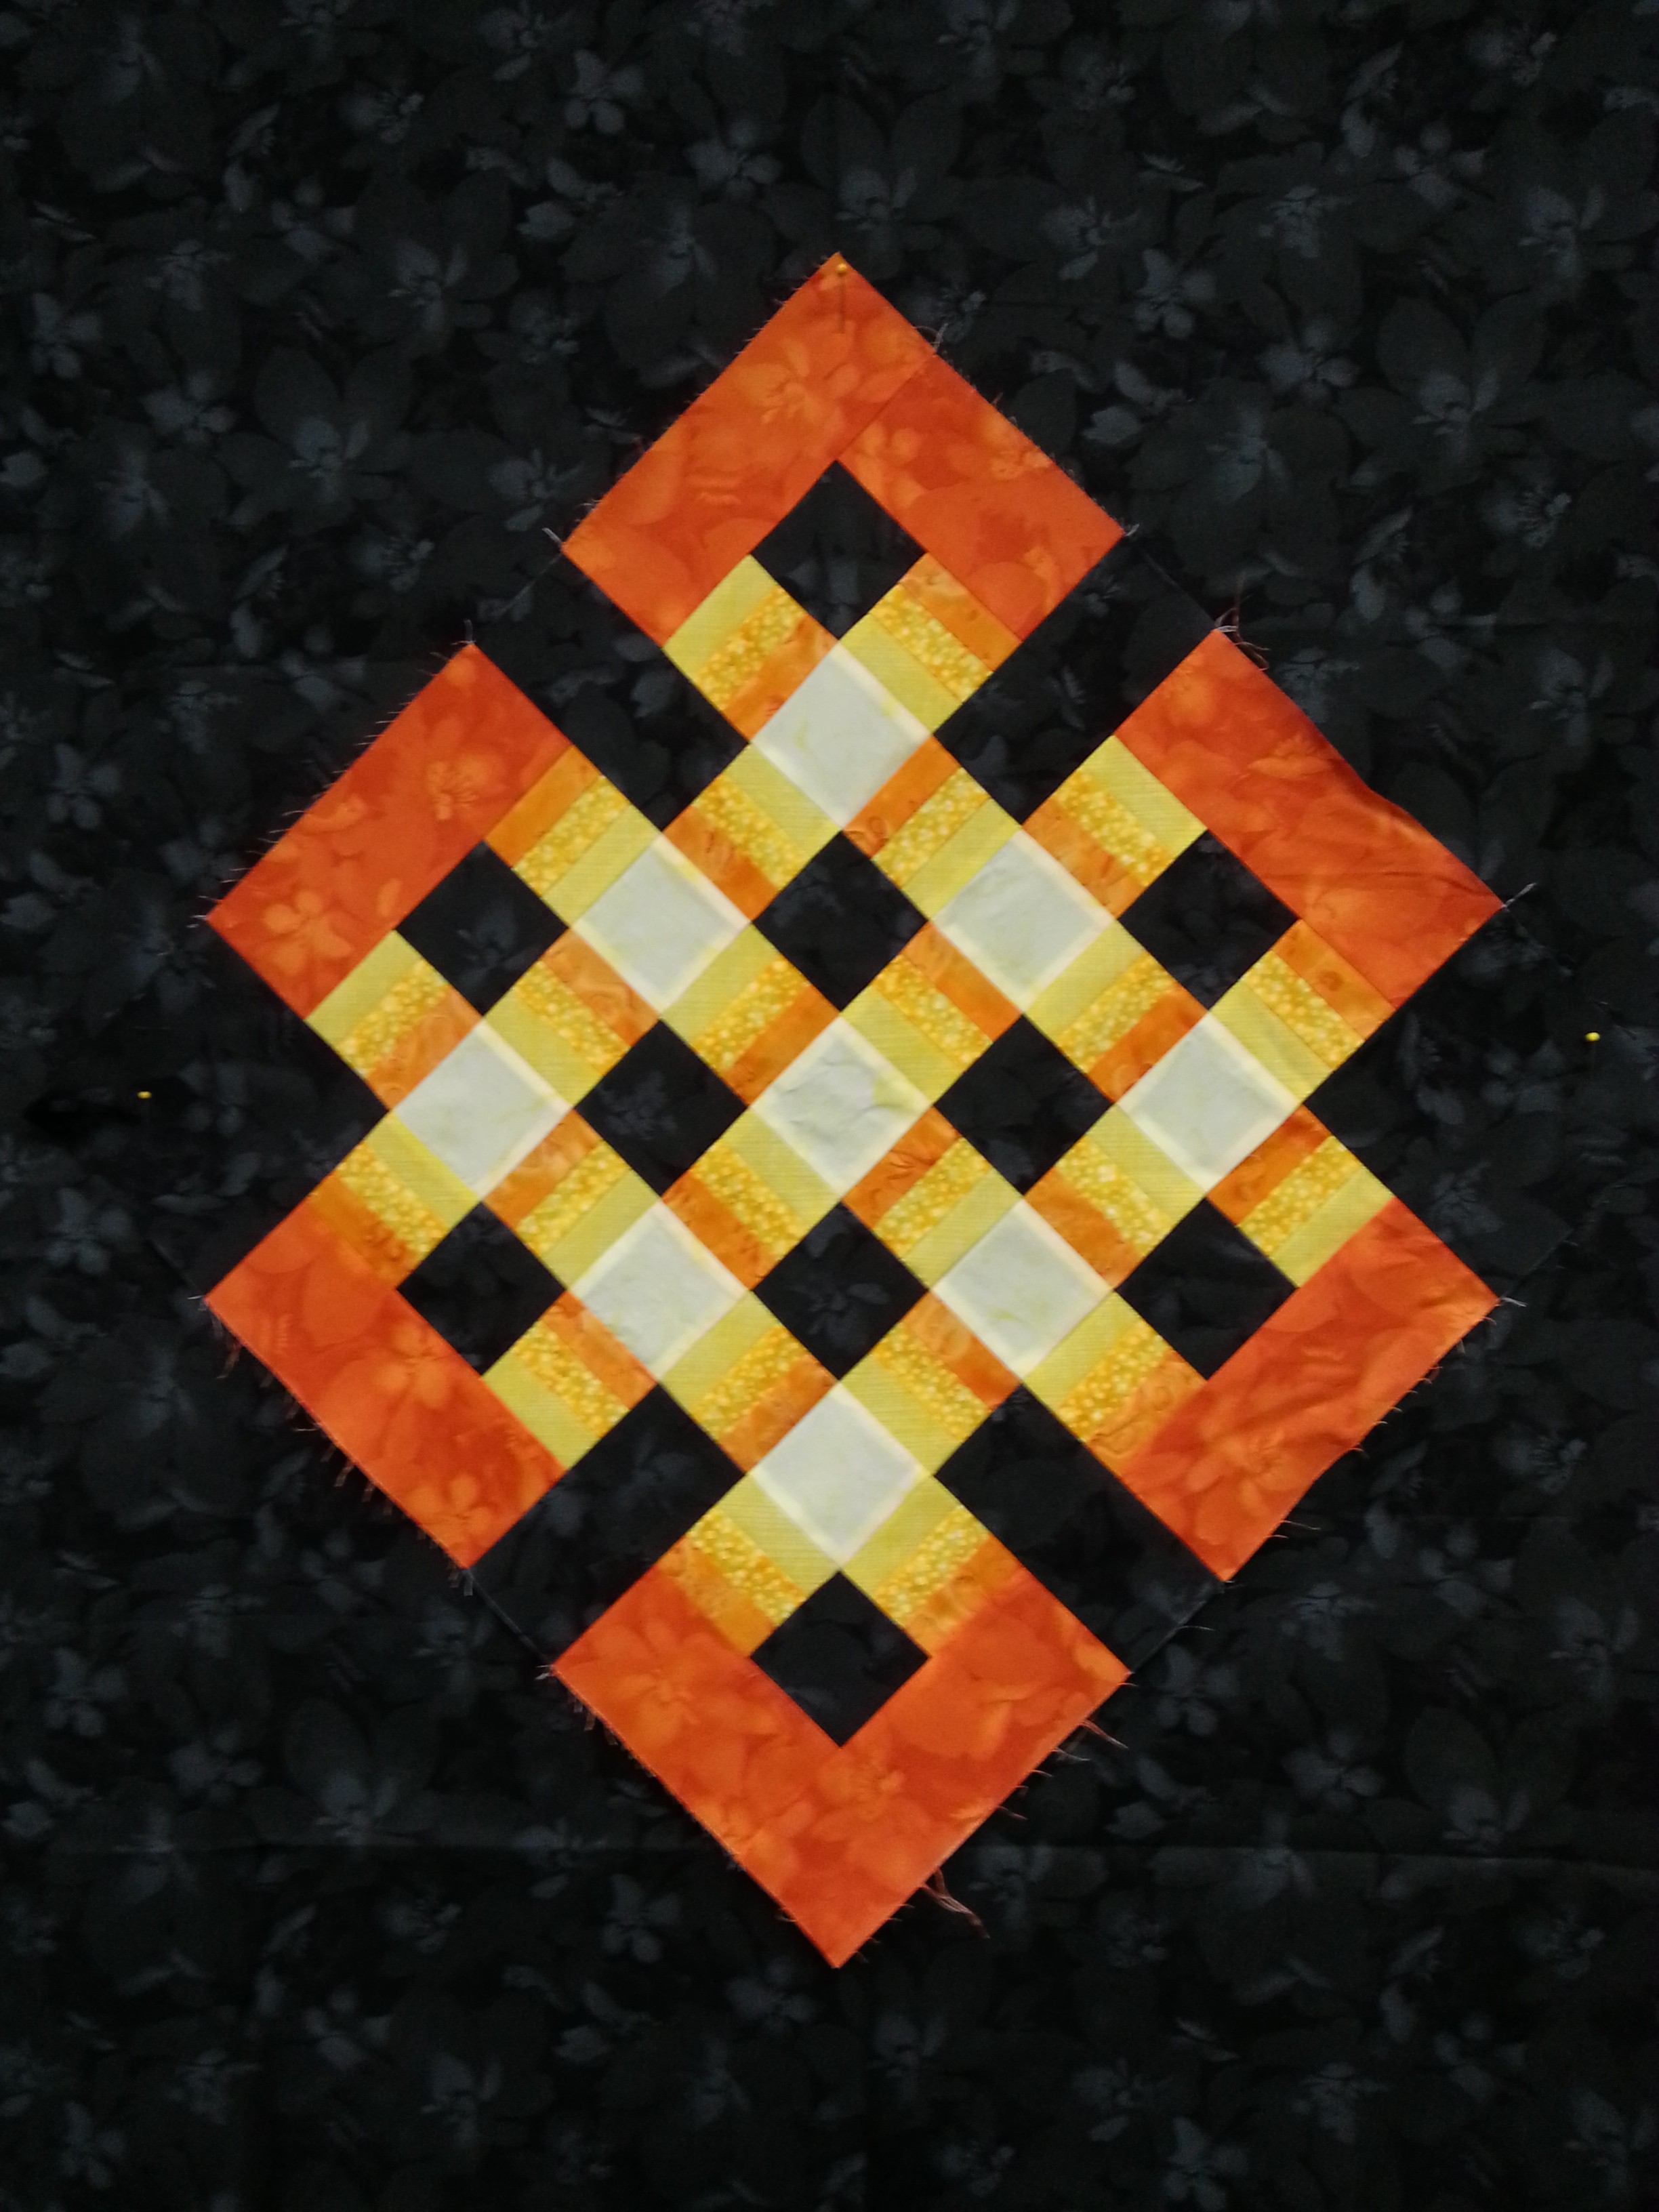
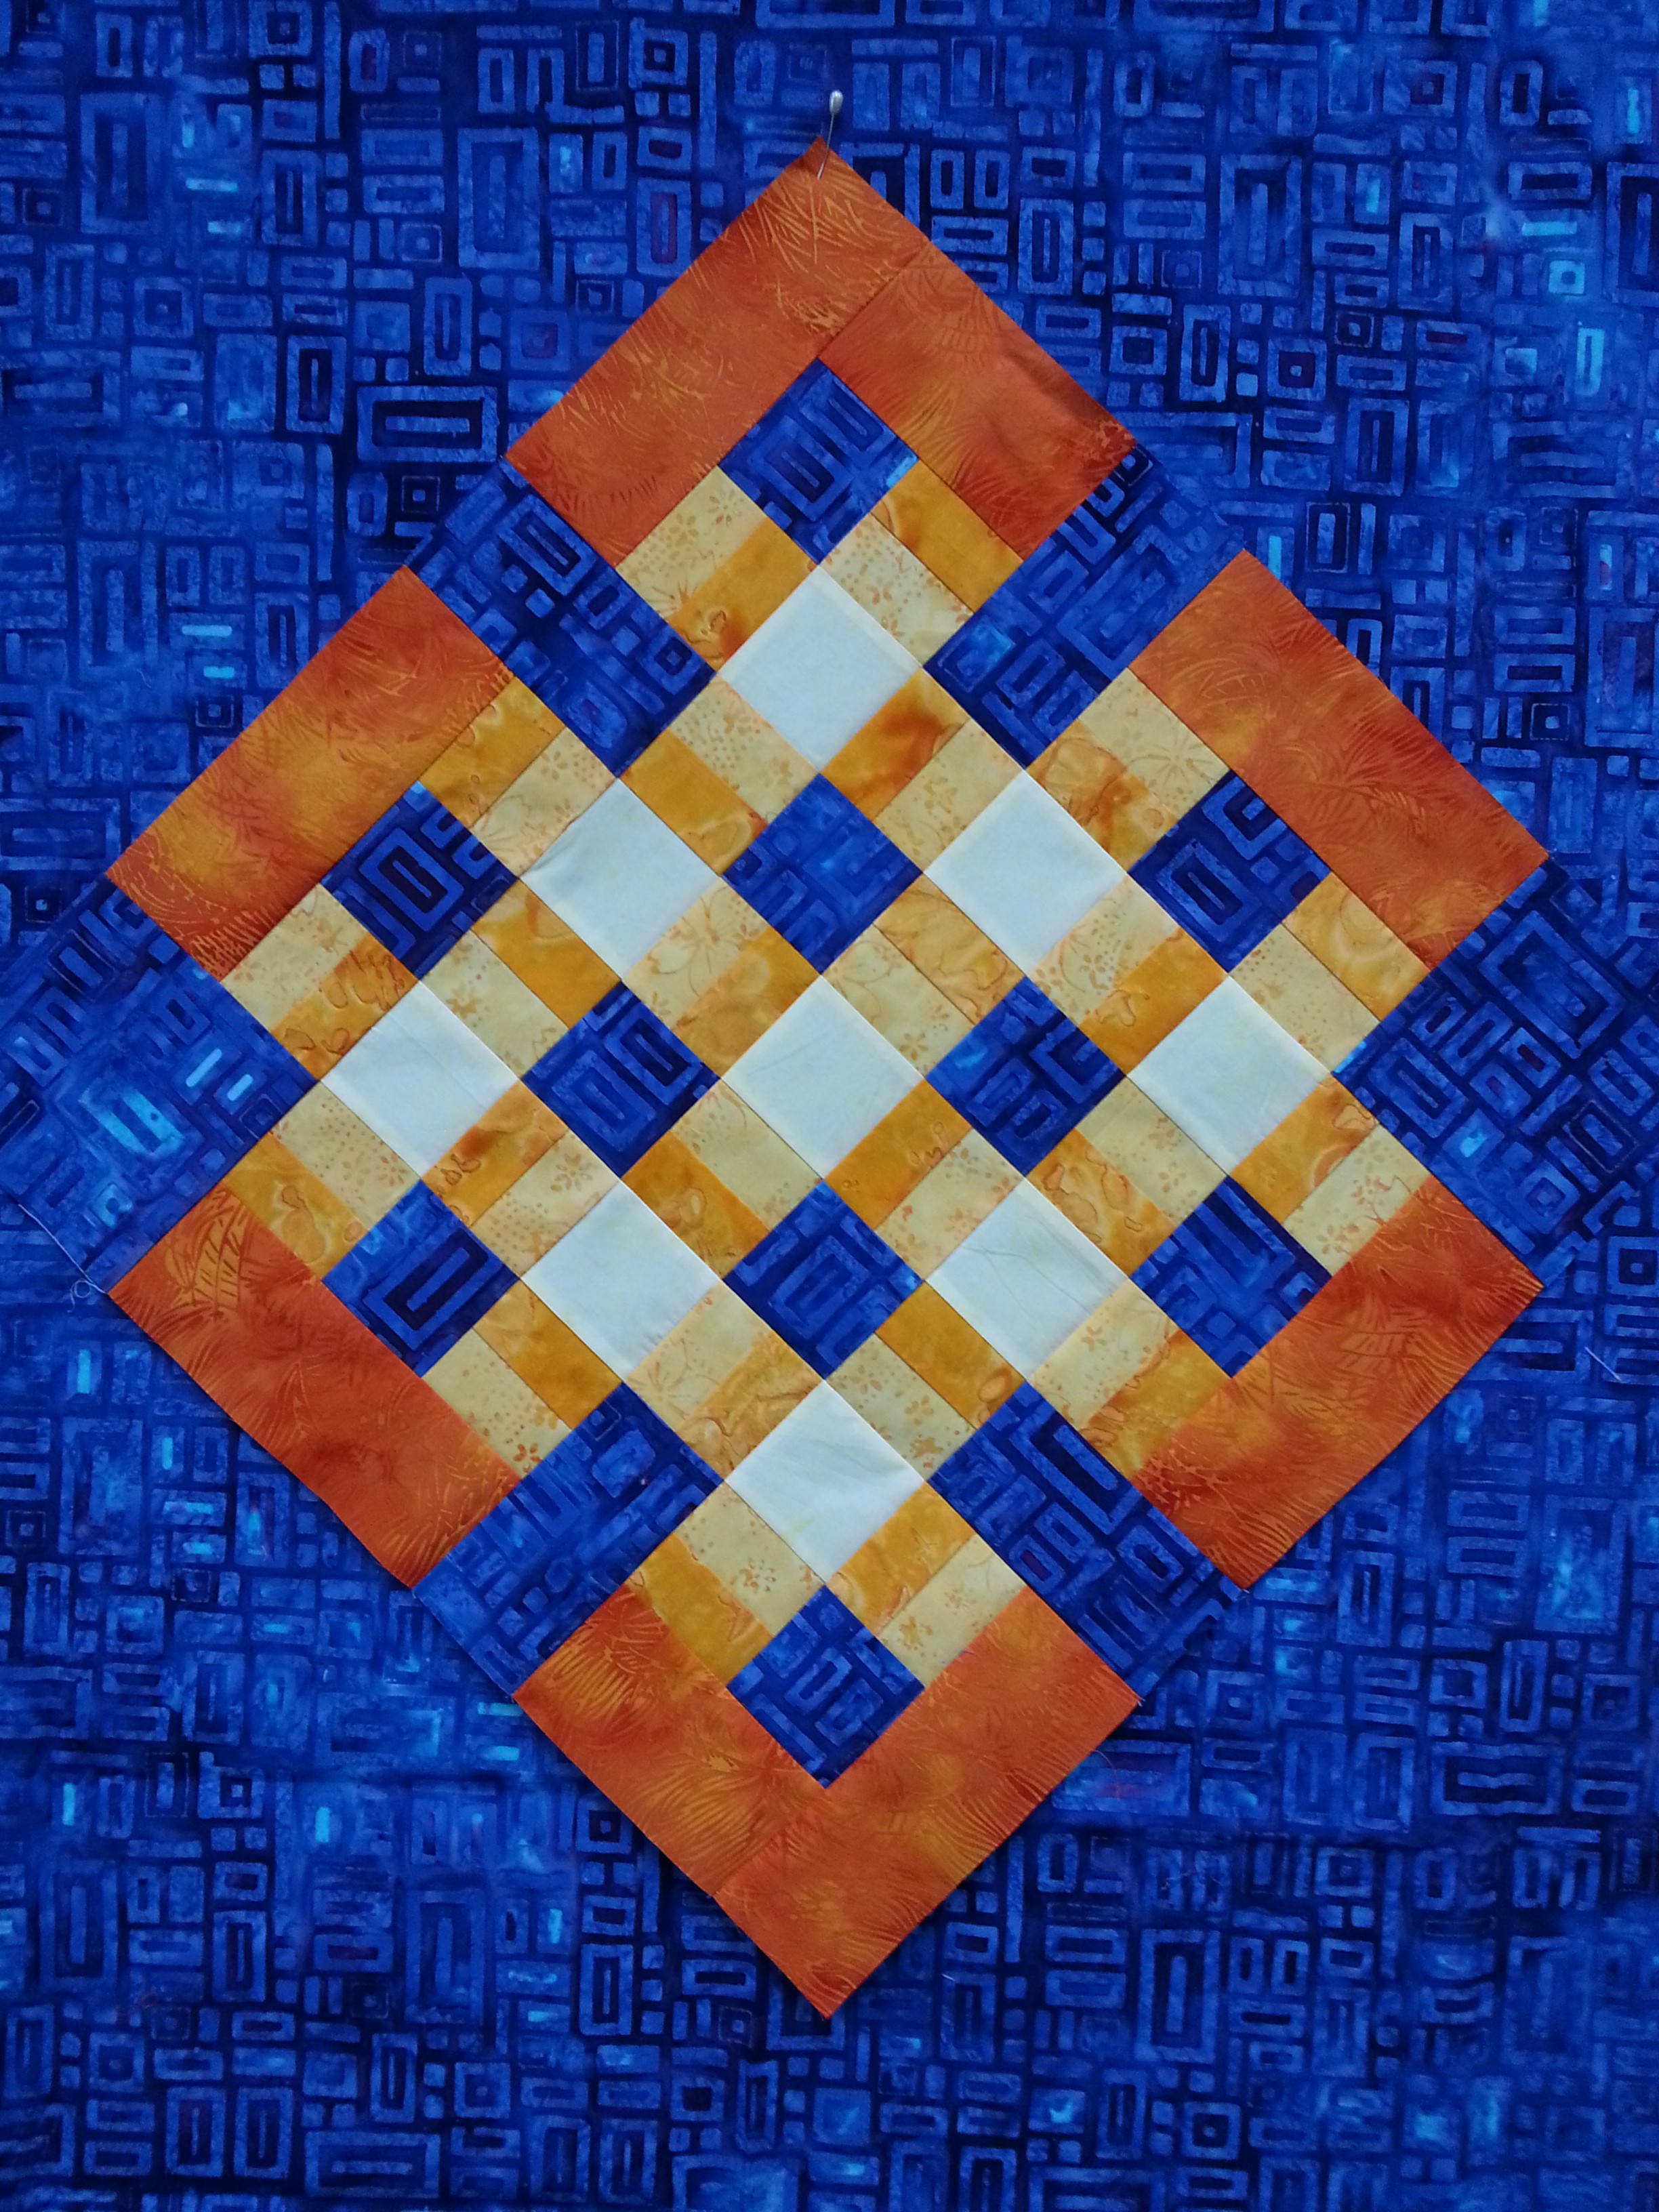
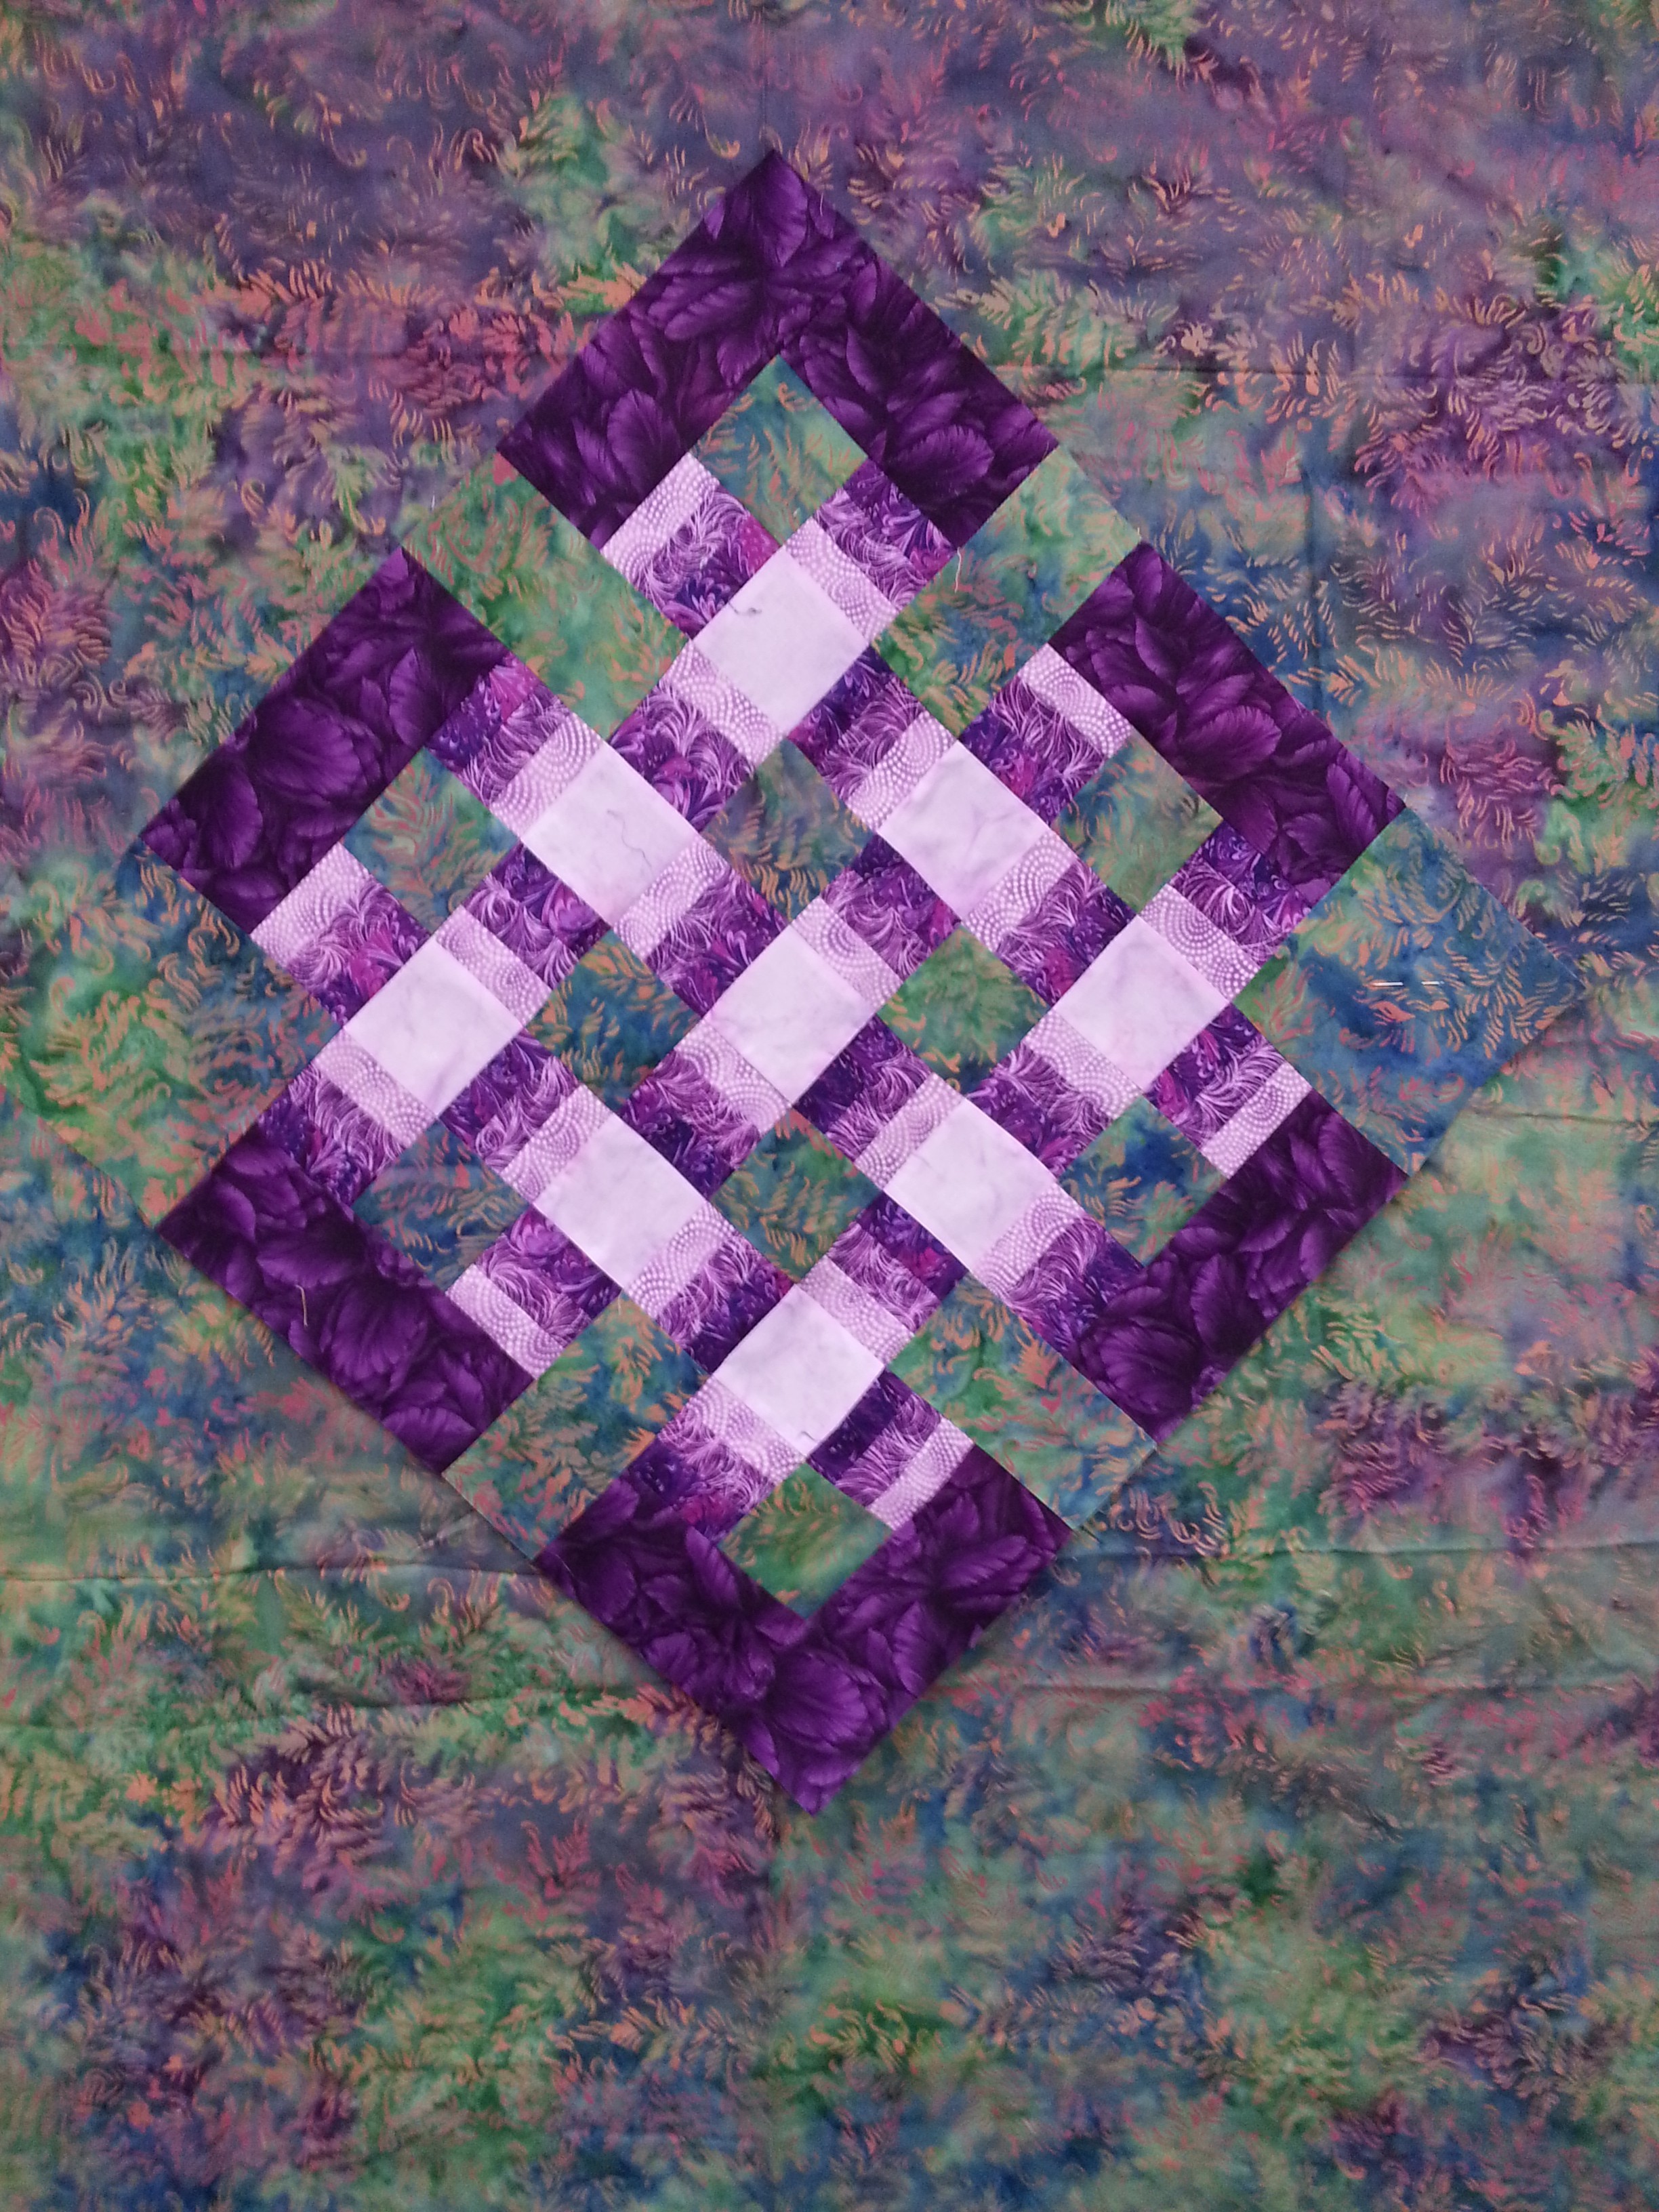
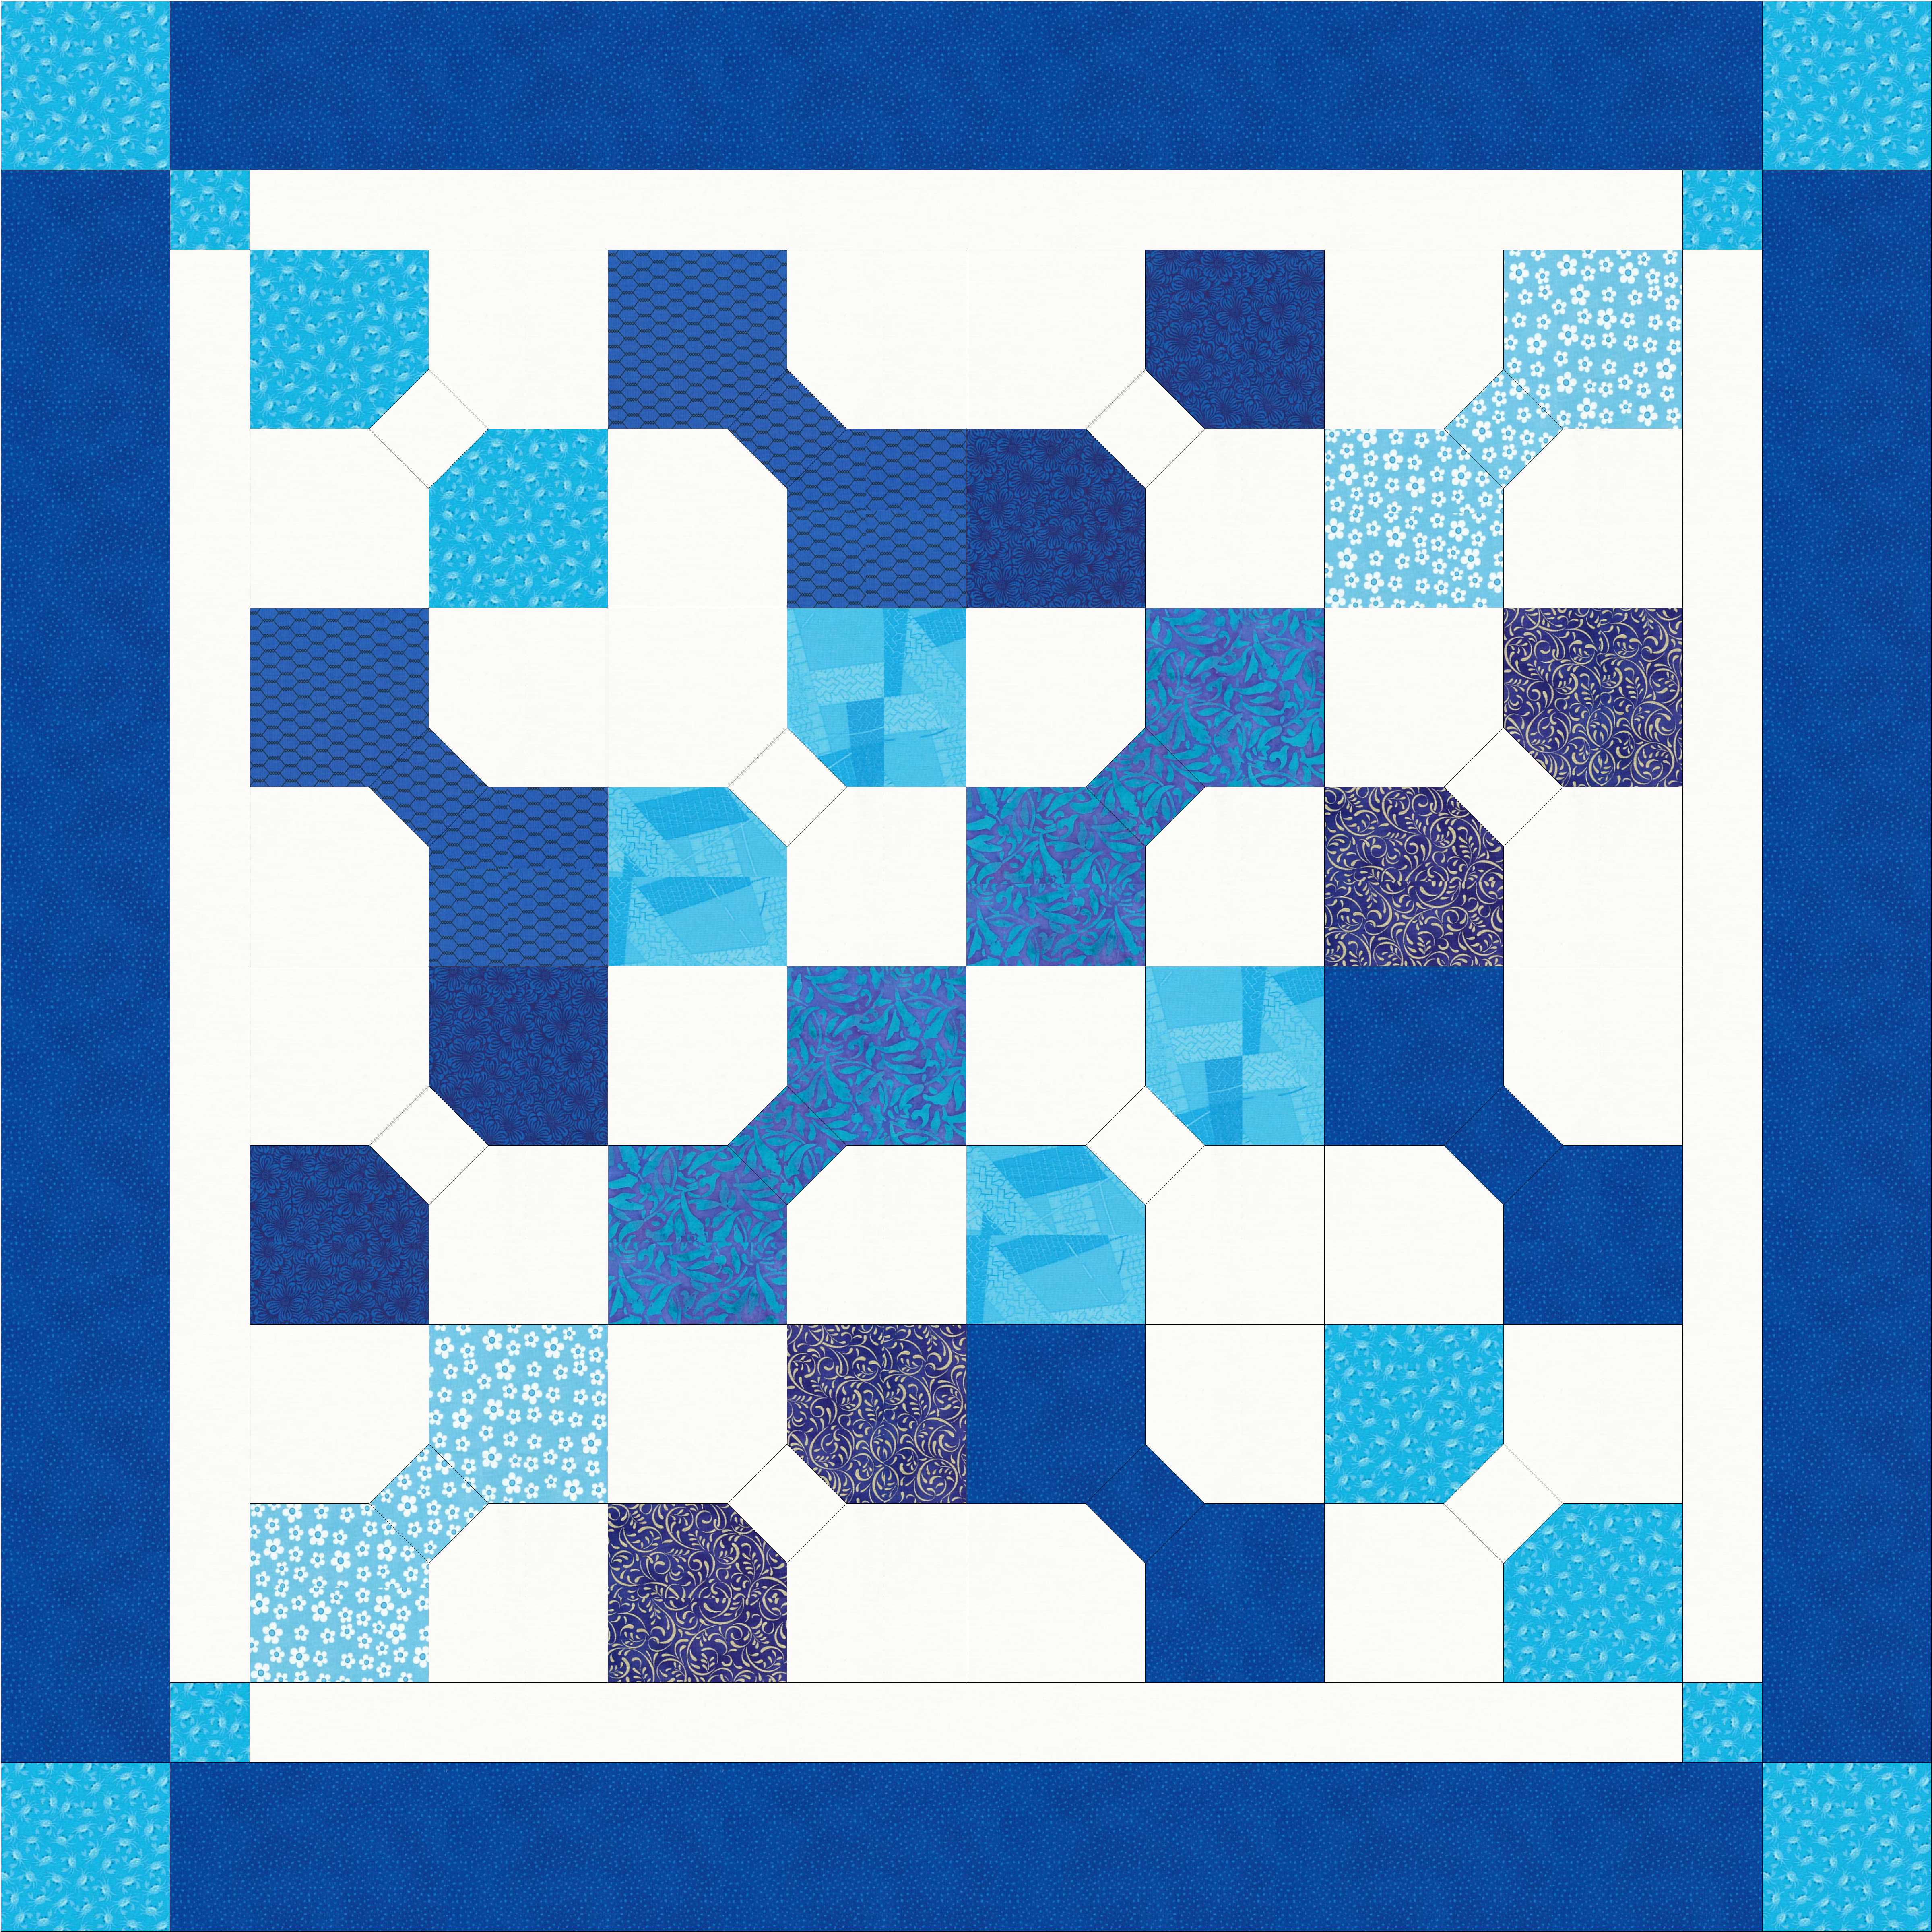
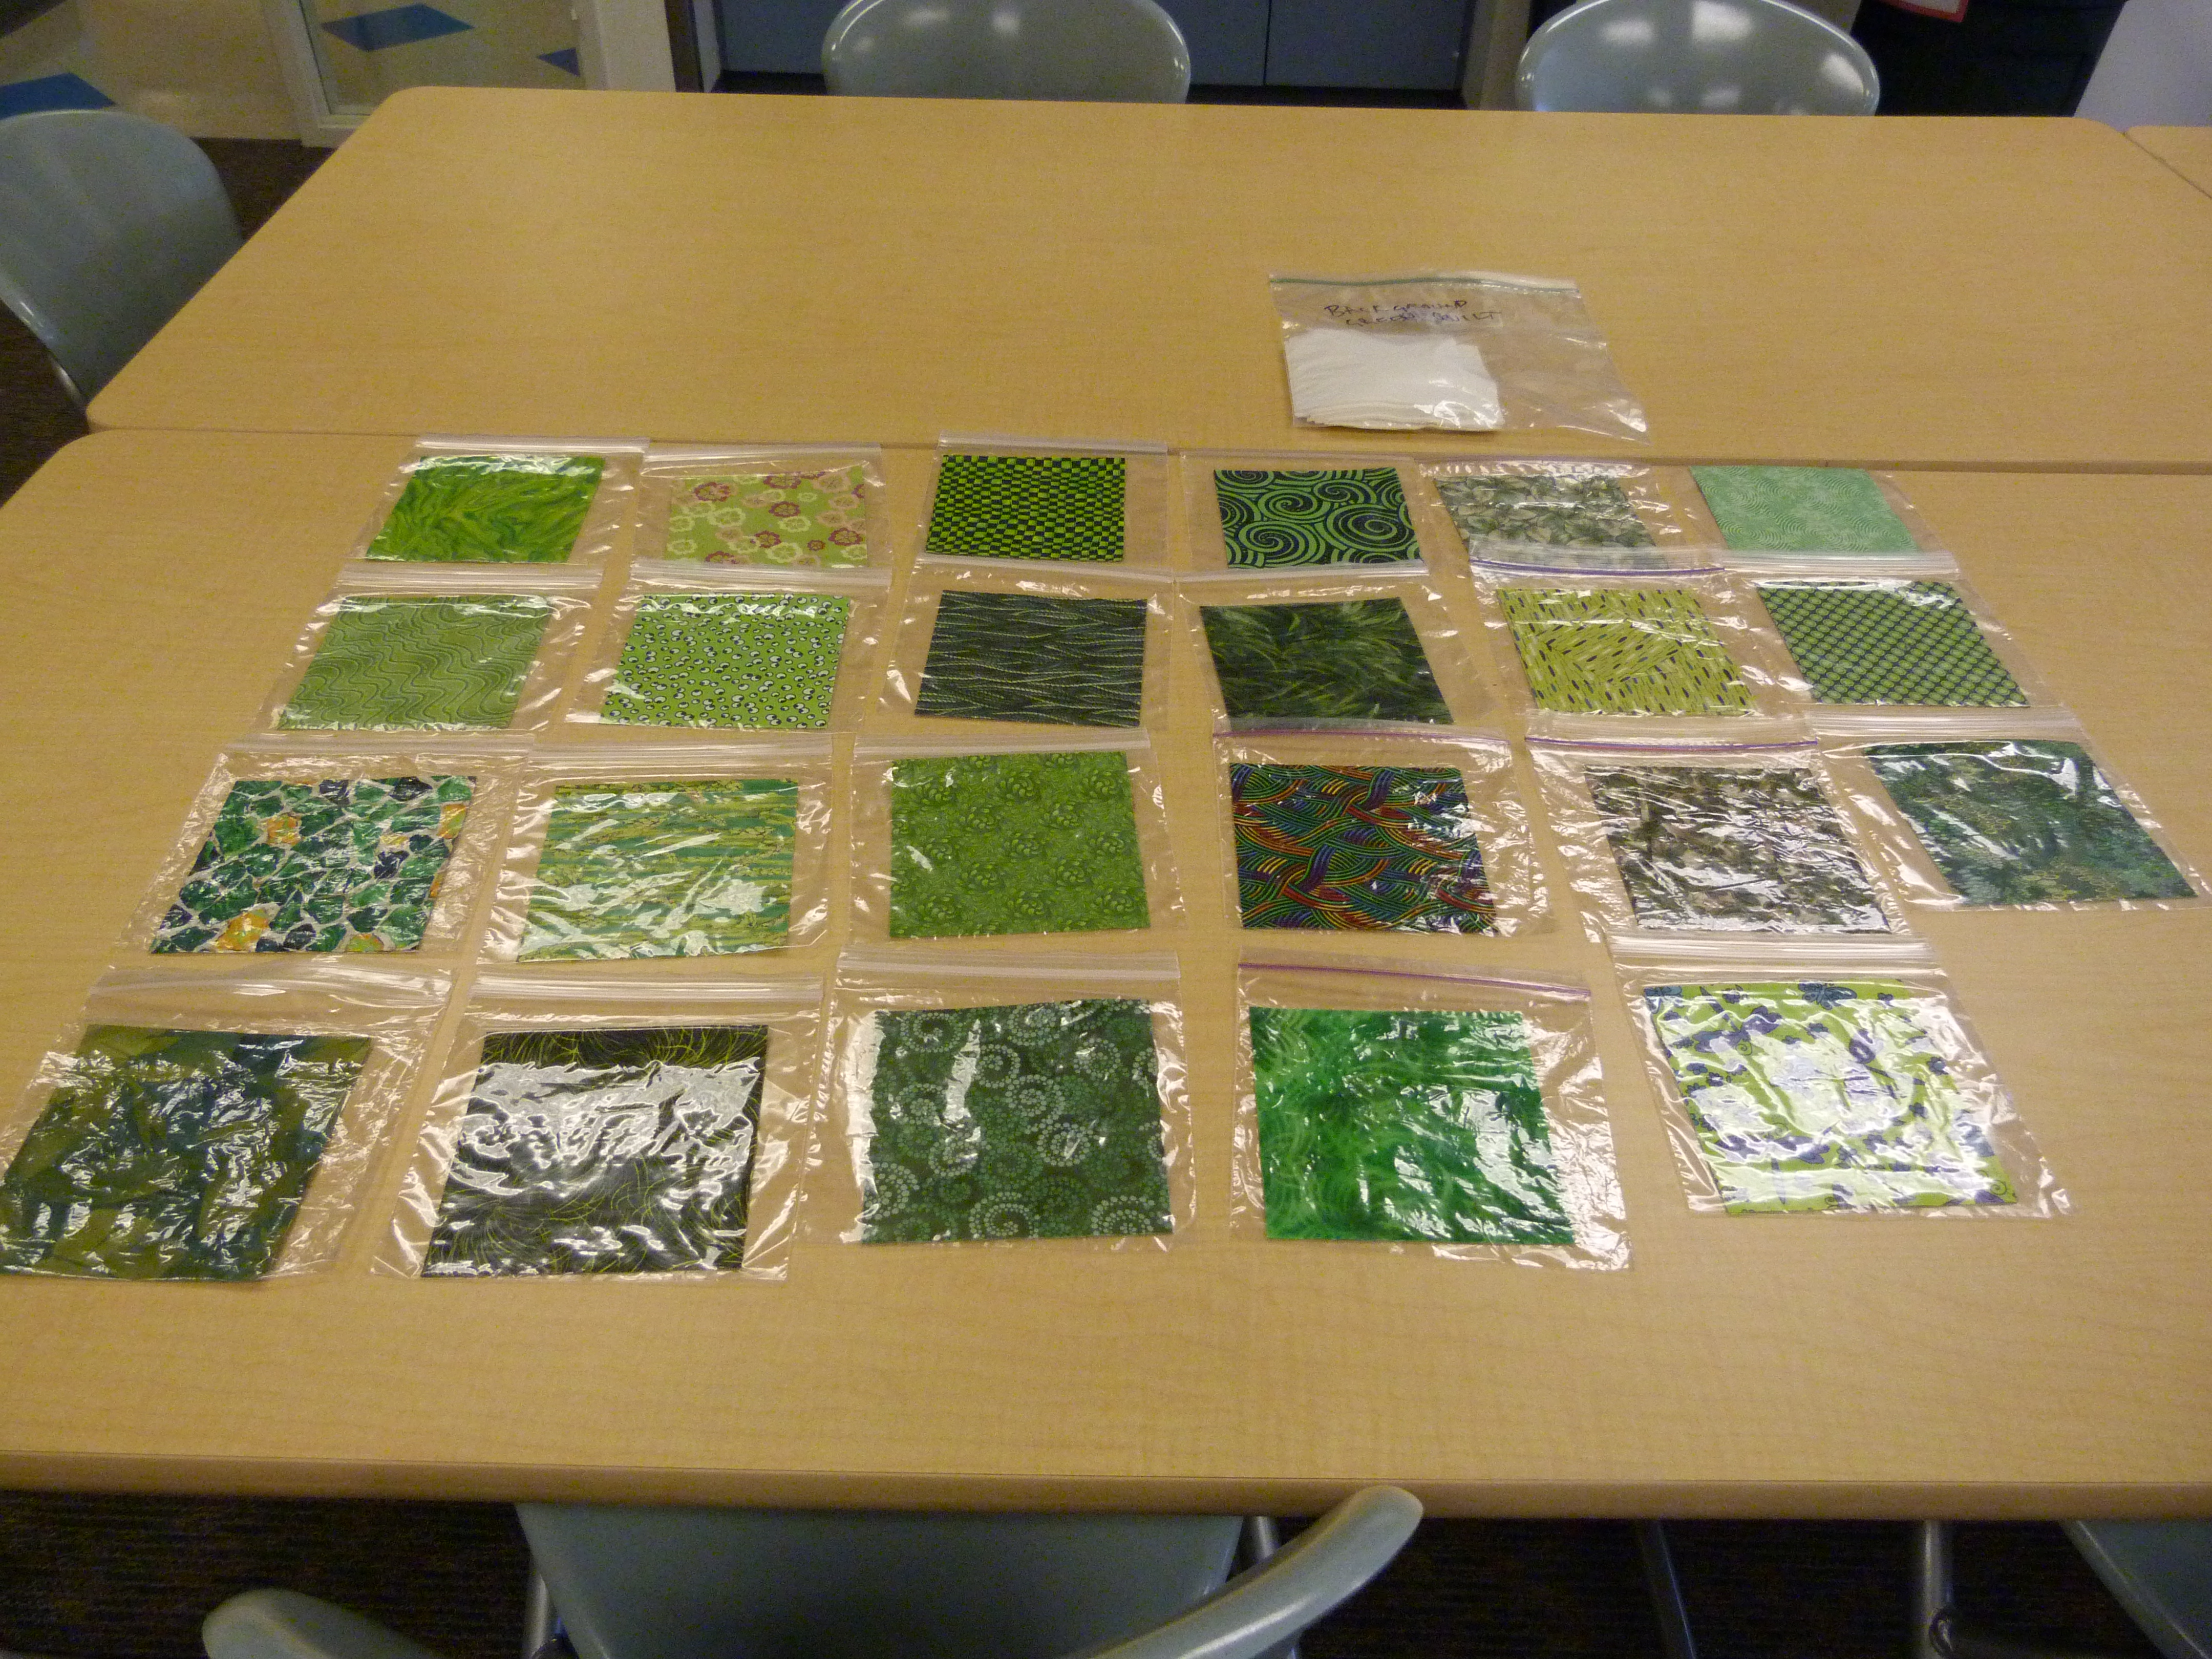
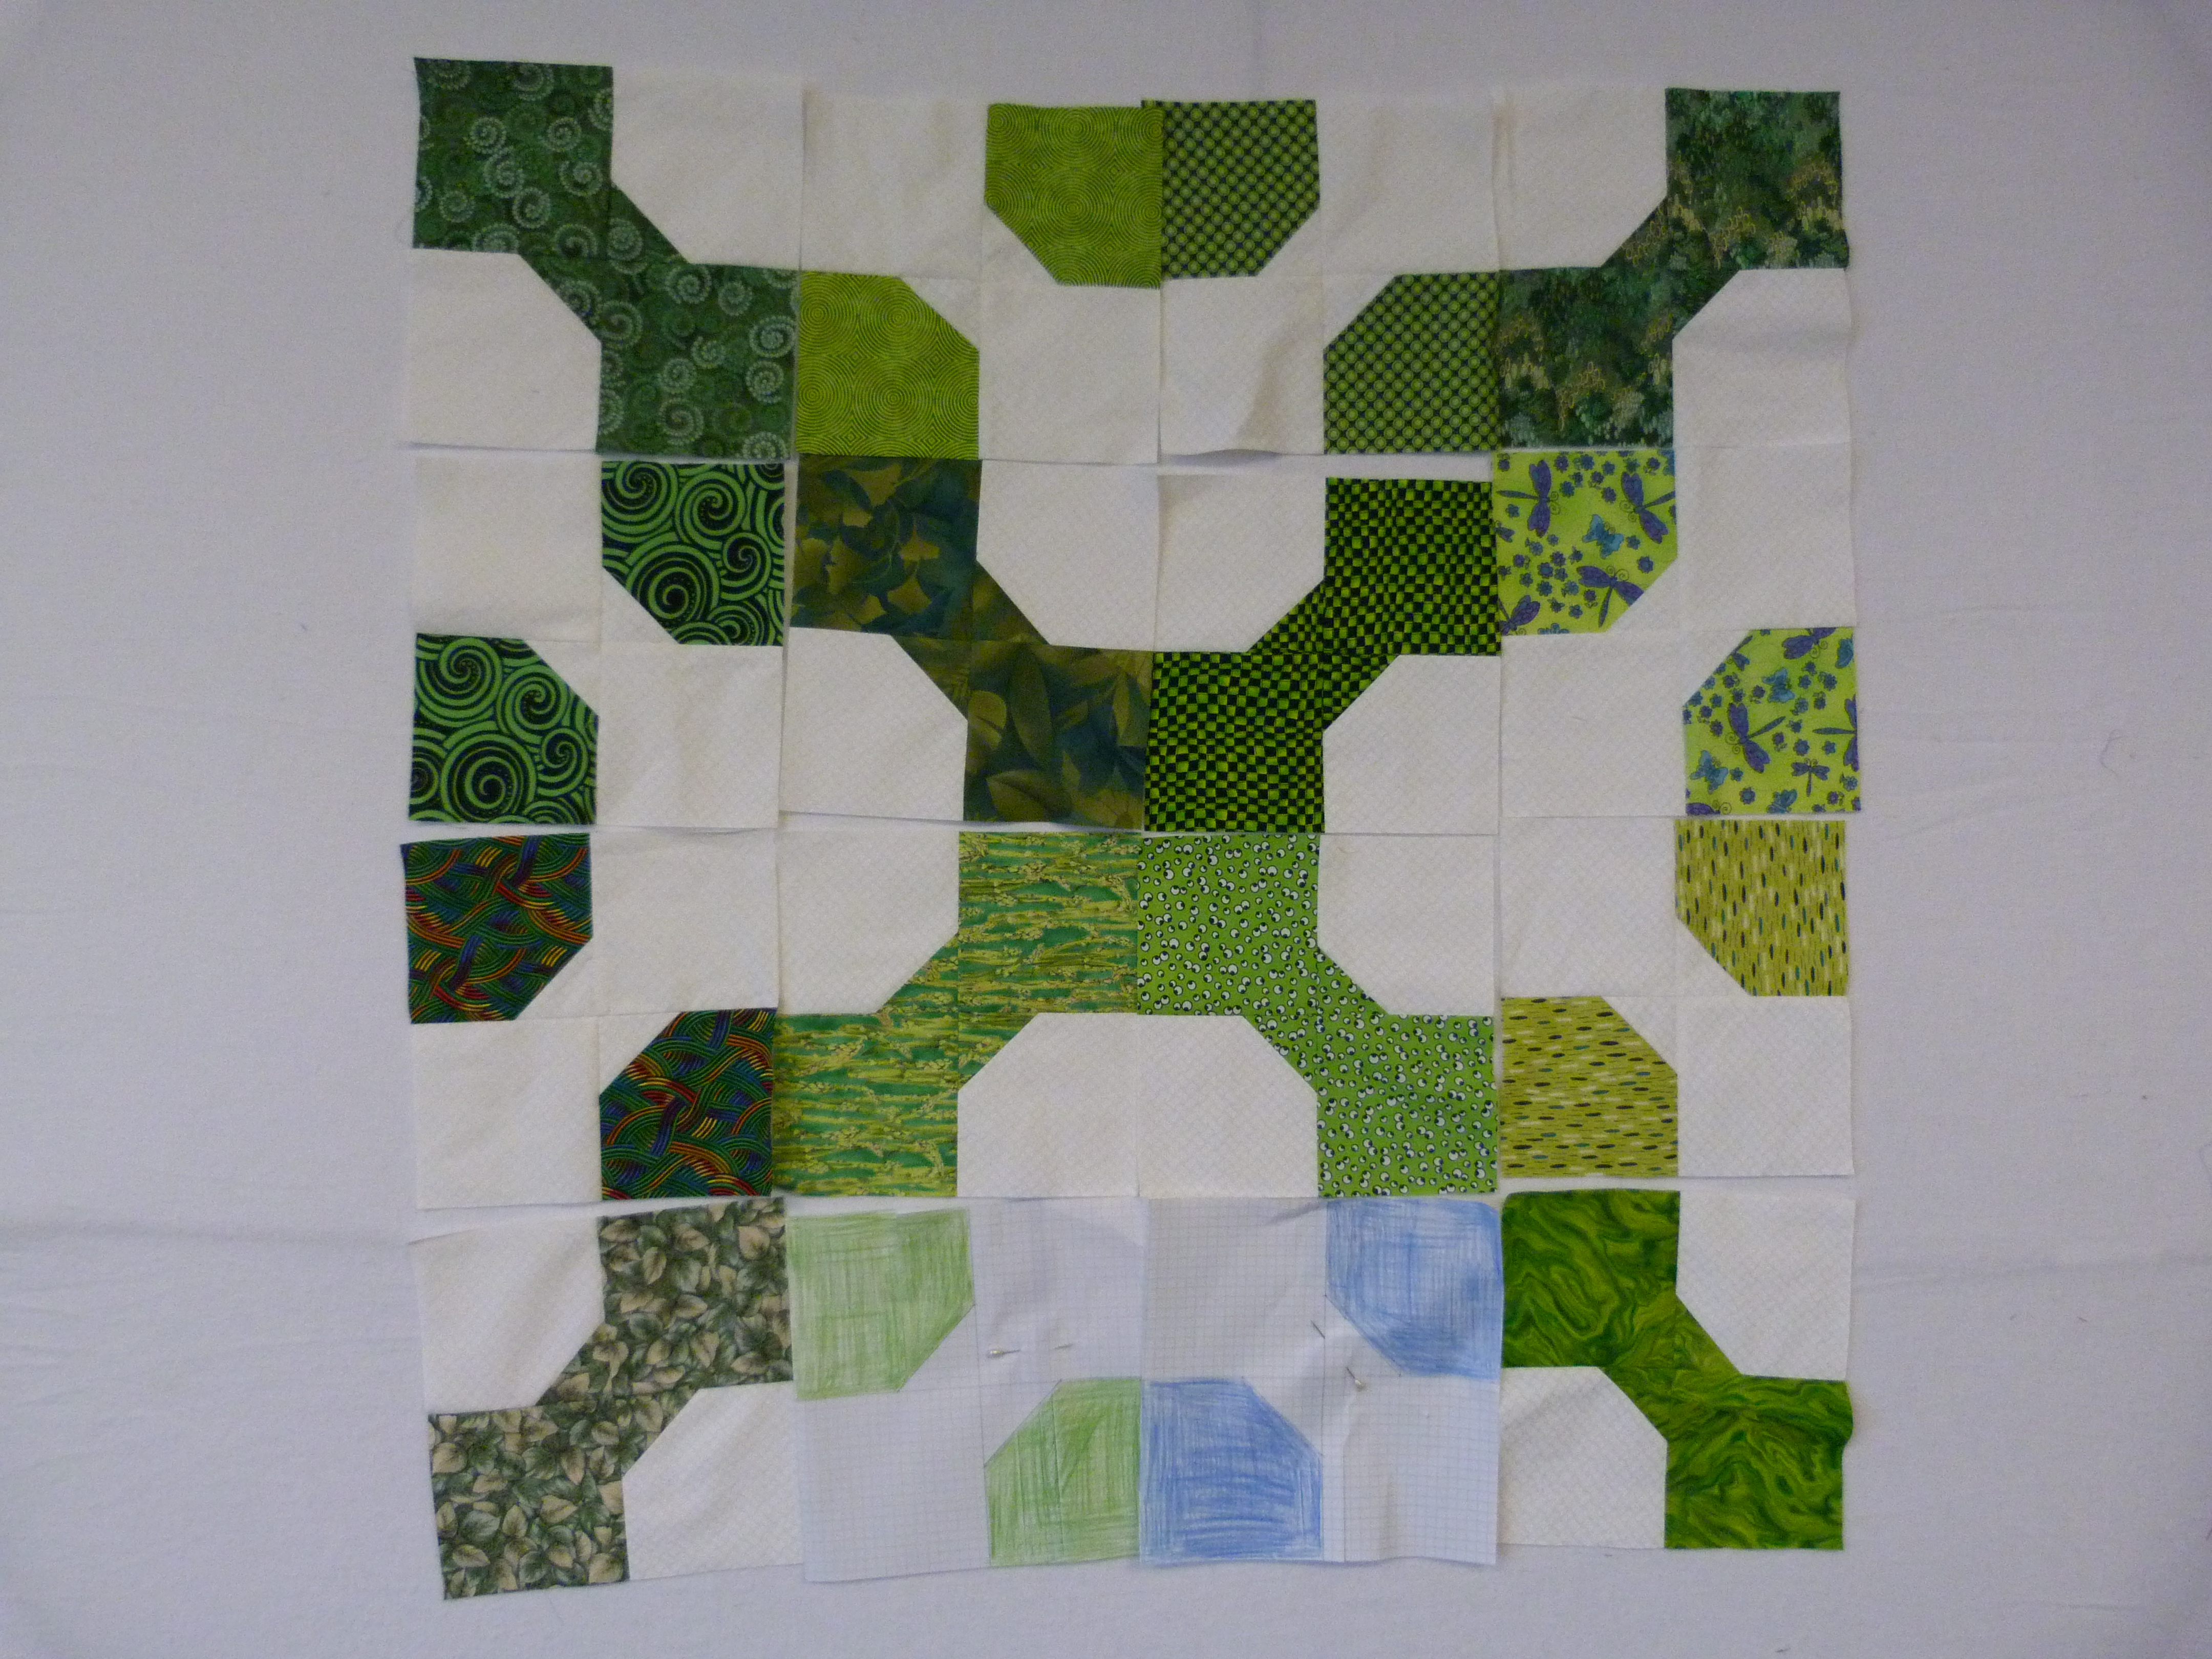
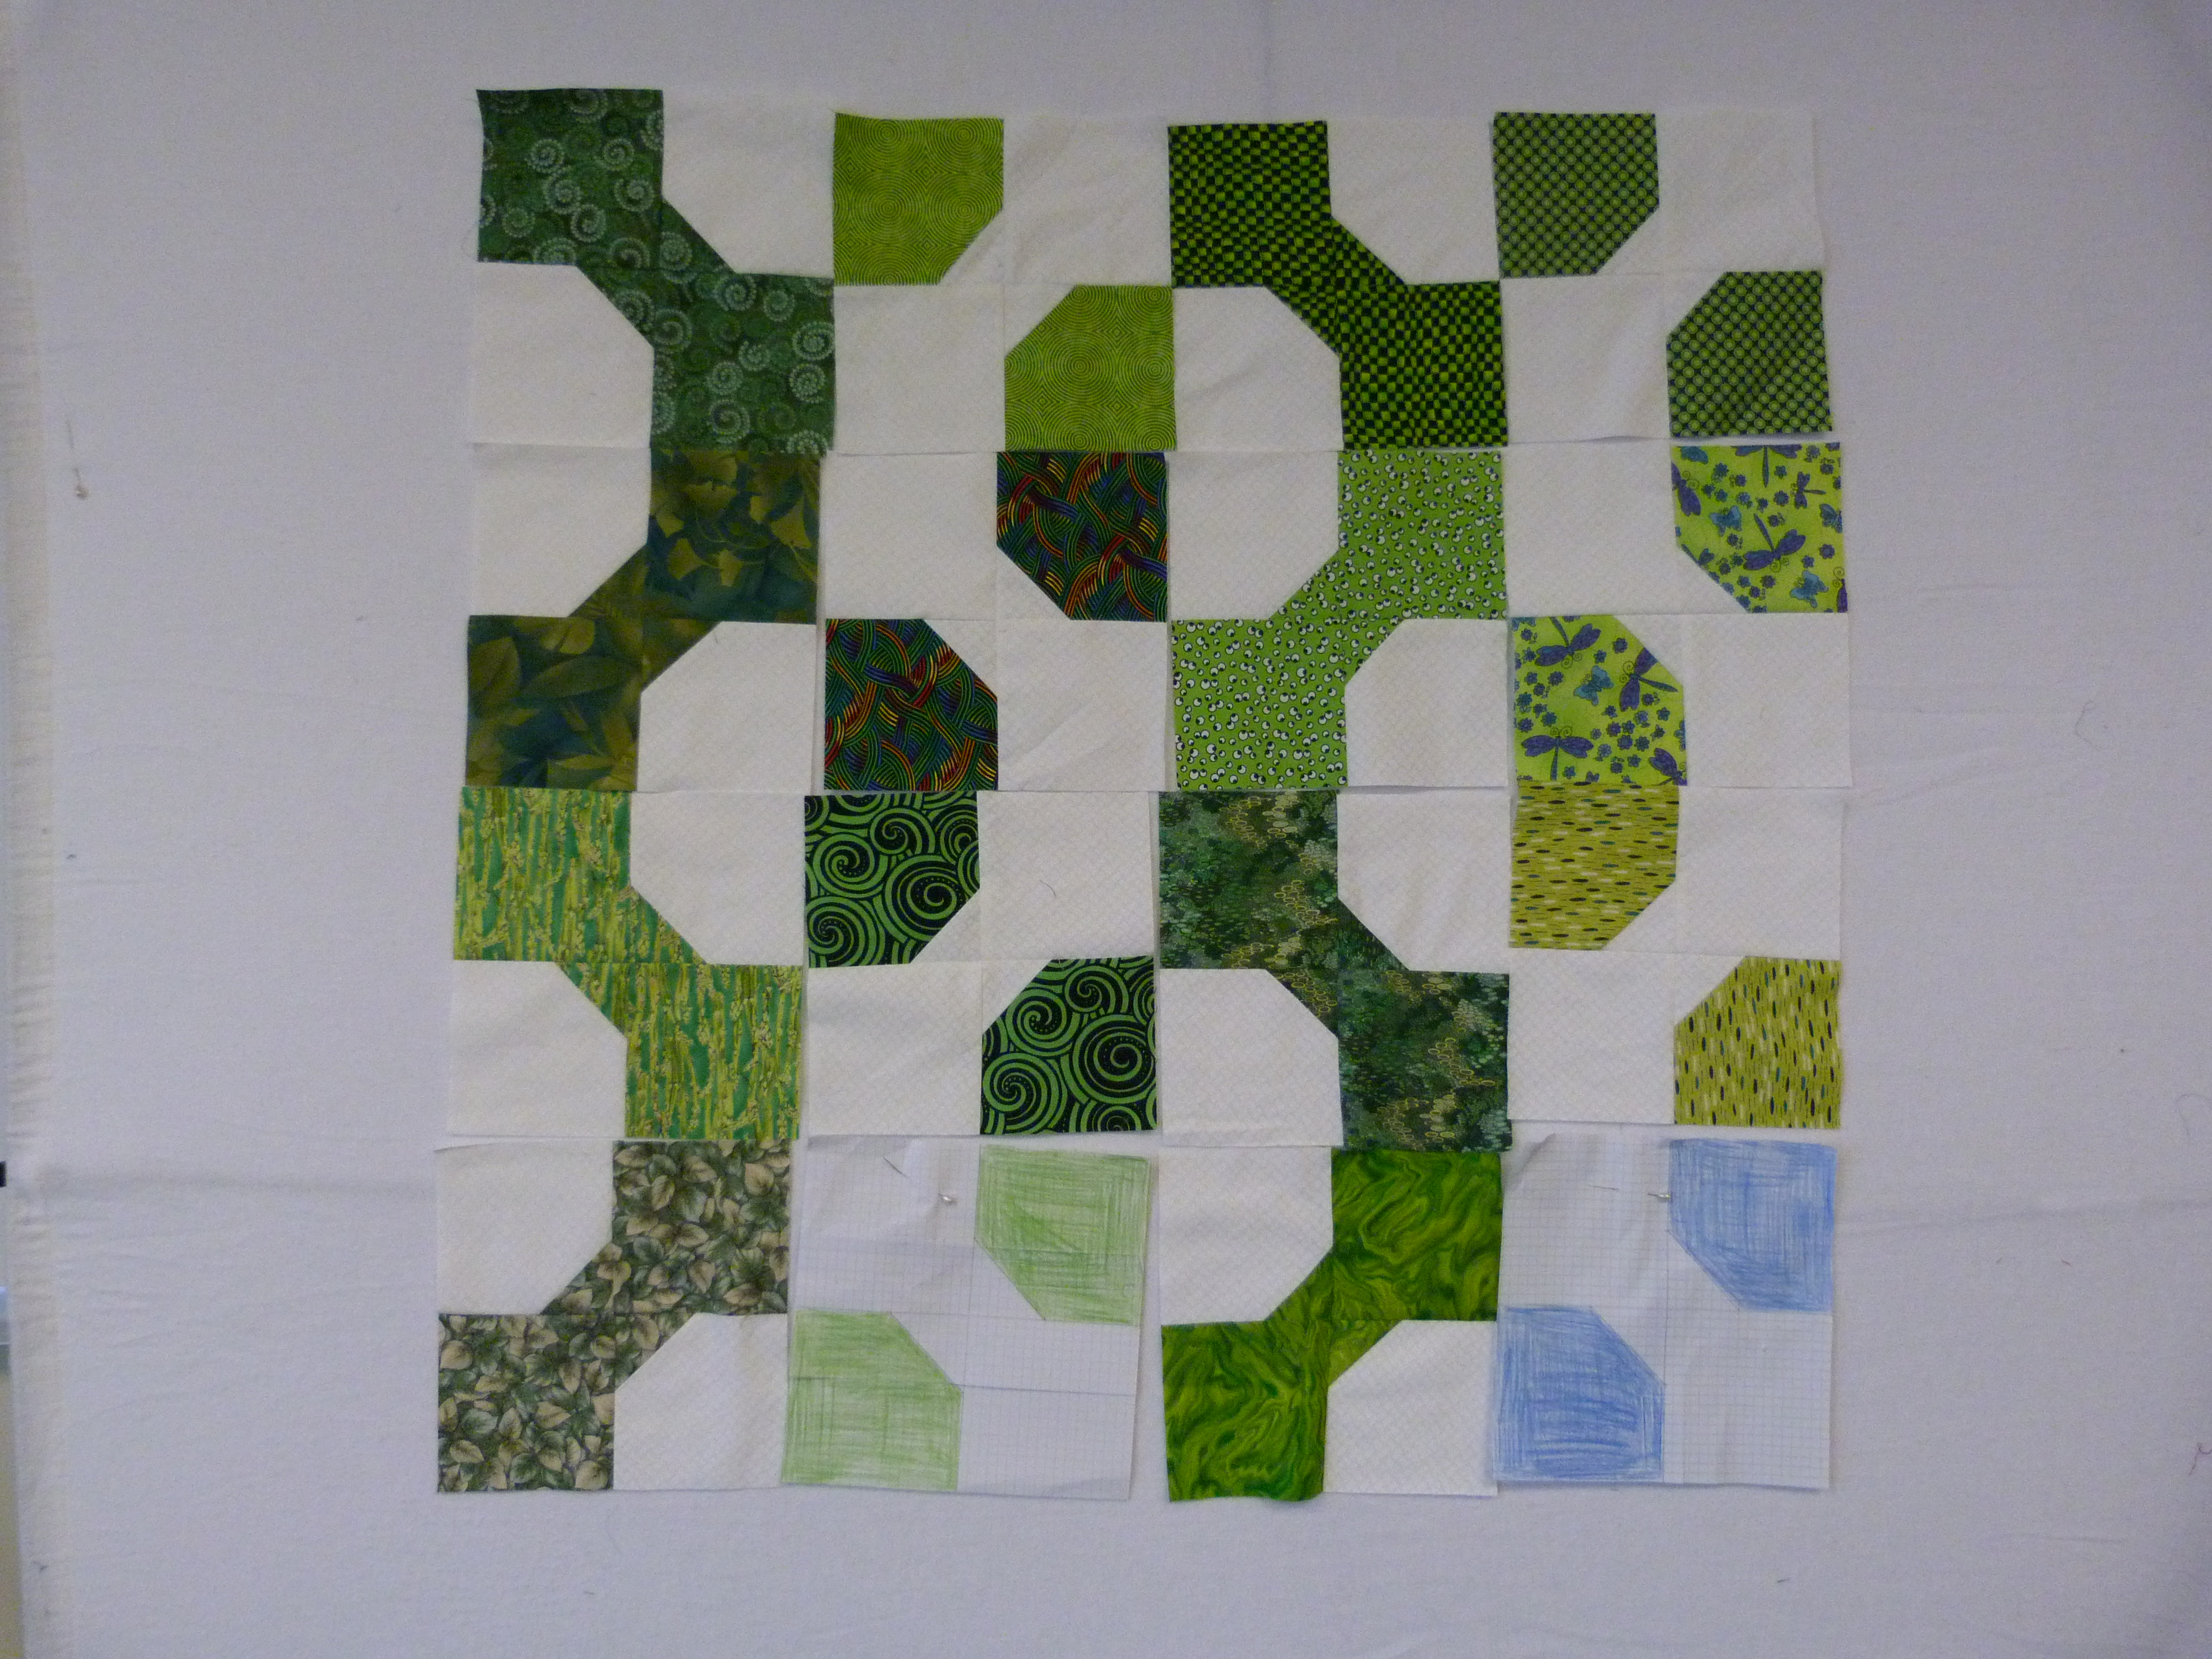
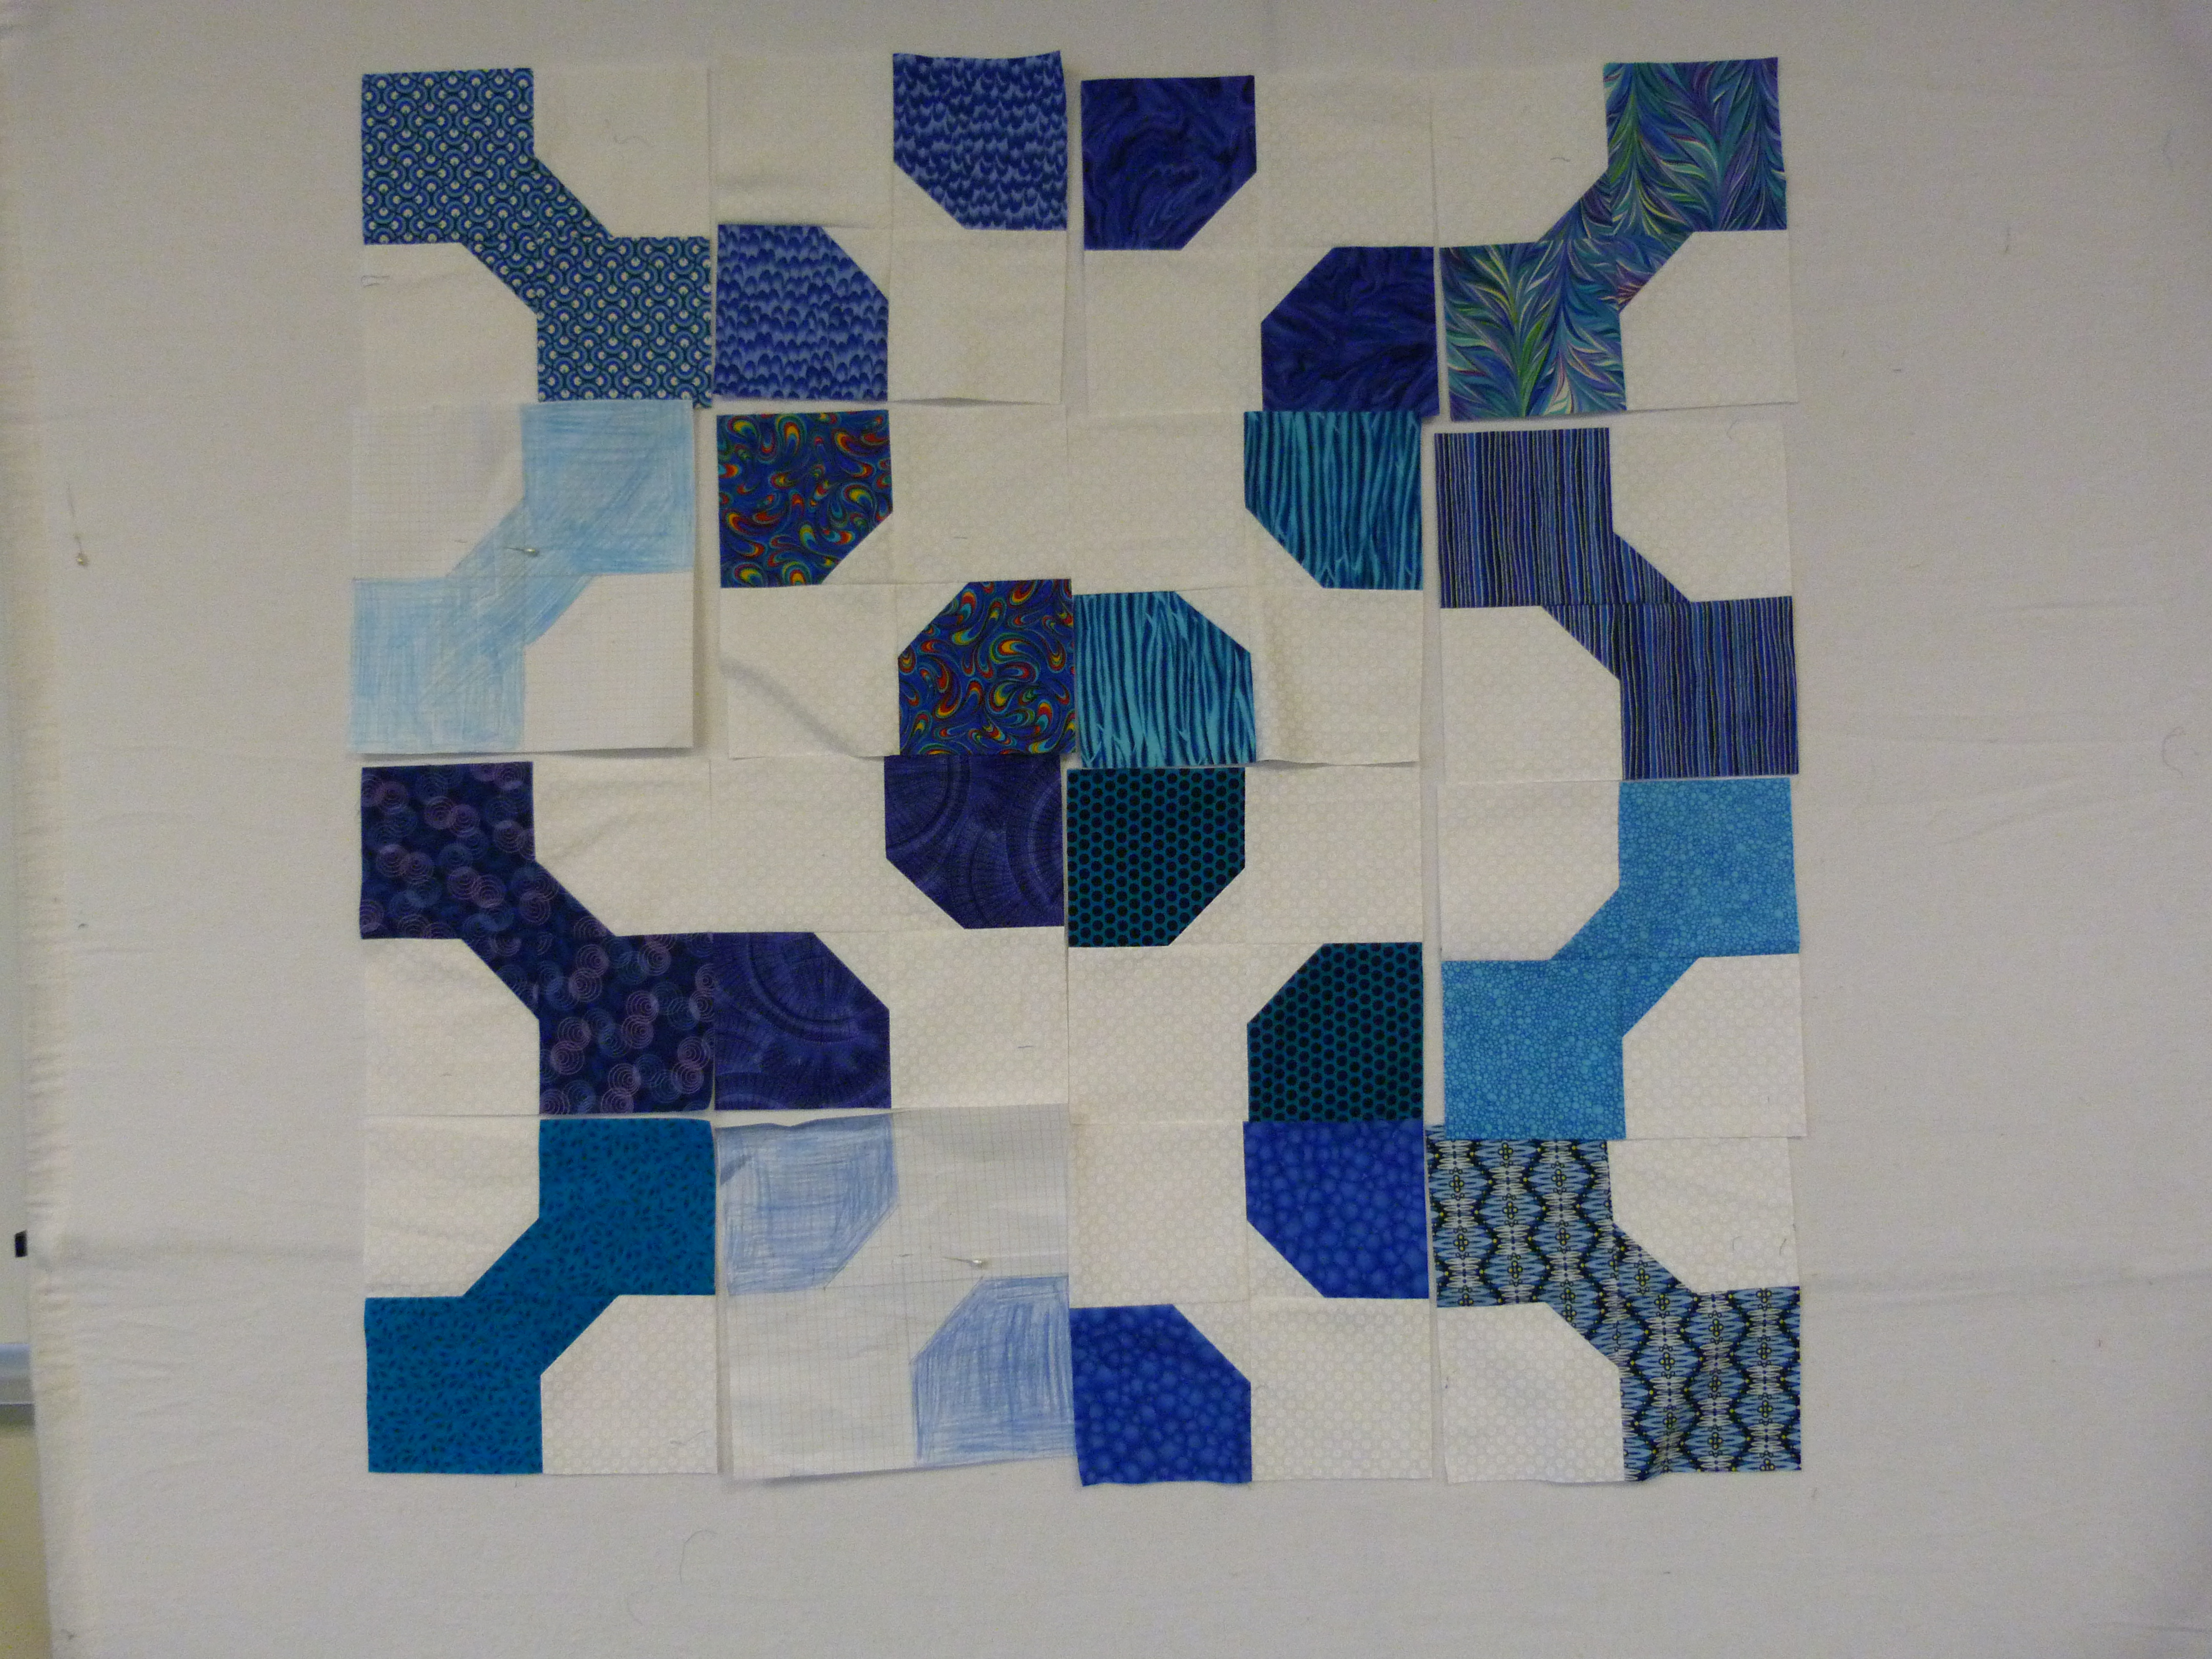
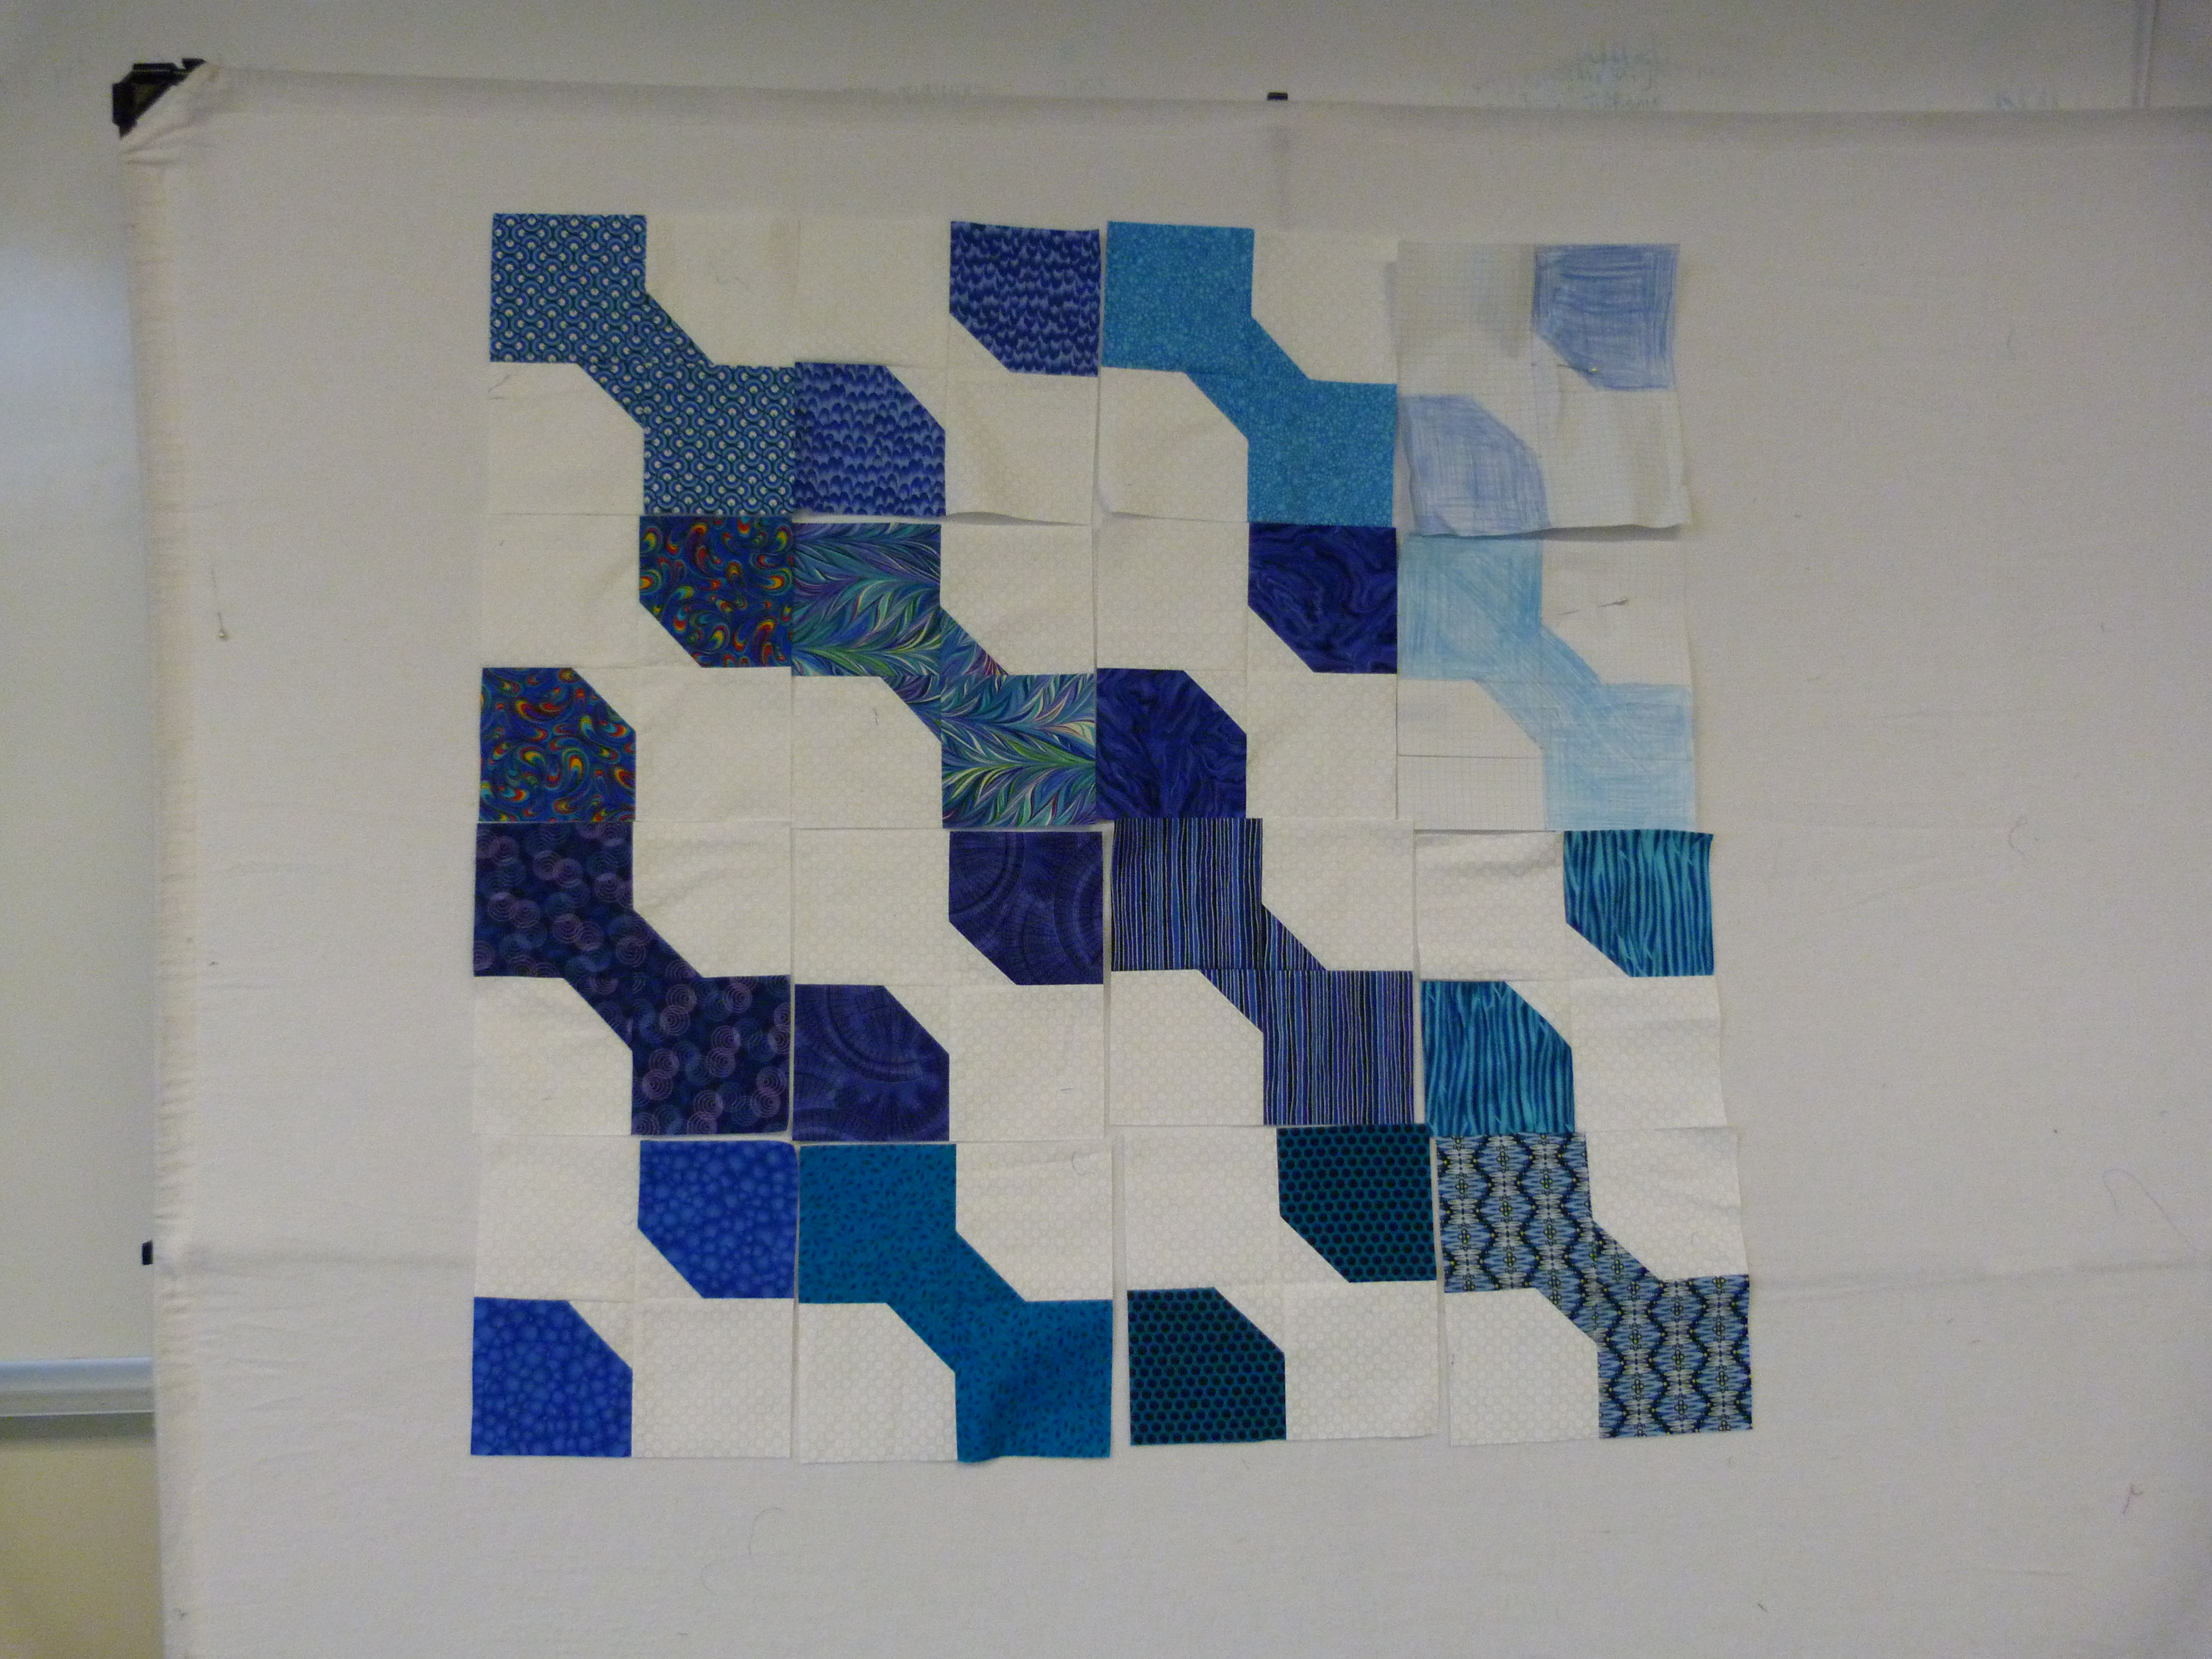
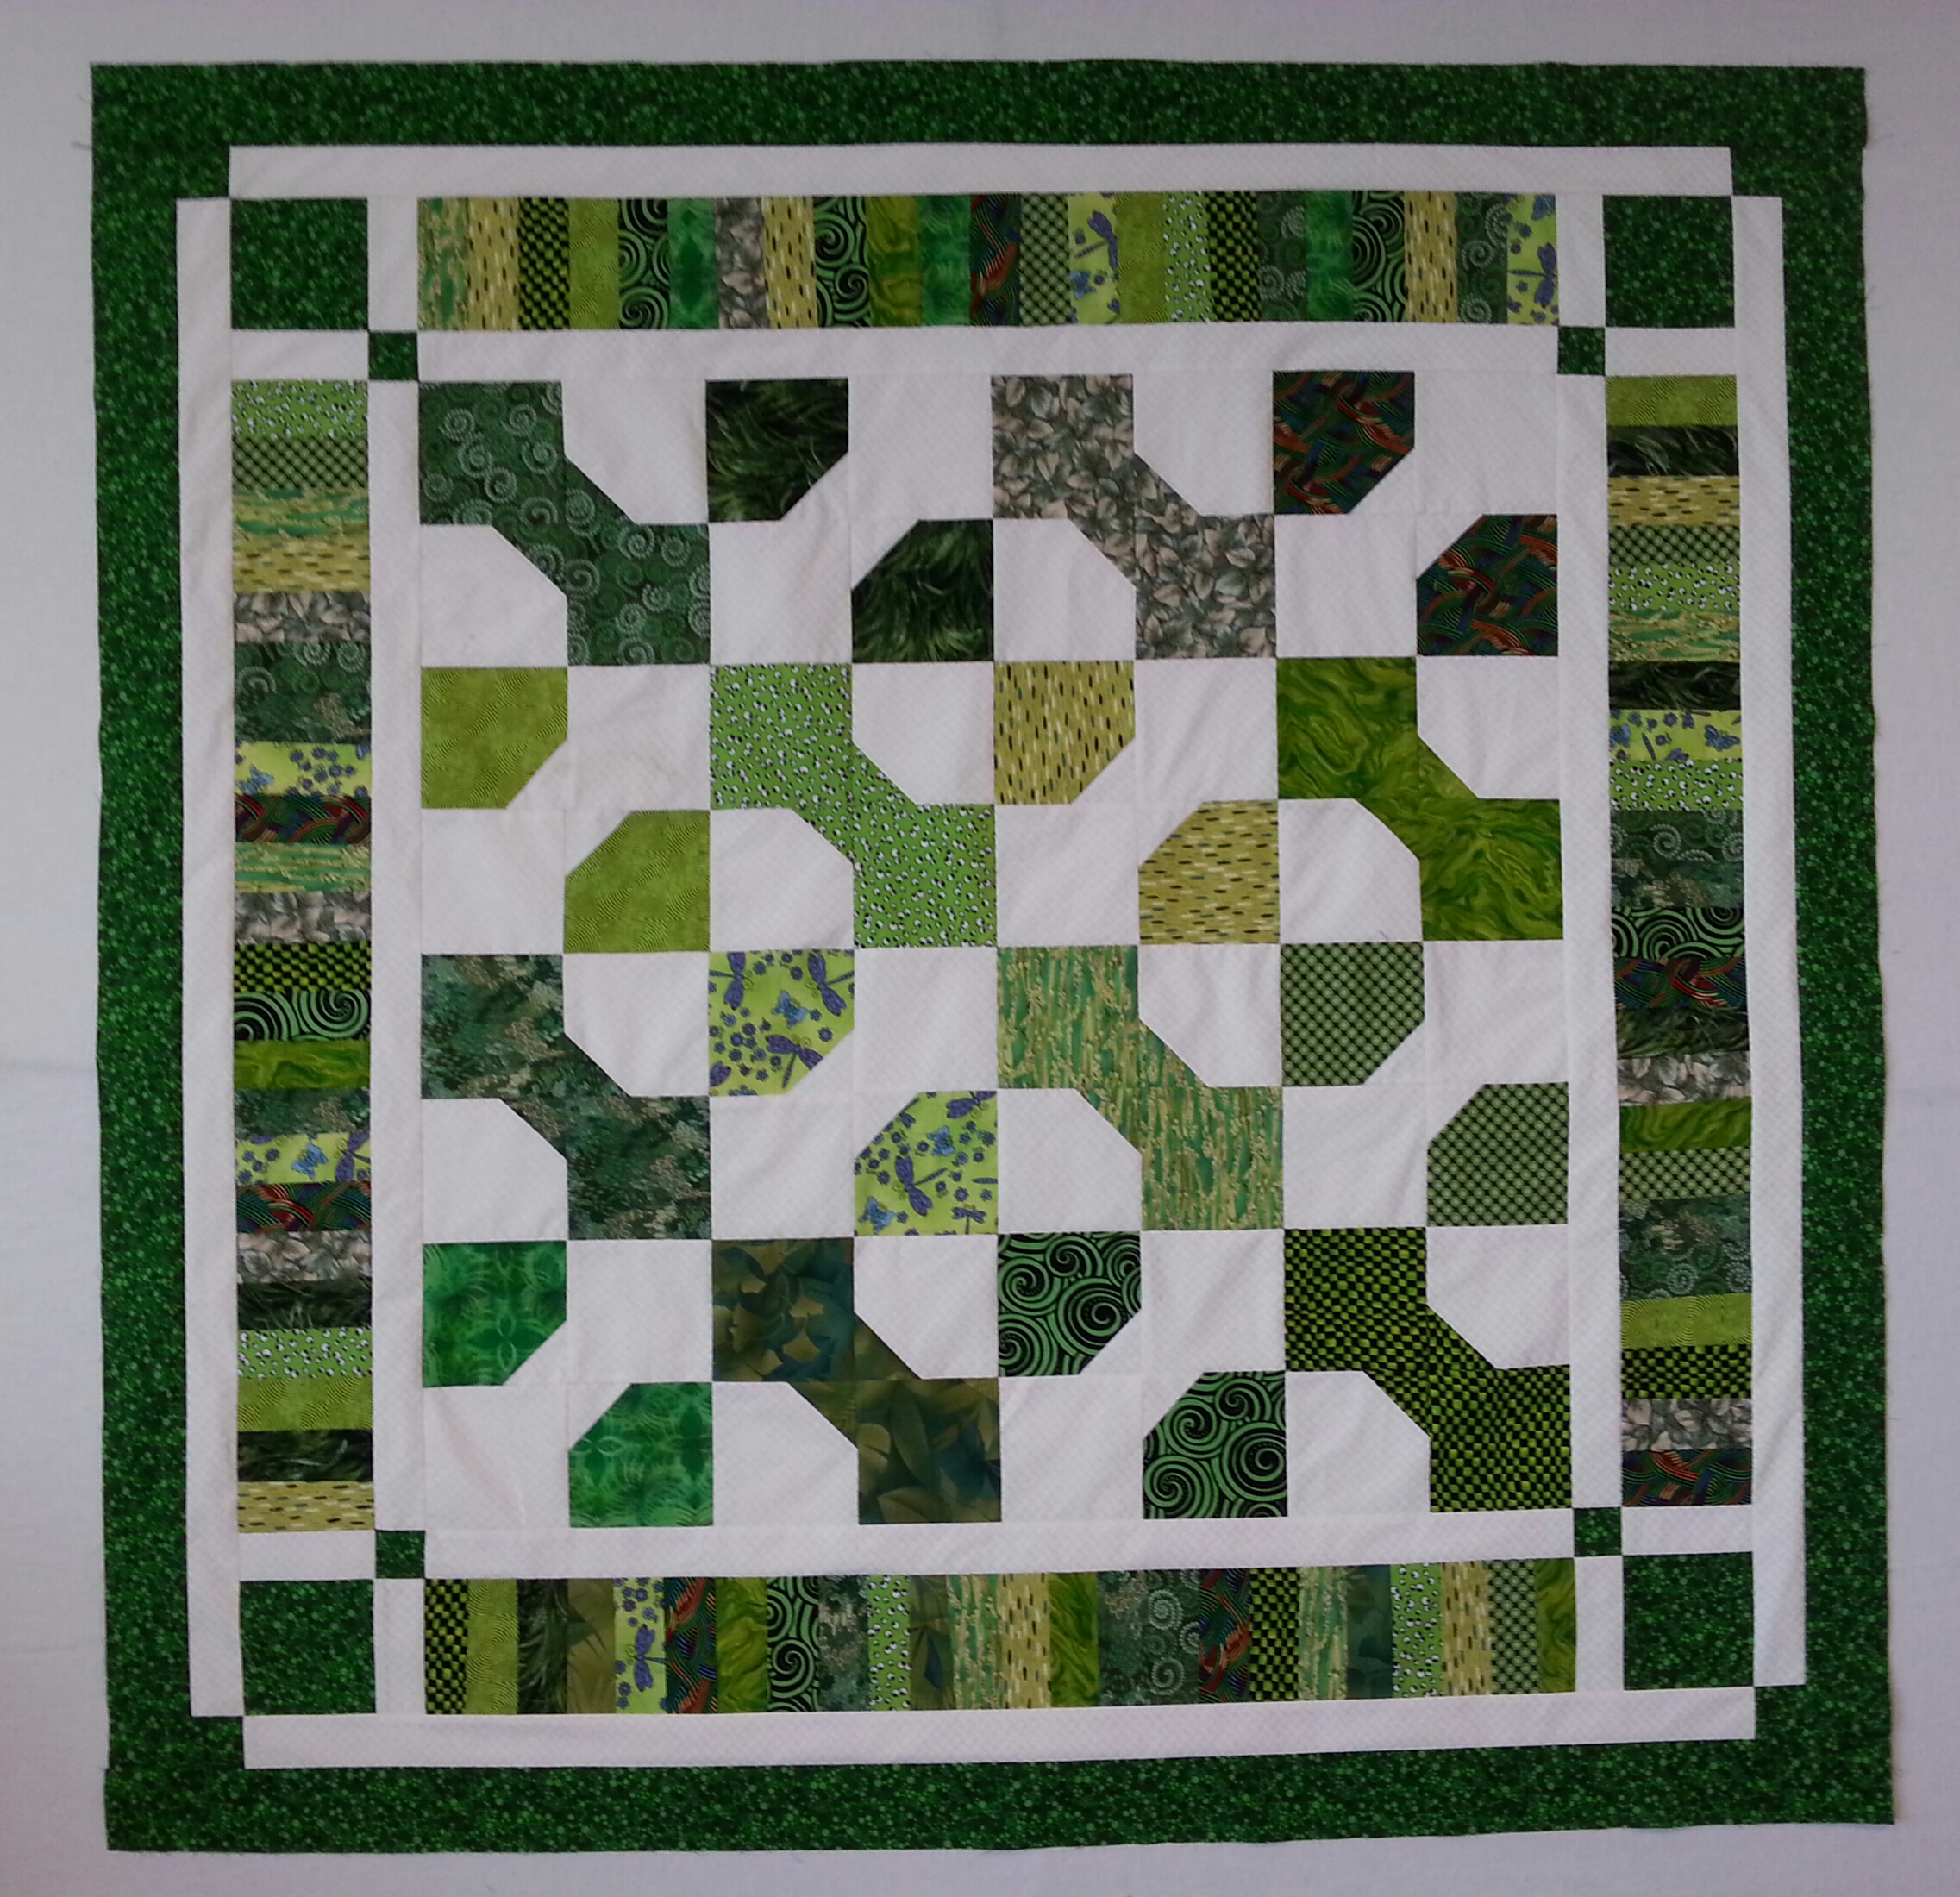
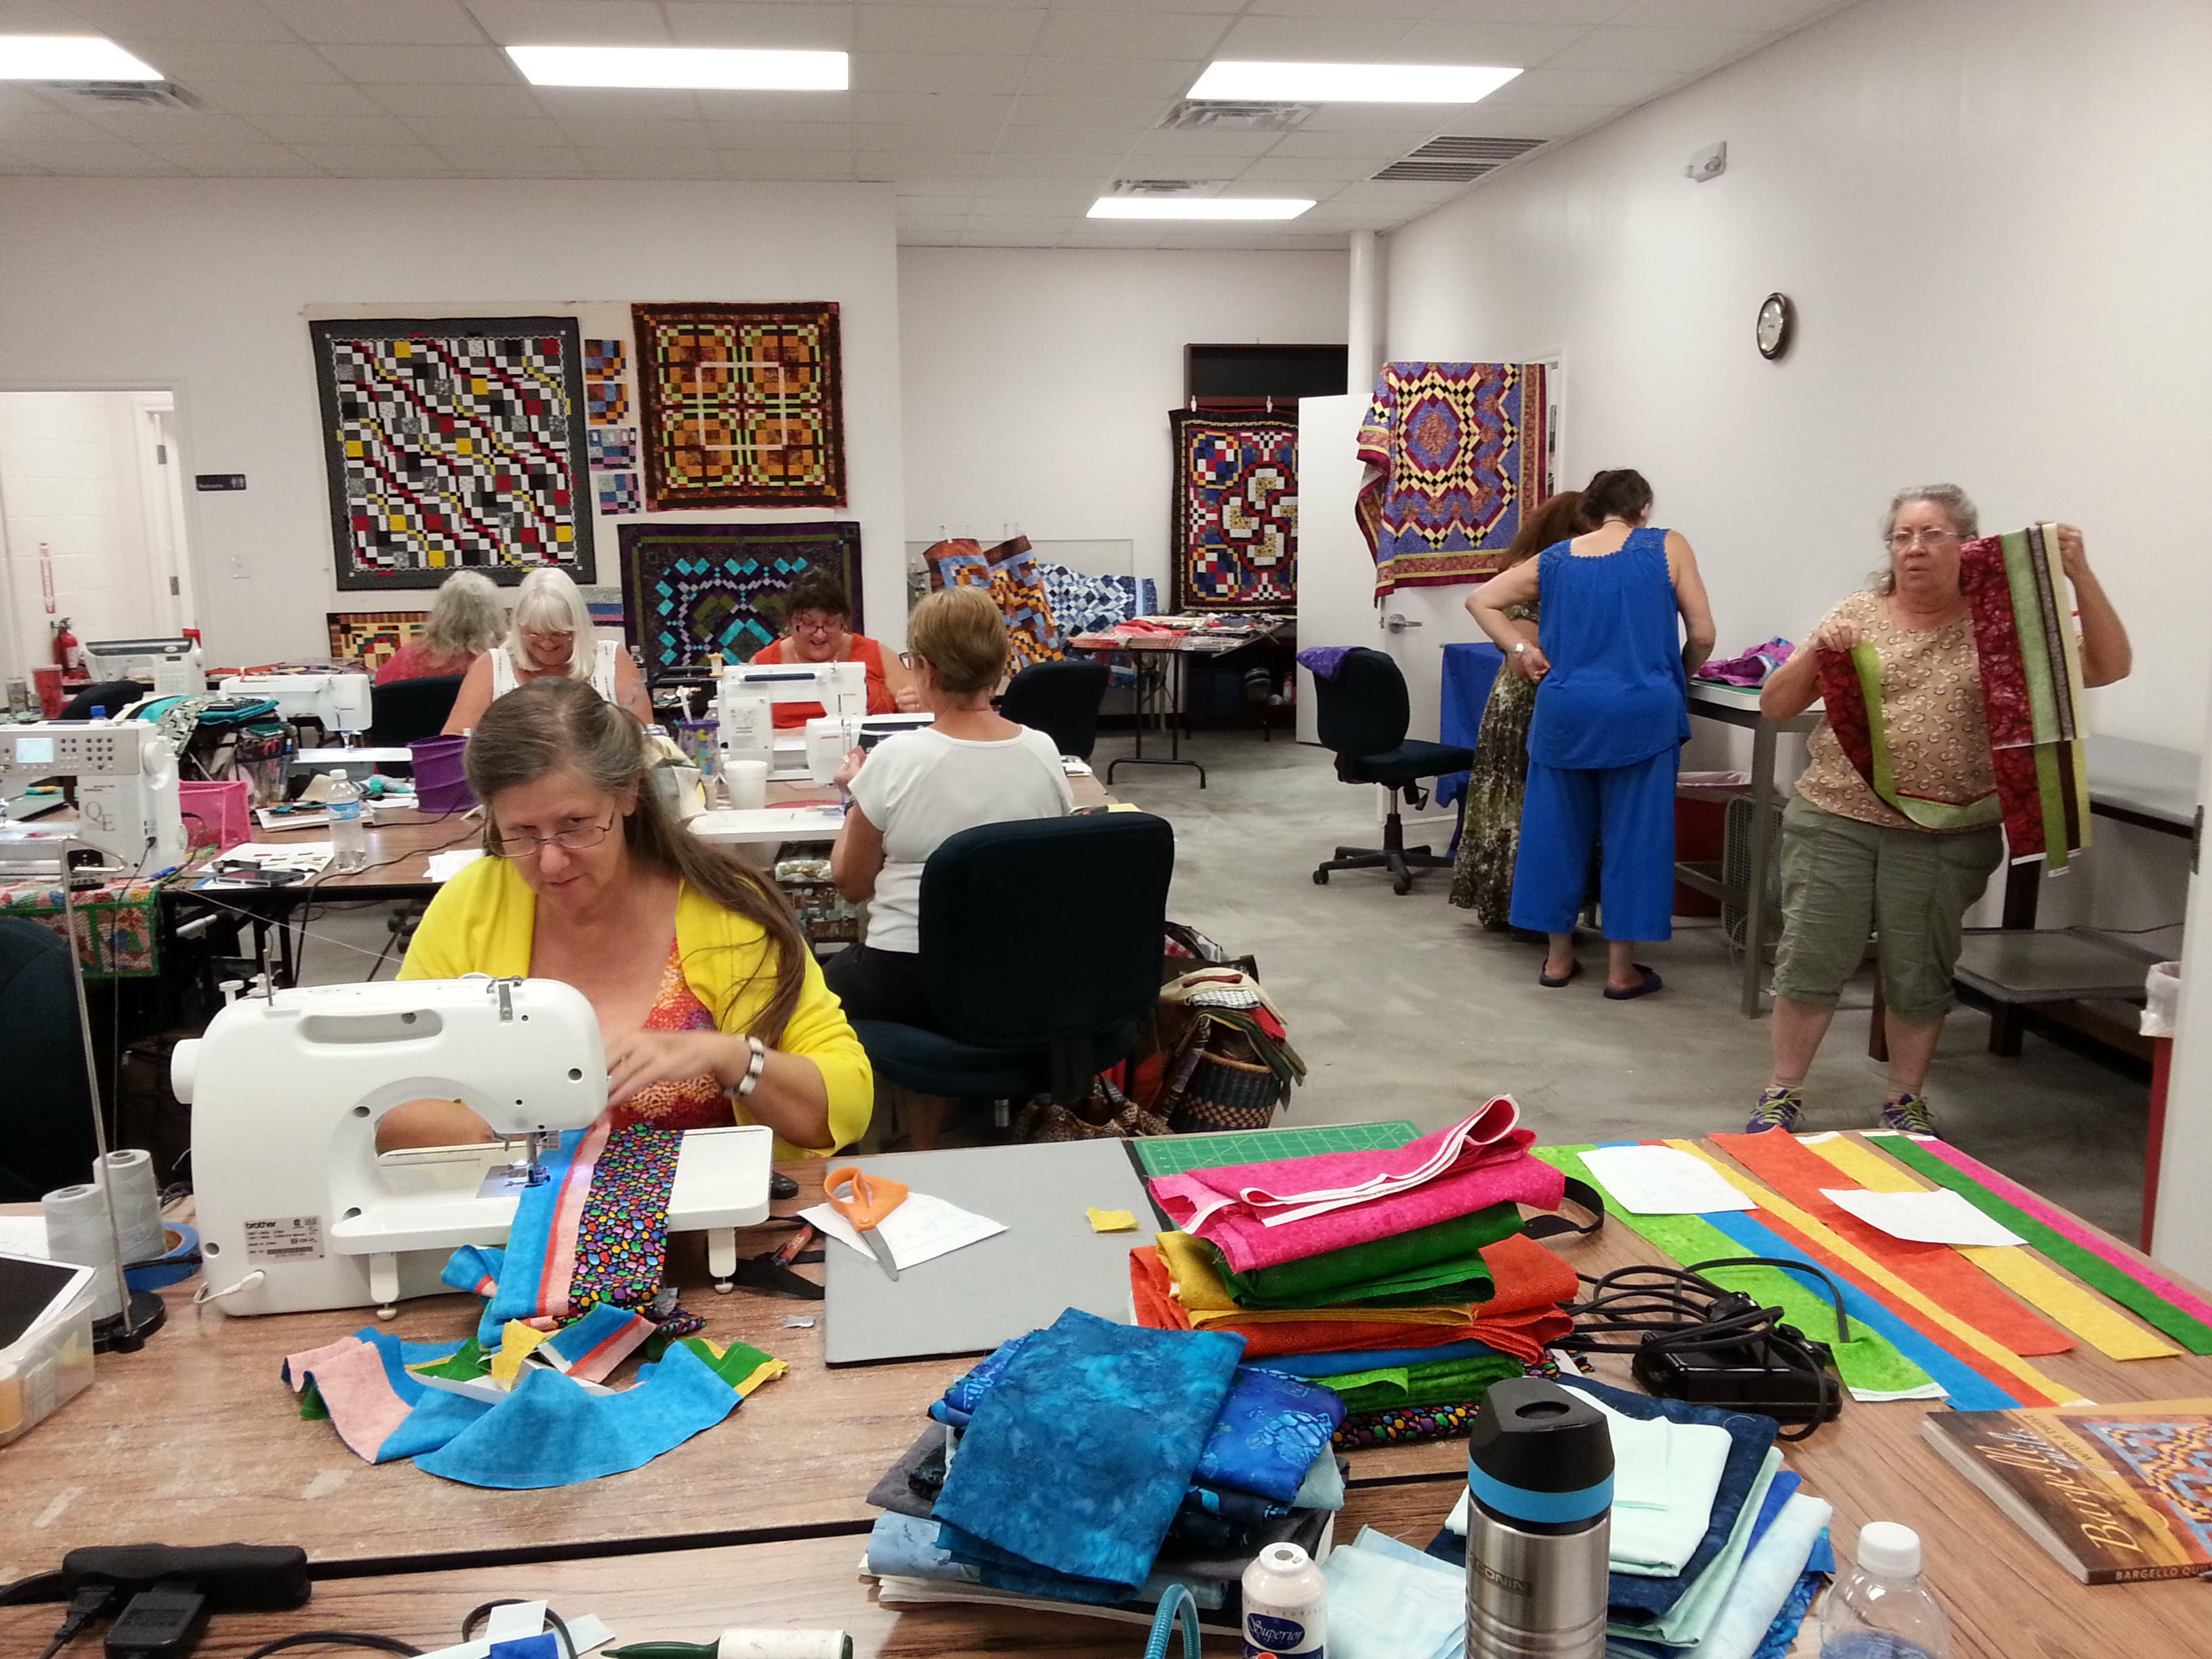
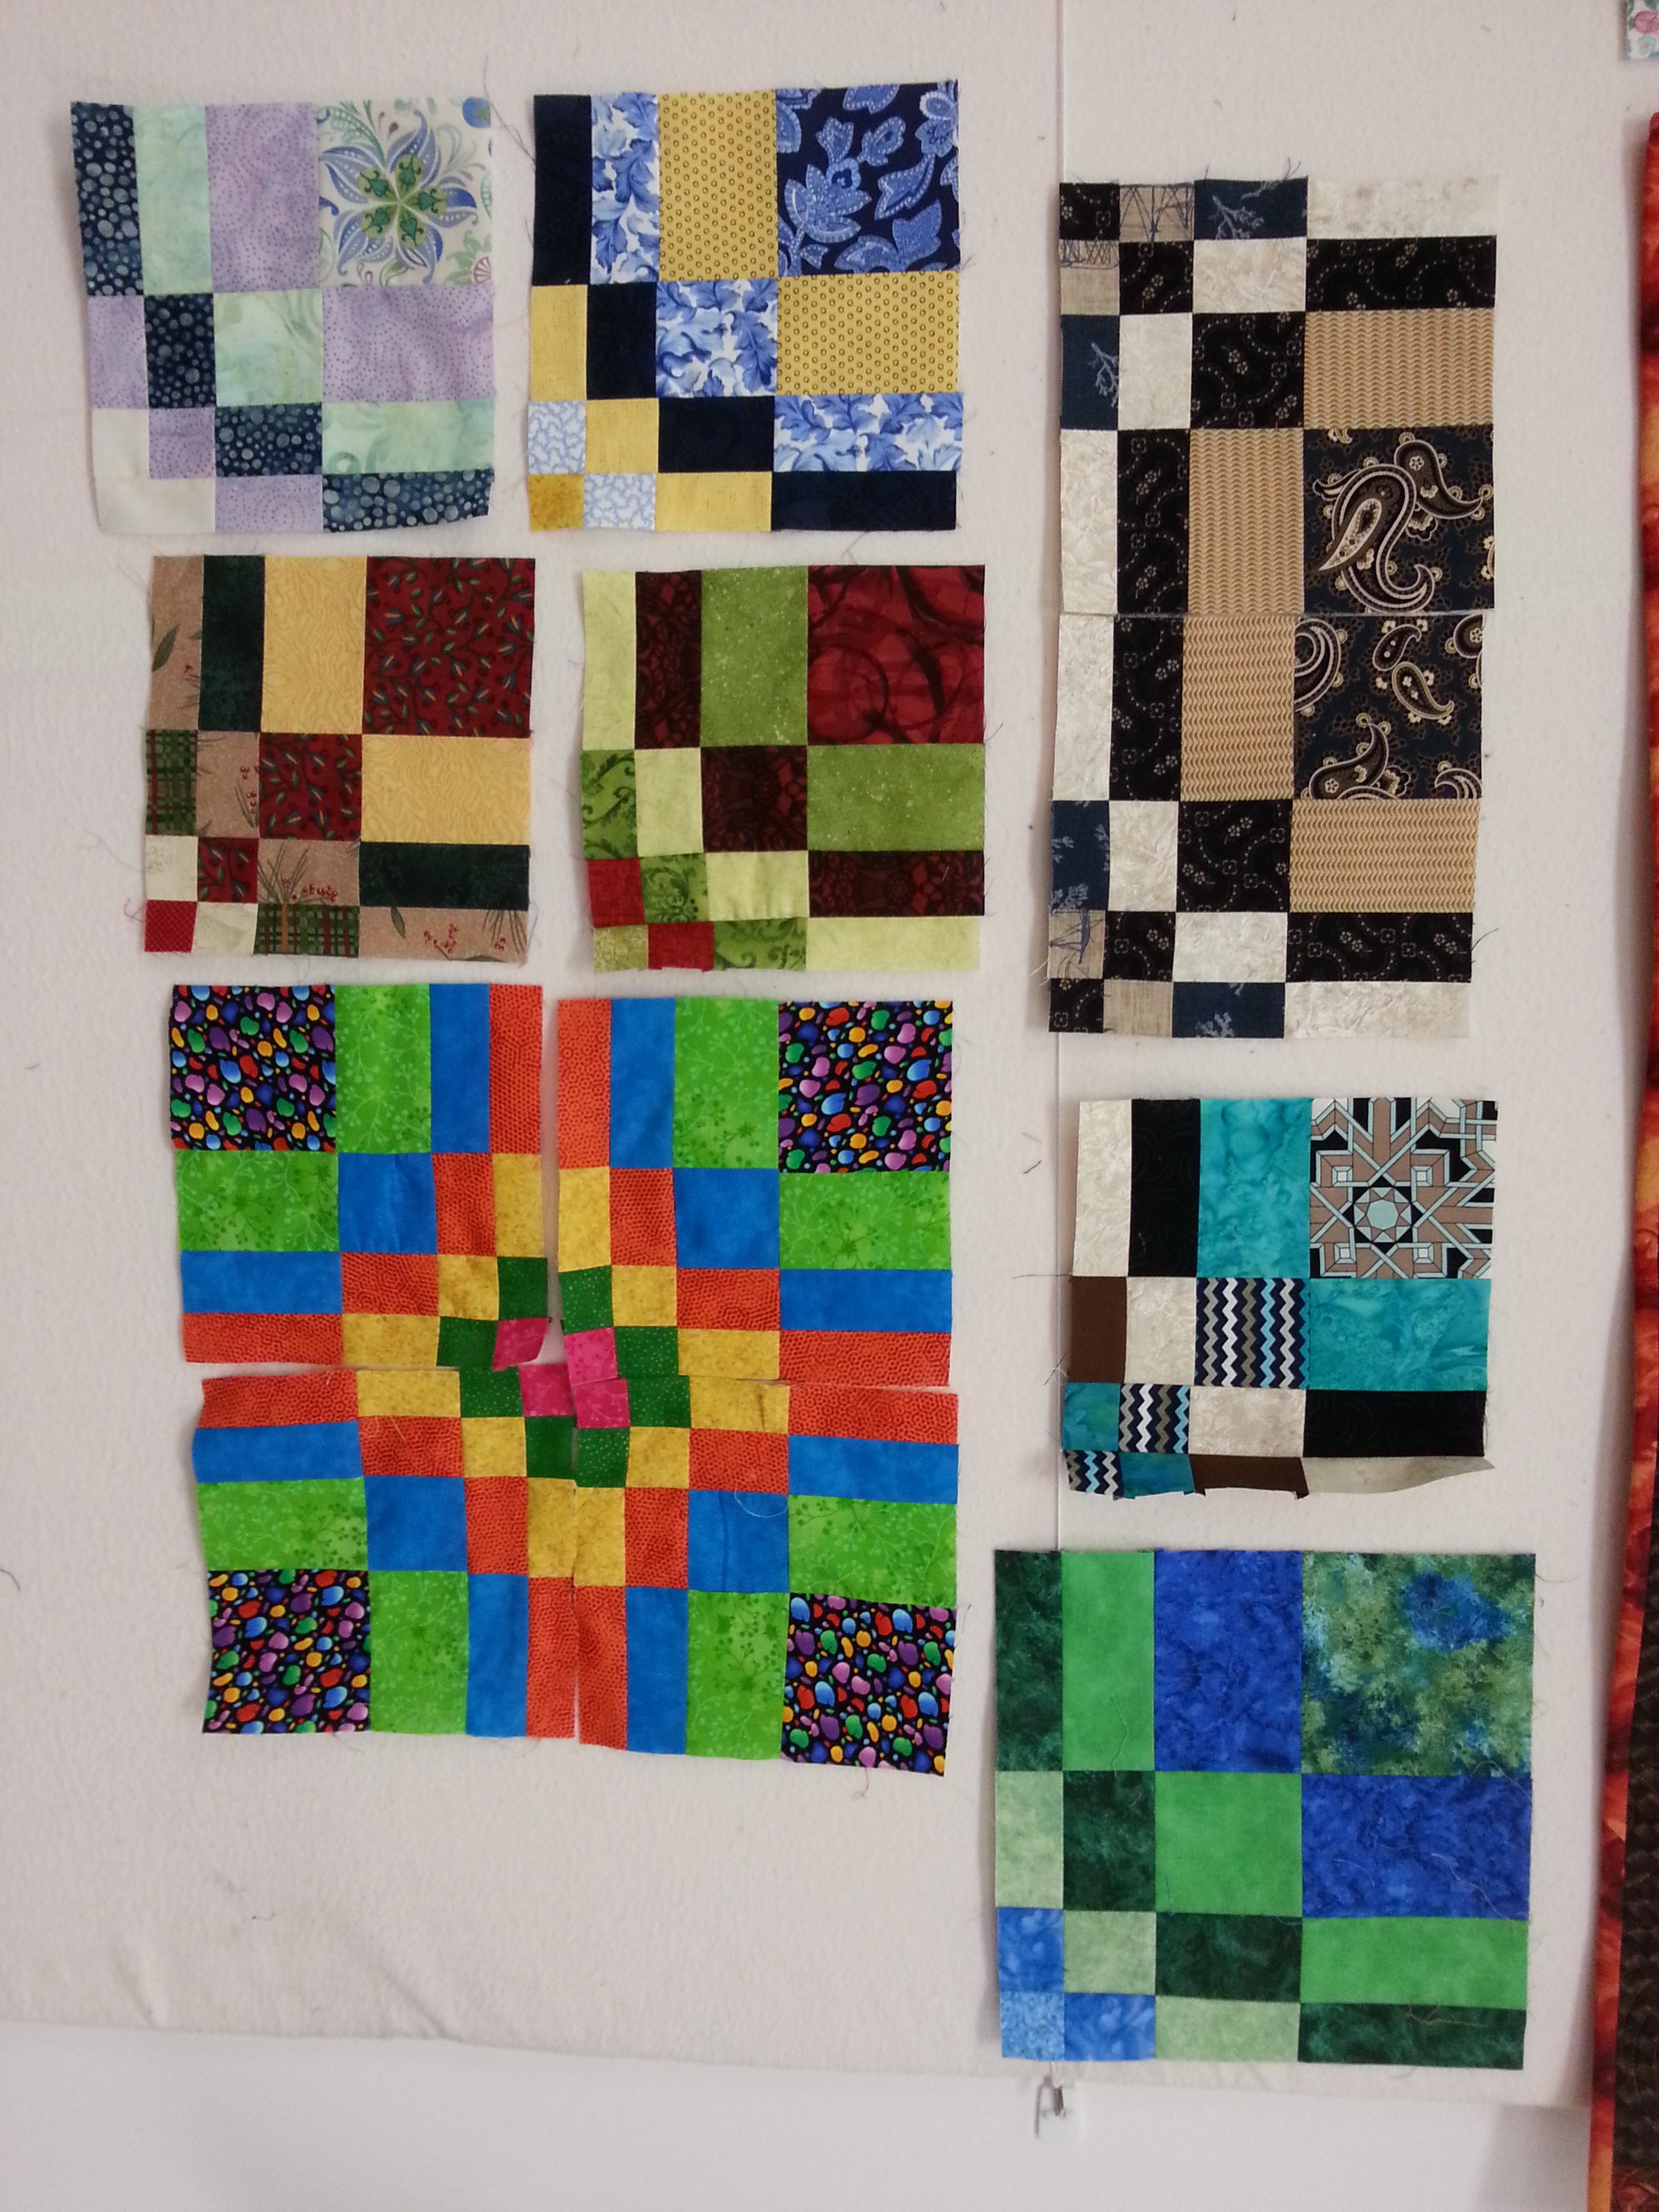
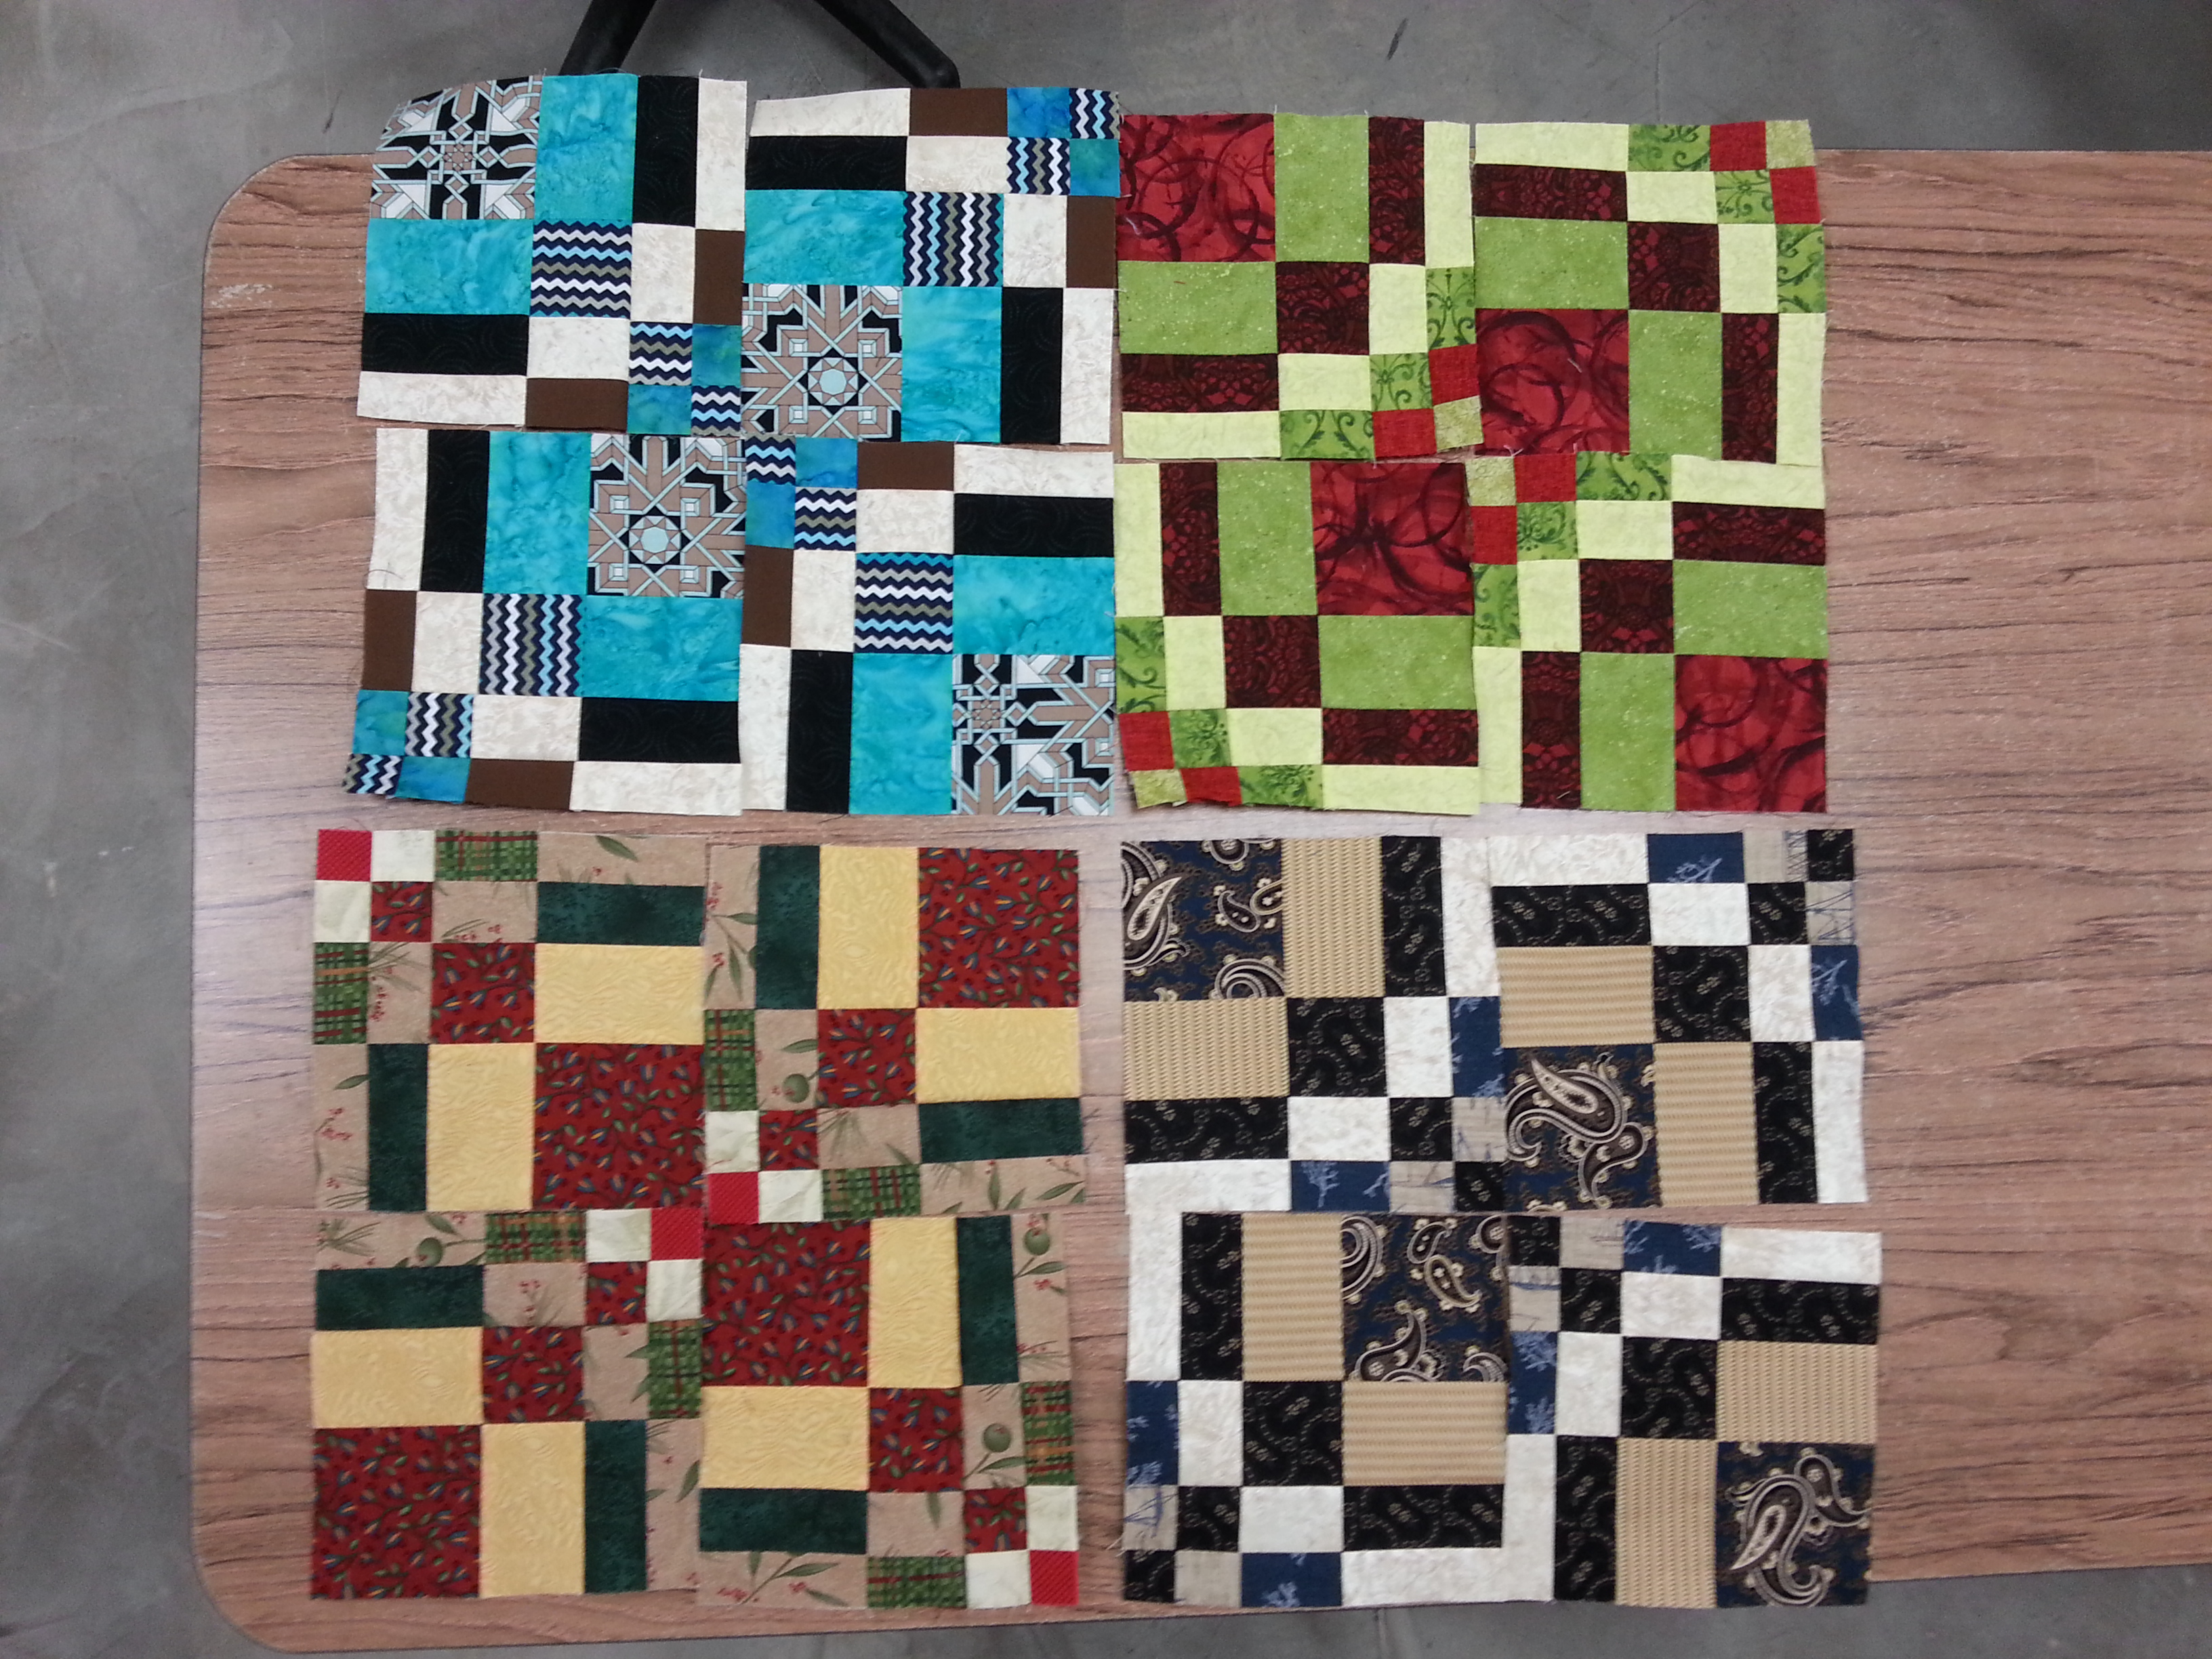
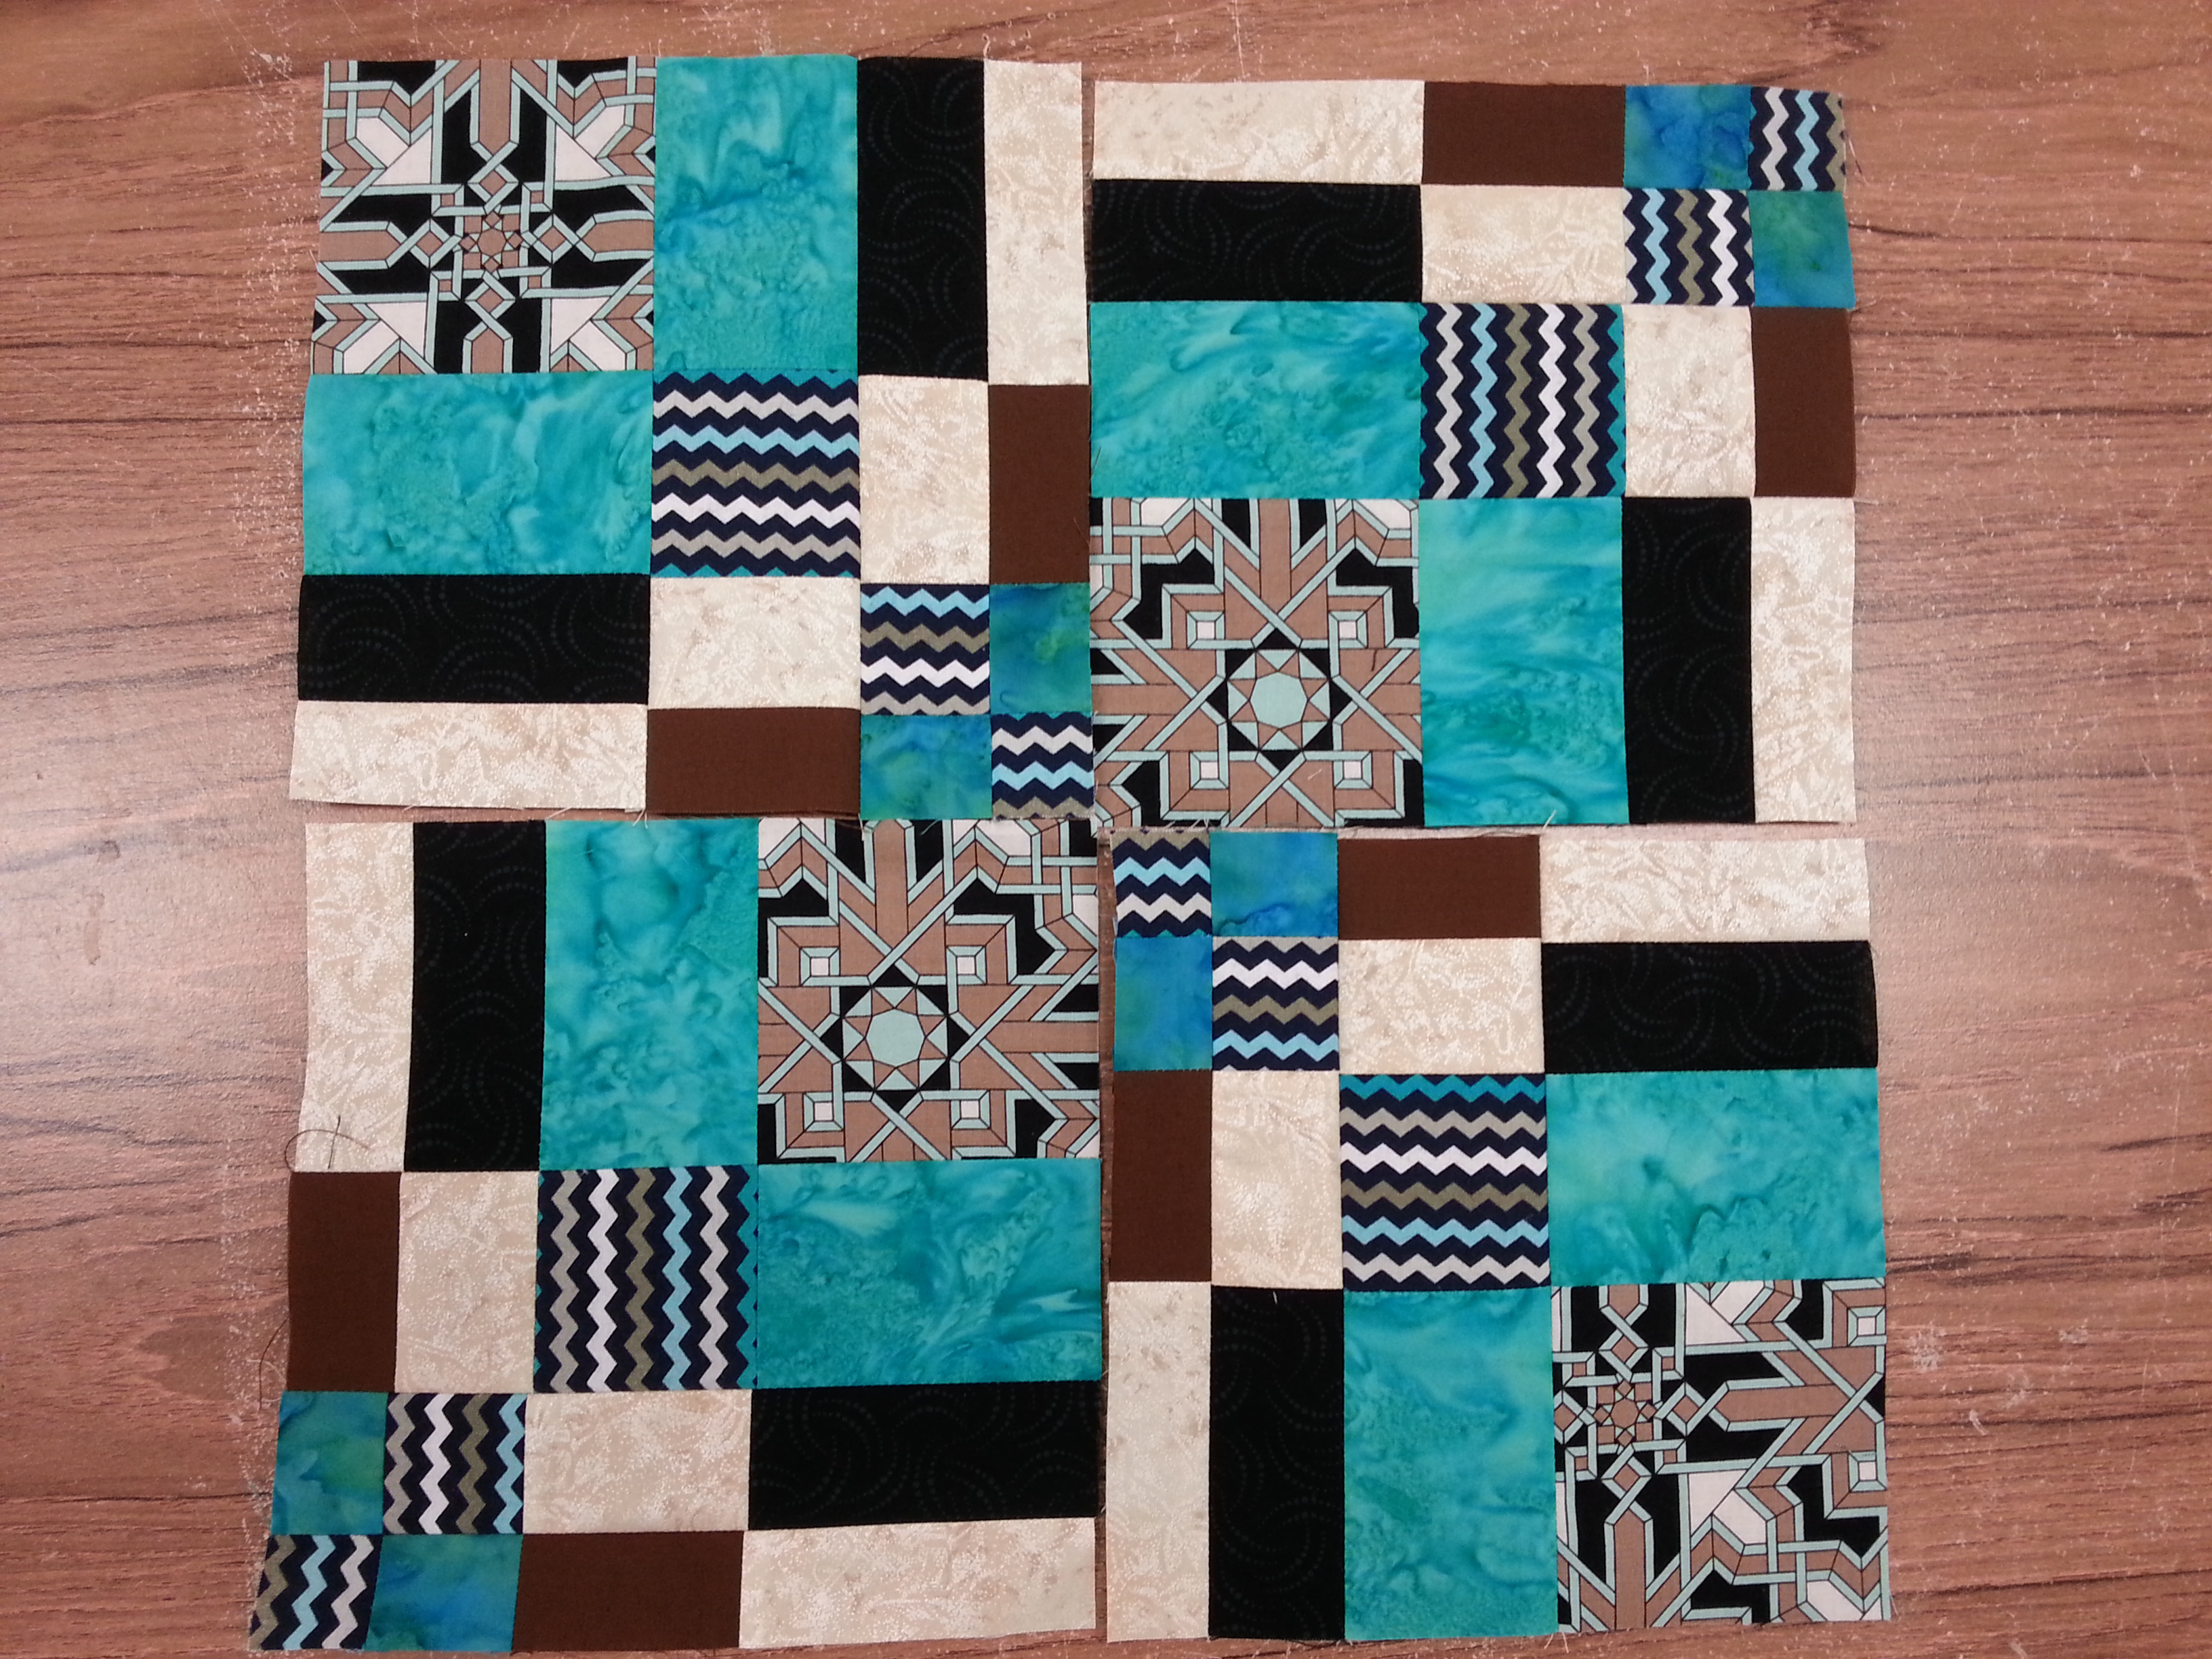
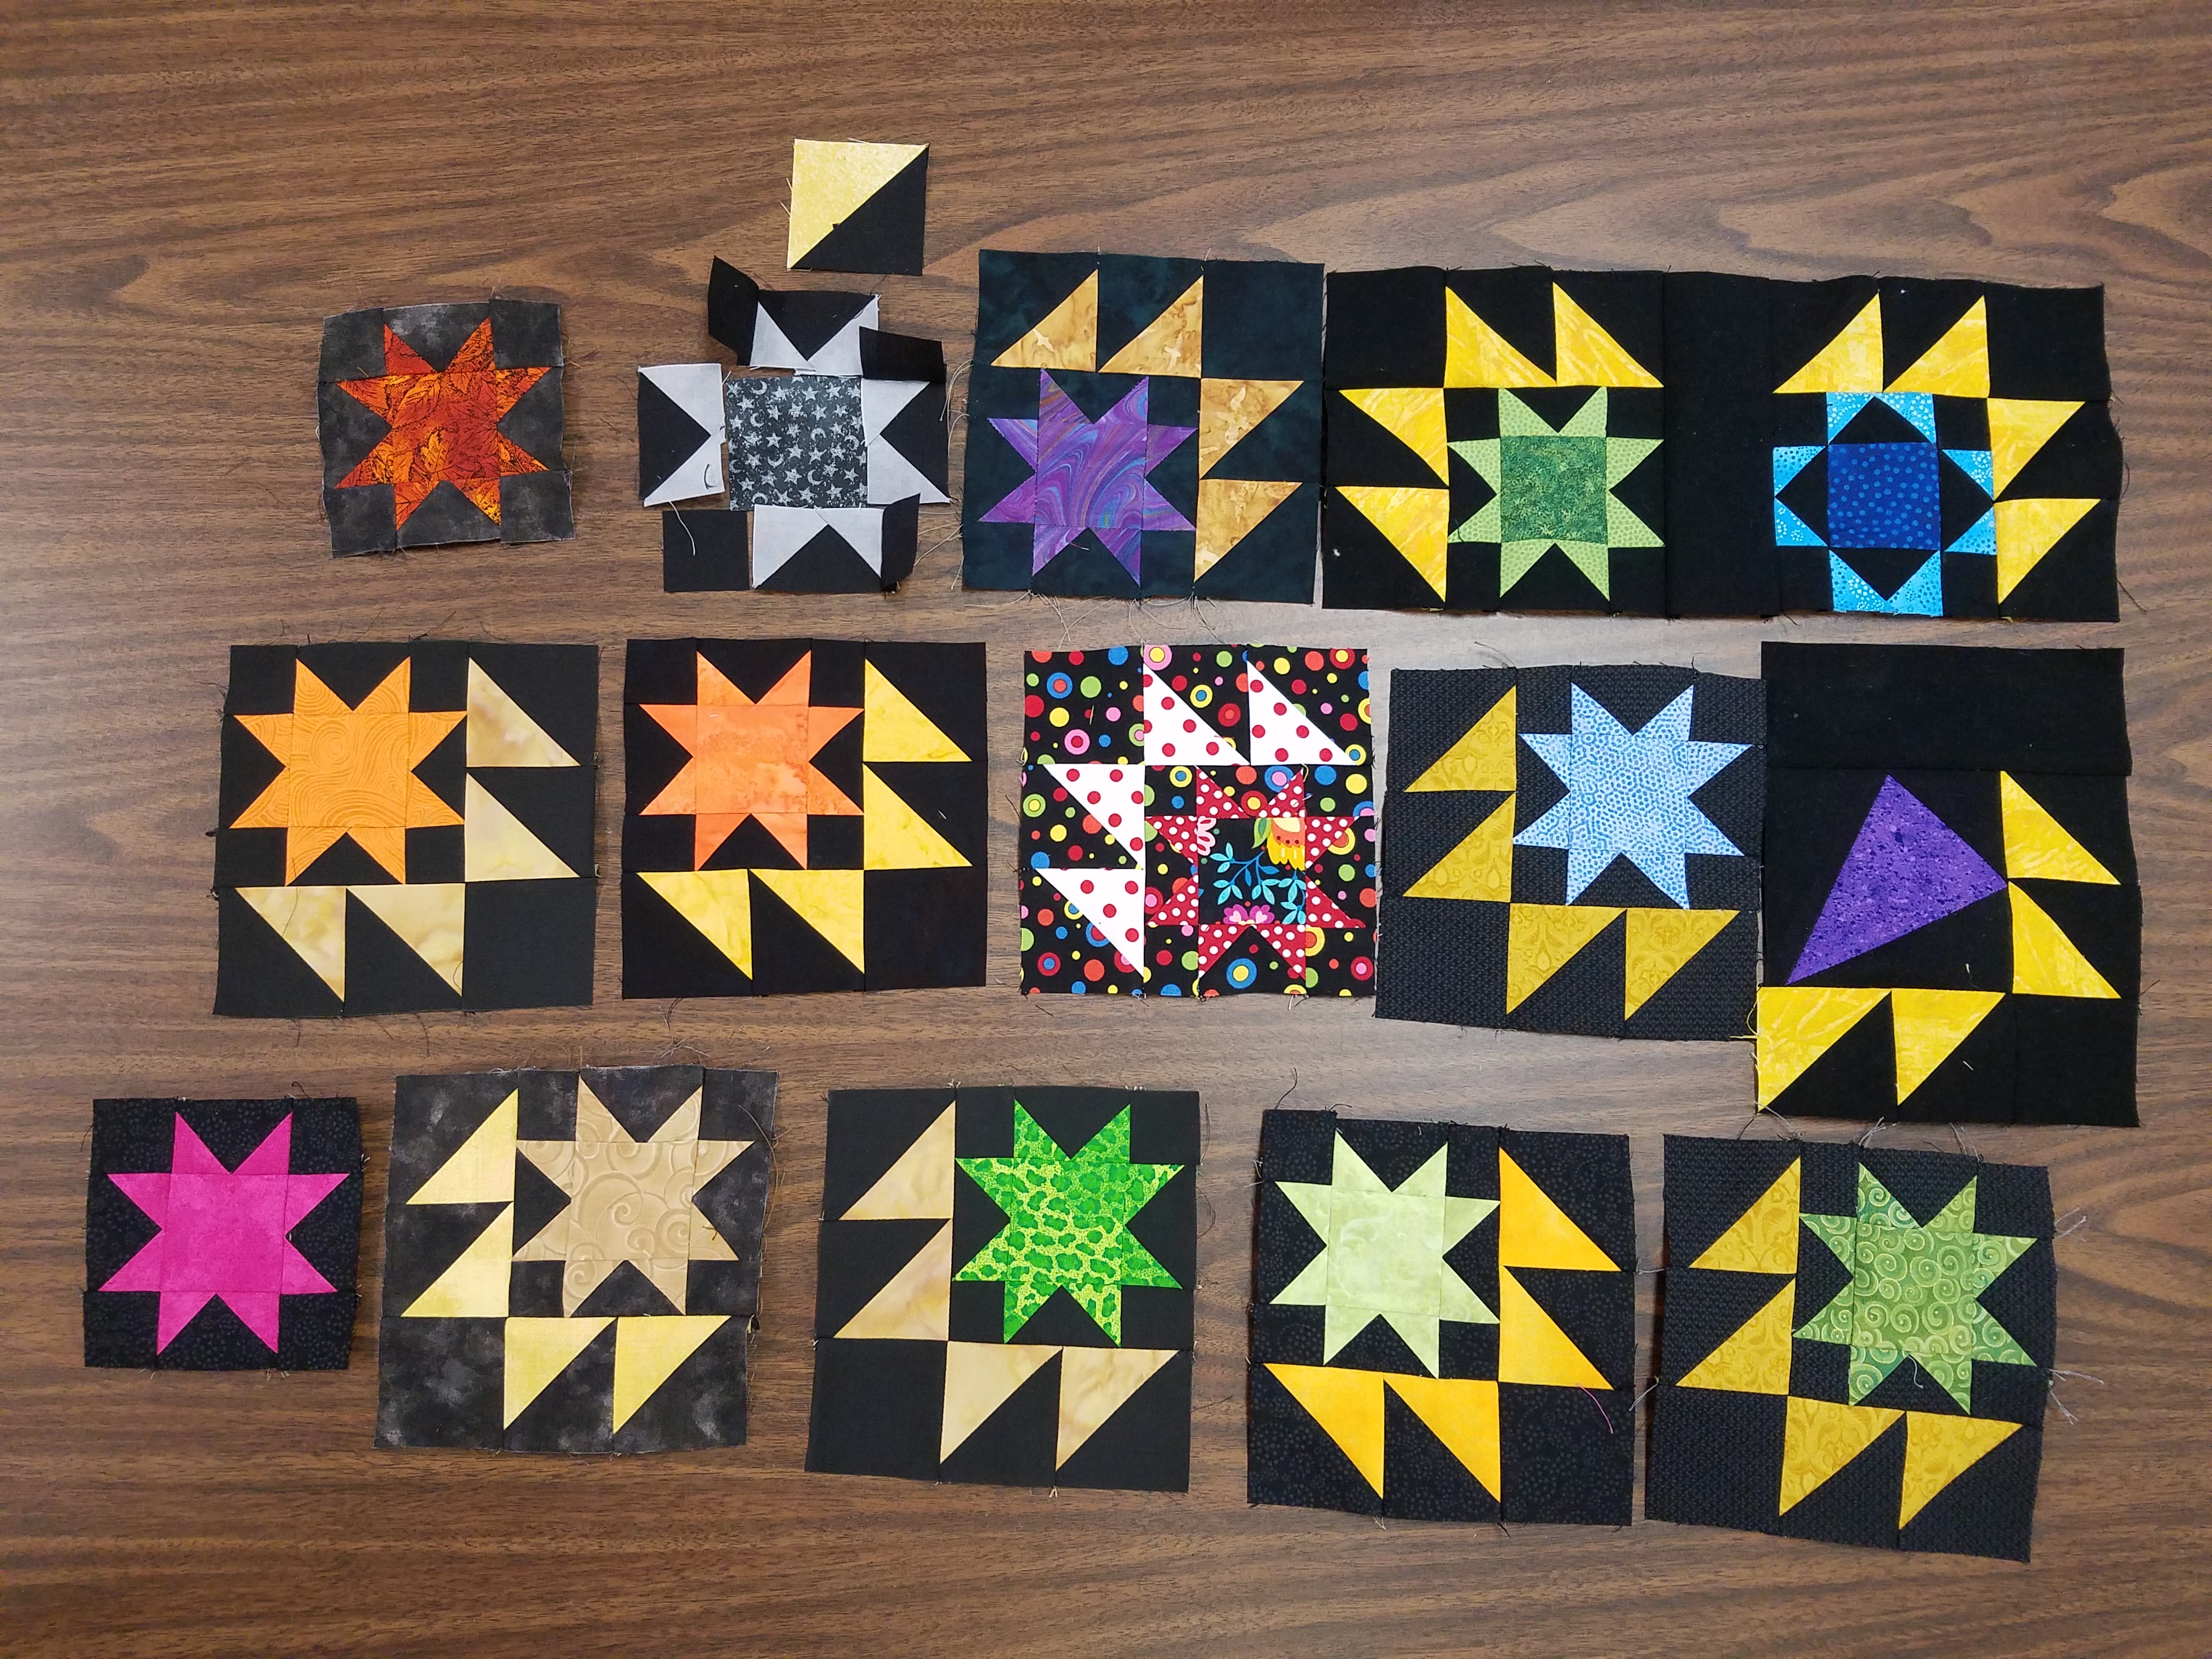
From there I transferred to the Vereins Quilt Guild in Fredericksburg and The Hill Country Quilt Guild in Kerrville. In Fredericksburg, my students worked on precision piecing of triangles to make Sawtooth Star Bear’s Paw blocks. Here are some partially completed blocks. My final class in Kerrville was the Gateway to Mongolia. In all classes, it was such fun to see the variety of fabric choices and results.

Visiting four quilt guilds made this trip logistically complex, but with careful planning and collaboration all went smoothly. As I was transferred between the groups, guild members took excellent care of me and made me feel welcome wherever I went. I taught five workshops and they were all different.  After packing the essentials of the quilts for my trunk shows and workshop materials in two suitcases and my hand-luggage, I only had 12 lbs left for two weeks’ worth of personal effects. Both suitcases were within less than a pound of the maximum 50 lbs. I sent five packages of books, patterns and Mongolian items for sale by mail in advance. So, lots of stuff!

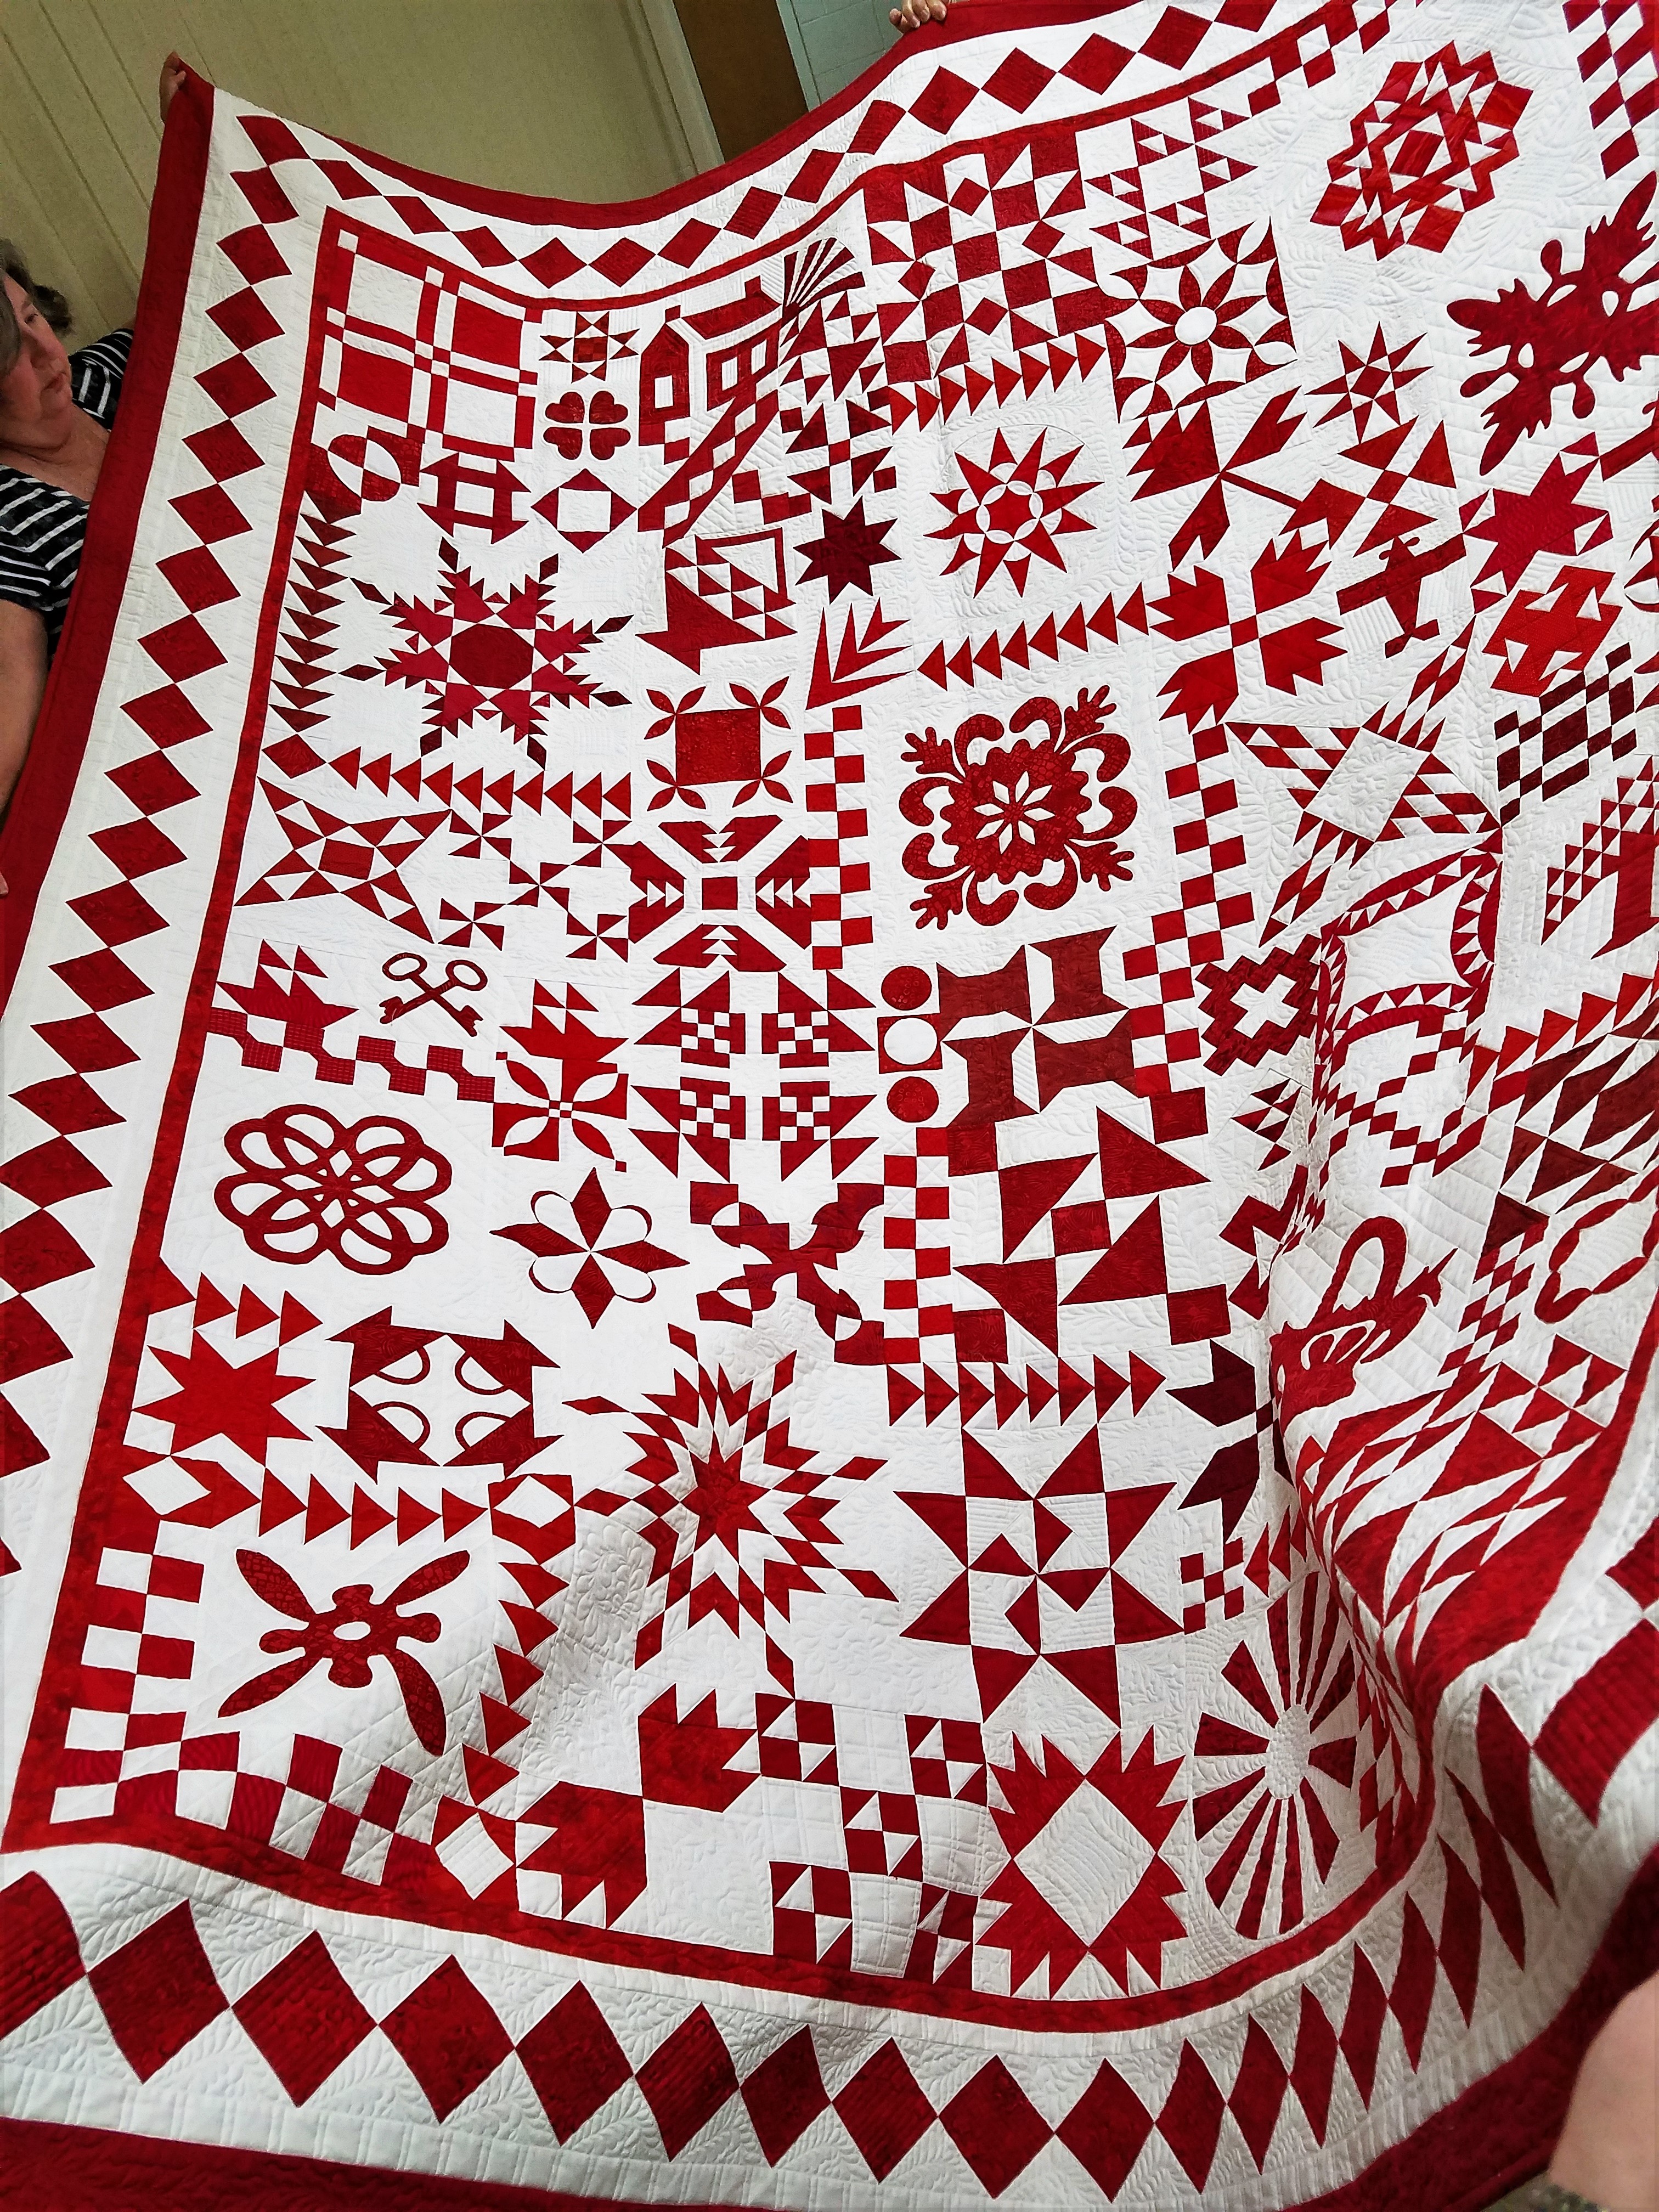
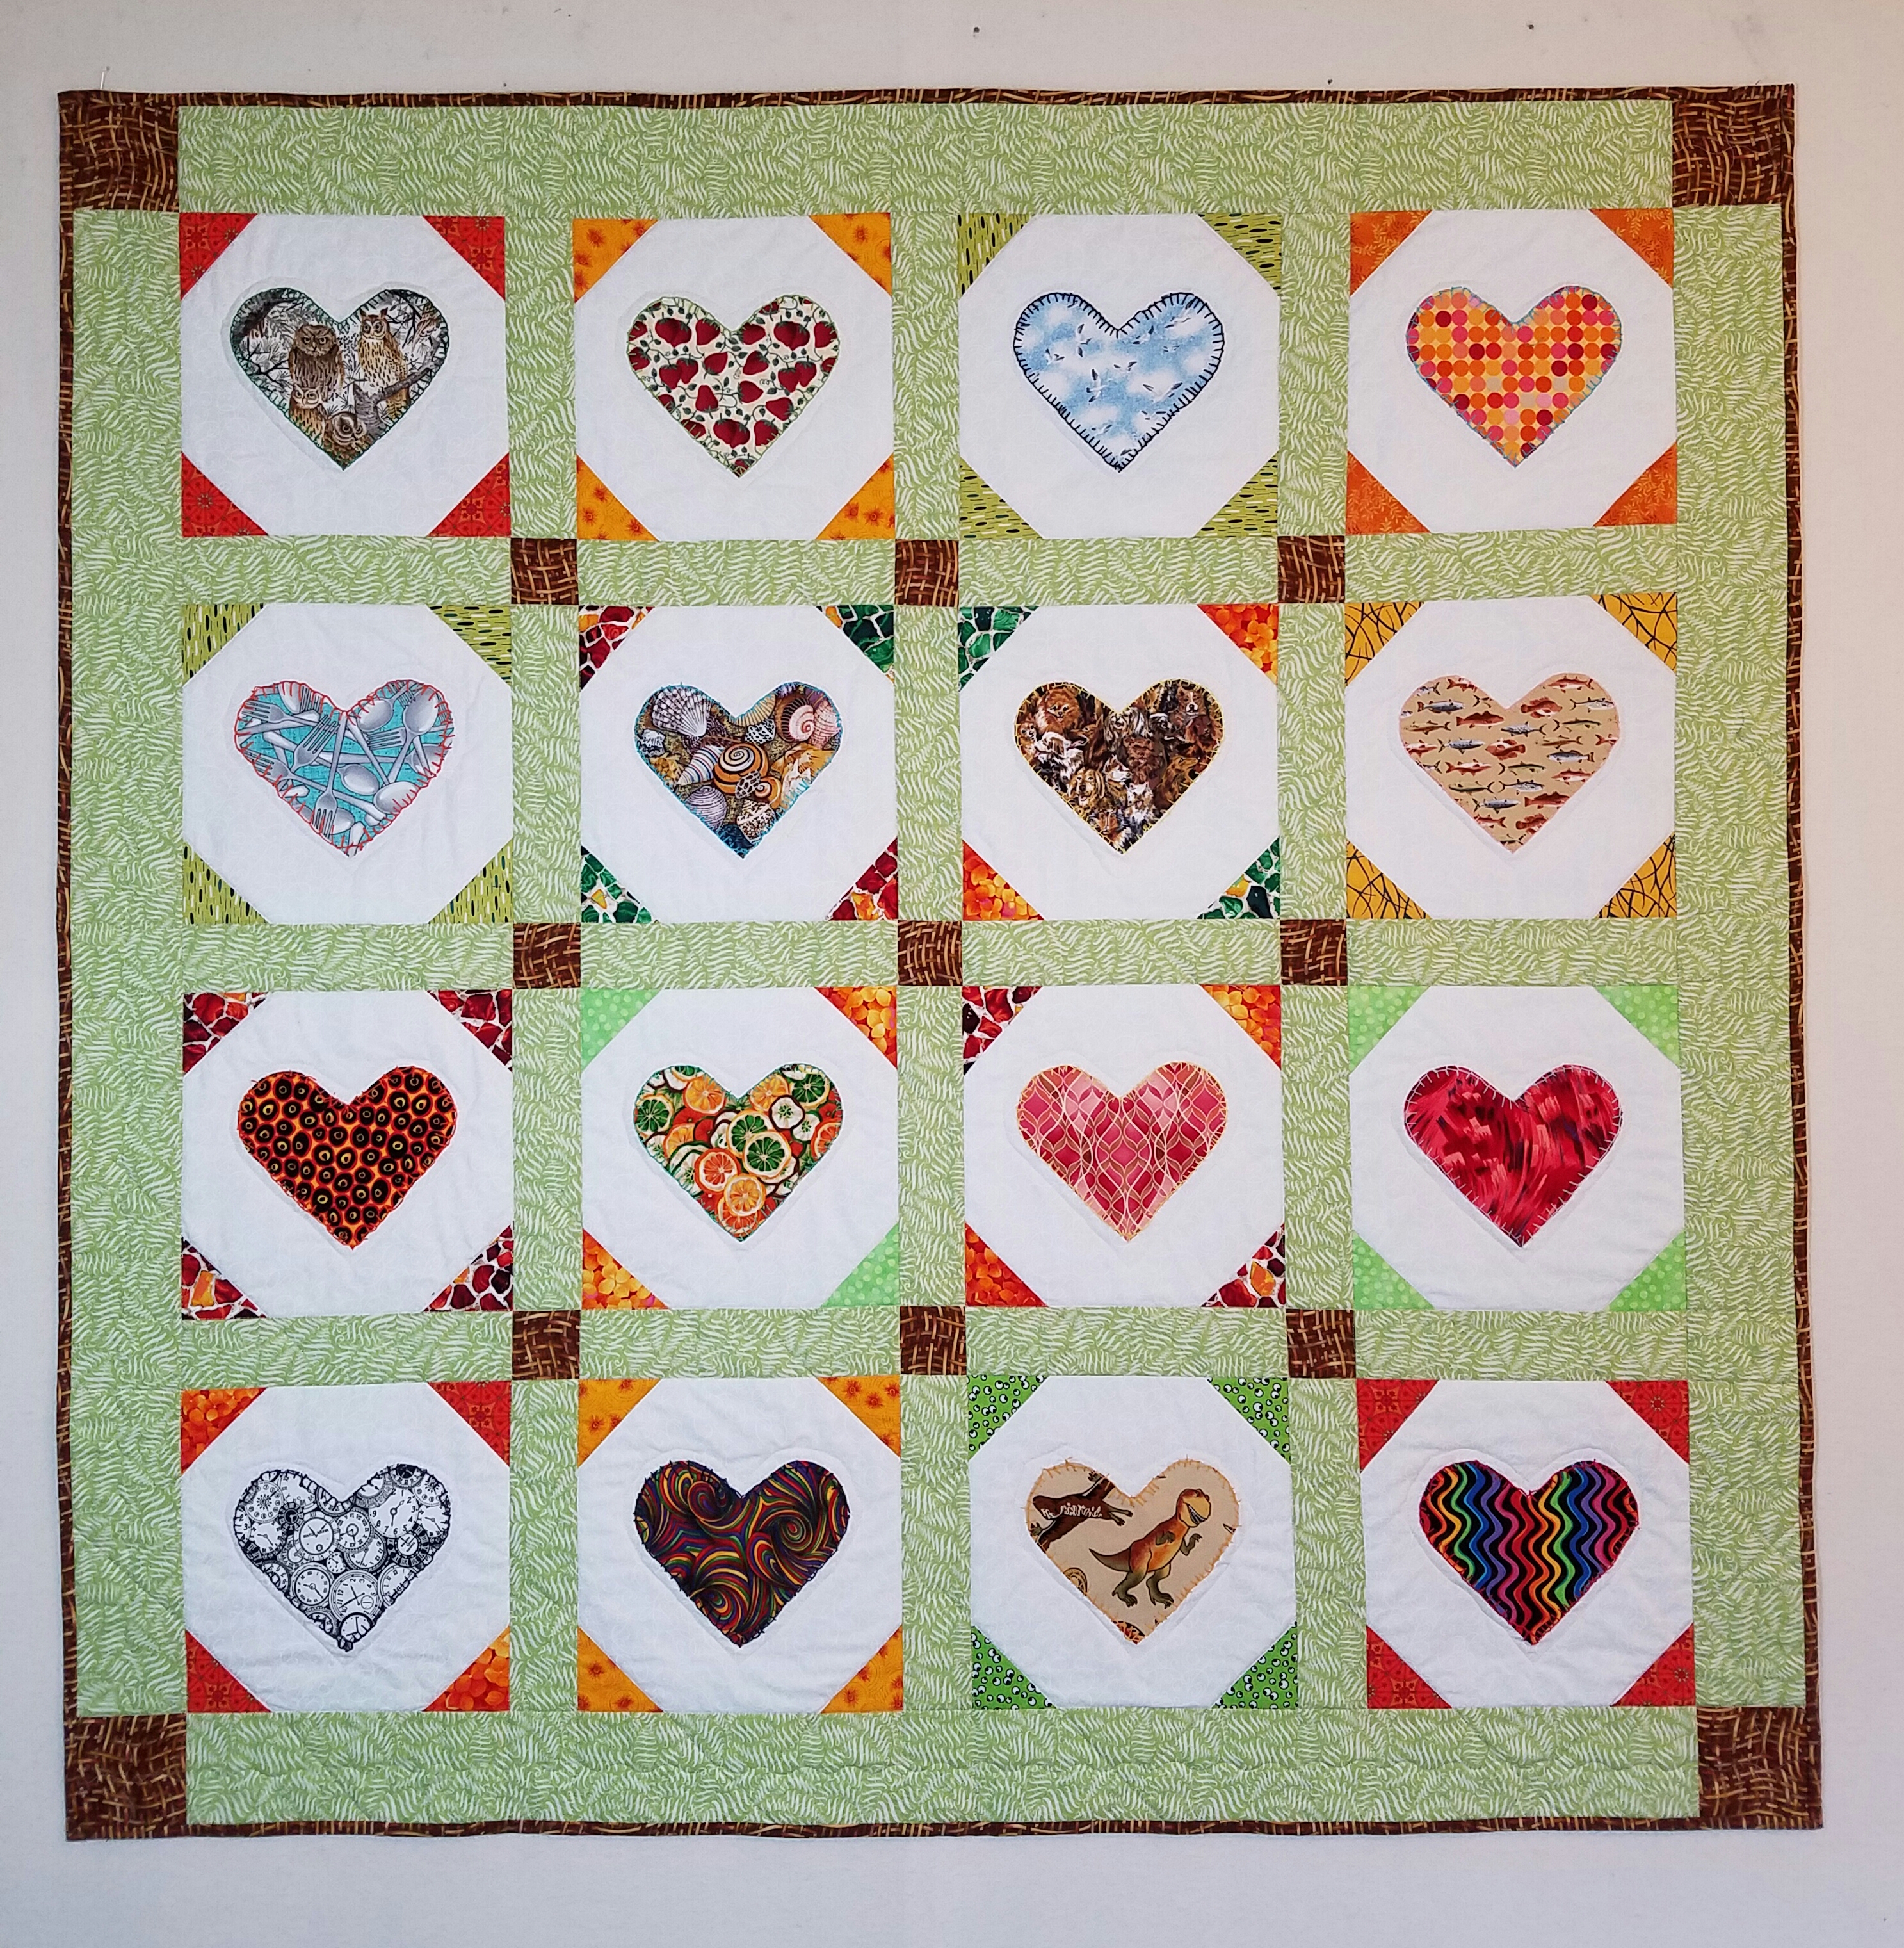
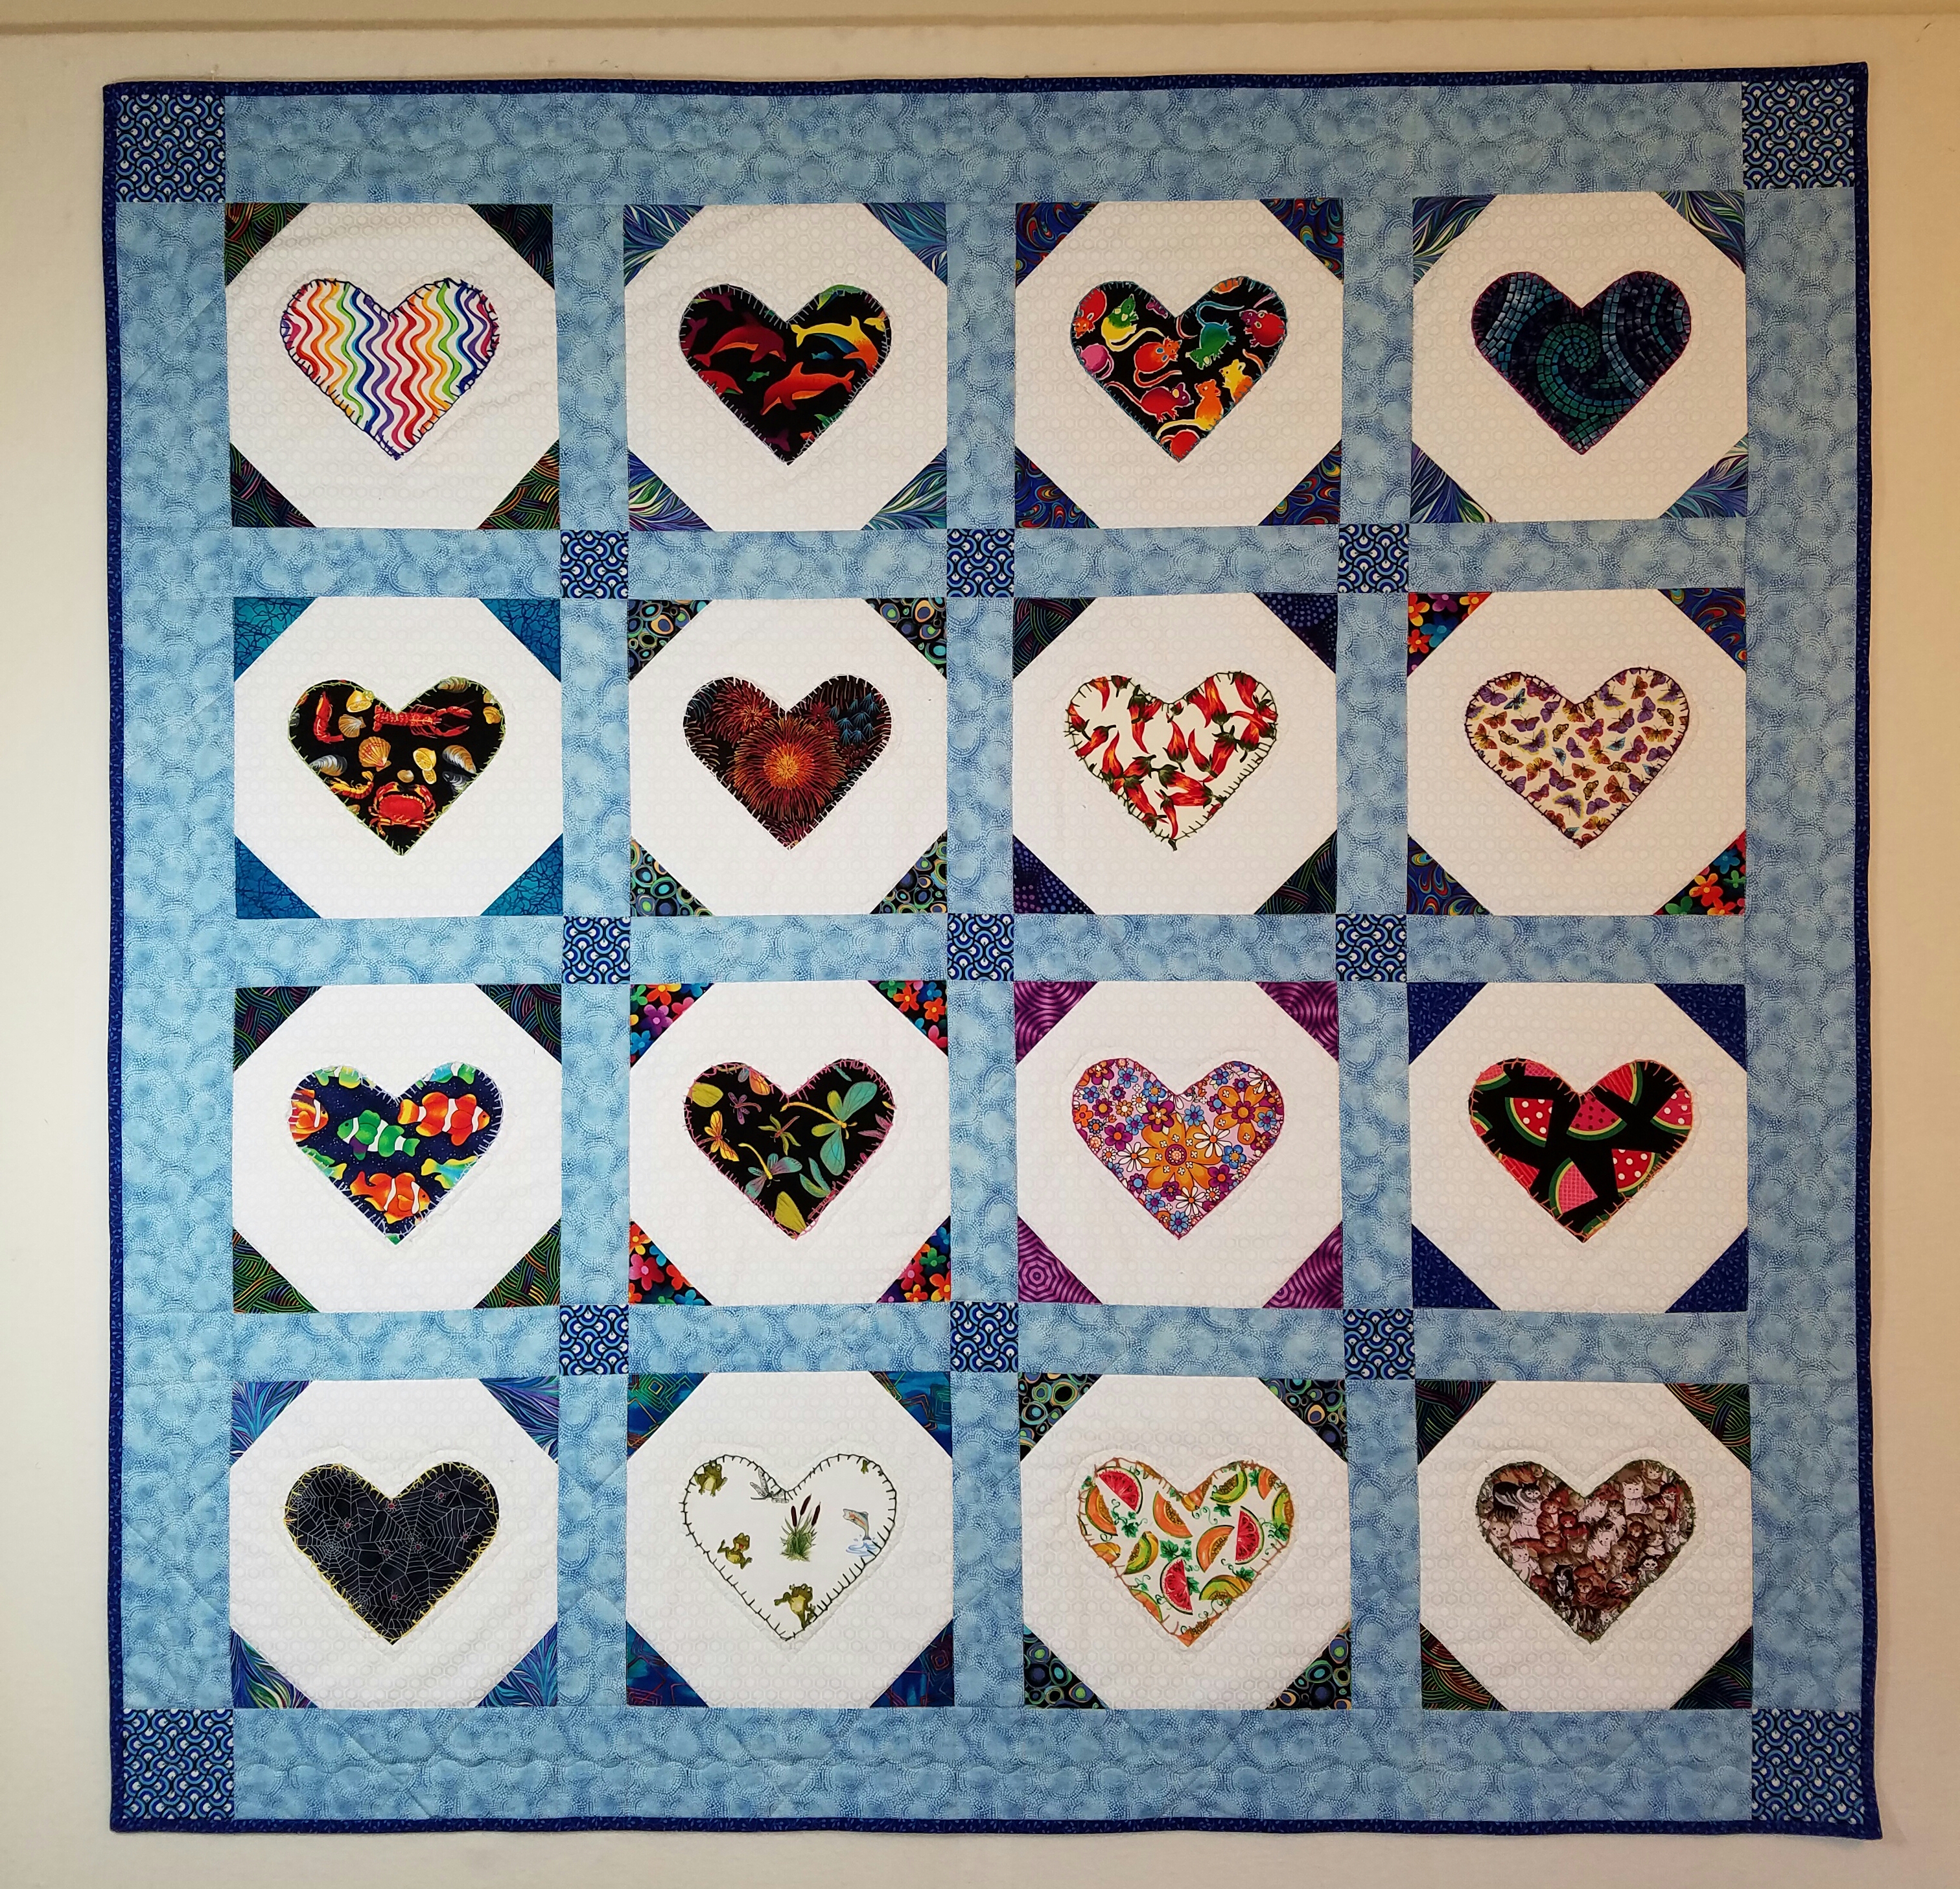
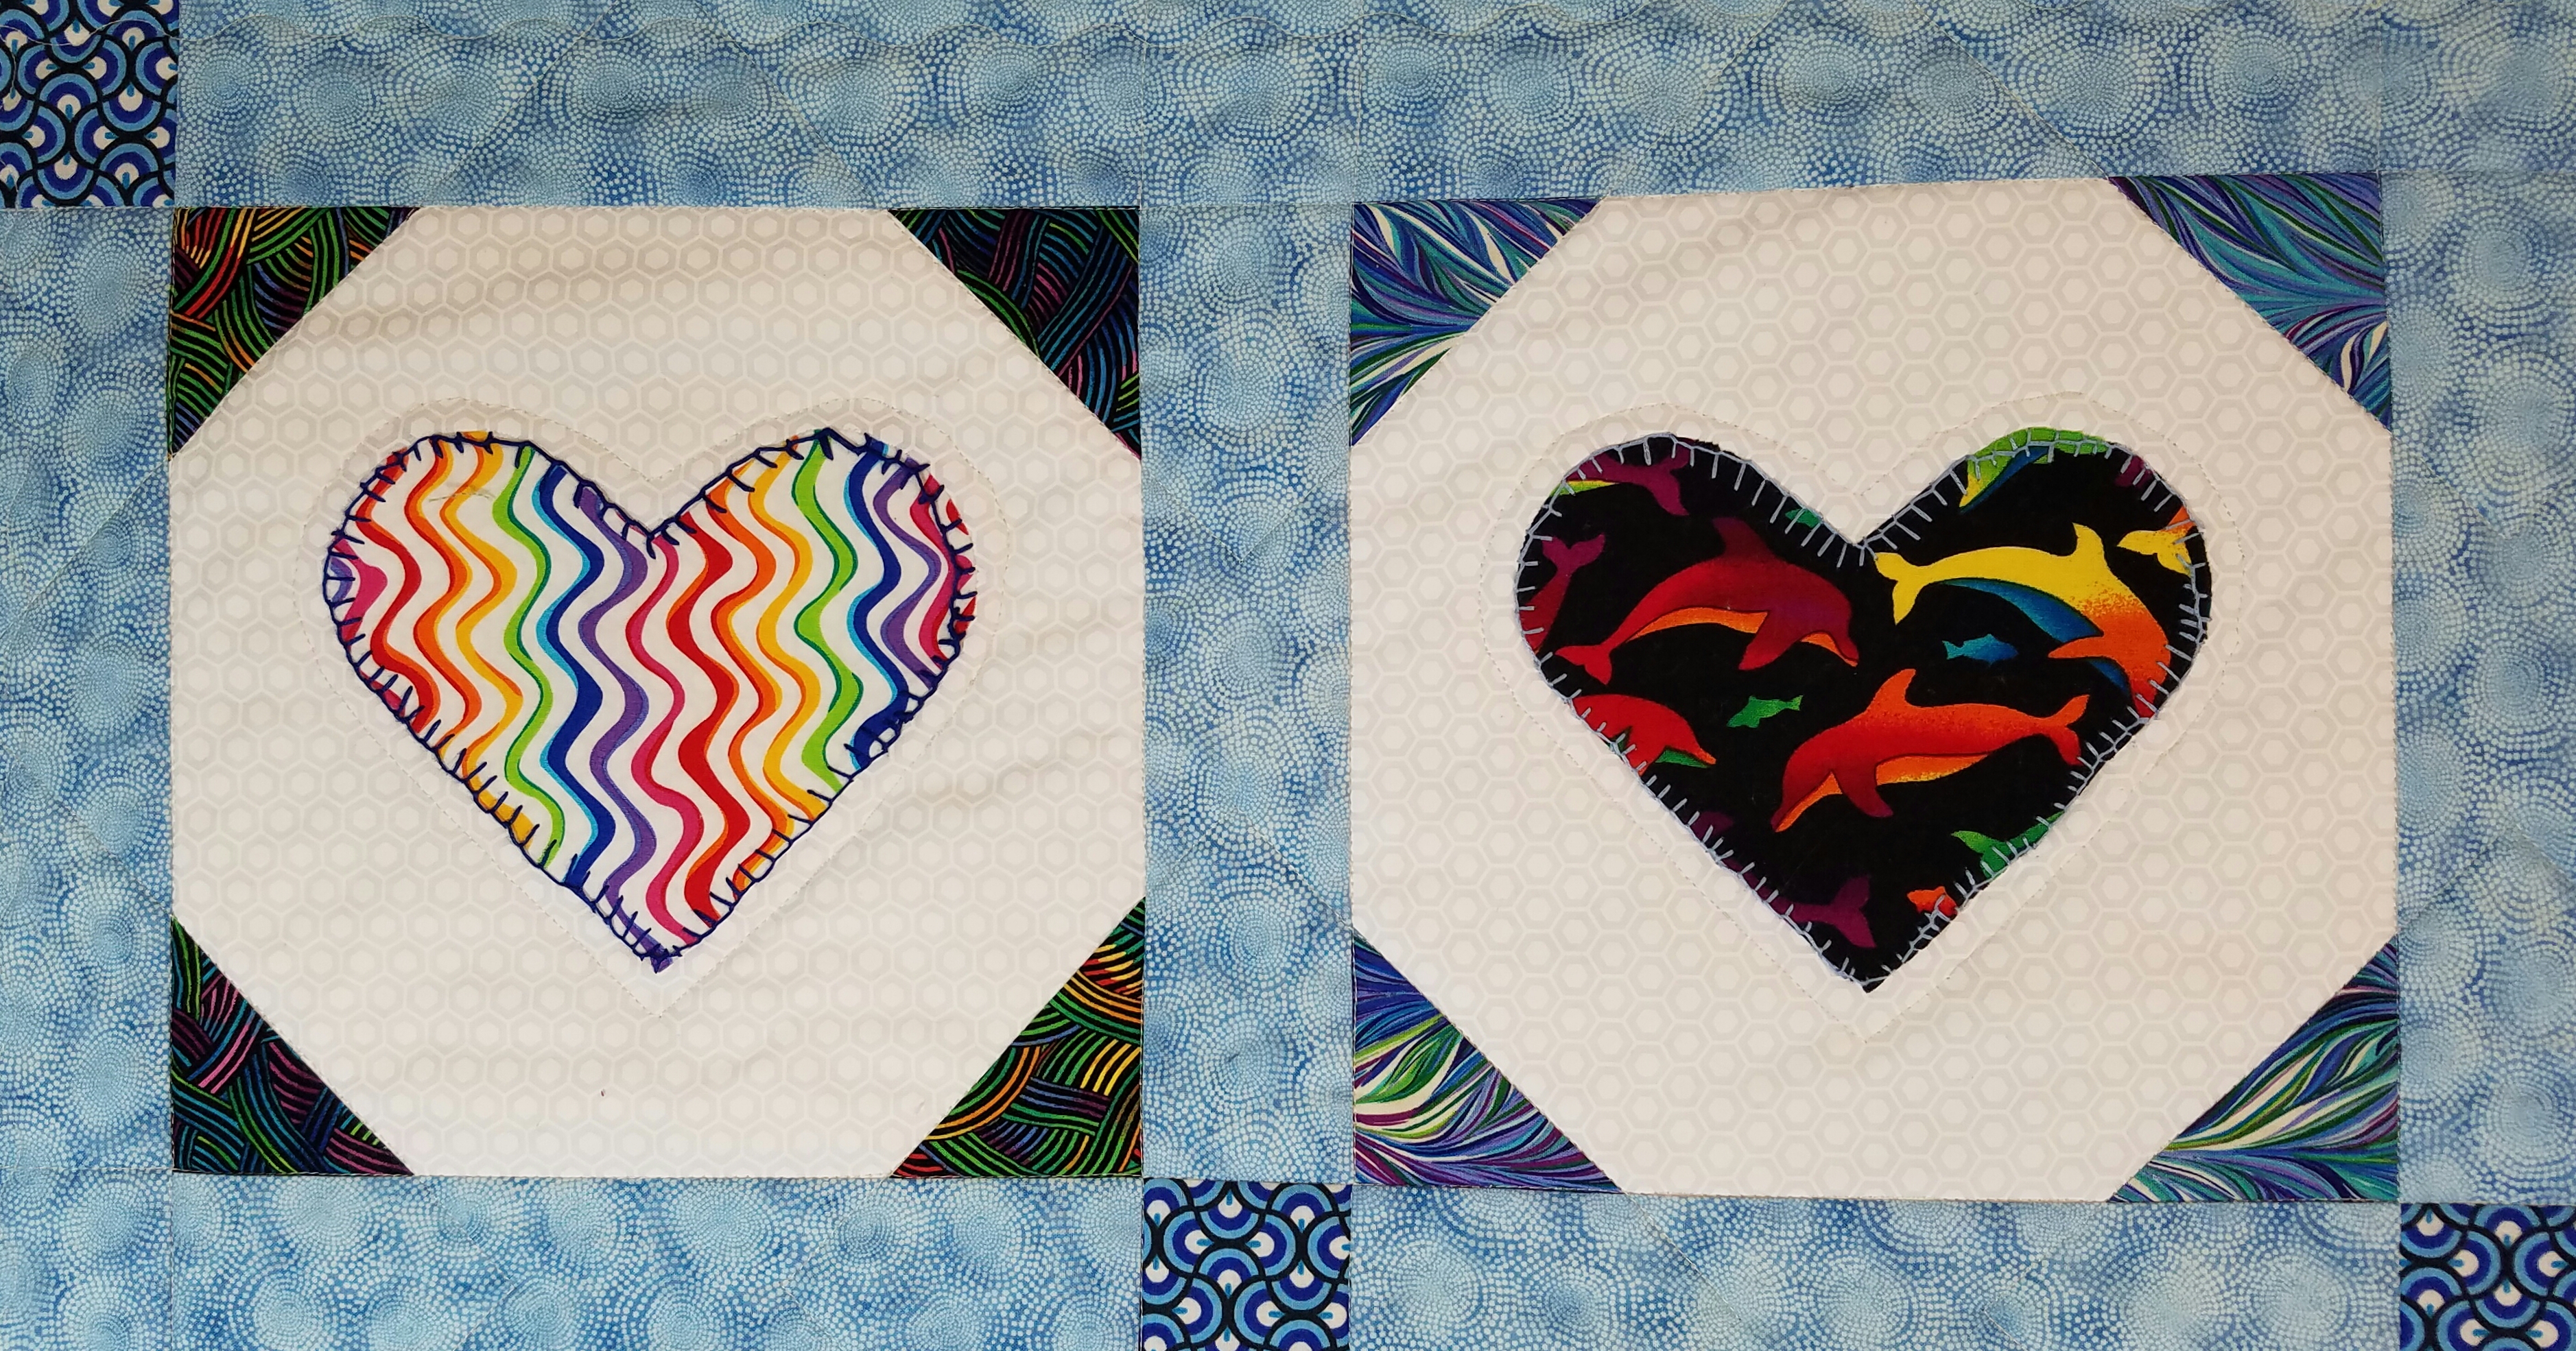
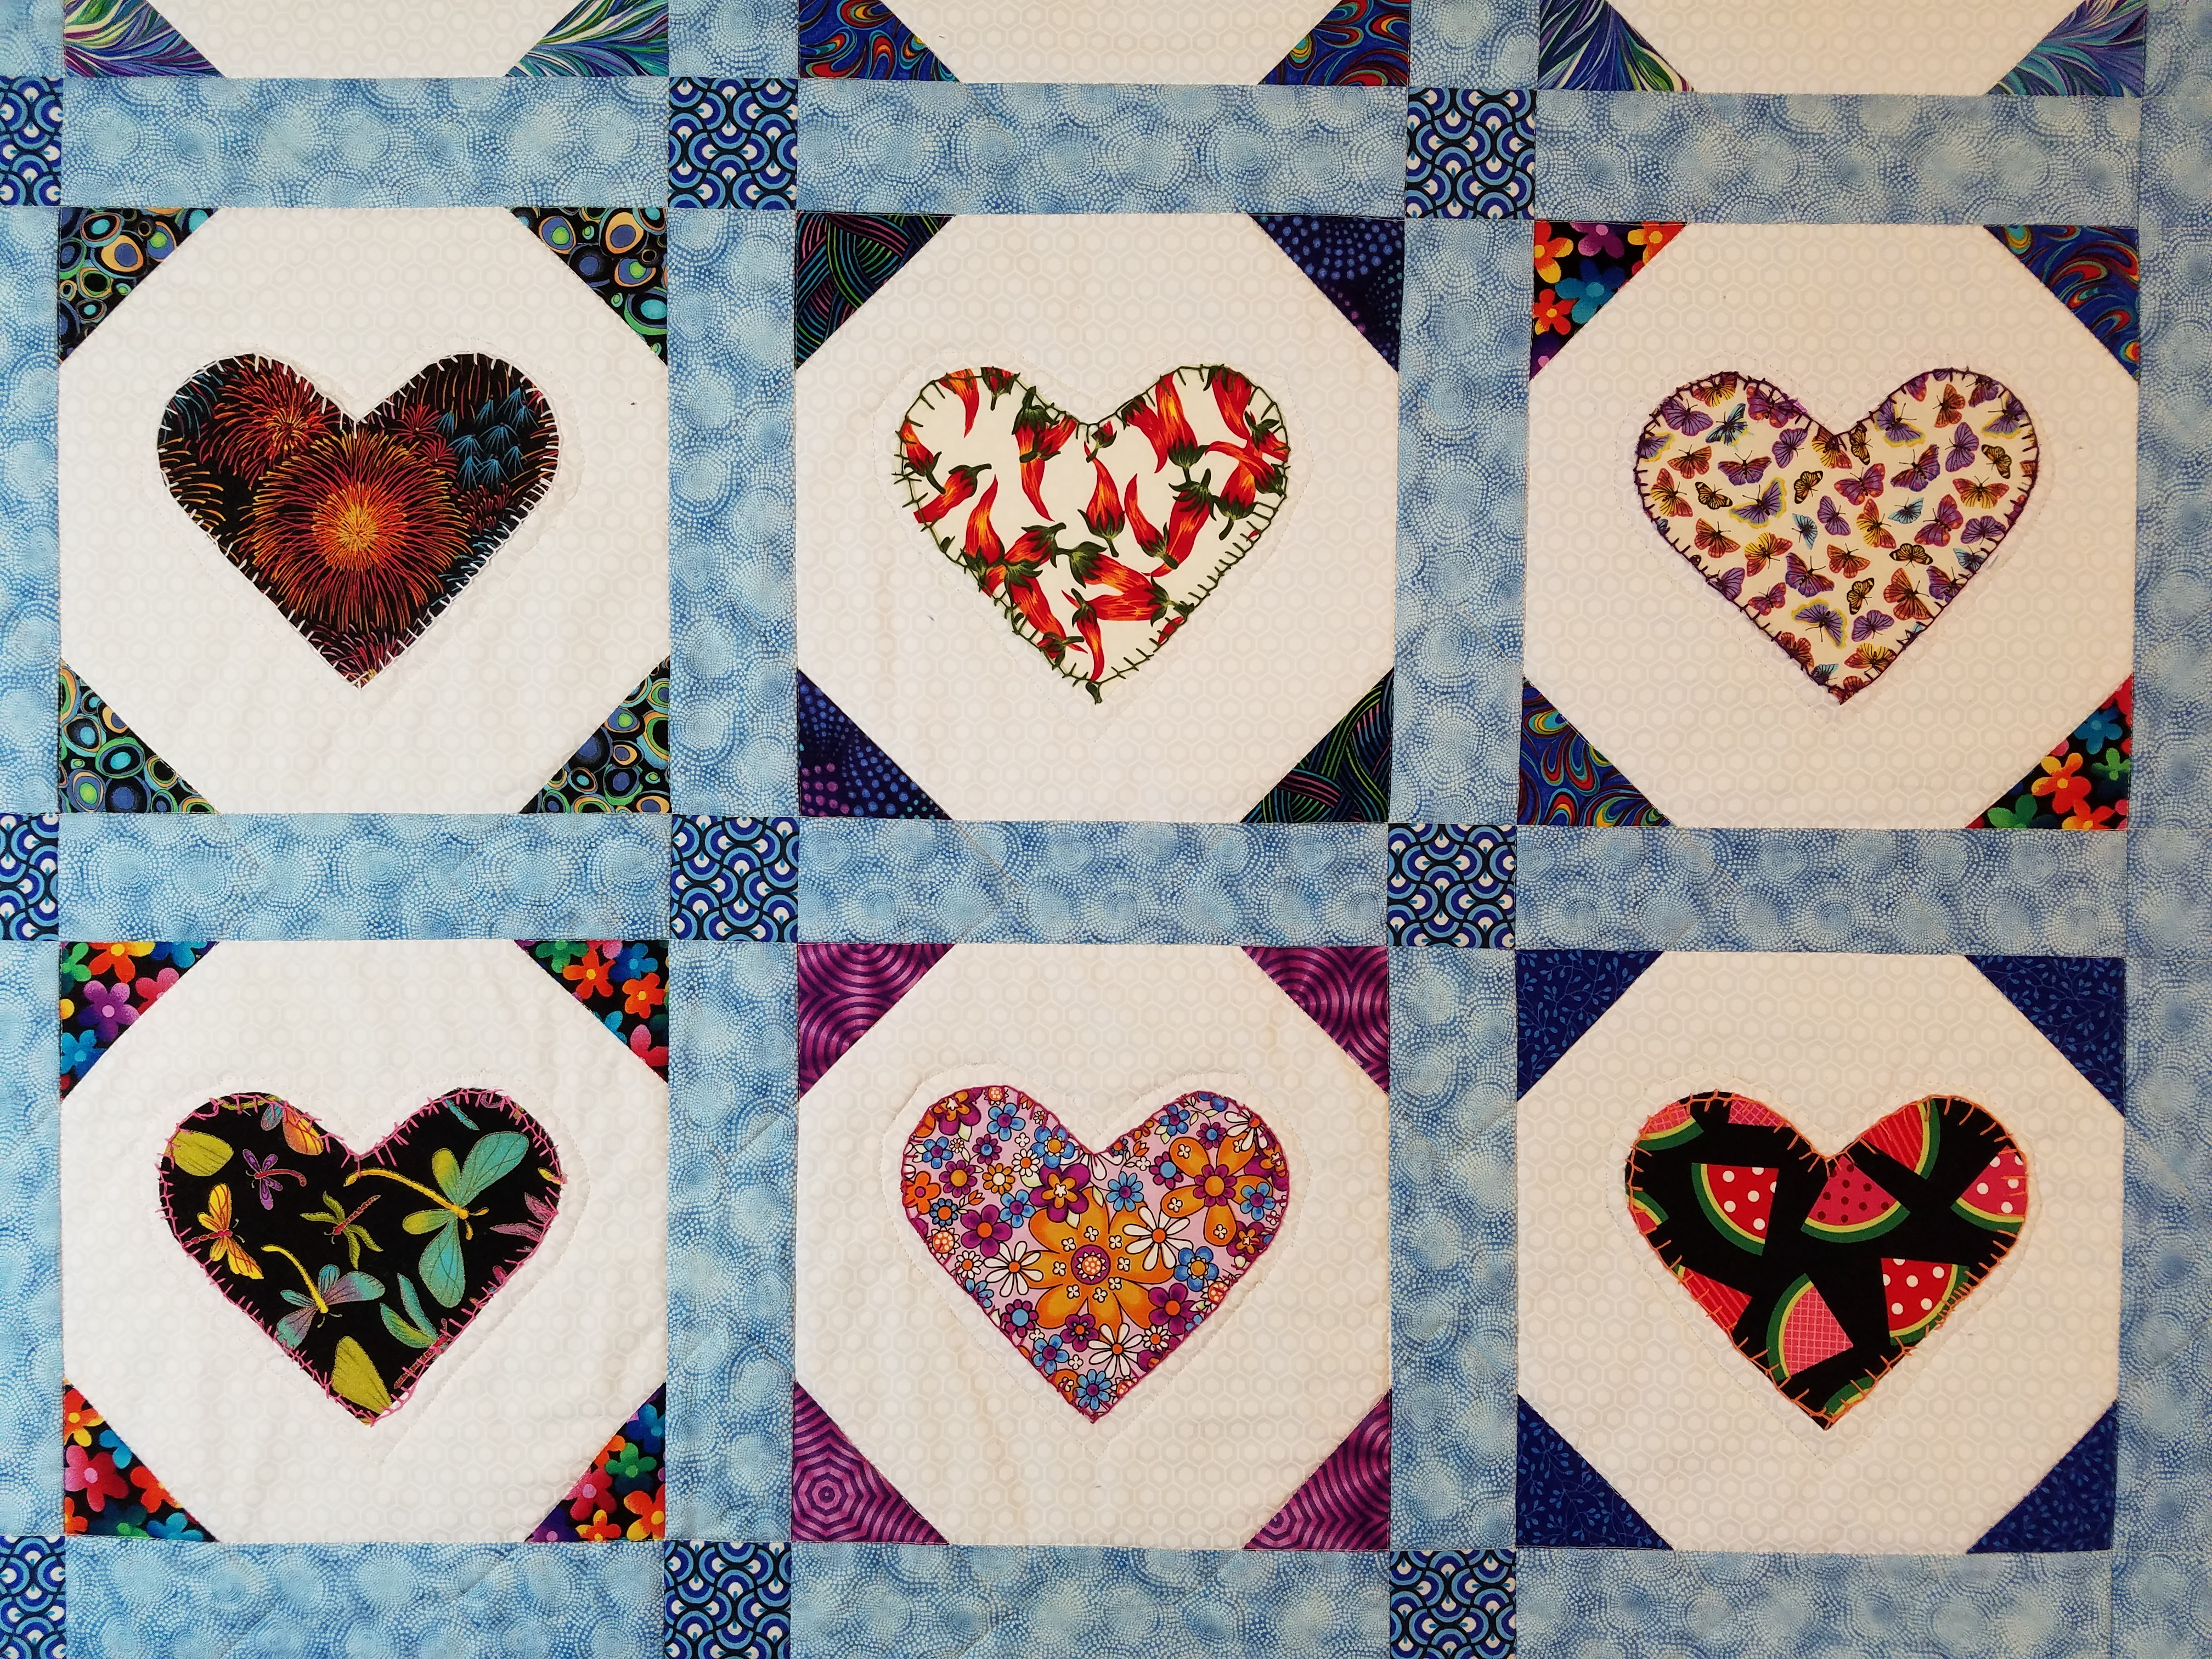
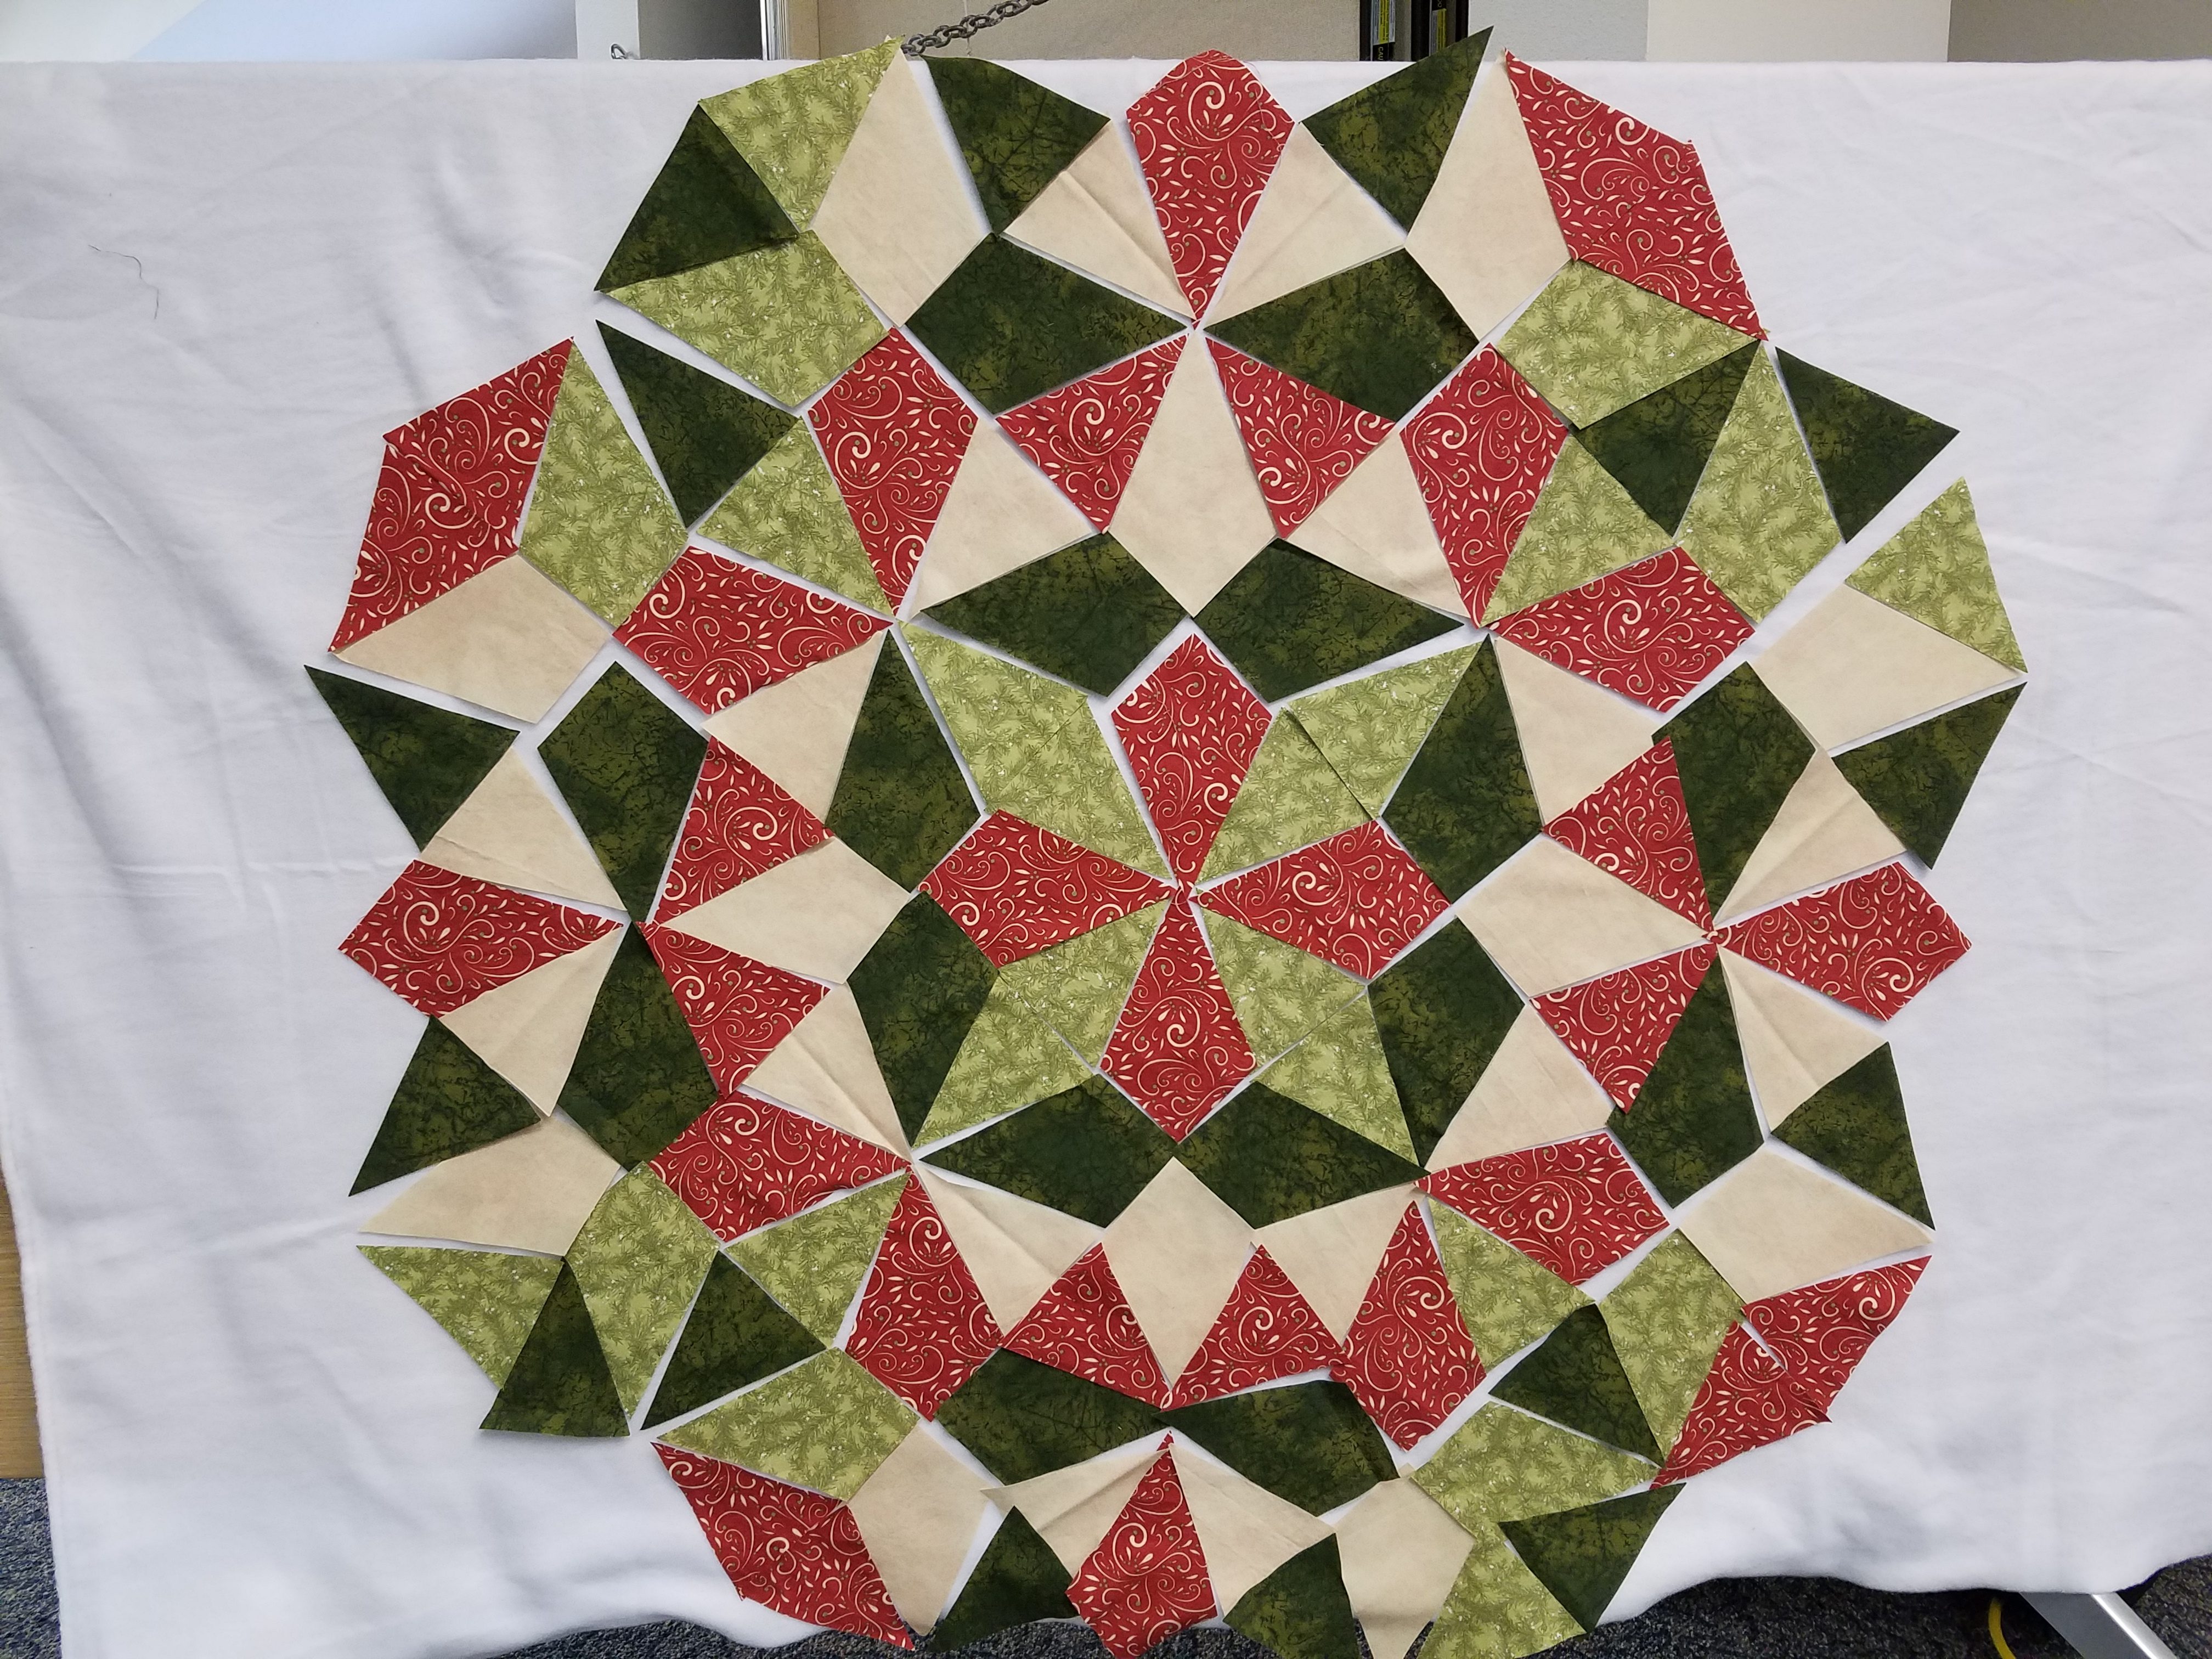
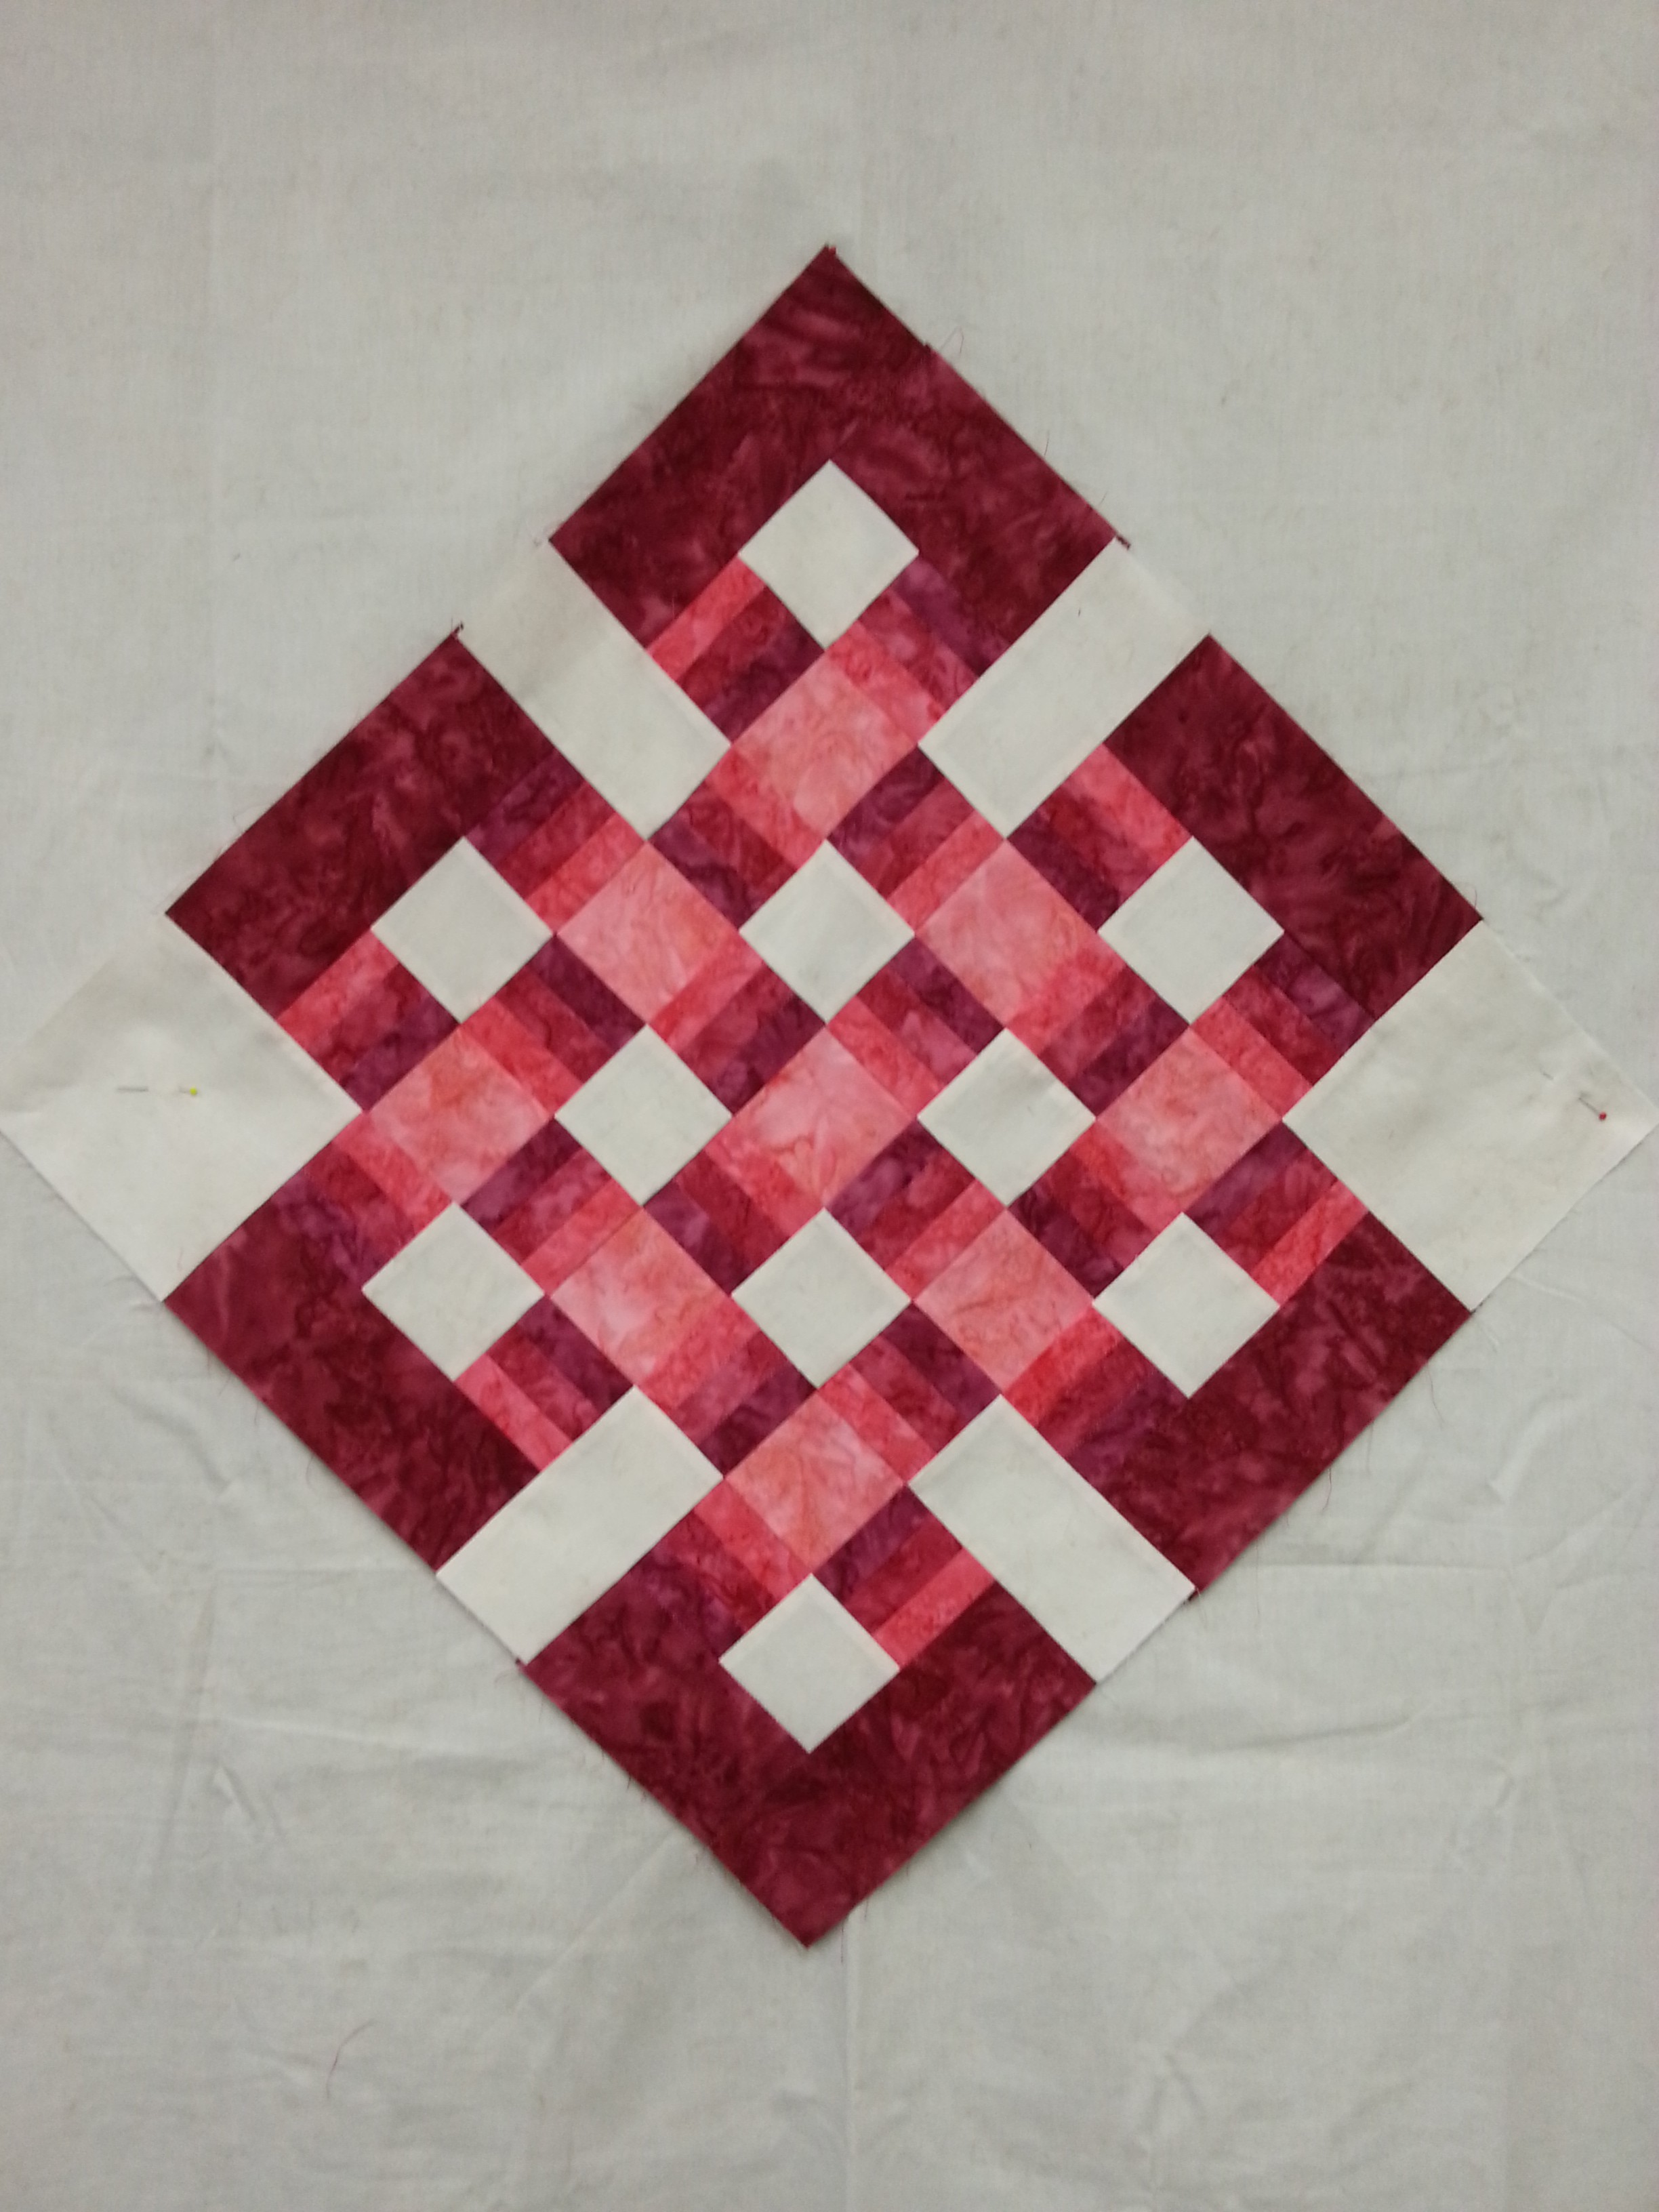
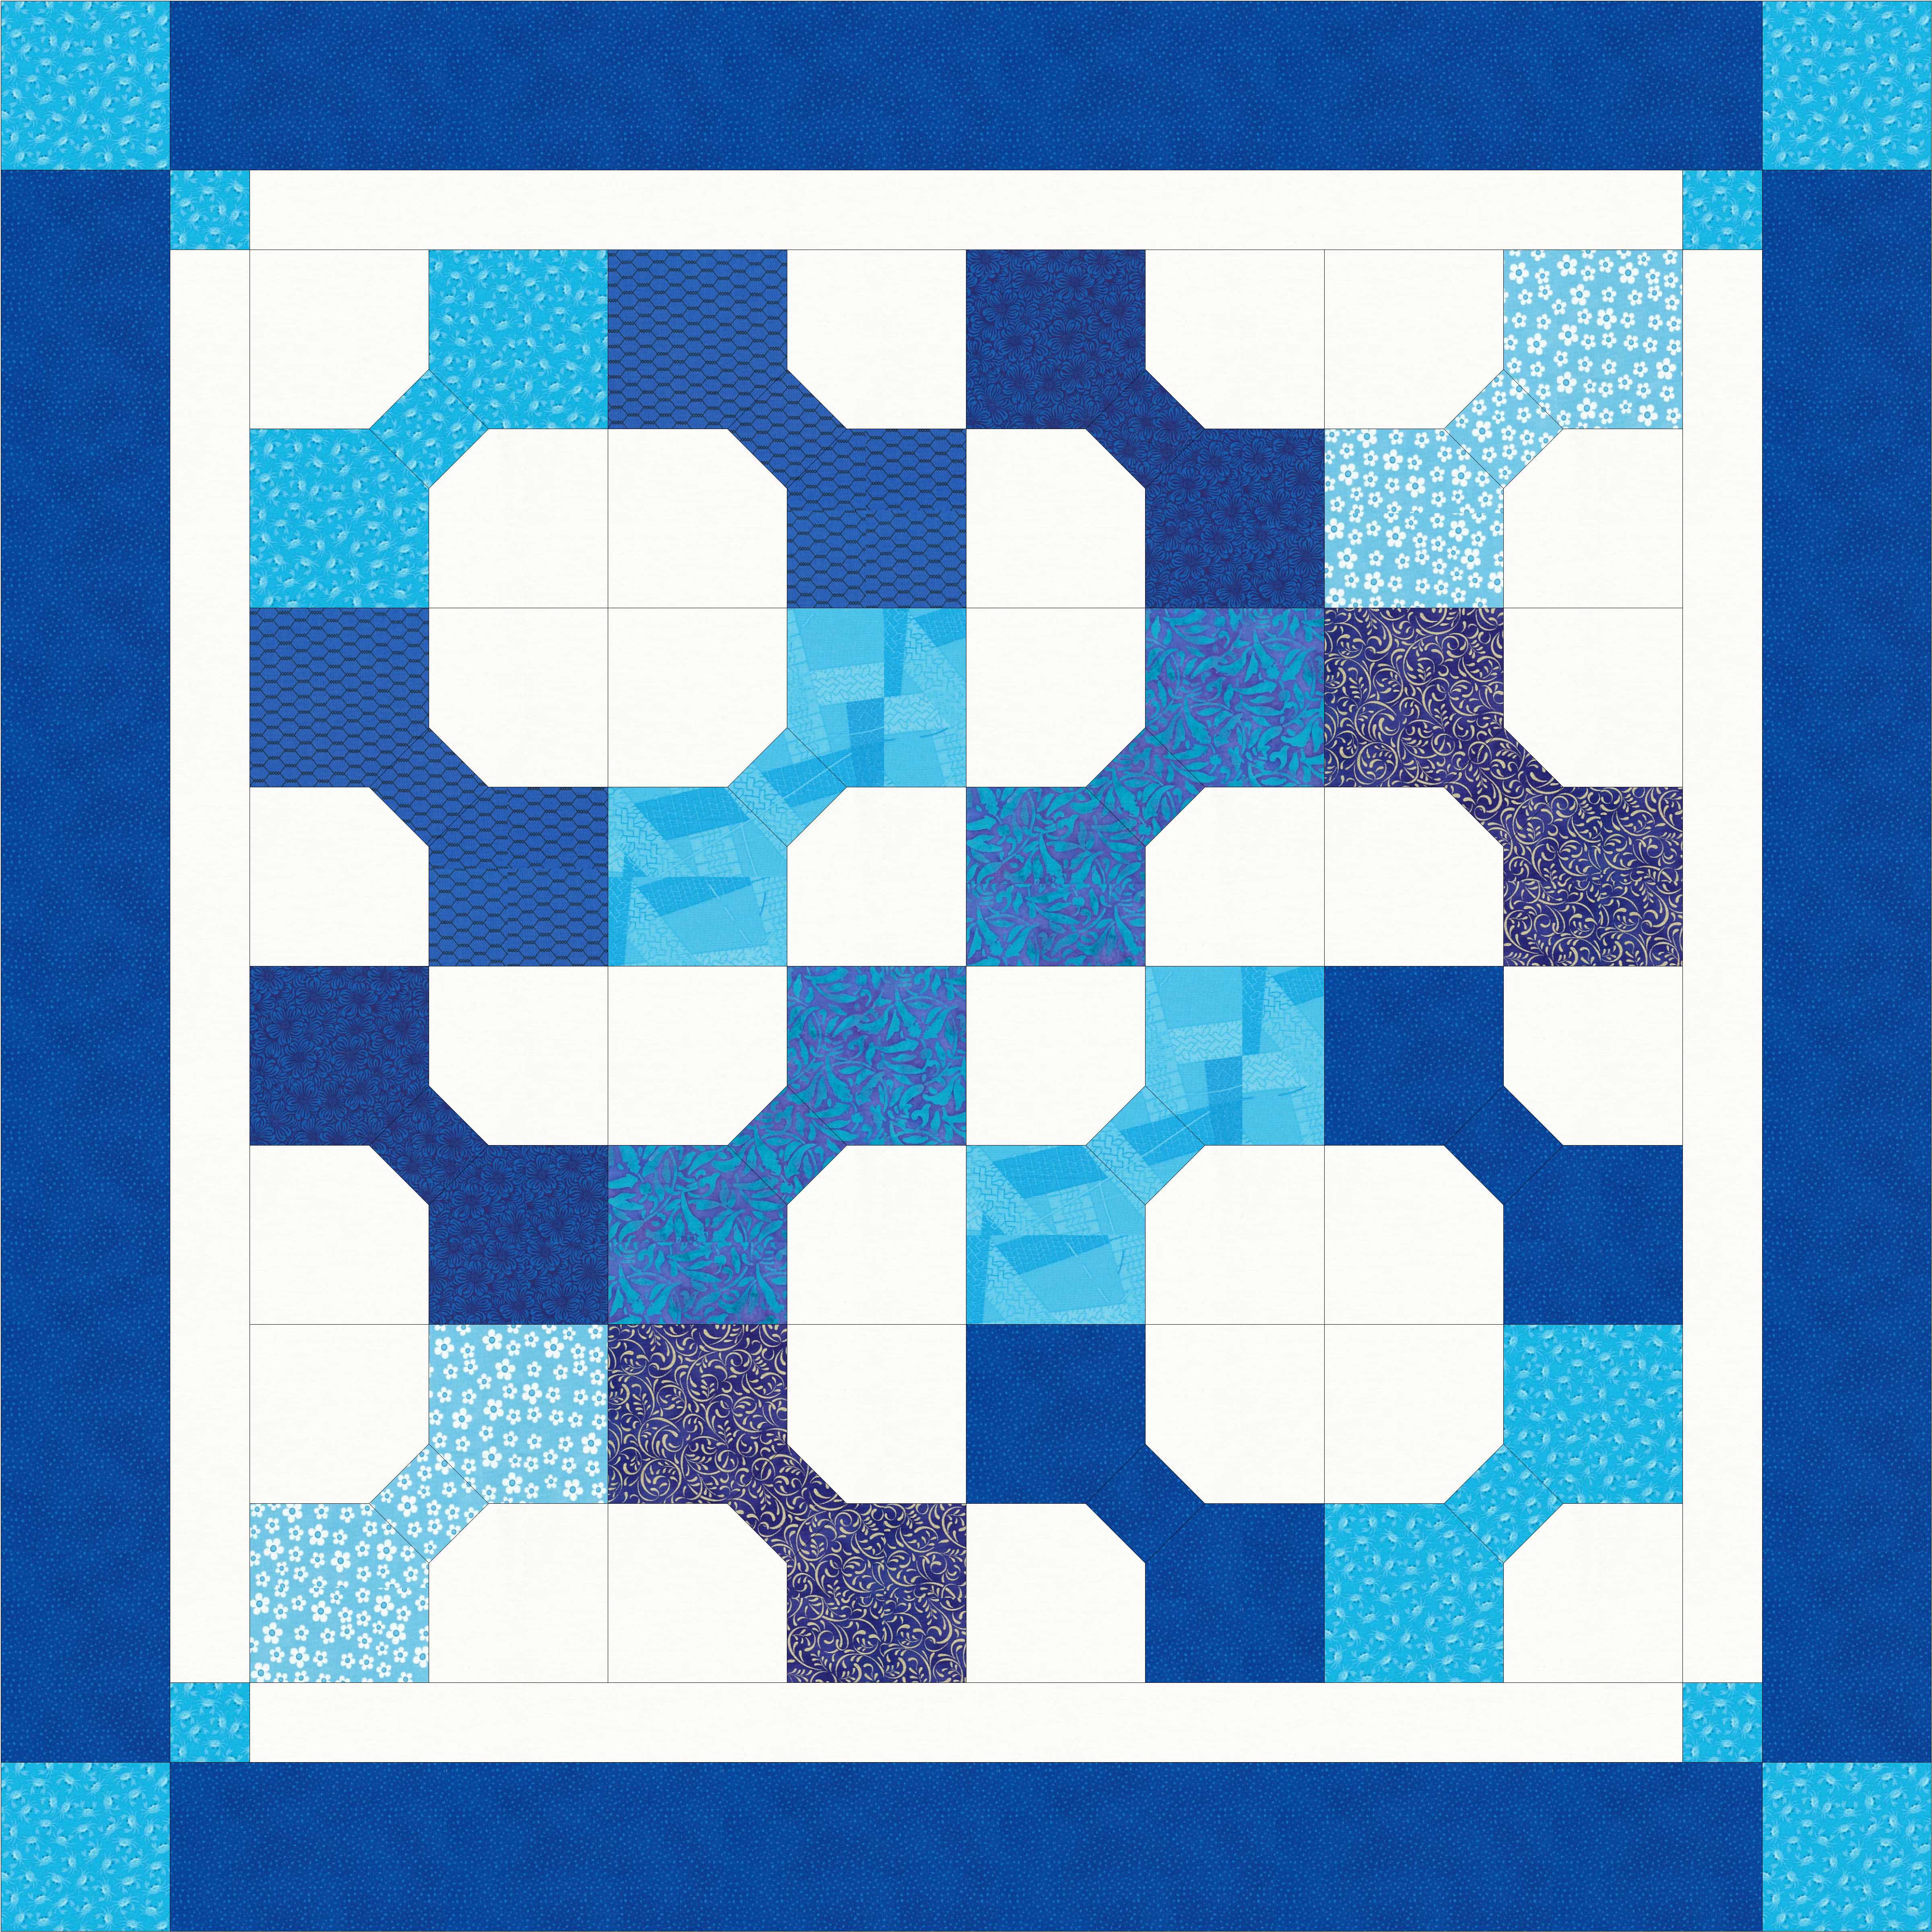
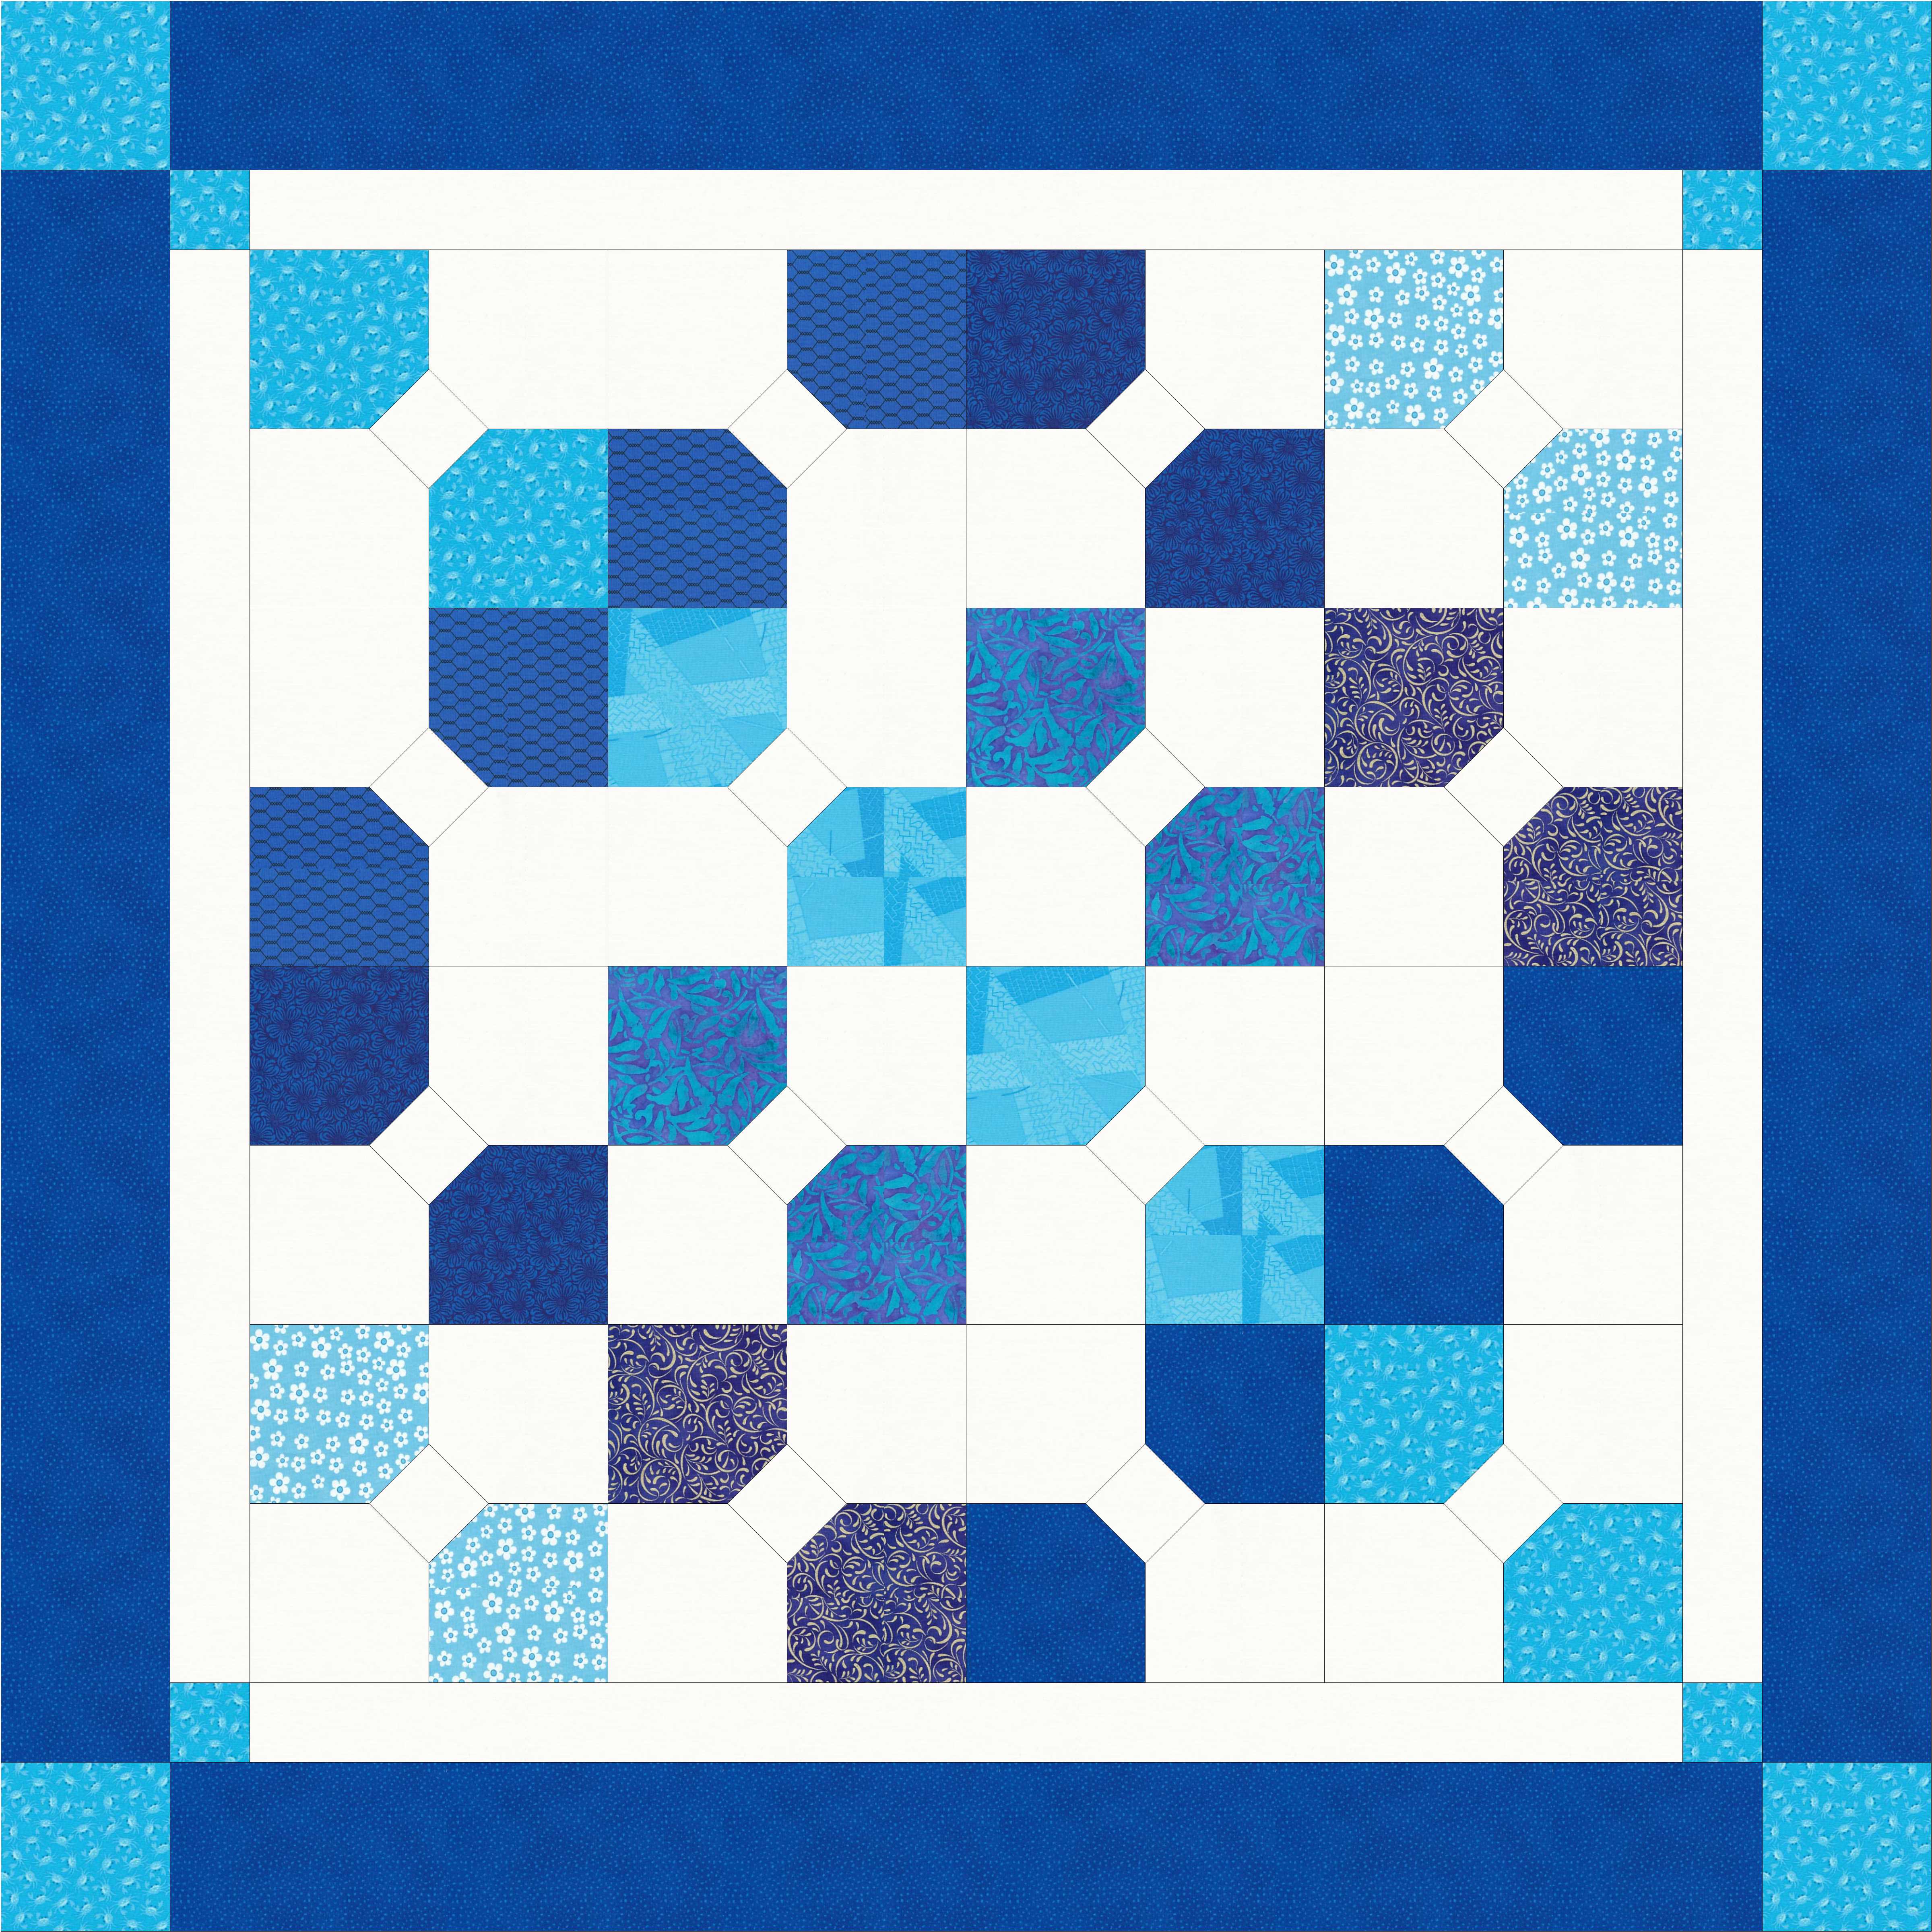
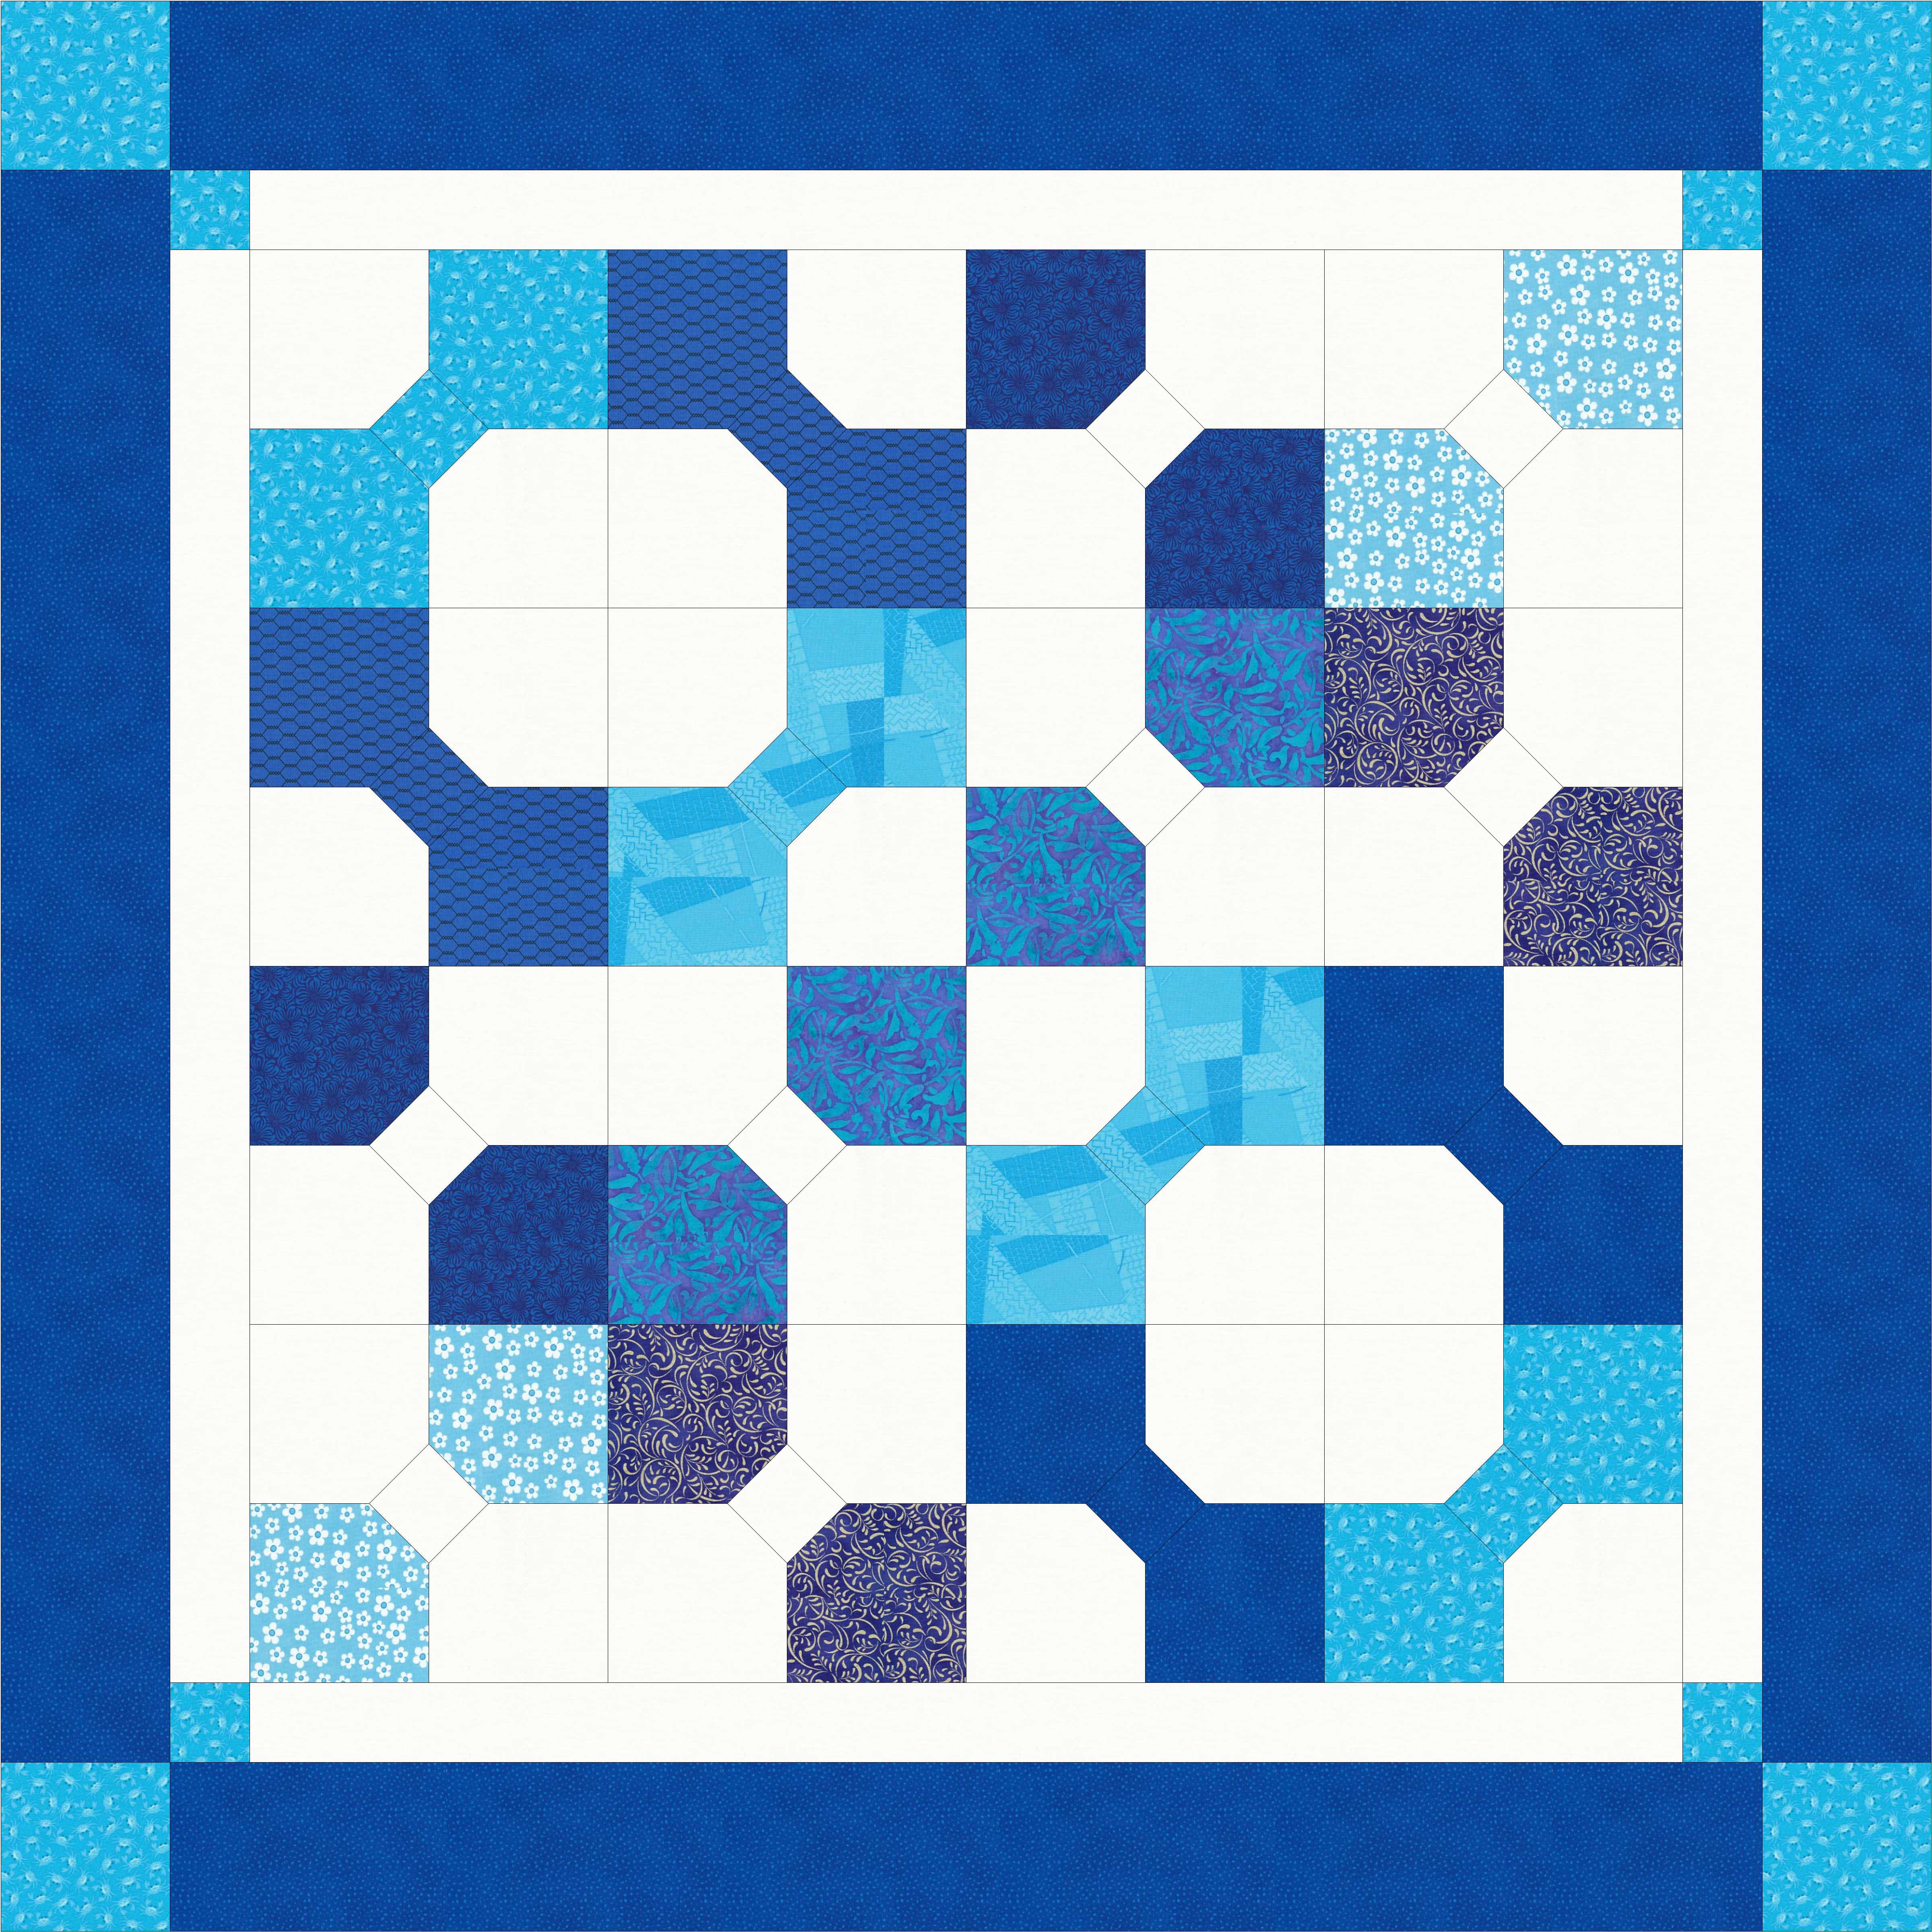
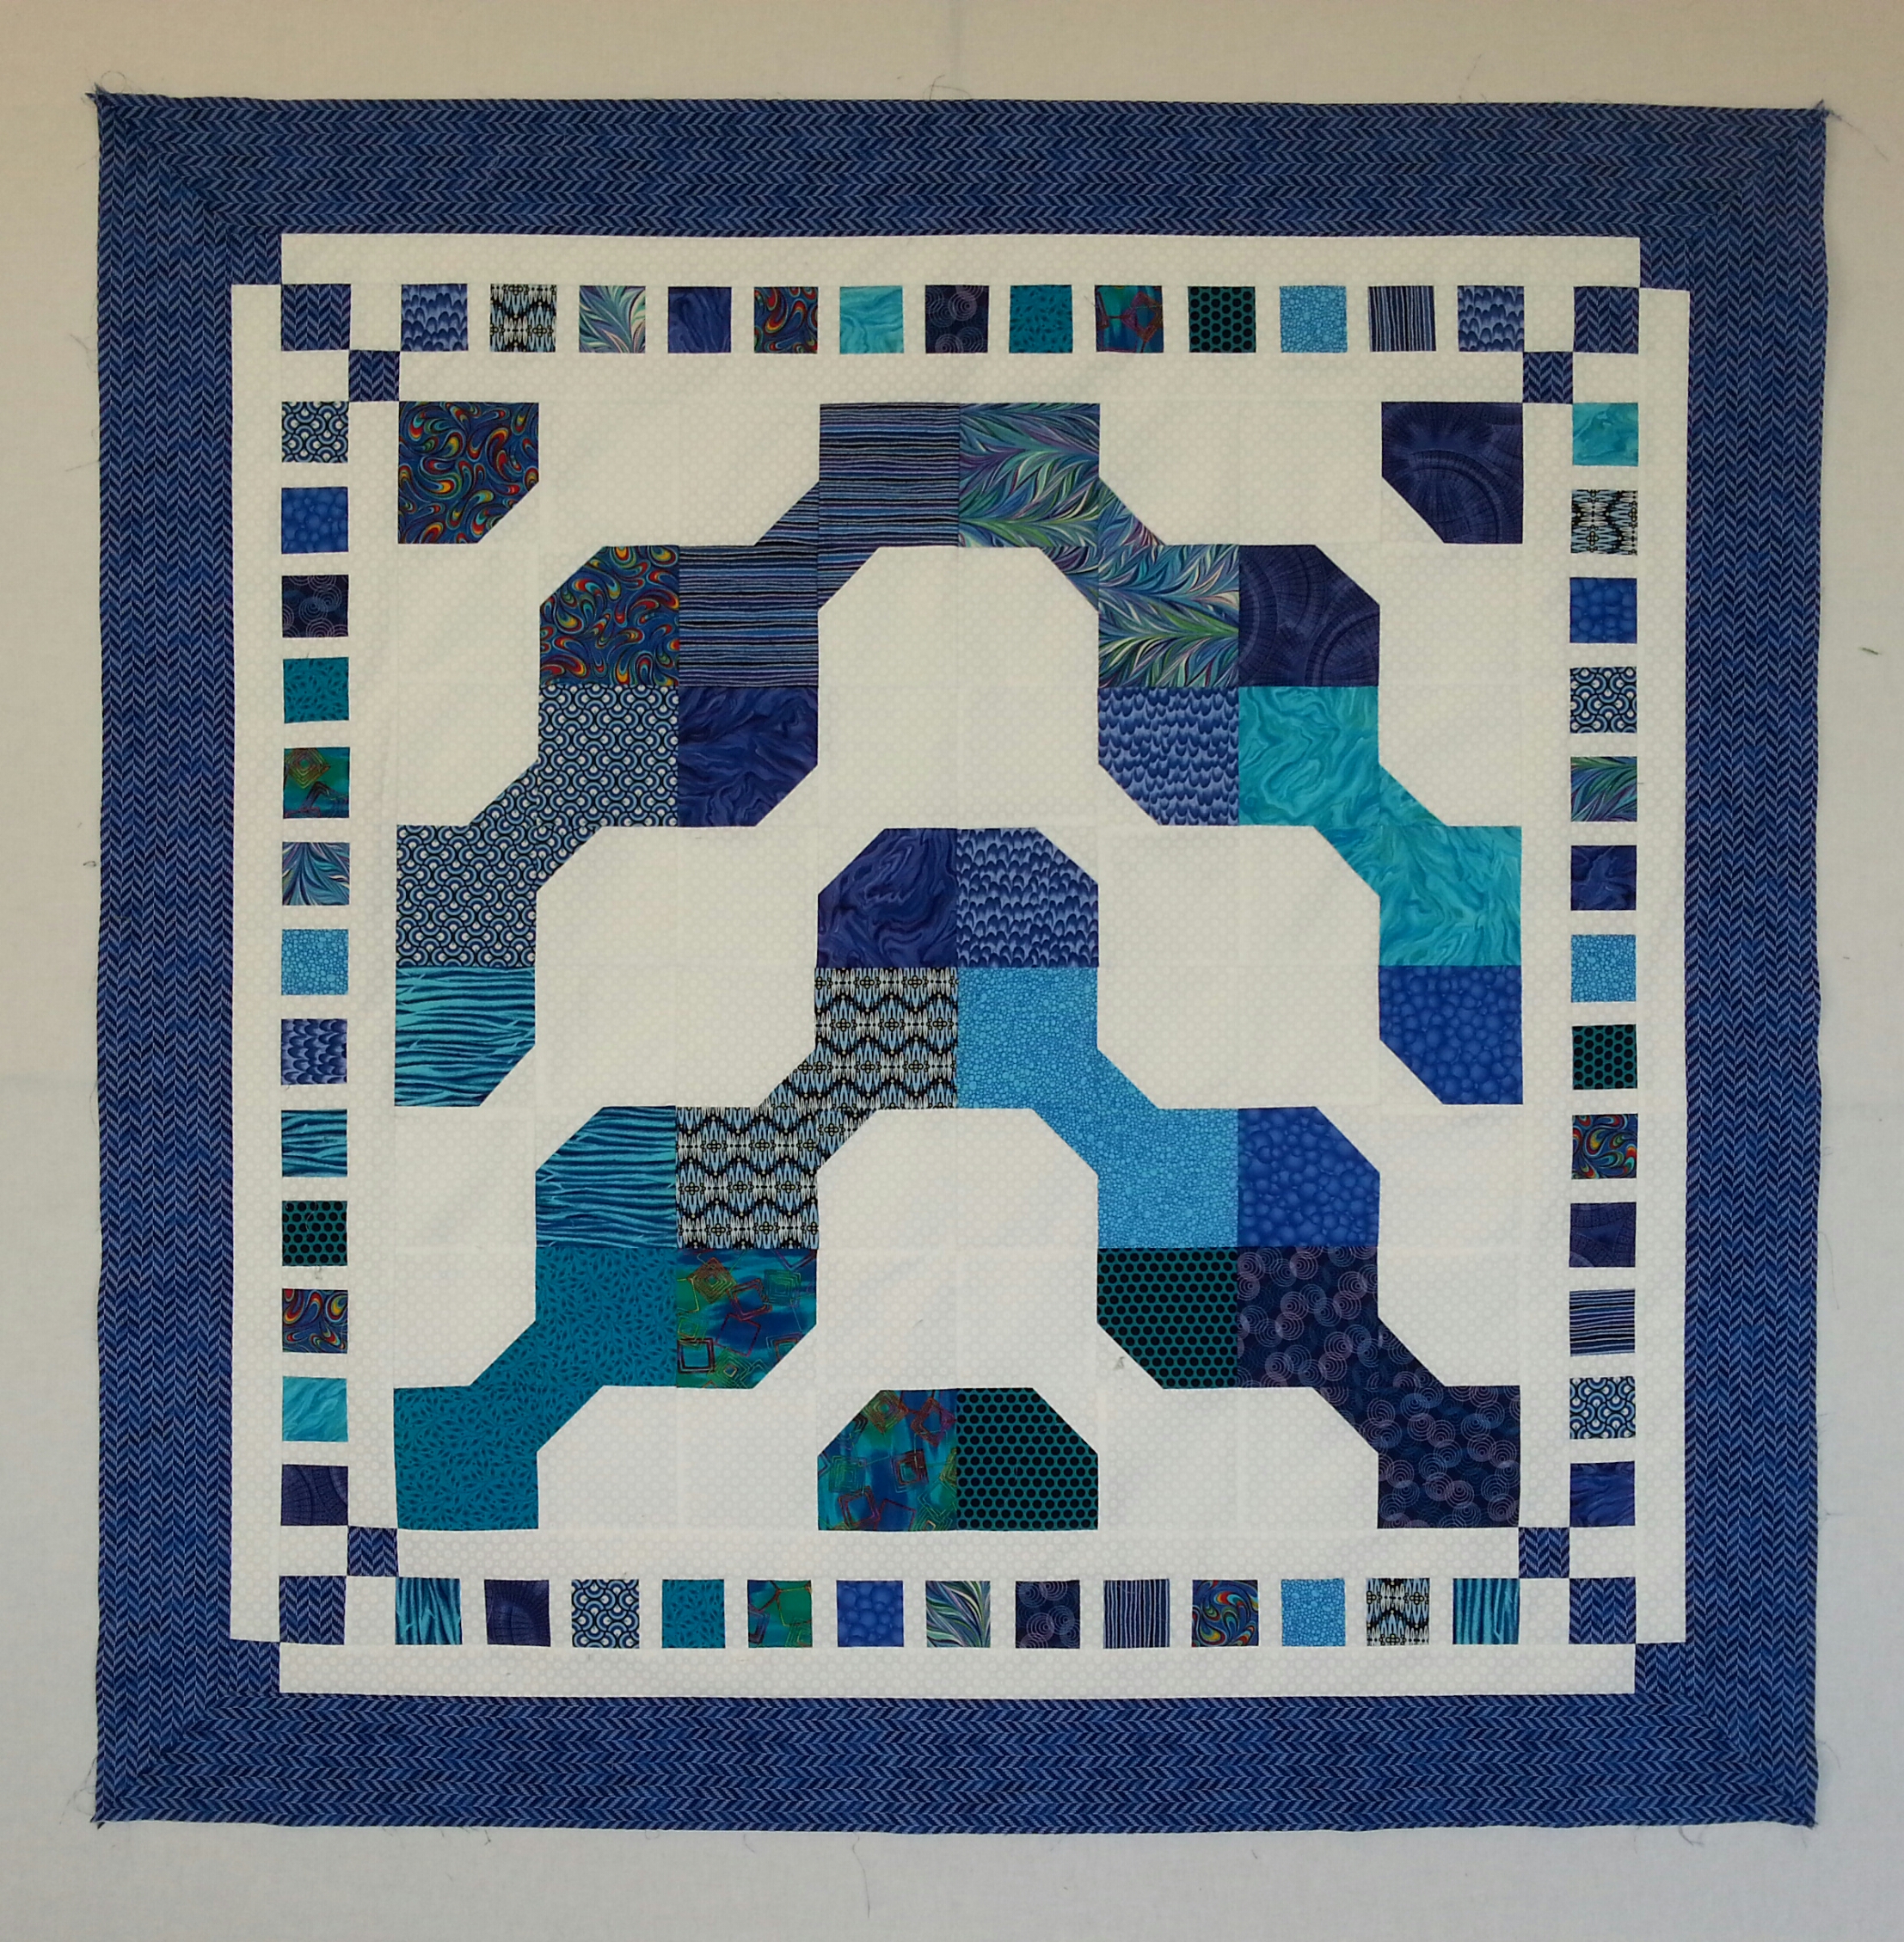
It’s always inspiring to see the work of other quilters and I enjoy the “Show and Tell” at the guild meetings. I’m blown away by the talent and also the generosity of quilters who support many philanthropic organizations with gifts of quilts stitched with love and care. Guild members come together to make opportunity quilts as fundraisers for their guilds, the proceeds of which pay for education and the likes of me coming to lecture and teach. Here is the beautiful red and white raffle quilt made by the Hill Country Quilt Guild in Kerrville. The theme for their next quilt show, taking place on Memorial Day Weekend, is “A New Twist on an Old Favorite: Two Color Quilts” at which this quilt will be displayed. I am drawn to this traditional classic look and love this quilt. Talking of the generosity of quilters, I’d like to thank the members of the guilds of San Antonio, Bryan, Fredericksburg and Kerrville for their incredible support for the Mongolian Quilting Center. We raised a whopping $3,650!

Quilting with Kids – 5th Grade Project

In January and February, I made several trips to Chestnut Hill Academy in Bellevue to quilt with the 5th Graders in collaboration with my daughter who is their science and math teacher. I loved the fresh enthusiasm of these kids who embraced both hand and machine sewing and were so excited to see the two quilts come together.

There are two classes of 15 kids and each class made a quilt. We cut out 45 hearts backed with fusible webbing, ensuring that every kid had a nice variety from which to pick. This is where having a good fabric stash comes in handy! I included some really funky fabrics and was surprised that the kids thought that they were cool, e.g. spoons and forks, clocks, and water melons. We fused the hearts and then taught the kids how to hand blanket stitch around them. For some this was really challenging, but they persevered and everyone finished.

We gave them a choice of fabrics for the corner triangles on the blocks and I took two sewing machines into the classroom working with two kids at a time for the sewing. They practiced on graph paper to get the feel for the stitching speed and sewing in a straight line before sewing the triangles.We made color photocopies of all the blocks and put them up on the bulletin board. The kids each received a copy of their block for their work portfolio too. After I had assembled the quilt tops and we had basted them, I went back into the classroom with my sewing machine and worked one-on-one as each child machine quilted around their heart. Then, I finished the quilts.

The quilts will were auctioned in early March at the annual school fundraiser. Here are some detailed shots.  I have to smile every time I see the heart with a grinning dinosaur and the cartoon eyes in corners of the block.


The kids were very enthusiastic about the project and excited to see the finished quilts. It was a rewarding experience for me and I’m really proud of the job they did. I encourage you to quilt with kids, girls and boys, to keep this beloved tradition alive and to have the joy of completing projects together.


Teaching at Quilting at the Lake, Lake Havasu, AZ

Earlier in January, I taught at Quilting at the Lake, Lake Havasu, AZ, a wonderful annual quilting event organized by the Havasu Stitchers. I can highly recommend this well organized and fun retreat. This was my first time to teach in AZ and I was delighted at the opportunity to take a winter break and head for some sunshine by the lake! The event was held at the London Bridge Resort and I was excited to have a beautiful view of the bridge from my classroom!

As a child, living in the UK, I can recall hearing about some place in Arizona which had purchased the London Bridge and was transporting it stone by stone to the desert and creating a channel over which the bridge could span. This was a big joke to us especially as it seemed to us that they had anticipated getting the Tower Bridge! However, the locals don’t remember this disappointment and are very proud of their bridge which is a major tourist attraction and can take the credit for the prosperous growth of the town. I have to say, that the bridge is definitely a highlight of the city and looks very handsome, fitting in surprisingly well with the beautiful lake and spectacular surrounding mountains.

My class was full and I taught an overflow group two days later. We worked on the Gateway to Mongolia pattern making the large central Olzii block. This motif is painted on the doors of yurts in Mongolia to bring long-life and prosperity to the people who live there and to drive away wild beasts and evil spirits. It also has special significance in the Buddhist faith which is practiced in Mongolia, symbolizing the universe and never-ending cycles of life and death. The woven effect is achieved by using a color gradation of fabrics. Having a smooth gradation of fabrics is key to the success of the under-over illusion. The pictures show some of my students’ work. The purple and green one was an unusual choice of fabrics but it worked! I always enjoy seeing the different results from the variety of fabrics brought to class.

Theft from suitcase of traveling quilt teacher, Rachel Clark

Rachel Clark is an amazing artist and internationally known in the quilting world for her vibrant patchwork garments. These were stolen out of her suitcase.This is awful. Theft is a risk all traveling quilt teachers take every time they go out to share their passion and no matter how good the insurance coverage, these original pieces are irreplaceable. Please spread the word to increase the small chance that these will be recovered.

13920935_10210407915902077_3937263558420266383_n

Designing Kaleidoscope Puzzle Quilts

During the last few months I have taught my template-free Kaleidoscope Puzzle Quilts workshop at Walla Walla Valley Quilt Guild, Crystal Quilters of Enumclaw, North Pittsburgh Quilters’ Guild, and Kitsap Quilters’ Guild. I love seeing the patterns emerge as my students play with their kite and wedge-shaped pieces to create their own unique designs. It’s even better when I receive pictures of their completed quilt tops.  To purchase a downloadable or hard copy of the pattern, please visit my on-line store. Here are some examples from the workshops. The blocks are composed of kite and wedge-shaped pieces. These two are 25 block quilts.

Nancy Mathisrud Kaleidoscope 20160410_124014

There are many options for laying out the pieces and the possibilities go on and on. The predominantly grey-tone one is also a 25 block quilt, but the side blocks appear as partial blocks completed with the black background. The colored one is a similar design but looks so different from the grey-scale. You can see the partial blocks around the perimeter with the background still to be determined on this work in progress.

20160507_132253 20160503_150023

Several people chose to use the wedges to create large diamonds helping to generate a strong design in the center.

20160415_115717 20160410_132412

The on-point versions look very different from the squarely set ones.

20160525_140903 20160410_130552

Star patterns emerge when an even number of blocks are used (4 x 4 for 16 blocks) as in the left-hand side picture. The one on the right is a scrambled, asymmetrical design. You can do what ever you like! This is a versatile pattern and great fun.

20160525_141008 20160410_131456

Check out my video demonstration of the template-free cutting technique for the kites and wedges on my video page.

Teaching at WA State Quilters, Spokane Chapter

In September, I was given a warm welcome by the quilters of the Spokane Chapter of WA State Quilters. This is a large group and over 400 quilters attended my two lectures. They were incredibly generous in their support of the Mongolian Quilting Center and we raised over $2,500 in donations and sales. I taught two days of classes, Bargello Quilts with a Twist and the Gateway to Mongolia. We had a nice light and spacious classroom at the hotel where I was staying, so it was very convenient and the hotel catered our lunches.

20150926_125522

As usual, I enjoyed seeing each student’s choice of fabrics and how these turned out in their projects. Here’s a selection of the Bargello blocks. One of my students made a quilt top before coming to class! It’s always reassuring when people can successfully follow the directions in my book with great results.

20150926_151858 20150926_124816-1

Here are some examples for the Gateway to Mongolia. They are all so different and it’s interesting to see how the Olzii pops out against the background. Some pop more than others and this class is a good lesson in the importance of value to get smooth transitions for achieving the woven effect.

20150925_145453 20150925_152233

20150925_144957 20150925_143727

5th Grade quilt project, Chestnut Hill Academy

I spent last week quilting with 5th Graders at Chestnut Hill Academy in Bellevue, WA. It’s been six or seven years since I worked with kids and I was excited to be enlisted. My daughter teaches 5th grade math and science at the school and secured a grant from the PTO to fund this project. We wanted to involve the kids with as much of the quilt making process as possible which required careful planning and thorough preparation of the materials. It was an intense week, but great fun and the kids enthusiastically embraced designing their quilts and using the sewing machine. There were two classes, 26 kids in all and we made two quilts. The quilts will be auctioned at a school fundraiser in the spring. I was assigned a large light room for the week and the kids came for presentations and sewing. Privacy regulations do not allow me to share pictures of the kids, but here’s the classroom and me doing a presentation.

P1210169 P1210174 (2)

We began with a talk to all the kids about quilting in general with a little bit of history to tie in with their studies of the colonial era. Then each class came in turn for details on their project. I had chosen the Bowtie block for them to sew and each quilt was to have 16 blocks. I showed them a PowerPoint presentation of EQ generated patterns depicting a variety of ways to arrange 16 Bowtie blocks. There were choices to be made – should all the Bowties be colored on a light background, should all the Bowties be light on a colored background, or should we make half in half? Here are some examples.

Bowtie6 Bowtie20

Bowtie22 Bowtie10

The top two show all blue Bowties and all white Bowties and the lower two show half blue and half white. There are many more options for rotating the blocks and designing different patterns. The kids were intrigued by this. Both classes chose independently to make half colored and half light Bowties for their quilts. After making this decision they chose their fabrics. One class did a green quilt and the other did a blue one. I had prepared packages of pre-cut pieces for the blocks. There were at least 20 of each color, so that the last child to pick still had several from which to choose.

P1210173 P1210172

The next task was to sew the blocks. The children came to me in groups of three or four and it took about 45 minutes to complete the blocks. Over half of them had used a sewing machine before, but I had all of them practice sewing on a piece of graph paper to sew along a line and get the feel of how hard to press the pedal to determine the speed. I had two sewing machines and one iron. We always all went to the iron together so that I could supervise. If I do this again, I would probably work with just two at a time and I think we could do the blocks in 20 minutes. I had a free-standing work wall with 16 of my Bargello blocks so that kids who were waiting for their turn to sew could arrange the blocks into different patterns and they loved this. By Tuesday afternoon (day two), all but four blocks were finished. I colored in paper blocks, so that the two groups could design their quilt layouts.

P1210178 P1210179

P1210191 P1210188

Here are some of the variations they made. I took digital photos of each variation and then the kids voted (eyes closed so there was no peer pressure). This process took an hour for each class which was longer than anticipated but the kids were mesmerized by the design possibilities and really enjoyed arranging the blocks. Once the pattern was determined we made some minor changes in the positioning of certain fabrics. I trimmed all the blocks to 9″ to remove irregularities around the edges and for ease of assembling. The children were fascinated when I demonstrated the use of the rotary cutter (which was put away during their sewing sessions). On day three we completed the remaining blocks, and the kids came in pairs to do 10 minutes of sewing of the pieced borders – piano keys for one quilt and stepping stones for the other. Everyone had a turn.

20151119_094434-1 20151119_144102-1

Here are the two quilt tops. They turned out beautifully and I’m so proud of the kids. I sewed in the evening of the third day and all day on the fourth day to complete them. On the evening of the fourth day, we basted both quilts ready for the kids to tie on the final day. The backs are flannel and quilts are both around 52″ x 52″. It was a marathon, but we did it! Perhaps if I do this again, we would arrange three days at school, then a weekend to complete the tops and baste, and then another day or two at school instead of five days in a row at school. The Bowtie was an excellent choice with just enough sewing and such a variety of options for patterns.

P1210208 (2)

The children came in their class groups to see me demo machine quilting and tying. I machine quilted in the ditch between each block on the green quilt. On the blue one, I outlined the blue shapes. The kids came in pairs for 10 minute sessions to tie four ties in their blocks. We used variegated pearl cotton. I was concerned that they would have trouble stitching through all the layers to make the ties, but they did really well and all but one did all four ties in the 10 minutes. We had to limit the time, so that everyone got a turn and it worked out fine. This week I’ve added some more machine quilting to the borders and machine stitched the binding. All that is needed to complete the quilts is to hand stitch the bindings to the back and make a label with all the names, date etc. We will also include a picture panel of a scene from Washington DC. In April, the kids fly there for a four day field trip. It’s a highlight of being in 5th grade (the top grade in the school) and this will serve as a reminder of this special trip to those lucky enough to take a quilt home after the auction.


Teaching at West Houston Quilt Guild

In September, I lectured and taught at the West Houston Quilt Guild. My workshop was held in the classroom of a large quilt shop, Quilt Works, (see a previous blog for a tour of the store). I taught my Bargello Quilts with a Twist workshop, based on my book of that title. We had plenty of space and good lighting and of course air conditioning (it was like a sauna outdoors with a temperature of 92 degrees F and very high humidity). I always enjoy teaching at a store since it affords shopping opportunities for all of us and I can help my students select fabrics if they aren’t happy with what they brought to class.

20150917_113310 20150917_132325

Everyone brings their own choice fabrics and we had a great variety of blocks. My students are always surprised at how different the each person’s blocks look and then delighted at how they can rotate the blocks and make many patterns. Here are some examples from the class.

20150917_135736 20150917_135344

20150917_135849 20150917_140031

Sometimes my students send me photos of their completed quilts and I’m always glad to see these. My hope is that when the class is over, they will still be excited by the possibilities, understand and feel confident with the technique, and have a desire to finish the project. Some even go on to make more quilts from Bargello blocks.

Kaleidoscope Puzzle class at Clark County Quilters, WA

Last week I taught at Clark County Quilters in Vancouver, WA. This is a large and active group and over 200 attended my lecture. I always enjoy seeing what each student brings to class. Everyone has different fabrics and visions for their quilts. In the Kaleidoscope Puzzle class, they have the opportunity to experiment and make their own designs from the assortment of kites and wedges they cut. See my video page for a demo of this technique.20150109_141138

Here are my samples displayed in the classroom. Students can use these patterns for inspiration or create their own. It’s fun watching the designs develop as the pieces are laid out.

.20150109_131204 20150109_130531

Students are also inspired by looking at each others’ work and I encourage them to walk around the room to see what is going on, compare notes and make suggestions to one another. It’s also good to stand back and view the design from a distance. Value is really important in this technique and the placement of the lights and darks make a big difference to the composition. I always recommend taking a proper lunch break so that students come back with a fresh eye for their work. As you can see, we had a good variety of fabrics and designs including scrappy and asymmetrical as well as the symmetrical.

20150109_134803 20150109_130638

20150109_135055 20150109_115904

20150109_140826 20150109_140307

Teaching in TX

Last month I had an excellent trip to TX to teach at the Rio Grande Valley Quilt Guild and the Midland Quilt Guild. The Rio Grande group has a huge influx of winter members who flee the northern climes for the warmth of TX. My Gateway to Mongolia class was oversubscribed so they asked me to teach it two days in a row to accommodate the extra students. The classes were prior to the guild meeting and several of the ladies finished the large center Olzii block in time for Show and Tell. It was wonderful to see a whole stage full!

20141108_103853

We had a spacious church hall in Weslaco for the workshops. I love seeing all the different fabrics my students bring to class and the emerging variety of blocks. The block looks odd during the piecing, but as soon as the background setting triangles are added, it comes to life. There were some nice color transitions as shown with the green to turquoise example. The blue with red outer edges worked well because the value gradation was maintained. The pink and purple on the lime green background glowed. In the bottom left example only three fabrics instead of the usual five were used. There is just one fabric in place of the gradation of three which still produced a handsome looking block.

20141107_13264220141107_144830

 20141107_145627 20141106_174235

20141107_153020 20141108_081721